1. Introduktion
Thank you for choosing the CIAO TECH 3-in-1 Wireless Charging Mouse Pad. This innovative product combines a comfortable mouse mat, a 15W wireless charging pad, and a convenient mobile device stand, designed to enhance your workspace efficiency and reduce cable clutter. This manual provides detailed instructions for proper setup, operation, and maintenance to ensure optimal performance and longevity of your device.

Billede 1.1: Overview of the 3-in-1 Wireless Charging Mouse Pad features. This image illustrates the product's three primary functions: a mouse pad surface, a phone stand capability, and integrated wireless charging.
2. Pakkens indhold
Kontroller venligst, at alle varer er til stede i din pakke:
- CIAO TECH 3-in-1 Wireless Charging Mouse Pad
- USB opladningskabel
- Brugervejledning (dette dokument)
Note: A power adapter is not included and must be purchased separately. For optimal 15W charging, a Quick Charge 2.0/3.0 or Power Delivery (PD) compatible adapter is recommended.
3. Sikkerhedsoplysninger
To ensure safe operation and prevent damage to the device, please observe the following safety guidelines:
- Udsæt ikke enheden for vand, fugt eller ekstreme temperaturer.
- Undgå at tabe eller udsætte enheden for kraftige stød.
- Du må ikke selv adskille, reparere eller ændre enheden. Kontakt kundesupport for at få hjælp.
- Hold enheden væk fra varmekilder og direkte sollys.
- Sørg for korrekt ventilation omkring opladningsområdet.
- Brug kun det medfølgende USB-kabel eller et tilsvarende certificeret kabel.
- Do not place metal objects, credit cards, or other foreign objects between the charging pad and your device, as this may interfere with charging or cause damage.
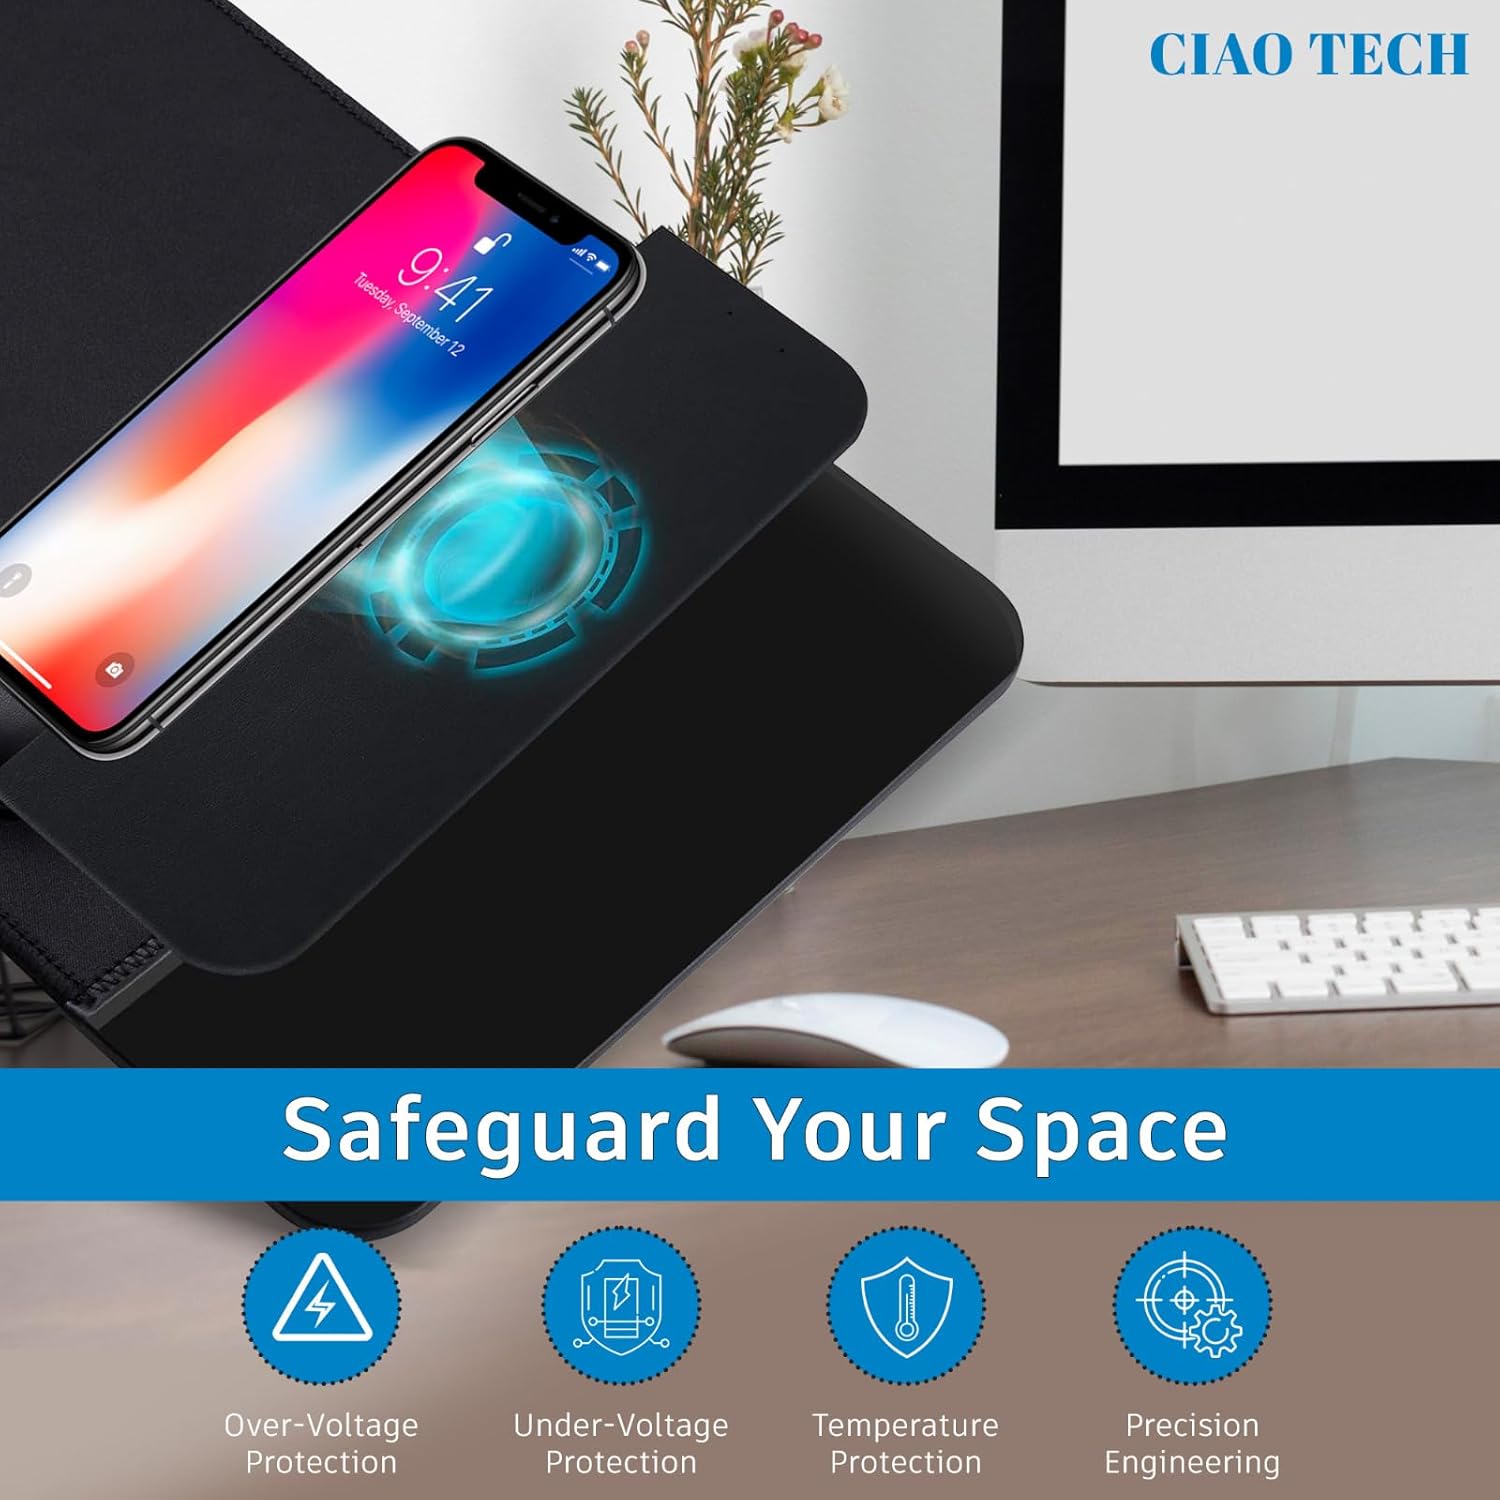
Image 3.1: Integrated safety features of the charging pad. This image highlights the built-in protections against over-voltage, under-bindtage, and excessive temperature, ensuring safe operation for your devices.
4. Opsætning
Follow these steps to set up your 3-in-1 Wireless Charging Mouse Pad:
- Pak enheden ud: Carefully remove the mouse pad and USB charging cable from the packaging.
- Tilslut strøm:
- Insert the USB-C end of the provided cable into the charging port on the mouse pad.
- Connect the USB-A end of the cable to a compatible power adapter (not included) or a USB port on your computer. For 15W fast charging, use a Quick Charge 2.0/3.0 or Power Delivery (PD) compatible wall adapter.

Image 4.1: Connecting the mouse pad to a power source. This image demonstrates the process of plugging the USB cable into a power adapter or USB port to supply power to the mouse pad.
- Strømindikator: Once connected to power, a red LED indicator light will illuminate on the mouse pad, signifying that the device is powered on and ready for use.
- Placering af musemåtten: Place the mouse pad on a flat, stable surface on your desk.
5. Betjeningsvejledning
Your CIAO TECH 3-in-1 Wireless Charging Mouse Pad offers three primary functions:
5.1. Using as a Mouse Pad
The large surface area provides a smooth and consistent tracking experience for your mouse. Simply place your mouse on the designated area for comfortable and precise navigation.
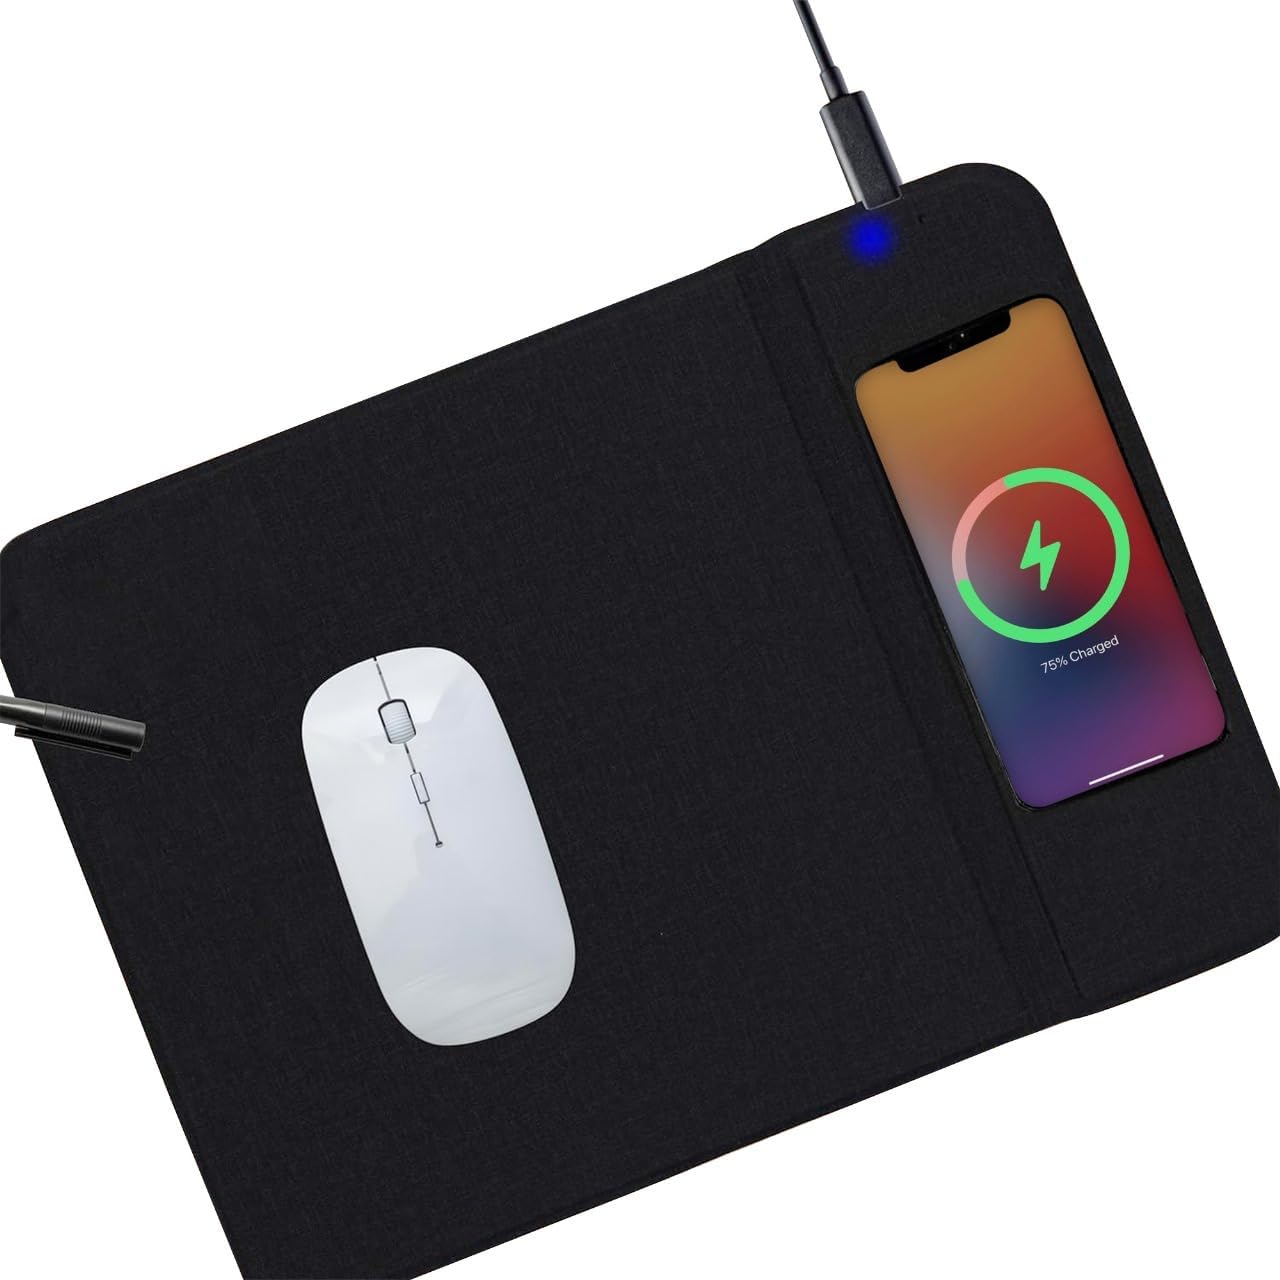
Image 5.1: Mouse pad in use with a mouse and a charging smartphone. This image shows the primary function of the mouse pad while also demonstrating a smartphone being wirelessly charged on the integrated charging area.
5.2. Trådløs opladningsfunktion
The integrated 15W wireless charging pad is compatible with all Qi-enabled devices, such as smartphones and wireless earbuds.
- Placer din enhed: Position your Qi-enabled device (e.g., smartphone) centrally on the designated charging area of the mouse pad. Ensure there are no obstructions between your device and the charging surface.
- Opladningsindikator: When your device is correctly placed and charging, the LED indicator light on the mouse pad will turn blue. If the light remains red or flashes, reposition your device until the blue light appears.
- Opladningshastighed: For optimal 15W fast charging, ensure your power adapter supports Quick Charge 2.0/3.0 or Power Delivery (PD). Charging speed may vary depending on your device, power adapter, and environmental conditions.

Image 5.2: Proper placement of a smartphone for wireless charging. This image illustrates how to correctly position a mobile device on the charging pad to initiate wireless charging.
5.3. Mobile Device Stand
The mouse pad features a foldable section that can be used as a stand for your mobile device, allowing for convenient viewing while working or charging.
- Fold the Stand: Gently fold the designated section of the mouse pad upwards to create a stable stand.
- Placer din enhed: Position your smartphone or small tablet onto the stand for hands-free viewing.
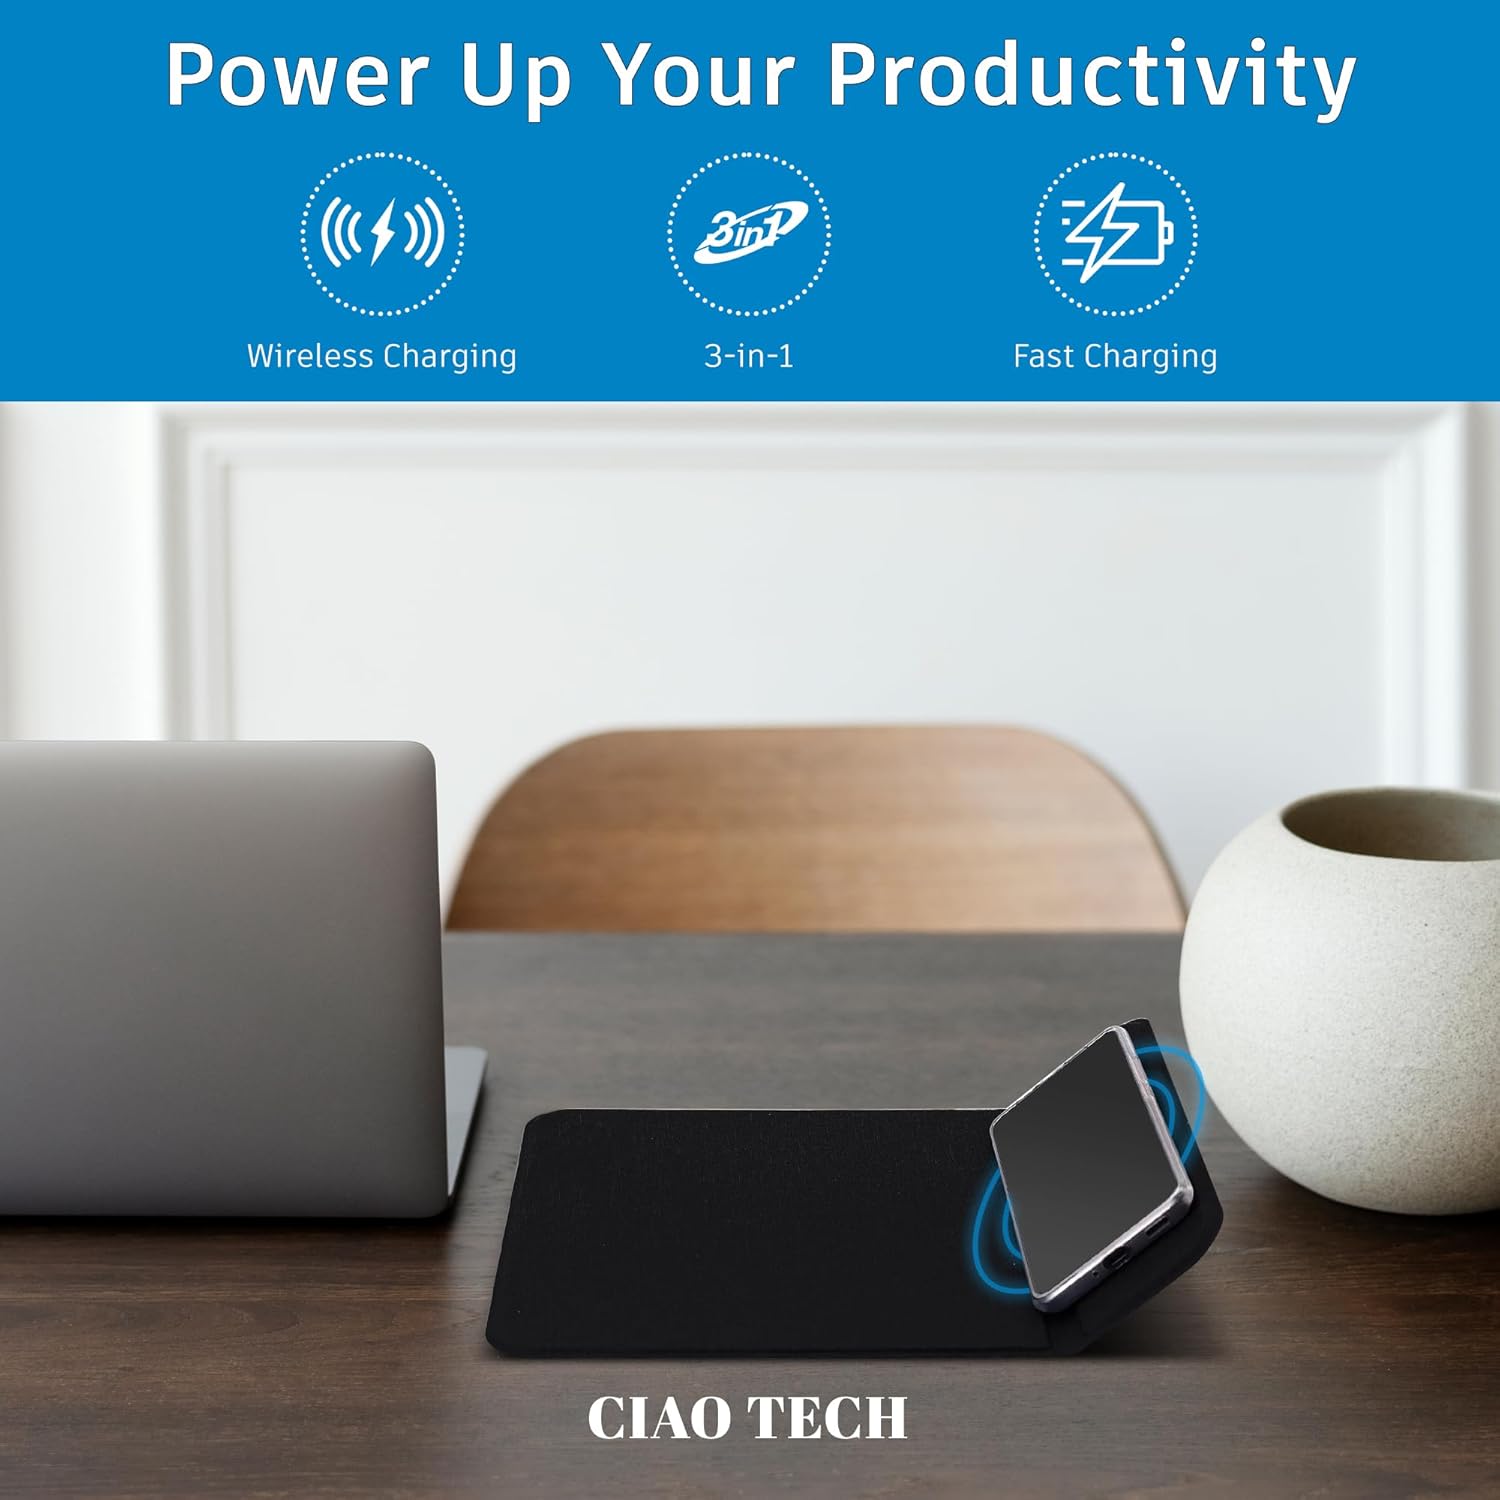
Image 5.3: Smartphone utilizing the integrated mobile device stand and wireless charging. This image demonstrates the dual functionality of the stand, allowing a device to be propped up for viewing while simultaneously being wirelessly charged.
6. Vedligeholdelse
Proper care will extend the life of your mouse pad:
- Rensning: Disconnect the power cable before cleaning. Wipe the surface with a soft, damp klud. Brug ikke skrappe kemikalier, slibende rengøringsmidler, og nedsænk ikke enheden i vand.
- Opbevaring: When not in use for extended periods, store the mouse pad in a cool, dry place away from direct sunlight.
- Undgå at bøje: Do not excessively bend or fold the mouse pad, especially the charging area, to prevent internal damage.
7. Fejlfinding
If you encounter issues with your CIAO TECH 3-in-1 Wireless Charging Mouse Pad, please refer to the following common solutions:
- Enheden oplader ikke:
- Ensure the mouse pad is properly connected to a power source and the red LED indicator is on.
- Verify that your device is Qi-enabled.
- Reposition your device centrally on the charging area. Sometimes, precise alignment is required.
- Remove any thick phone cases (especially metal or magnetic cases) that might interfere with wireless charging.
- Try a different USB cable or power adapter to rule out cable/adapter issues.
- Charging is slow:
- Ensure you are using a Quick Charge 2.0/3.0 or Power Delivery (PD) compatible power adapter for 15W fast charging. Standard USB ports on computers may provide lower power output.
- Kontroller, at enheden er korrekt justeret på opladningspad'en.
- Luk unødvendige baggrundsapplikationer på din telefon.
- LED indicator is flashing or not lighting up:
- If the red LED is not on, check the power connection.
- If the blue LED is not on when charging, reposition your device.
- Flashing lights may indicate a foreign object detection or an error. Remove any objects from the charging surface and try again.
8. Specifikationer
| Feature | Detalje |
|---|---|
| Modelnummer | CMSWL01-001 |
| Mærke | CIAO TECH |
| Trådløs opladningsoutput | Op til 15W |
| Input bindtage | 5 volt |
| Ampslette | 15 Amps (Note: This seems to be an error in the source data, likely referring to 1.5A or 2A for 5V input, or 15W output. Assuming 15W output is the key spec.) |
| Connector Type | Wireless (USB-C for power input) |
| Kompatible enheder | Qi-aktiverede smartphones |
| Produktdimensioner | 71.12 x 55.88 x 1.27 cm |
| Vægt | 148 g |
| Farve | Sort |
9. Garanti og support
For warranty information or technical support, please contact CIAO TECH customer service through the retailer where the product was purchased or visit the official CIAO TECH website. Please have your model number (CMSWL01-001) and proof of purchase ready when contacting support.


