1. Introduktion
This manual provides essential information for the safe and efficient use of your iiyama XUB2792QSU-B6 27-inch IPS QHD monitor. Please read these instructions thoroughly before operating the device and retain them for future reference. The iiyama XUB2792QSU-B6 is a high-performance 27-inch monitor featuring an IPS panel, QHD (2560x1440) resolution, and a 100Hz refresh rate, designed for clear visuals and smooth performance.

Figur 1: Forside view of the iiyama XUB2792QSU-B6 monitor.
2. Hvad er der i æsken
Verify that all components are present and in good condition upon unpacking. If any items are missing or damaged, contact your retailer.
- iiyama XUB2792QSU-B6-27IPS2560x1440/100Hz1H1DPHAS Monitor
- Strømkabel
- HDMI kabel
- DisplayPort-kabel
- USB kabel
- Brugervejledning (dette dokument)
- 1 year technical support information

Figure 2: Cables included with the monitor.
3. Opsætning
3.1. Samling af stativet
- Tag forsigtigt skærmens og stativets komponenter ud af emballagen.
- Fastgør stativets base til stativets søjle, og fastgør den med den medfølgende skrue.
- Mount the assembled stand to the back of the monitor, ensuring it clicks securely into place or is fastened with screws as per the quick setup guide.
3.2. Tilslutningskabler
Sørg for, at skærmen og din computer er slukket, før du foretager nogen tilslutninger.
- Strømkabel: Connect one end of the power cable to the monitor's power input and the other end to a power outlet.
- Video kabel: Connect either the HDMI or DisplayPort cable from your computer's video output to the corresponding input on the monitor.
- USB-kabel: Connect the upstream USB cable from your computer to the monitor's USB upstream port to enable the monitor's USB hub functionality.

Figure 3: Rear input ports of the monitor.

Figure 4: Side USB ports for convenient access.

Figure 5: Connection diagram for the monitor.
3.3. Tænder
After all cables are connected, power on your computer, then press the power button on the monitor. The monitor should automatically detect the input signal.
4. Betjening af monitoren
4.1. Kontrolknapper
The control buttons are typically located on the rear or bottom right side of the monitor. These buttons allow you to navigate the On-Screen Display (OSD) menu and adjust settings.

Figur 6: Bagside view highlighting control button location.
4.2. On-Screen Display (OSD) menu
Press the 'Menu' button to access the OSD. Use the navigation buttons to browse through options such as Picture Settings, Color Settings, Input Select, and System Settings. Press 'Enter' or the corresponding button to select an option and 'Exit' to leave the menu.
4.3. Valg af input
If you have multiple devices connected, use the 'Input' button or navigate through the OSD menu to select the desired input source (HDMI, DisplayPort).
4.4. Picture Adjustments
I OSD-menuen kan du justere forskellige billedindstillinger:
- Lysstyrke/kontrast: Juster den samlede luminans og forskellen mellem lyse og mørke områder.
- Farveindstillinger: Rediger farvetemperatur, gamma og individuelle RGB-niveauer.
- Skarphed: Enhance or soften image details.
- Aspektforhold: Select between various display modes (e.g., Full, 1:1).
4.5. Ergonomiske justeringer
Skærmstativet giver mulighed for forskellige ergonomiske justeringer for at optimere din viewoplevelse:
- Højdejustering: Hæv eller sænk skærmen til øjenhøjde.
- Vip: Juster skærmens lodrette vinkel (fremad/bagud).
- Drejelig: Drej skærmen vandret på dens base.
- Pivot: Drej skærmen 90 grader for portræt viewing.

Figure 7: Portrait orientation.

Figure 8: Tilted backward.
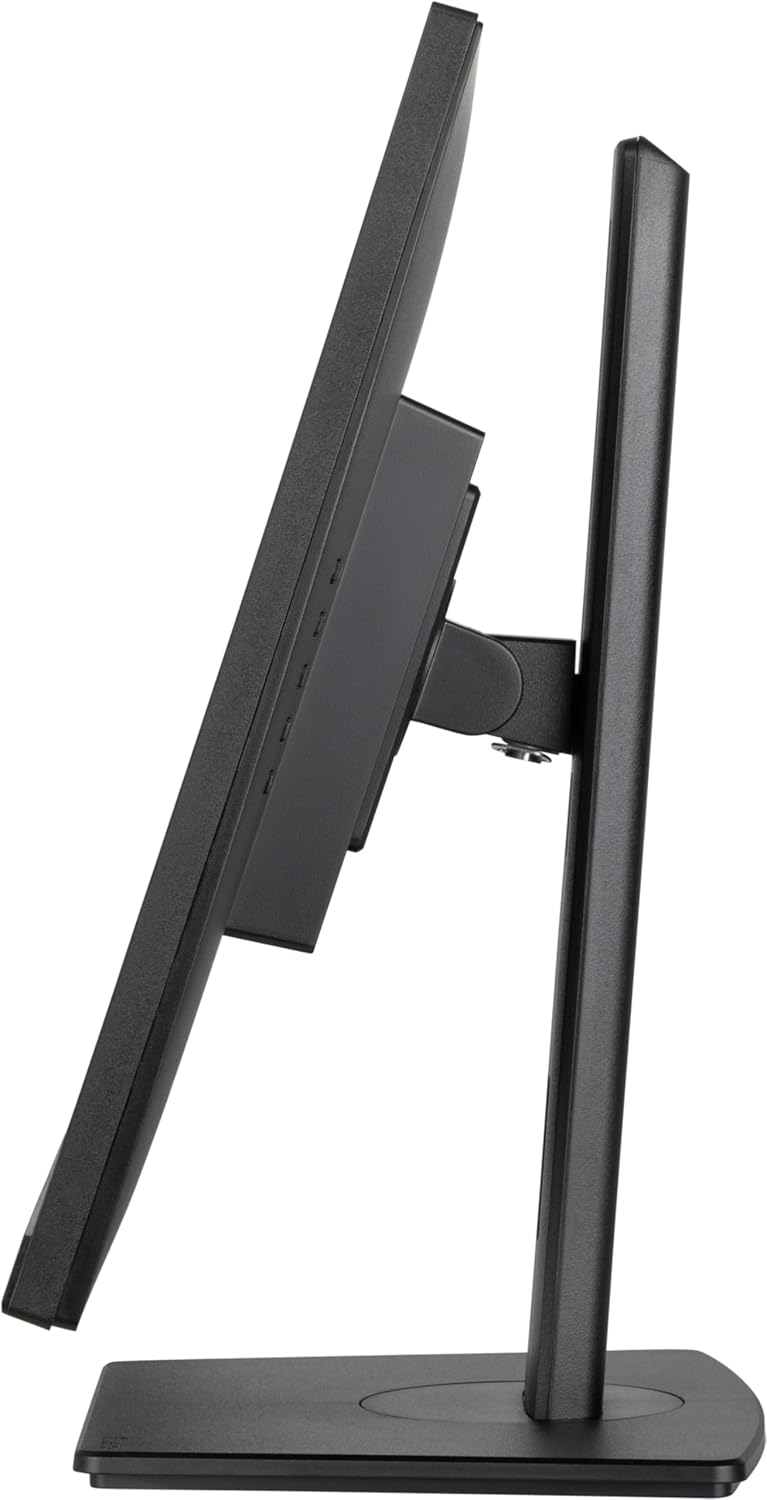
Figure 9: Tilted forward.
5. Vedligeholdelse
5.1. Rengøring af skærmen
- Tag altid stikket ud af stikkontakten før rengøring.
- Brug let en blød, fnugfri klud damprengøres med vand eller et mildt, ikke-slibende skærmrensemiddel.
- Sprøjt ikke rengøringsmiddel direkte på skærmen.
- Undgå at bruge benzen, fortynder, ammoniakbaserede rengøringsmidler eller slibende materialer, da disse kan beskadige skærmens overflade.
6. Fejlfinding
Hvis du støder på problemer med din skærm, kan du se følgende almindelige problemer og løsninger:
- Ingen strøm: Ensure the power cable is securely connected to both the monitor and a working power outlet. Check the power indicator light on the monitor.
- Intet signal: Verify that the video cable (HDMI or DisplayPort) is correctly connected to both the monitor and your computer. Ensure the correct input source is selected via the OSD menu.
- Flimrende eller forvrænget billede: Check the video cable for damage. Ensure your computer's graphics card drivers are up to date. Try adjusting the refresh rate or resolution in your computer's display settings.
- Image Too Dark/Bright: Adjust the brightness and contrast settings in the OSD menu.
- Colors Incorrect: Reset color settings to default in the OSD, or adjust color temperature and individual RGB values.
If the problem persists after trying these steps, contact technical support.
7. Specifikationer
| Feature | Specifikation |
|---|---|
| Mærke | iiyama |
| Modelnummer | XUB2792QSU-B6 |
| Skærmstørrelse | 27 tommer |
| Paneltype | IPS |
| Opløsning | 2560x1440 (QHD) |
| Max skærmopløsning | 2560 x 1440 pixel |
| Opdateringshastighed | 100 Hz |
| Aspektforhold | 16:9 |
| Forbindelse | 1x HDMI, 1x DisplayPort, 4x USB 3.0 Ports |
| Varens vægt | 13.42 pund |
| Produktmål (LxBxH) | 8.25 x 24.13 x 15.53 tommer |
| Farve | Nero |
| Voltage | 240 volt |
8. Garanti og support
Your iiyama XUB2792QSU-B6 monitor comes with a standard manufacturer's warranty. Please refer to the warranty card included in your product packaging for specific terms and conditions. For technical assistance, troubleshooting, or warranty claims, please contact iiyama customer support or visit the official iiyama website for support resources. One year of technical support is included with your purchase.


