1. Introduktion
The Holyton Remote Identification (RID) Broadcast Module is designed to ensure compliance with FAA regulations for drone operation. This compact and lightweight module broadcasts essential drone identification and location data, allowing drone pilots to fly with confidence. This manual provides detailed instructions for setting up, operating, maintaining, and troubleshooting your Holyton RID module.
2. Hvad er der i æsken
Upon unboxing your Holyton RID module, please verify that all the following components are included:
- 1 × Remote ID Module
- 3 × Velcro strips
- 1 × Type-C ladekabel
- 1 × Brugervejledning
- 12 × Self-locking zip ties
- 1 × Zip Tie with Adhesive Base

Image: All components included in the Holyton RID module package.
3. Produktet er slutview
The Holyton RID module is engineered for optimal performance and ease of use, ensuring your drone operations remain compliant and safe.
Nøglefunktioner:
- FAA Regulation Compliance: Designed to meet US FAA Declaration of Compliance for remote identification.
- Let og kompakt: Weighing only 13.5 grams (0.48 ounces) and measuring 1.3 x 1.1 x 0.5 inches, it has minimal impact on drone flight performance.
- Lang batterilevetid: Provides up to 5 hours of continuous use on a single 40-minute charge.
- Bred kompatibilitet: Suitable for quadcopter drones with cameras for adults 4K, including models like F11GIM, F11PRO, F7, V11, F11 MINI, F7 MINI, HS720, HS720E, HS720G, HS600, HS720R, Mini 4, Mini2 SE, Mini 3, Air 3, ATOM SE, Mini 3 Pro GPS 4K Drone, and other drones over 250g.
- Nem opsætning: Equipped with velcro and zip ties for simple and secure installation.
- Sikkerhedsfunktioner: Includes protection against overcharging, over-discharging, and low temperatures.

Image: The Holyton Remote ID Broadcast Module.

Image: The Holyton RID module mounted on a drone, highlighting its compliance.

Image: Demonstrating the lightweight and compact design of the module.

Image: The module's long battery life in action during a drone flight.
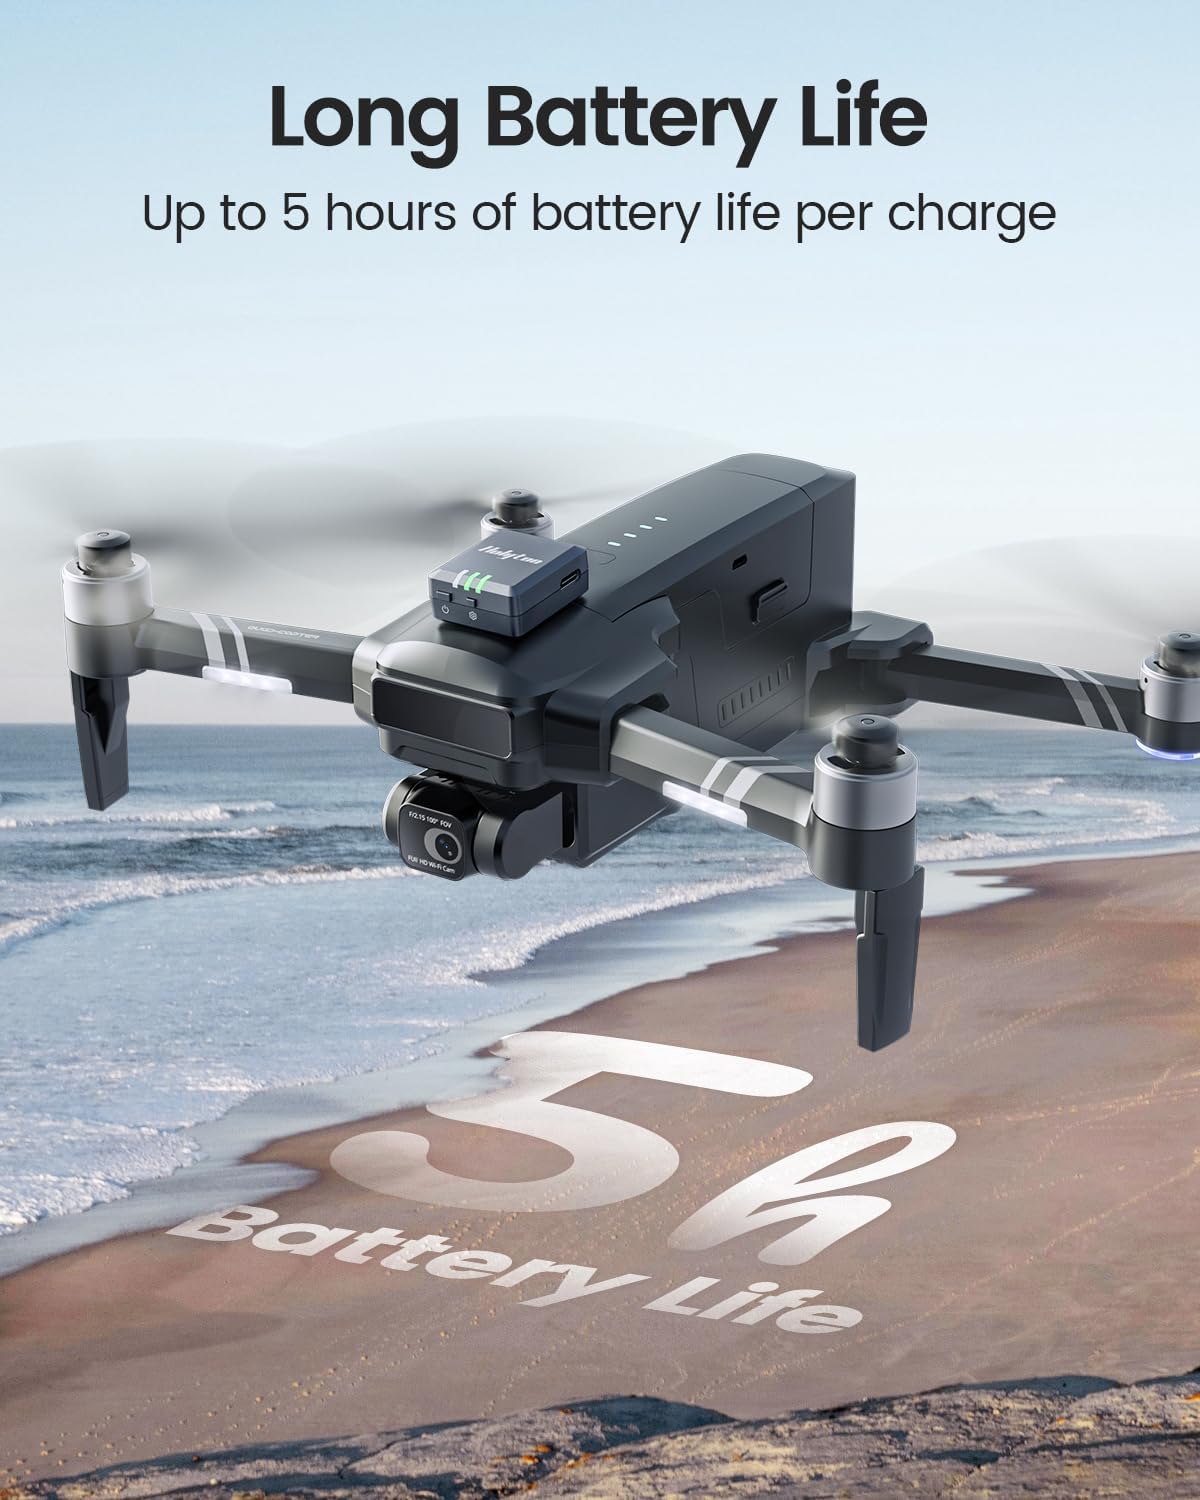
Image: The Holyton RID module's compatibility with various aircraft types.

Image: Illustrating the broad compatibility of the module with various drone models.
4. Opsætning
4.1 Indledende opladning
Before first use, fully charge the RID module using the provided Type-C charging cable. A full charge typically takes about 40 minutes and provides up to 5 hours of continuous operation.

Image: Charging the Holyton RID module with the Type-C cable.
4.2 Appinstallation og -forbindelse
- Download the "Drone Finder" app from your device's app store.
- Open the app and grant necessary permissions, including location access, to allow it to search for nearby devices.
- Sørg for, at din telefons Bluetooth er tændt.
- Turn on the RID module by holding the power switch for 3 seconds. The indicator lights will illuminate and flash.
- Hold the settings switch for 3 seconds to enter the setting steps. The indicator will flash more quickly.
- In the app, tap the device serial number to connect and enter the settings interface.
- Fill in the required information, such as Aircraft Model and Weight.
- Tap "SAVE" to save the information. The indicator light on the right side will change from constantly on to flashing quickly.
- Hold the power switch again to restart the RID module. The binding succeeds only after the RID module is restarted. If you need to modify the binding information, please repeat these steps.
4.3 Fysisk installation
The Holyton RID module can be easily attached to your drone using the provided velcro strips or zip ties.
- Attach one velcro strip to the drone.
- Attach the other velcro strip to the RID module.
- Attach the RID module to the drone by pressing the velcro strips together.
- Alternatively, use the self-locking zip ties or the zip tie with adhesive base for secure attachment.

Image: Step-by-step guide for attaching the module using velcro and zip ties.

Image: Recommended installation methods and positioning for the module.
4.4 Optimal Positioning Location
To ensure optimal GPS performance and reliable broadcasting, the ideal positioning spot can differ depending on your drone model. Consider the following guidelines:
- Avoid areas close to the propellers to prevent any damage.
- Steer clear of directly overlaying or being too close to electronic parts that might cause interference.
- Opt for a spot that's both easy to access and clearly visible.
Pro Tip: For the best GPS signal strength, consider positioning it on the drone's flat upper surface.

Image: Recommended positioning locations on various drone types for optimal performance.
4.5 Tutorial Video
Video: A comprehensive tutorial on setting up and using the Holyton RID module, including unboxing, charging, app connection, and FAA registration steps.
5. Betjening
Once the Holyton RID module is properly set up and attached to your drone, it will begin broadcasting the required identification and location data as per FAA regulations.
- Ensure the module is powered on before each flight.
- For successful GPS search operation and accurate RID broadcasting, always operate your drone in an unobstructed outdoor space.
- The module continuously broadcasts your drone's ID, location, height, speed, and time mark.

Image: The Holyton RID module helps keep track of your drone's status and ensures FAA compliance.

Image: Emphasizing FAA regulation compliance with the Holyton RID module.
6. Vedligeholdelse
To ensure the longevity and optimal performance of your Holyton RID module, follow these simple maintenance guidelines:
- Hold modulet rent og fri for støv og snavs. Brug en blød, tør klud til rengøring.
- Avoid exposing the module to extreme temperatures, direct sunlight for prolonged periods, or moisture.
- Store the module in a cool, dry place when not in use.
- Regularly check the charging port for any signs of damage or obstruction.
- Ensure the velcro or zip ties used for attachment are secure and not worn out to prevent the module from detaching during flight.
7. Fejlfinding
If you encounter issues with your Holyton RID module, consider the following common solutions:
- Module Not Turning On: Ensure the module is fully charged. Connect it to the Type-C charging cable and allow it to charge for at least 40 minutes.
- Unable to Connect to App (Android Devices): Some Android devices may experience connectivity issues with the default app. Try using an alternative app like the "Ruko Scanner" app, which has been reported by users to resolve connection problems.
- Inaccurate GPS Data / No Signal: Ensure the module is positioned in an unobstructed outdoor space. Verify that the module is securely attached to the drone's flat upper surface for optimal GPS signal reception. Avoid areas near propellers or other electronic components that might cause interference.
- Binding Information Not Saving: After filling in the required information in the app and tapping "SAVE", ensure you restart the RID module by holding the power switch. The binding only succeeds after the module is restarted.
- Indicator Lights Not Functioning Correctly: Refer to the user manual for specific indicator light patterns and their meanings. If the issue persists after restarting the module, contact customer support.
8. Specifikationer
| Feature | Detalje |
|---|---|
| Mærke | Holyton |
| Modelnavn | RID |
| Farve | GRÅ |
| Forbindelsesteknologi | Bluetooth |
| Varens vægt | 13.5 gram (0.48 ounce) |
| Produktdimensioner | 1.1 cm L x 0.5 cm B x 1.3 cm H |
| Battericellesammensætning | Lithium Ion |
| Opladningstid | Ca. 40 minutter |
| Brugstid | Op til 5 timer |
| Producentens varenummer | HLT-RID-6 |
9. Garanti og support
Holyton is committed to providing high-quality products and excellent customer service. For any questions, technical support, or warranty inquiries, please contact us using the information below:
- E-mail: holyton@foxmail.com
- Telefon: +1 (866) 514-8669
Our support team is available to provide a solution within 24 hours.

Image: Holyton Customer Support Contact Information.


