Indledning
The KODAK Mini Shot 2 ERA is a versatile 2-in-1 device that functions as both an instant camera and a portable photo printer. Utilizing 4PASS technology, it produces high-quality, laminated prints directly from captured images or photos transferred via Bluetooth from your smartphone. This manual provides essential information for setting up, operating, and maintaining your device.
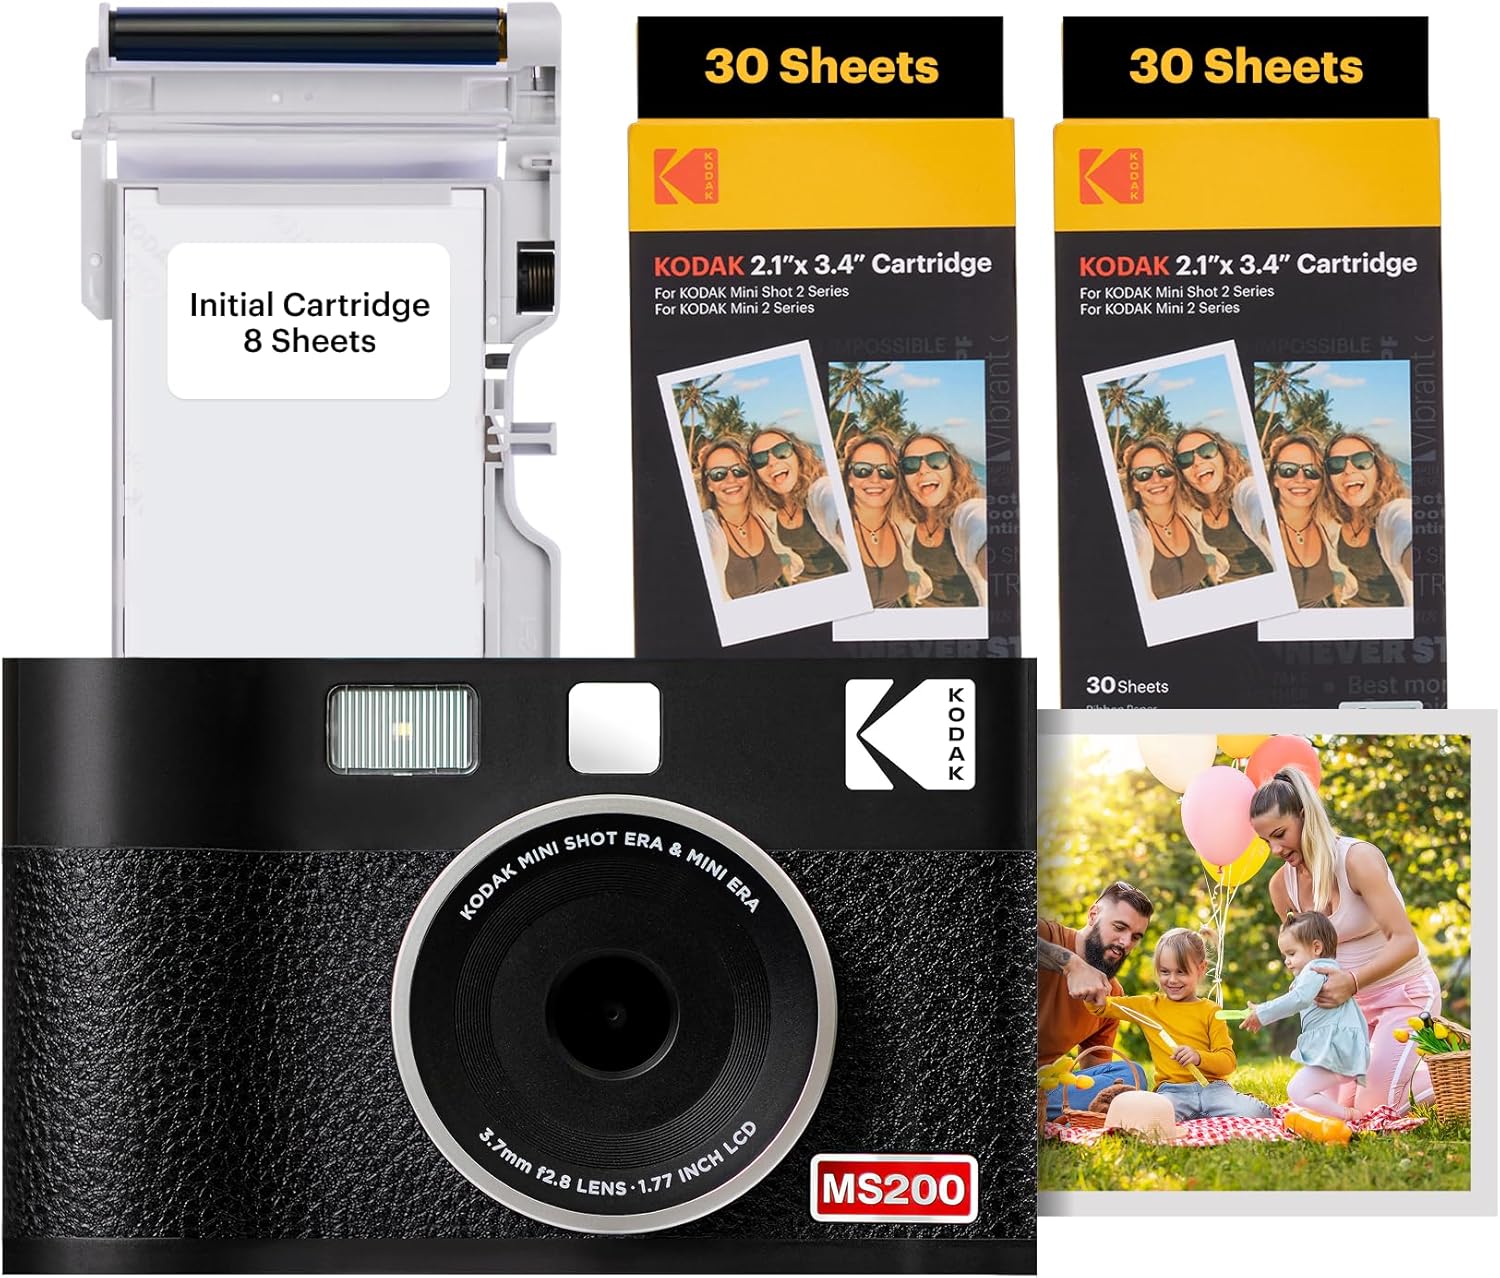
Image: KODAK Mini Shot 2 ERA camera with included photo paper cartridges.
Opsætning
Hvad er der i æsken
Your KODAK Mini Shot 2 ERA package typically includes:
- KODAK Mini Shot 2 ERA Camera
- Initial Photo Paper Cartridge (8 sheets)
- Additional Photo Paper Cartridges (e.g., 60 sheets)
- Håndledsrem
- USB-C type ladekabel
- Brugervejledning

Billede: Overview of items included in the product box.
Inserting/Changing Photo Paper Cartridge
To insert or replace the photo paper cartridge:
- Locate the cartridge slot on the side of the camera.
- Gently open the cartridge cover.
- Insert the new cartridge, ensuring it is oriented correctly. The cartridge is designed to fit only one way.
- Push the cartridge in until you hear a 'click' sound, indicating it is securely in place.
- Luk patrondækslet.

Image: Visual guide for inserting the photo paper cartridge.
Opladning af enheden
The KODAK Mini Shot 2 ERA uses a rechargeable Lithium Ion battery. Connect the provided USB-C cable to the charging port on the device and to a compatible USB power source. The indicator light will show the charging status.
App-installation og Bluetooth-forbindelse
To print photos from your mobile device, download the official KODAK Photo Printer app. The app is compatible with Apple iPhone, iPad, and Android devices. Once installed, enable Bluetooth on your mobile device and pair it with your KODAK Mini Shot 2 ERA camera.

Image: KODAK Photo Printer app interface on a smartphone, showing Bluetooth connection to the camera.
Betjeningsvejledning
Tænd/sluk
Press and hold the power button located on the top of the device to turn the camera on or off. An indicator light will illuminate when the device is powered on.
Tager billeder
The KODAK Mini Shot 2 ERA features auto-focus and face detection to assist in capturing clear images. Point the camera at your subject and press the shutter button. The LCD screen on the back will display the captured image.

Image: Auto Focus and Face Detection in action on the camera's display.
Udskrivning af fotos
After capturing an image with the camera, the LCD screen will present options to print or cancel. Select 'Print' to initiate the printing process. You can also select the number of copies to print. For printing photos from your mobile device, use the KODAK Photo Printer app to select and send images via Bluetooth.
Video: Demonstration of printing an image directly from the KODAK Mini Shot 2 ERA camera.
Print Quality and Lamination
The KODAK Mini Shot 2 ERA utilizes 4PASS technology to produce 24-bit / 16.7 million color prints with refined saturation and enhanced color display. Each print is multi-layered and laminated, making it fingerprint and water-resistant for durability.

Image: Visual representation of 4PASS superior image quality.

Billede: Eksample of a water-resistant print from the KODAK Mini Shot 2 ERA.
Editing and Framing Photos (via App)
The KODAK Photo Printer app allows you to edit your photos and add various frames before printing. This feature enables customization to match different styles and preferences.

Billede: Eksamples of frames and editing options within the KODAK Photo Printer app.
Removing Print Borders
Prints from the KODAK Mini Shot 2 ERA may have a perforated tab at one end. This tab can be easily removed to achieve a borderless print, or kept for a classic bordered look.

Image: Comparison of borderless and bordered photo prints.
Opretholdelse
Rensning
To clean the exterior of your camera, use a soft, dry cloth. Avoid using liquid cleaners or abrasive materials. For the lens, use a specialized lens cleaning cloth.
Opbevaring
Store the camera in a cool, dry place away from direct sunlight and extreme temperatures. Ensure the lens is protected when not in use. Keep photo paper cartridges sealed in their original packaging until ready for use to maintain print quality.
Cartridge Handling
When handling photo paper cartridges, avoid touching the print surface of the paper to prevent fingerprints or smudges that could affect print quality.
Fejlfinding
Fælles problemer
- Dårlig udskriftskvalitet: Ensure the photo paper cartridge is correctly inserted and not expired. Avoid pulling the paper during the printing process.
- Forbindelsesproblemer: Verify Bluetooth is enabled on both devices and that the camera is within range. Try restarting both the camera and your mobile device.
- Papirstop: Carefully open the cartridge slot and gently remove any jammed paper. Ensure the cartridge is properly seated.
- Kamera tænder ikke: Check the battery level and ensure the device is charged.
For further assistance, refer to the full user guide or contact KODAK customer support.
Specifikationer
| Feature | Detalje |
|---|---|
| Modelnavn | Mini Shot 2 ERA 4PASS |
| Varemodelnummer | PM00-149A |
| Mærke | KODAK |
| Filmformattype | Øjeblikkelig |
| Kompatible enheder | Smartphone |
| Varens vægt | 1.59 pund (721 gram) |
| Pakkedimensioner | 10.75 x 7.52 x 2.24 tommer |
| Batterier | 2 Lithium Ion batterier påkrævet (medfølger) |
| Maks lukkerhastighed | 1/2000 sekunder |
| Lukker type | Focal Plane Shutter |
| Inkluderede komponenter | Papir |
Miljøhensyn
KODAK is committed to environmental responsibility:
- Photo paper cartridges are made of 100% recycled plastic.
- The use of a USB-C cable reduces electrical waste.
- Product packaging is made from recycled paper.

Image: KODAK's commitment to sustainability with recycled materials and reduced waste.
Garanti og support
For warranty information, technical support, or service inquiries, please refer to the detailed warranty card included in your product packaging or visit the official KODAK Photo Printer website. Contact information for customer support can typically be found in the user guide or on the manufacturer's webwebsted.


