Indledning
This manual provides comprehensive instructions for the installation, operation, and maintenance of your Sunlite LED Dimmer Switch. Designed for both residential and commercial applications, this dimmer switch offers precise control over various lighting types, including dimmable LED, CFL, incandescent, and halogen bulbs. Please read this manual thoroughly before installation and use to ensure safe and proper operation.
Sikkerhedsoplysninger
WARNING: RISK OF ELECTRIC SHOCK. Improper installation can lead to serious injury or death. Always turn off power at the circuit breaker before installation or servicing.
- Ensure power is disconnected at the circuit breaker before beginning any electrical work.
- Installation should be performed by a qualified electrician if you are unsure about any steps.
- Må ikke anvendes med pærer, der ikke kan dæmpes.
- Denne enhed er kun beregnet til indendørs brug.
- Overhold alle lokale og nationale elektriske regler.
Pakkens indhold
Kontroller, at alle komponenter er til stede før installation:
- Sunlite LED Dimmer Switch (Quantity: 4)
- White Wallplate (Quantity: 4)
- Installationshardware (skruer)
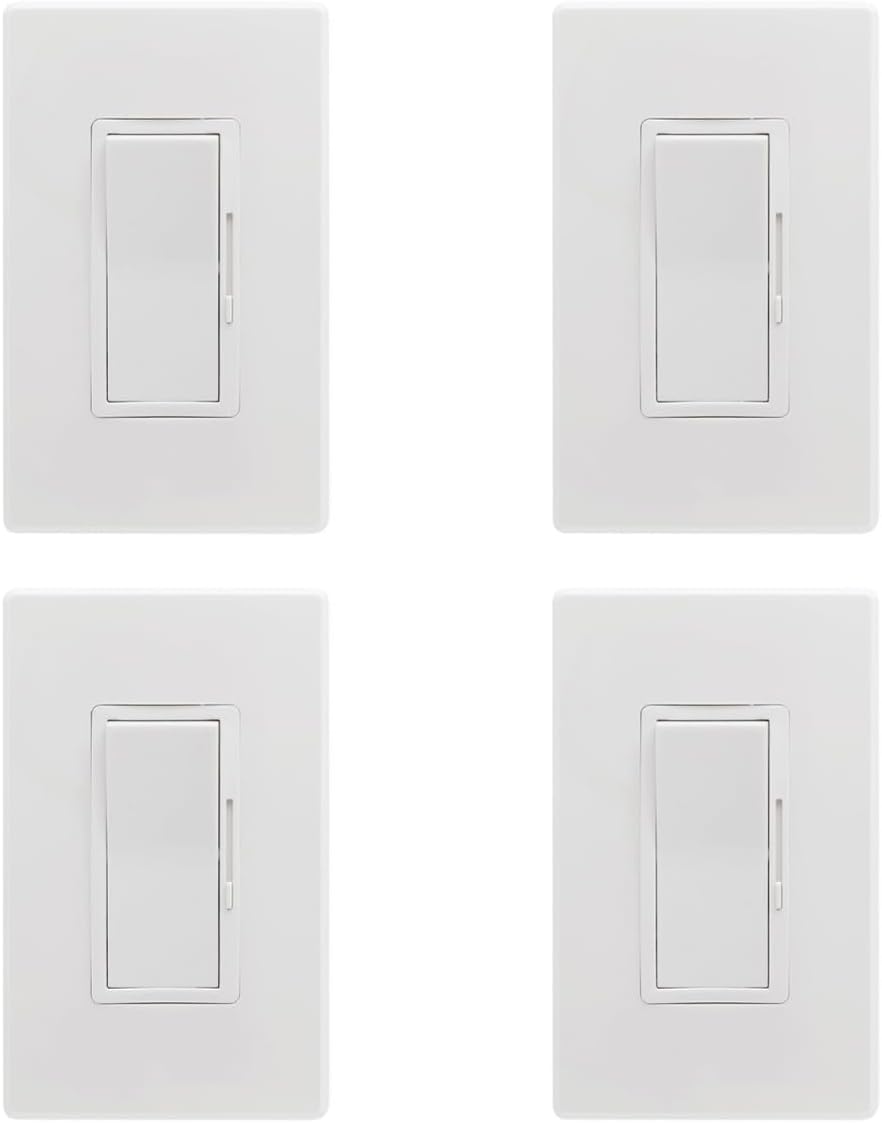
Image: Four Sunlite LED Dimmer Switches, each with a white wallplate, arranged in a 2x2 grid. This illustrates the typical package contents for the 4-pack.
Produkt overview og Dimensioner
The Sunlite LED Dimmer Switch features a sleek design with a large rocker switch for ON/OFF control and a sliding bar for dimming. It is designed for easy integration into standard electrical boxes.

Image: A technical diagram illustrating the dimensions of the Sunlite LED Dimmer Switch and its accompanying screwless wall plate. Key measurements are provided in inches: switch body (1.70 in width, 4.10 in height, 0.90 in depth) and wall plate (2.90 in width, 4.70 in height).
Billede: Nærbillede view of the Sunlite LED Dimmer Switch module without the wallplate, showing the rocker switch and the side-mounted slide dimmer control.

Image: A standalone white screwless wallplate, designed to cover the dimmer switch once installed, providing a clean and modern finish.
Specifikationer
| Feature | Specifikation |
|---|---|
| Driftstilstand | FRA-INGEN-TIL |
| Nuværende vurdering | 5 Amps |
| Operation Voltage | 120-277 volt |
| Kontakttype | Normalt åben |
| Connector Type | Clamp |
| Terminal | Skrue |
| Varedimensioner (L x B x H) | 1.14 x 2.9 x 4.71 tommer |
| Kredsløbstype | 3-vejs |
| Aktuator type | Rocker |
| Kontaktmateriale | Metal |
| International Protection Rating | IP65 |
| Antal stillinger | 2 |
| Øverste temperaturvurdering | 104 grader Fahrenheit |
| Kontrolmetode | Røre |
| Forbindelsesprotokol | X-10 |
| Farve | Hvid |
| Wattage (Maksimal belastning) | 600 watts (Incandescent), 200 watts (LED) |
| Minimumsbelastning | 3W (LED), 15W (Incandescent) |
| Frekvens | 60 Hz |
| Stil | Moderne |
| Fabrikant | Sunshine Lighting |

Image: Visual summary of key features including 600-Watt Max load, 120-277 Multi-Volt compatibility, Single Pole or 3-Way switching, and 0-10V Low Voltage Dimming.
Opsætning og installation
The Sunlite LED Dimmer Switch is designed for easy installation in standard switch boxes. It supports both single pole and 3-way switching configurations.
Før du begynder:
- Turn OFF power at the circuit breaker or fuse box for the circuit you are working on.
- Confirm power is off by testing the existing switch or outlet with a voltage tester.
- Gather necessary tools: screwdriver, wire strippers, electrical tape, voltage tester.
Installationstrin:
- Remove the existing wall plate and switch from the electrical box.
- Carefully disconnect the wires from the old switch. Note which wire is connected to which terminal (e.g., Line, Load, Traveler, Ground).
- Connect the wires to the new Sunlite dimmer switch according to the wiring diagram for your specific setup (single pole or 3-way). Refer to the official installation manual for detailed wiring diagrams.
- Secure the dimmer switch into the electrical box using the provided screws.
- Attach the screwless wall plate.
- Gendan strømmen ved afbryderen.
- Test the dimmer switch to ensure proper operation.

Image: A Sunlite dimmer switch installed in a wall, illustrating its compatibility with both single pole and 3-way wiring configurations.
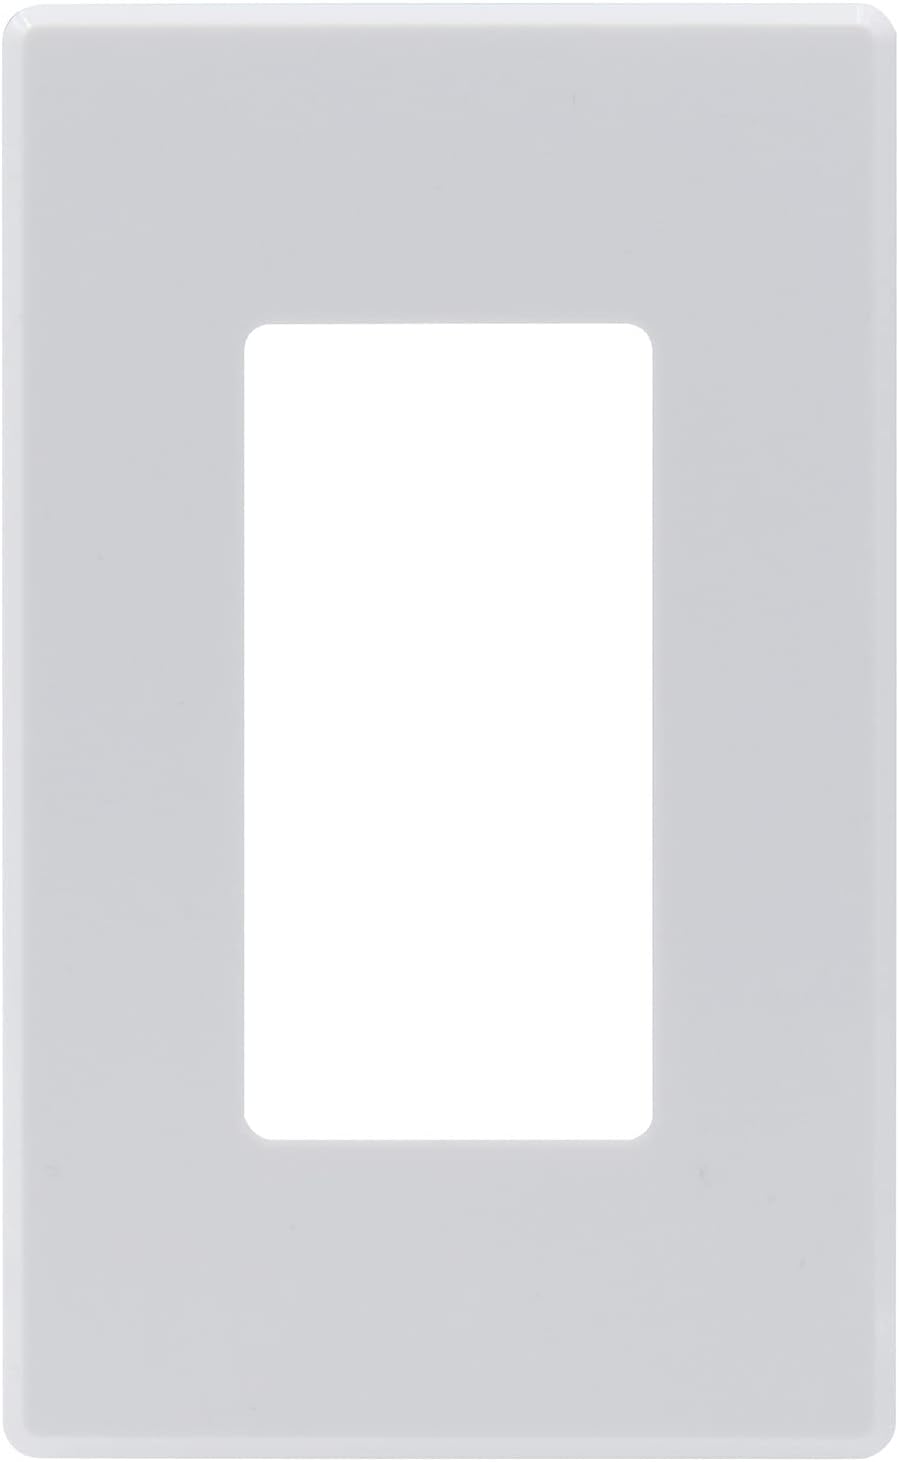
Image: A graphic encouraging users to consult the product guides and documents for detailed installation instructions, with arrows pointing downwards to where such resources would typically be found.
For detailed wiring diagrams and complete installation instructions, please refer to the official Installation Manual (PDF): Download installationsmanual
Betjeningsvejledning
The Sunlite LED Dimmer Switch is designed for intuitive operation:
- ON/OFF kontrol: Press the large rocker switch to turn the lights ON or OFF.
- Dæmpningskontrol: Use the small sliding bar on the side of the rocker switch to adjust the light intensity. Slide up to increase brightness and down to decrease brightness.
- The 0-10V dimming control ensures smooth and precise adjustment of light levels.

Image: A Sunlite dimmer switch installed in a room, emphasizing its LED dimming control feature. The accompanying text explains that the sliding bar (0-10V) provides smooth, precise control for various dimmable bulb types.

Image: An informational graphic comparing TRIAC dimmers and 0-10 Volt dimmers. It explains that 0-10V dimmers offer more controlled dimming, require separate low-voltage wires, and are commonly used in commercial spaces, with a visual representation of light levels from 0V (OFF) to 10V (100%).
Opretholdelse
The Sunlite LED Dimmer Switch requires minimal maintenance:
- Rensning: For at rengøre kontakten og vægpladen skal du tørre af med en blød kludamp klud. Brug ikke slibende rengøringsmidler eller opløsningsmidler. Sørg for, at strømmen er slukket, før rengøring.
- Inspektion: Periodically check the switch for any signs of damage or loose connections. If any issues are found, turn off power at the breaker and consult a qualified electrician.
Fejlfinding
If you encounter issues with your Sunlite LED Dimmer Switch, try the following solutions:
| Problem | Mulig årsag | Løsning |
|---|---|---|
| Lysene tændes ikke. | No power to the switch; loose wiring; faulty bulb; circuit breaker tripped. | Check circuit breaker. Ensure all wire connections are secure. Test bulb in another fixture. |
| Lysene dæmpes eller flimrer ikke. | Non-dimmable bulbs; incompatible bulb type; minimum load not met; loose wiring. | Ensure bulbs are dimmable LED, CFL, incandescent, or halogen. Verify total wattage meets minimum load (3W LED / 15W Incandescent). Check wiring connections. |
| Dimmer switch is hot to the touch. | Overload; improper installation. | Sørg for totalt wattage of connected bulbs does not exceed maximum load (200W LED / 600W Incandescent). Turn off power and re-check wiring. If problem persists, consult an electrician. |
| Switch does not fit in electrical box. | Box is too shallow or full of wires. | Ensure proper box depth. Consult an electrician if the box is too crowded. |
Garanti og support
Sunlite products are designed for reliability and performance. This dimmer switch comes with a 1-year warranty from the date of purchase, covering defects in materials and workmanship.
For warranty claims or technical support, please contact Sunlite customer service. Keep your proof of purchase for warranty validation.
For additional information or assistance, visit the official Sunlite Store: Sunlite-butik på Amazon


