1. Introduktion
This manual provides detailed instructions for the installation, operation, and maintenance of your COMMAX CDV-77M 7-inch Fine View Monitor. Please read this manual thoroughly before using the product to ensure proper function and safety. Keep this manual for future reference.
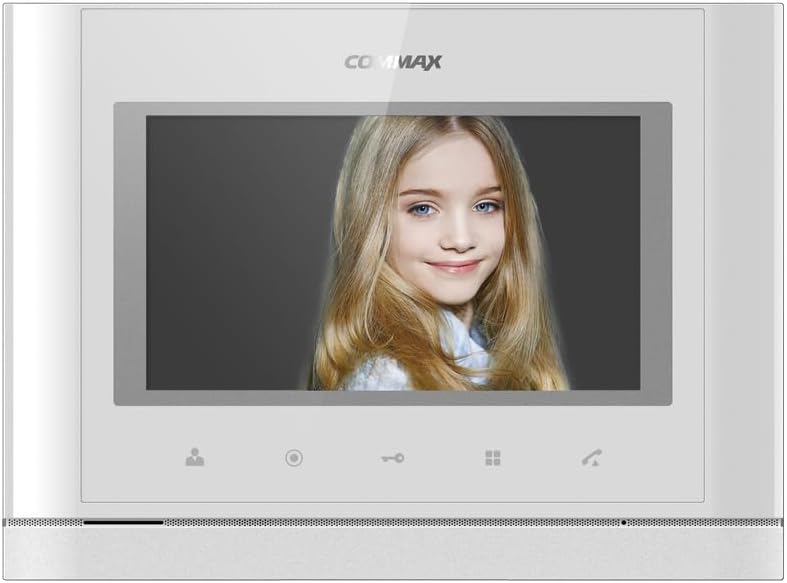
Front view of the COMMAX CDV-77M monitor, showcasing its 7-inch TFT LCD screen and sleek design. The screen is active, displaying an image.
2. Produktfunktioner
- 7-inch TFT LCD screen for clear video display.
- Supports video communication and door lock release functions.
- Expandable system: Connects with up to 2 door cameras, 2 additional monitors, and 2 interphones.
- PAL/NTSC video format conversion capability.
- Hand-free operation for convenience.
- Wall-mounted design for easy installation.
3. Sikkerhedsoplysninger
Overhold følgende sikkerhedsforanstaltninger for at forhindre skader på produktet og sikre brugerens sikkerhed:
- Udsæt ikke enheden for vand eller overdreven fugt.
- Undgå at placere enheden i direkte sollys eller i nærheden af varmekilder.
- Forsøg ikke at åbne eller reparere enheden selv. Overlad al service til kvalificeret personale.
- Sørg for, at strømkilden matcher den angivne lydstyrketage (AC 100-240V, 50/60Hz).
- Hold enheden væk fra stærke magnetiske felter.
- Operate within the specified temperature range of 0℃ to 40℃.
4. Installation
4.1 Pakkens indhold
Bekræft at alle komponenter er til stede:
- COMMAX CDV-77M Monitor Unit
- Vægmonteringsbeslag
- Monteringsskruer og ankre
- Brugervejledning (dette dokument)
- Strømkabel
4.2 Montering af skærmen
The CDV-77M monitor is designed for wall-mounted installation. Choose a suitable location indoors, away from direct sunlight and moisture.
- Secure the wall mounting bracket to the desired location using the provided screws and anchors.
- Sørg for, at beslaget er i vater og sikkert fastgjort.
- Refer to the dimensions diagram for proper spacing and fit:

Technical drawing showing the dimensions of the COMMAX CDV-77M monitor: 244 mm width and 180 mm height.
4.3 Ledningsforbindelser
Before making any connections, ensure the power supply is disconnected.
- Door Camera Connection: Connect the door camera using a 4-wire cable. The maximum recommended distance is 28 meters (using 0.5Ø wire).
- Interphone-forbindelse: Connect the interphone unit using a 4-wire cable.
- Additional Monitor Connection: If connecting additional monitors, refer to the specific wiring diagram provided with your system.
- Strømtilslutning: Connect the AC 100-240V, 50/60Hz power cable to the monitor and a suitable power outlet.
After all connections are made, carefully attach the monitor unit to the wall mounting bracket.
5. Betjeningsvejledning
Familiarize yourself with the monitor's controls:

Detailed diagram illustrating the front panel of the COMMAX CDV-77M monitor, with labels for the TFT LCD, Speaker, Microphone, Power Switch, and control buttons: Monitoring, Interphone, Door Release, Menu, and Talk.
- Tænd/sluk: Use the Power Switch located on the side/bottom of the unit.
- Modtagelse af et opkald: When a visitor calls from the door camera, the monitor will display their image and ring. Press the Taleknap to communicate.
- Overvågning: Tryk på Overvågningsknap til view the feed from the connected door camera at any time.
- Døråbner: Under et opkald eller mens du aflytter, tryk på Dørudløserknap to unlock the connected door.
- Interphone-kommunikation: Tryk på Interphone Button to initiate communication with another connected interphone or monitor.
- Menu navigation: Brug Menu-knap to access settings and adjustments for the monitor.
6. Vedligeholdelse
- Rensning: Use a soft, dry cloth to clean the monitor screen and casing. Brug ikke slibende rengøringsmidler eller opløsningsmidler.
- Fjernelse af støv: Regularly dust the unit to prevent accumulation, especially around ventilation areas.
- Undgå væsker: Do not spray liquids directly onto the monitor.
7. Fejlfinding
| Problem | Mulig årsag | Løsning |
|---|---|---|
| No power to the monitor. | Power cable disconnected; power outlet faulty; power switch off. | Check power cable connection; test outlet with another device; ensure power switch is on. |
| No video from door camera. | Camera cable loose or damaged; camera faulty. | Check camera wiring connections; ensure camera is powered and functioning. |
| No audio during communication. | Microphone/speaker faulty; wiring issue. | Check audio wiring; ensure volume settings are appropriate. |
| Dørlåsen er ikke udløserbarasing. | Door lock wiring issue; lock mechanism faulty. | Verify door lock wiring; test door lock mechanism independently. |
Hvis problemet fortsætter efter at have forsøgt disse løsninger, bedes du kontakte kundesupport.
8. Specifikationer
| Feature | Detalje |
|---|---|
| Model | CDV-77M |
| Skærmstørrelse | 7 tommer TFT LCD |
| Strømkilde | AC 100-240V, 50/60Hz |
| Monteringstype | Vægmonteret type |
| Driftstemperatur | 0℃ ~ 40℃ |
| Wiring (Door Camera) | 4 wires (Distance: 28m with 0.5Ø wire) |
| Wiring (Interphone) | 4 ledninger |
| Maks. Forbindelser | 2 Cameras, 2 Monitors, 2 Interphones |
| Forbrug | Max. 15W / Standby 3W |
| Dimensioner (B×H×D) | 244 mm × 180 mm × 18 mm |
| Videoformat | PAL/NTSC convertible |
9. Garanti og support
For warranty information, please refer to the warranty card included with your product or contact your local COMMAX distributor. For technical support or service inquiries, please visit the official COMMAX webwebsted eller kontakt deres kundeserviceafdeling.
Fabrikant: KOMMAKS
Dato først tilgængelig: 7. august 2023


