1. Introduktion
This manual provides detailed instructions for the safe and efficient operation of your TANLANIN TE-2030WT Vinyl Record Player. Please read this manual thoroughly before using the product and retain it for future reference.
2. Sikkerhedsinstruktioner
- Udsæt ikke enheden for regn eller fugt.
- Åbn ikke c'enasing. Overlad al service til kvalificeret personale.
- Sørg for korrekt ventilation omkring enheden.
- Brug kun den medfølgende strømadapter.
- Hold enheden væk fra direkte sollys, varmekilder og stærke magnetfelter.
- Clean the unit with a soft, dry cloth. Do not use abrasive cleaners.
3. Pakkens indhold
Bekræft, at alle nedenstående varer er inkluderet i din pakke:
- 1x TANLANIN TE-2030WT Vinyl Record Player
- 1x strømadapter
- 1x brugermanual
4. Produktet er slutview
Familiarize yourself with the components of your record player:

Figur 4.1: For og bag View of the Record Player with Labeled Components.
This image displays the TANLANIN TE-2030WT record player from both front and rear angles, highlighting key features such as the 45 RPM adapter, tone arm lifter, auto stop switch, speed switching mechanism, cartridge, power switch/volume knob, tone/bass knob, 3.5mm AUX-in port, 3.5mm headphone jack, RCA audio out ports, and power port.
- 45 RPM Adapter: Used for playing 7-inch records with a large center hole.
- Tonearmsløfter: Hæver og sænker tonearmen forsigtigt.
- Automatisk stopknap: Engages or disengages the auto-stop function.
- Hastighedsskift: Selects playback speed (33 1/3, 45, or 78 RPM).
- Patron: Contains the stylus for reading vinyl grooves.
- Tænd/sluk-knap/lydstyrkeknap: Tænder/slukker enheden og justerer lydstyrken.
- Tone/Bass Knob: Adjusts the bass and treble levels.
- 3.5mm AUX-in Jack: Tilslutter eksterne lydenheder.
- 3.5 mm hovedtelefonstik: Til privat lytning.
- RCA Audio Out Ports: Connects to external speakers or amplivførere.
- Strømport: Tilslutter strømadapteren.
5. Opsætning
- Udpakning: Carefully remove the record player from its packaging. Retain all packaging materials for potential future transport or service.
- Placering: Place the unit on a stable, level surface away from direct sunlight, heat sources, and excessive dust or vibration.
- Strømtilslutning: Connect the provided power adapter to the Power Port on the back of the unit and then plug it into a wall outlet.
- Støvdæksel: The unit comes with a clear dust cover. Ensure it is properly seated to protect the platter and tone arm when not in use.
6. Betjeningsvejledning
6.1 Afspilning af vinylplader
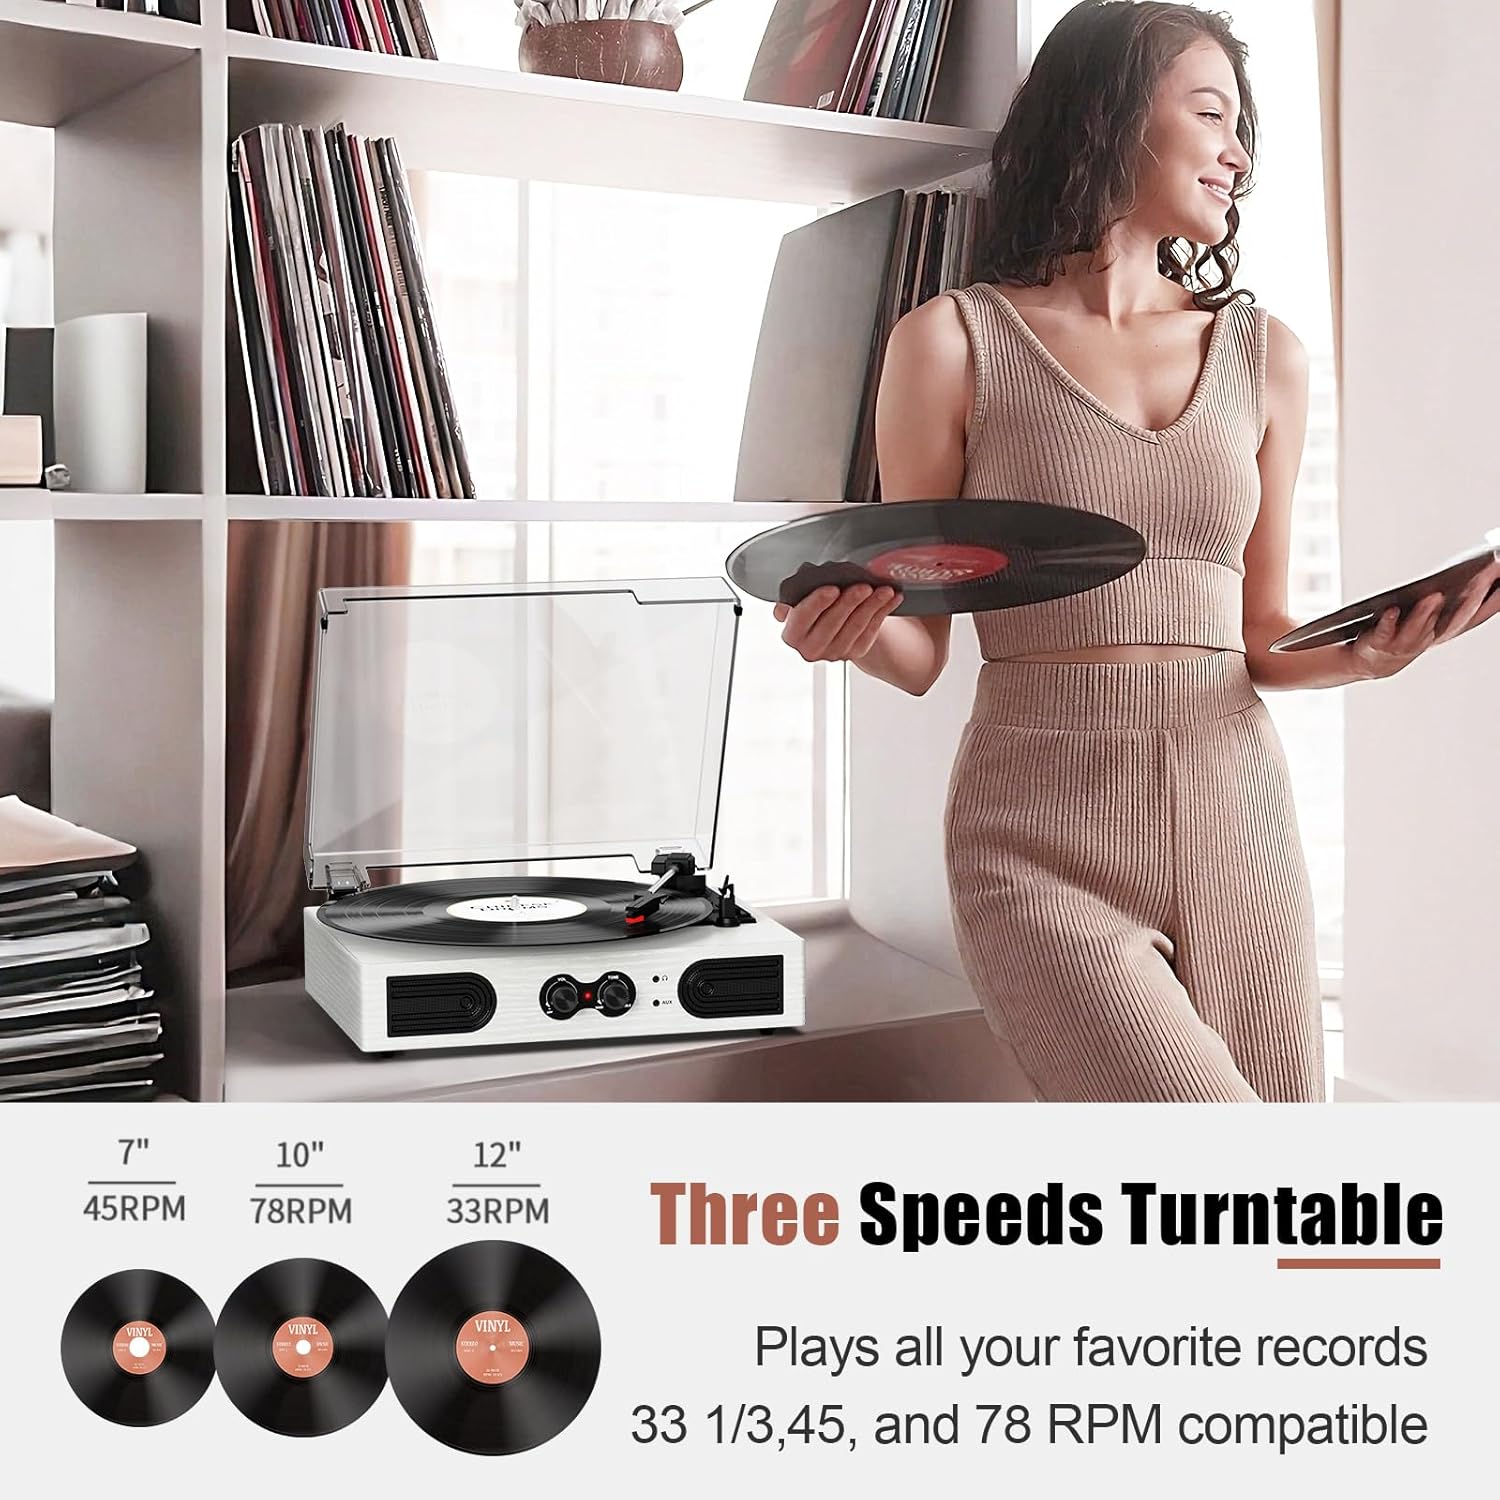
Figur 6.1.1: Record Sizes and Corresponding Speeds.
This image illustrates the three common vinyl record sizes (7-inch, 10-inch, 12-inch) and their respective playback speeds (45 RPM, 78 RPM, 33 1/3 RPM) supported by the turntable.
- Åbn støvdækslet.
- Placer en vinylplade på pladetallerkenen.
- Select the appropriate speed (33 1/3, 45, or 78 RPM) using the Speed Switching control. Use the 45 RPM adapter for 7-inch records with a large center hole.
- Turn the Power Switch/Volume Knob clockwise to power on the unit and set a low volume.
- Gently move the tone arm over the record. Use the Tone Arm Lifter to lower the stylus onto the desired track.
- Adjust the volume and tone (bass/treble) to your preference.
- At the end of the record, the auto-stop function (if enabled) will stop the platter. Manually return the tone arm to its rest.

Figur 6.1.2: Turntable Auto-Stop Feature.
This image shows a hand gently placing the tone arm onto a vinyl record, illustrating the auto-stop function which prevents stylus and record damage by stopping the platter at the end of playback.
6.2 Bluetooth-forbindelse

Figur 6.2.1: Bluetooth-forbindelse.
The image depicts the record player wirelessly connected to a smartphone via Bluetooth, allowing music streaming from the phone to the turntable's speakers.
- Turn on the record player using the Power Switch/Volume Knob.
- The unit will automatically enter Bluetooth pairing mode. The Bluetooth indicator light will flash.
- Aktiver Bluetooth på din Bluetooth-aktiverede enhed (smartphone, tablet osv.) og søg efter tilgængelige enheder.
- Select "TANLANIN TE-2030WT" (or similar name) from the list to pair.
- Once paired, the Bluetooth indicator light will become solid. You can now stream audio from your device to the record player's speakers.
- Adjust volume using both your device and the record player's volume knob.
6.3 AUX-indgang

Figur 6.3.1: Tilslutningsmuligheder.
This image highlights the various connectivity options of the record player, including the AUX input for non-Bluetooth devices, RCA line out for external speakers, built-in stereo speakers, and a headphone jack for private listening.
To play audio from a non-Bluetooth device:
- Connect a 3.5mm audio cable (not included) from your external device's audio output to the 3.5mm AUX-in Jack on the record player.
- Ensure the record player is powered on.
- The unit will automatically switch to AUX input mode.
- Play audio from your external device and adjust volume using both devices.
6.4 RCA-udgang
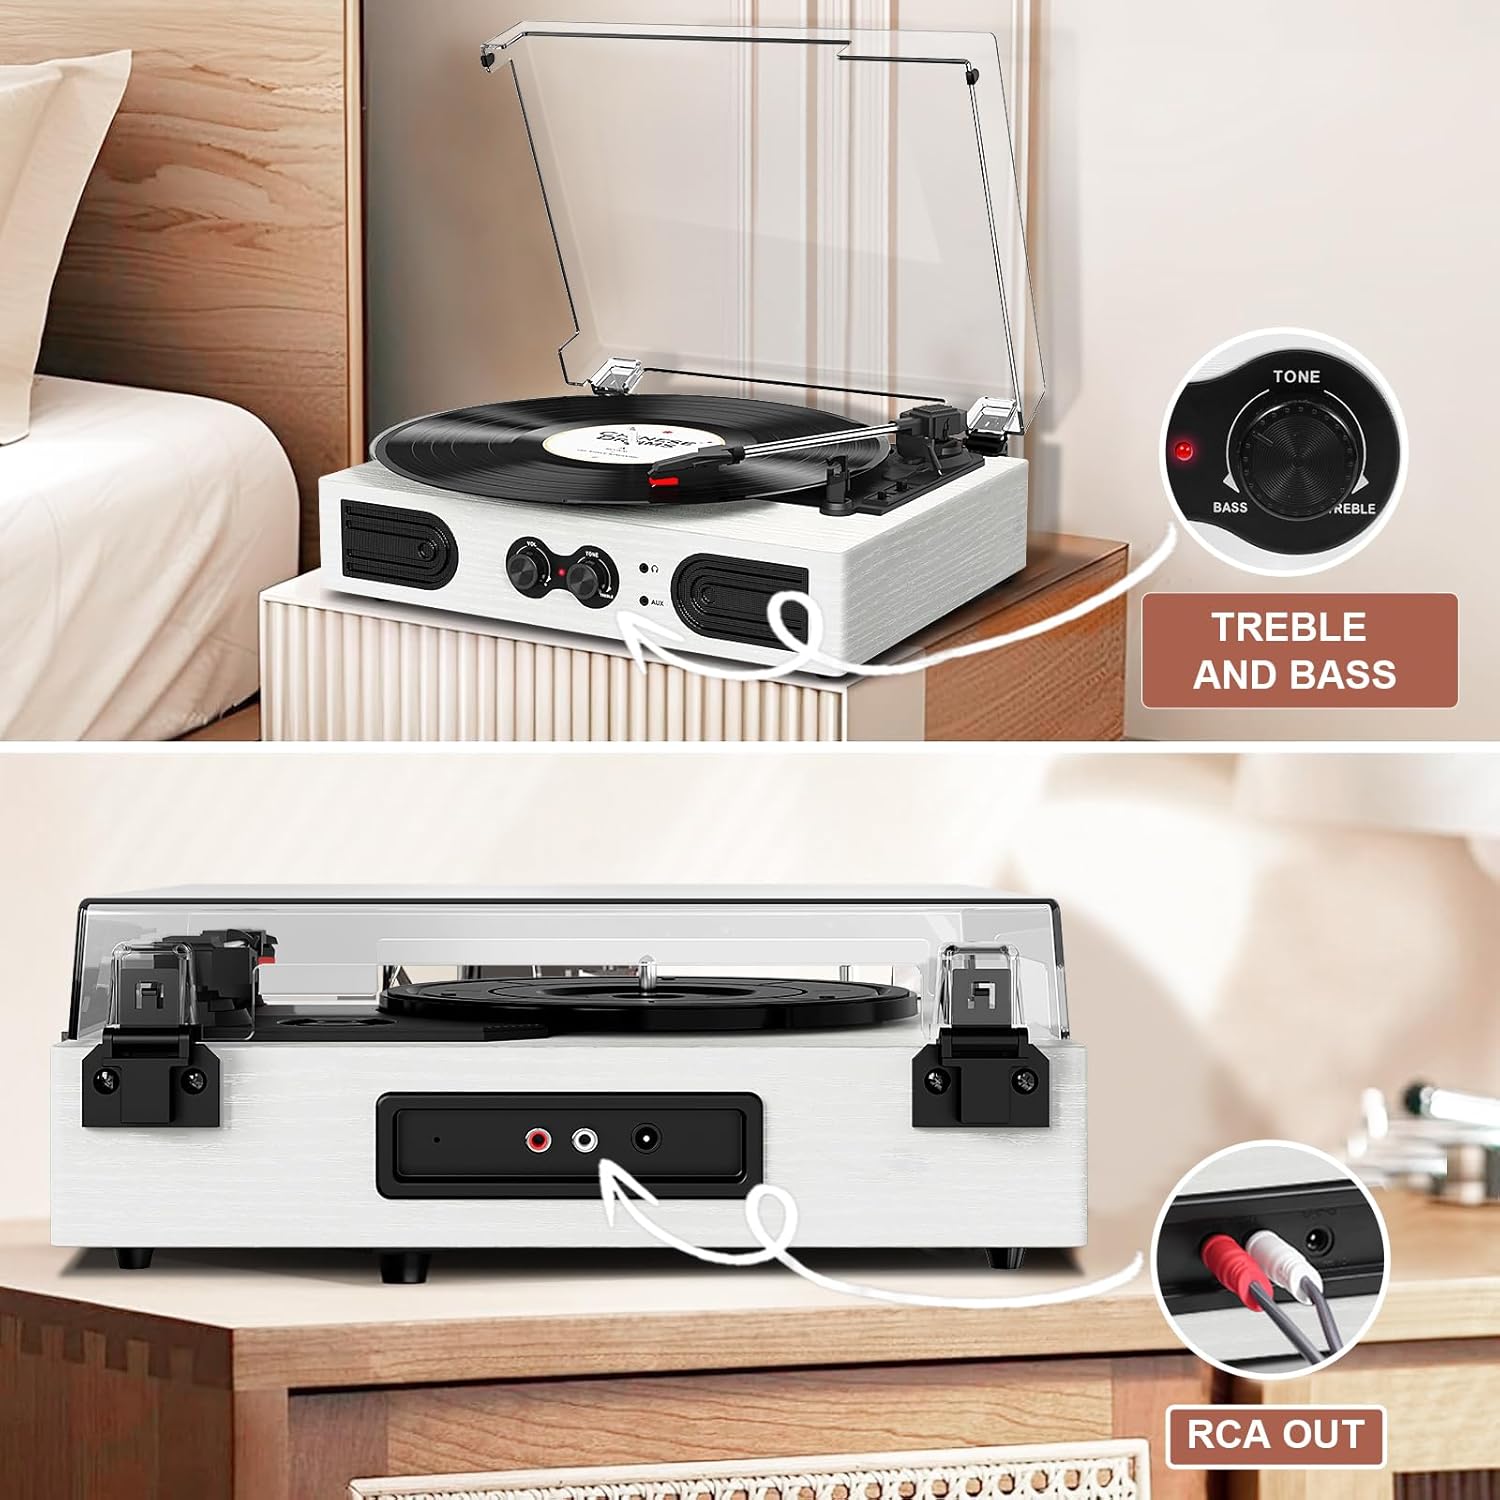
Figur 6.4.1: RCA Output Ports.
Dette billede giver en klar view of the rear of the record player, specifically highlighting the red and white RCA output ports used for connecting to external audio systems.
To connect to external speakers or an amplivligere:
- Connect an RCA cable (not included) to the RCA Audio Out Ports on the back of the record player.
- Connect the other end of the RCA cable to the corresponding input on your external audio system.
- Ensure both the record player and external audio system are powered on.
- Adjust volume and tone on both devices as needed.
6.5 Hovedtelefonstik
For private listening, plug any standard 3.5mm headphones into the Headphone Jack on the front of the unit. The built-in speakers will automatically mute when headphones are connected.
6.6 Bass and Treble Control

Figur 6.6.1: Treble and Bass Control.
This image focuses on the tone control knob, labeled 'Tone' and 'Bass/Treble', allowing users to customize the audio output to their preference.
Use the Tone/Bass Knob on the front panel to adjust the bass and treble levels of the audio output, allowing you to customize the sound to your preference.
7. Vedligeholdelse
- Rengøring af enheden: Wipe the exterior of the record player with a soft, dry, lint-free cloth. Do not use liquid cleaners or solvents.
- Rengøring af pennen: Use a soft brush (not included) to gently clean the stylus, brushing from back to front. Avoid touching the stylus with your fingers.
- Støvdæksel: Keep the dust cover closed when the unit is not in use to prevent dust accumulation on the platter and stylus.
- Optagelsespleje: Handle records by their edges. Store them vertically in their sleeves to prevent warping and dust. Clean records regularly with a dedicated record cleaning kit.
8. Fejlfinding
| Problem | Mulig årsag | Løsning |
|---|---|---|
| Ingen strøm | Strømadapteren er ikke tilsluttet; Strømudtaget er ikke aktivt. | Sørg for, at strømadapteren er korrekt tilsluttet enheden og en fungerende stikkontakt. |
| Ingen lyd fra højttalerne | Volume too low; Headphones connected; Incorrect input mode. | Increase volume. Disconnect headphones. Ensure correct input mode (e.g., Bluetooth paired, AUX cable inserted). |
| Optagelsen springer over eller lyden er forvrænget | Record is dirty or damaged; Stylus is dirty or worn; Unit is not level. | Clean the record. Clean or replace the stylus. Place the unit on a stable, level surface. |
| Bluetooth forbinder ikke | Enheden er for langt væk; Bluetooth er ikke aktiveret på enheden; Forkert enhed valgt. | Ensure device is within range. Enable Bluetooth on your device. Select "TANLANIN TE-2030WT" from the device list. |
| Autostop virker ikke | Auto Stop Switch is off. | Ensure the Auto Stop Switch is in the 'ON' position. |
9. Specifikationer
- Model: TE-2030WT
- Mærke: TANLANIN
- Produktdimensioner: 11.5 x 9 x 3.5 tommer
- Varens vægt: 5.45 pund
- Understøttede hastigheder: 33 1/3, 45, 78 omdr./min
- Forbindelse: Bluetooth Input, 3.5mm AUX-in, RCA Audio Out, 3.5mm Headphone Jack
- Funktioner: Built-in Stereo Speakers, Adjustable Tone (Bass/Treble) Control, Auto-Stop Function, Dust Cover
- Materiale: Akryl, konstrueret træ, plastik
- Strømforbrug (tændt): 5.00 watt
10. Garanti og support
For warranty information or technical support, please refer to the contact details provided with your purchase documentation or visit the official TANLANIN webwebsted.


