Indledning
This manual provides instructions for the setup, operation, and maintenance of your OttLite Wake Up Light with White Noise Sound Machine. This device combines a sunrise simulation alarm clock, a white noise sound machine, and a versatile color-changing light to enhance your daily routine.
Sikkerhedsoplysninger
- Læs alle instruktioner før brug.
- Dette produkt er kun designet til indendørs brug.
- Brug kun den medfølgende strømadapter.
- Udsæt ikke enheden for vand eller overdreven fugt.
- Opbevares utilgængeligt for børn.
- Forsøg ikke selv at skille enheden ad eller reparere den. Kontakt kvalificeret servicepersonale.
Pakkens indhold
- OttLite Wake Up Light with White Noise Sound Machine
- USB strømkabel
- Brugermanual
Produkt overview
Familiarize yourself with the components of your OttLite Wake Up Light.

Billede: Forside view of the OttLite Wake Up Light, displaying the time and connected to a USB charging pad.

Billede: Side view of the OttLite Wake Up Light, showing the various control buttons and the USB port.
Nøglekontroller:
- Tidsvisning: Digitalt ur display.
- Lyspanel: Provides white and color-changing illumination.
- Kontrolknapper: Located on the side for setting time, alarms, light modes, and sounds.
- USB opladningsport: Til opladning af eksterne enheder.
Opsætning
- Pakker ud: Fjern forsigtigt alle komponenter fra emballagen.
- Strømtilslutning: Connect the provided USB power cable to the device and plug the adapter into a standard wall outlet. The device will power on and the time display will activate.
- Placering: Place the Wake Up Light on a stable, flat surface, such as a bedside table, ensuring it is within reach of a power outlet.
Betjeningsvejledning
1. Indstilling af uret
- Press the 'Time Set' button (often indicated by a clock icon).
- Use the '+' and '-' buttons to adjust the hour and minute.
- Press 'Time Set' again to confirm each setting.
- Toggle between 12-hour and 24-hour format using the dedicated button or by cycling through time settings.
2. Wake-Up Light & Alarm Function
The sunrise simulation gradually increases light intensity before your set alarm time.

Image: A user interacting with the Wake Up Light as it emits a warm, sunrise-like glow.
- Indstil alarm: Press the 'Alarm Set' button (bell icon). Use '+' and '-' to set the desired wake-up time.
- Solopgangssimulering: The light will begin to brighten 30 minutes before the set alarm time, gradually increasing to full brightness.
- Wake-Up Sounds: Choose from 7 pre-set sounds (nature sounds, FM radio, traditional alarm) by pressing the 'Sound' button. Adjust volume with '+' and '-'.
- Snooze-funktion: Press the 'Snooze' button (often a large button on top or front) to temporarily pause the alarm for a few minutes.
3. Sleep Aid & Sunset Simulation
Utilize the white noise and sunset simulation for a calming environment.
- Hvid støj: Activate the white noise sound machine by pressing the 'White Noise' button. Adjust volume as needed.
- Solnedgangssimulering: Set the light to gradually dim over 15, 30, or 60 minutes. Refer to the specific button for 'Sunset' or 'Sleep Timer' and cycle through options.
4. Lighting Functions
The device offers various lighting options for ambiance and utility.
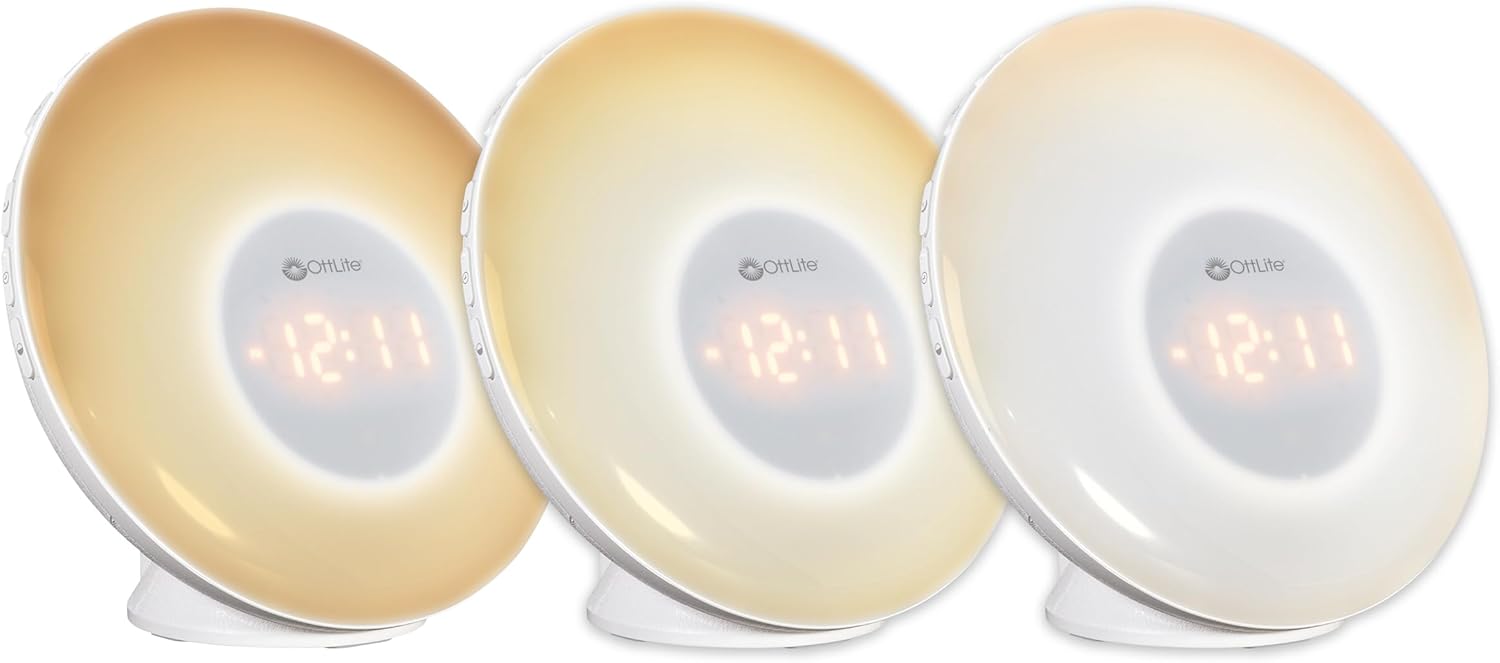
Image: Three units demonstrating the adjustable white light temperatures.

Image: Multiple units showcasing the range of color-changing options.
- Hvidt lys: Press the 'Light' button to activate soft white light. Adjust brightness using '+' and '-' buttons (three brightness levels available).
- Farveændring: Press the 'RGB' button to cycle through a spectrum of colors.
- Fixed Color: While in color-changing mode, press the 'RGB' button again to pause on your desired color.
5. USB -opladningsport
A convenient USB port is integrated for charging your devices.

Image: A smartphone being charged via the USB port on the Wake Up Light.
- Locate the USB port (5V, 1A output) on the side or back of the unit.
- Connect your device's USB charging cable to this port.
- Ensure the Wake Up Light is powered on for the USB port to function.
Opretholdelse
- Rensning: Disconnect the power before cleaning. Wipe the device with a soft, dry cloth. Do not use abrasive cleaners or solvents.
- Opbevaring: Når enheden ikke er i brug i længere perioder, skal den opbevares køligt og tørt, væk fra direkte sollys.
Fejlfinding
| Problem | Mulig årsag | Løsning |
|---|---|---|
| Enheden tænder ikke. | Strømkablet er ikke tilsluttet korrekt, eller stikkontakten er ikke aktiv. | Ensure the power cable is securely connected to the device and the wall outlet. Test the outlet with another device. |
| Alarm does not sound or light does not activate. | Alarmen er ikke indstillet, eller lydstyrken er for lav. | Verify alarm settings and ensure the alarm is activated. Increase alarm volume. |
| High-pitched buzzing sound when light is on. | Potential internal component noise at certain brightness levels. | Try adjusting the brightness level. If the issue persists and is disruptive, contact customer support. |
| Difficulty setting the alarm or other functions. | Unfamiliarity with button layout or sequence. | Refer to the 'Operating Instructions' section carefully. Practice setting functions when not under time pressure. |
| USB-opladeporten virker ikke. | Device not powered on or cable issue. | Ensure the Wake Up Light is powered on. Try a different USB cable or device to rule out cable/device issues. |
Specifikationer
| Feature | Detalje |
|---|---|
| Modelnummer | WU300Z-SHPR |
| Produktdimensioner | 4" D x 6.75" B x 6.7" H |
| Varens vægt | 1.23 pund |
| Strømkilde | Elektrisk ledning (120 volt AC) |
| Lyskildetype | LED |
| Særlige funktioner | Color Changing, Dimmable, Sunrise Simulation, Sunset Simulation, White Noise, USB Charging Port |
| USB udgang | 5V, 1A |
| Materiale | Plast |
| Indendørs/Udendørs brug | Kun indendørs brug |
Garanti og support
OttLite products are designed for quality and durability. For warranty information or technical support, please refer to the warranty card included with your purchase or visit the official OttLite webwebsted. Gem din købskvittering for garantikrav.
For further assistance, please contact OttLite customer service.


