1. Introduktion
This manual provides detailed instructions for the setup, operation, and maintenance of your Desview TP170 17-inch Teleprompter. Please read this manual thoroughly before using the product to ensure correct assembly and optimal performance. The Desview TP170 is designed to assist users in delivering presentations, speeches, or video content by displaying text directly in front of the camera lens, allowing for direct eye contact with the audience.

Image 1.1: Desview TP170 Teleprompter with included accessories.
2. Hvad er der i æsken
Ved udpakning skal du kontrollere, at alle følgende komponenter er til stede:
- Teleprompter Body (main unit with beam splitter glass and sunshade hood)
- Fjernbetjening
- Brugervejledning (dette dokument)
- Convenient Aluminum Storage Suitcase
- PTZ (Pan-Tilt-Zoom) bracket
- Prompting Device Clip
- USB Drive (for PC prompting)

Image 2.1: The included aluminum carry case provides protection for all components.
3. Opsætningsvejledning
Follow these steps to assemble and prepare your Desview TP170 Teleprompter for use.
3.1. Basissamling
- Attach the teleprompter base to your tripod or camera support system. Ensure it is securely fastened.
- Mount the PTZ bracket onto the teleprompter base.
3.2. Montering af kamera
- Secure your DSLR, mirrorless camera, or camcorder to the camera mounting plate on the teleprompter. Adjust the position to ensure the lens is centered with the beam splitter glass.
- Adjust the extension height of the camera platform (60-95mm) and the adjustable stroke (50mm) to align your camera correctly.

Image 3.1: Adjustable components for camera positioning.
3.3. Tablet/Smartphone Placement
- Extend the push-pull device clip.
- Place your iPad or tablet (up to 17 inches) onto the clip. Ensure it is stable.
- The teleprompter supports both horizontal and vertical prompting. Use the vertical L-bracket if vertical orientation is required.

Image 3.2: Horizontal and vertical prompting configurations.
3.4. Sunshade Installation
The teleprompter includes a detachable magnetic sunshade hood. Attach it around the camera lens to prevent light leakage and reflections, ensuring clear text visibility.
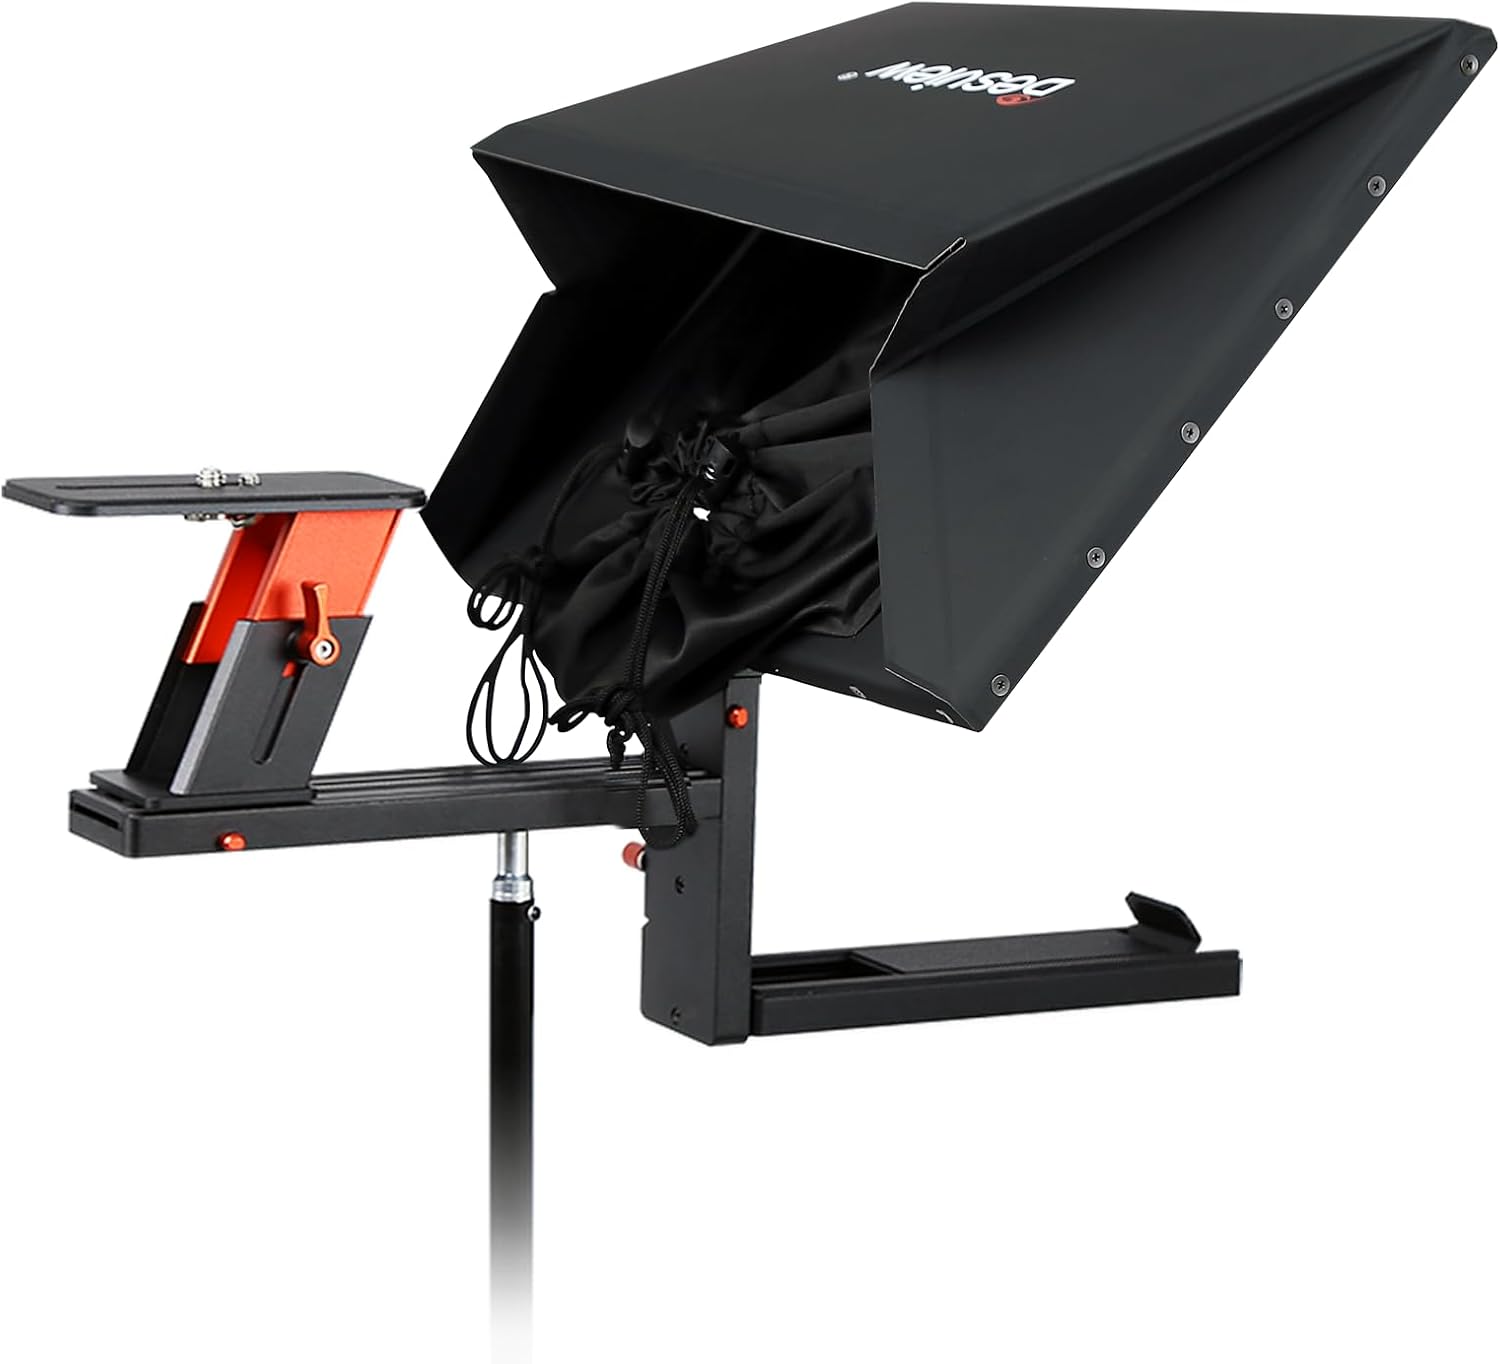
Image 3.3: Teleprompter with magnetic sunshade hood.
3.5. Assembly Demonstration Video
Video 3.1: A step-by-step demonstration of the Desview TP170 teleprompter assembly, including attaching the base, mounting the camera, and installing the sunshade. This video also shows the use of the push-pull device clip for tablets and the overall setup for professional shooting equipment.
4. Betjeningsvejledning
4.1. Using the Desview App and Bluetooth Remote
Desview TP170 teleprompter is controlled via a dedicated app and a Bluetooth remote. This allows for convenient text management during recording.
- Download the 'Desview' app from the App Store (iOS) or Google Play (Android).
- Connect the included Bluetooth remote control to your tablet or smartphone.
- Open the Desview app and load your script.
- Use the Bluetooth remote to control text scrolling, speed, pause, and page turning.

Image 4.1: Desview app interface and Bluetooth remote control.
4.2. PC Prompting
For PC-based prompting, connect your computer to the teleprompter using the provided USB drive. This allows for displaying text from your PC directly onto the teleprompter screen.

Image 4.2: Prompting with a cell phone and a laptop.
5. Vedligeholdelse
- Cleaning the Beam Splitter Glass: Use a soft, lint-free cloth and a specialized glass cleaning solution. Avoid abrasive materials or harsh chemicals that could damage the coating.
- Generel rengøring: Wipe down the aluminum alloy body with a dry or slightly damp klæde.
- Opbevaring: When not in use, store the teleprompter and its components in the provided aluminum carry case to protect it from dust and physical damage.
- Komponentkontrol: Kontrollér regelmæssigt alle skruer og forbindelser for at sikre, at de er stramme og sikre.
6. Fejlfinding
- Text not clear/ghosting: Ensure the beam splitter glass is clean and free of smudges. Verify that the camera lens is properly aligned with the glass.
- Fjernbetjening virker ikke: Check the battery in the remote. Ensure Bluetooth is enabled on your prompting device and the remote is paired correctly.
- Vignetting (dark corners in video): Adjust the camera's position or lens focal length. The TP170 supports wide-angle shooting (more than 24mm horizontal, less than 35mm vertical).
- Vanskeligheder med samling: Refer to the setup instructions and the assembly video (Video 3.1) for visual guidance. Ensure all parts are correctly oriented and secured.
7. Specifikationer
| Feature | Detalje |
|---|---|
| Model | TP170 |
| Kompatibilitet med skærmstørrelse | Up to 17-inch tablets/iPads |
| Beam Splitter Glass | 7H hardness, 70/30 visible light transmission |
| Materiale | Premium aluminiumslegering |
| Kamerakompatibilitet | DSLR, Mirrorless Cameras, Camcorders |
| Wide Angle Shooting Support | >24mm horizontal, <35mm vertical |
| Kontrollere | Bluetooth Remote, 'Desview' App (iOS/Android) |
| PC Prompting | Supported via USB drive |
| Varens vægt | 7.09 pund (3.22 kg) |
| Pakkedimensioner | 17 x 16 x 7.5 tommer |
| Fabrikant | Desview |
| UPC | 723884579195 |

Image 7.1: High-definition display glass properties.
8. Garanti og support
Desview products are manufactured to high-quality standards. For warranty information, technical support, or service inquiries, please refer to the official Desview webwebstedet eller kontakt deres kundeserviceafdeling. Gem din købskvittering som købsbevis i tilfælde af garantikrav.
For yderligere hjælp, besøg venligst Desview Butik på Amazon.


