Indledning
Tak for købetasing the HORLAT Mini Projector. This portable projector is designed to provide a versatile and immersive viewing experience, supporting 5G WiFi, Bluetooth 5.1, and Full HD 1080P content. This manual will guide you through the setup, operation, maintenance, and troubleshooting of your new device to ensure optimal performance and longevity.

Image: The HORLAT Mini Projector, a compact device with a lens on the front and control buttons on top, displayed against a vibrant, colorful projection.
Sikkerhedsoplysninger
Læs venligst alle sikkerhedsinstruktioner, inden projektoren tages i brug. Gem denne manual til senere brug.
- Bloker ikke ventilationsåbningerne. Sørg for tilstrækkelig luftgennemstrømning omkring projektoren.
- Se ikke direkte ind i projektorlinsen, når lamp er tændt. Det skarpe lys kan forårsage øjenskader.
- Do not place the projector in unstable locations.
- Undgå at udsætte projektoren for regn, fugt eller ekstreme temperaturer.
- Brug kun den strømadapter, der følger med projektoren.
- Tag stikket ud af projektoren under tordenvejr eller når den ikke bruges i længere perioder.
Pakkens indhold
Bekræft at alle varer er til stede i din pakke:
- HORLAT Mini Projector
- Fjernbetjening (AAA-batterier medfølger ikke)
- Strømadapter
- HDMI kabel
- AV-kabel
- Brugermanual
Produkt overview
Familiarize yourself with the components of your HORLAT Mini Projector.

Image: The HORLAT Mini Projector with its dimensions (7 inches length, 4.72 inches width, 2.75 inches height) and net weight (22 oz) highlighted, demonstrating its compact size and portability. It shows the projector supporting a tripod, being easily held, and fitting into a backpack.

Image: A diagram illustrating the short-focal lens capability of the projector, showing projection distances from 0.6m (21 inches) to 3.5m (180 inches). It also highlights 4P Keystone Correction, 50% Zoom, and a built-in speaker.
The projector features a compact design, making it highly portable. It includes a short-focal lens for flexible placement, a built-in speaker, and various ports for connectivity. The top panel houses intuitive controls for easy navigation.
Opsætning
1. Strømtilslutning
Connect the supplied power adapter to the projector's DC input port and then plug it into a power outlet.
2. Placering og projektion
Place the projector on a stable, flat surface. Thanks to its short-focal lens, the projector can project a large image from a short distance, ranging from 1.8 feet (for a 21-inch screen) up to 5 feet or more for larger screens. For optimal viewing, a dark environment is recommended.
3. Fokus- og Keystone-korrektion
Adjust the focus ring on the lens until the image is clear. If the image appears trapezoidal, use the keystone correction features:
- ±15° Vertical Keystone Correction: Adjusts vertical distortion.
- 4P Keystone Correction: Allows individual adjustment of all four corners of the projected image for precise alignment.
- 4D Keystone-korrektion: Provides horizontal and vertical digital keystone adjustments.
Use the remote control to access these settings. The 50 % zoom function allows you to reduce the screen size without moving the projector, adjusting from 100% down to 50%.

Image: A visual representation of the projector's zoom function (up to 50%) and various keystone correction methods, including digital 4P, digital 4D, and ±15° keystone correction, demonstrating how to customize the projected image.
Drift
1. Tænd/sluk
Tryk på tænd/sluk-knappen på projektoren eller fjernbetjeningen for at tænde eller slukke enheden.
2. Inputkilder
The HORLAT Mini Projector supports multiple input sources:
- HDMI: Connect devices like TV sticks, PCs, laptops, gaming consoles (PS4, Switch), or DVD players.
- USB: Play media directly from a USB flash drive.
- AV: Tilslut ældre enheder med det medfølgende AV-kabel.
- Lyd (3.5 mm): Tilslut eksterne højttalere eller hovedtelefoner.
Use the "Source" button on the remote or projector to select the desired input.

Image: An illustration showing the various connection ports on the projector (AV, 3.5mm Audio, USB, HDMI, DC) and examples of compatible devices such as computers, USB drives, PS4, DVD players, TV sticks, audio players, laptops, Nintendo Switch, and cameras.

Image: A projected screen displaying various streaming service logos (HBO, Prime Video, Hulu, YouTube, Plex, ESPN, Netflix) with the projector and a TV stick (not included) in the foreground, demonstrating compatibility with streaming devices.
3. Trådløs forbindelse (WiFi og Bluetooth)
The projector features 5G+2.4G dual-band WiFi and Bluetooth 5.1 for seamless wireless connections.
- WiFi Screen Synchronization: Connect your smartphone (iOS or Android) to the projector via WiFi for screen mirroring. The built-in Eshare system ensures smooth, lag-free mirroring for movies and games. Ensure both devices are on the same WiFi network.
- Bluetooth 5.1: Connect external Bluetooth speakers or headphones for enhanced audio. Bluetooth 5.1 offers faster and more stable audio synchronization with a wider transmission range compared to older versions.
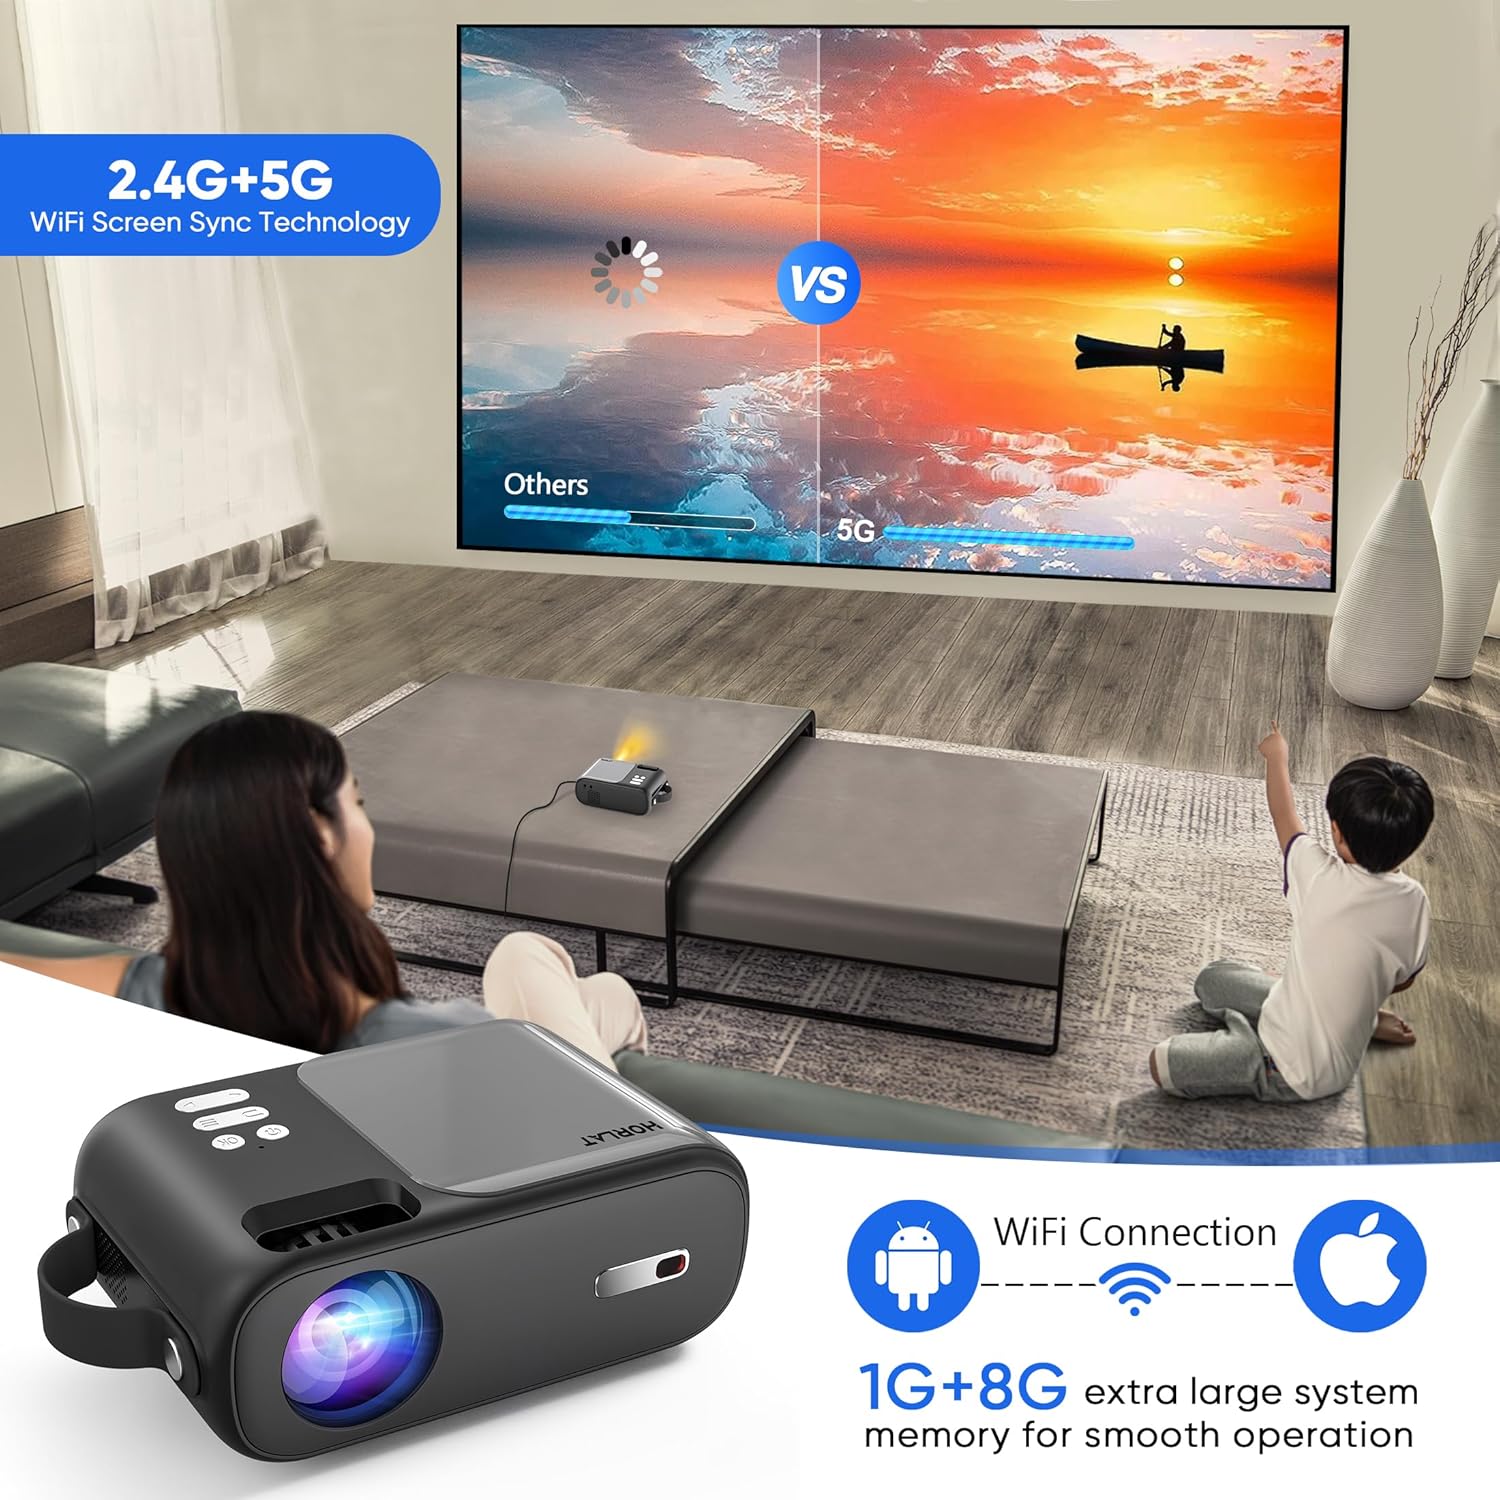
Image: A scene showing a family watching a movie projected onto a wall, with an overlay illustrating the 2.4G+5G WiFi Screen Sync Technology and 1G+8G system memory for smooth operation, emphasizing wireless connectivity for Android and Apple devices.

Image: A person playing a guitar, with the sound wirelessly connected via Bluetooth 5.1 from a smartphone to the projector, demonstrating the projector's capability to act as a Bluetooth speaker.
4. Lydudgang
The projector has a built-in speaker. For a more immersive audio experience, connect external speakers or headphones via the 3.5mm audio jack or Bluetooth.
5. Fjernbetjening
The remote control provides full functionality for navigating menus, adjusting settings, changing input sources, and controlling playback. Insert two AAA batteries (not included) before first use.
Opretholdelse
Korrekt vedligeholdelse sikrer din projektors levetid og ydeevne.
- Rengøring af linser: Brug en blød, fnugfri klud, der er specielt designet til optiske linser, til forsigtigt at tørre projektorlinsen af. Brug ikke slibende rengøringsmidler eller overdreven kraft.
- Generel rengøring: Tør projektorens yderside af med en blød, tør klud. Undgå at bruge flydende rengøringsmidler direkte på enheden.
- Ventilation: Ensure the ventilation openings are clear of dust and obstructions to prevent overheating. The projector features a noise-reducing cooling system for efficient heat dissipation.
- Opbevaring: Når projektoren ikke er i brug, skal den opbevares køligt og tørt, væk fra direkte sollys og ekstreme temperaturer.

Image: A composite image highlighting the projector's portability, its support for tripods, its 4-layer coated-glass lens, and its noise-reducing cooling system, illustrating key design and functional aspects.
Fejlfinding
Hvis du støder på problemer med din projektor, kan du se følgende almindelige problemer og løsninger:
| Problem | Mulig løsning |
|---|---|
| Intet billede eller "Intet signal" |
|
| Sløret billede |
|
| Ingen lyd eller lav lydstyrke |
|
| Problemer med WiFi-forbindelse |
|
Specifikationer
| Feature | Detalje |
|---|---|
| Mærke | HORLAT |
| Model | B0C9937J1J |
| Indfødt opløsning | 1280 x 720P (Supports 1080P) |
| Lysstyrke | 9000 lumen |
| Kontrastforhold | 9000:1 |
| Forbindelsesteknologi | Wireless Bluetooth WIFI (5G+2.4G), HDMI, USB, AV, Audio (3.5mm) |
| Keystone korrektion | ±15°/4P/4D |
| Zoomfunktion | 50 % |
| Varens vægt | 2.42 pund |
| Produktdimensioner | 4.7 x 7 x 2.75 tommer |
| Farve | Grå |
| Særlige funktioner | Built-In Wi-Fi, Portable, Wireless, Diffuse Reflection Eye Protection, Timer Shutdown |
Garanti og support
HORLAT provides a 3-year factory repair warranty with free replacement parts for this product. If you have any questions or require technical assistance, please do not hesitate to contact our professional support team. We are committed to providing 24/7 service to ensure your satisfaction.
For support, please refer to the contact information provided on the product packaging or the official HORLAT webwebsted.


