1. Introduktion
This manual provides instructions for the JLab GO Charge Wireless Mouse. Please read this manual thoroughly before using the product to ensure proper operation and to maximize its features.

Figure 1: JLab GO Charge Wireless Mouse, top view with USB dongle.
2. Pakkens indhold
Bekræft at alle varer er til stede i pakken:
- GO Charge Wireless Mouse
- Charging cord (USB-C to USB-A)
- 2.4 GHz USB trådløs dongle
- Hurtig startvejledning
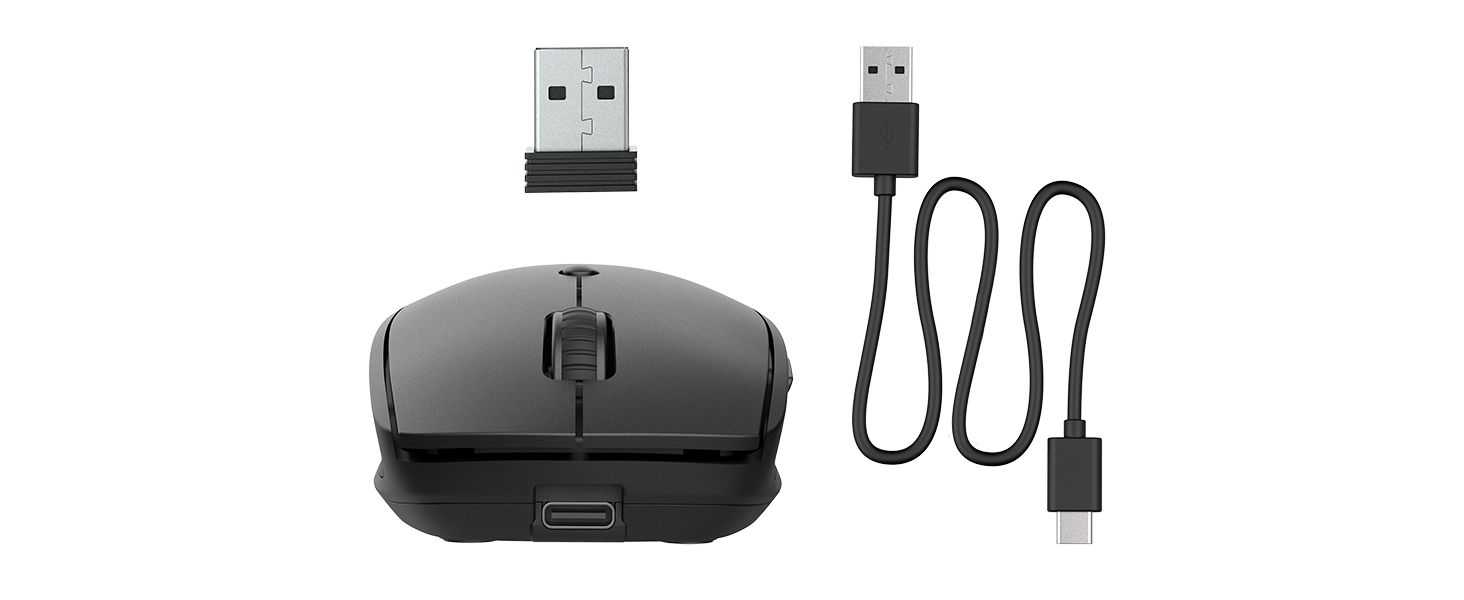
Figure 2: Included components: JLab GO Charge Wireless Mouse, USB-C to USB-A charging cable, and 2.4GHz USB wireless dongle.
3. Opsætning
3.1 Opladning af musen
The JLab GO Charge Wireless Mouse features a rechargeable battery, eliminating the need for disposable batteries. Use the provided USB-C to USB-A charging cable to charge the mouse. The charging port is located at the front of the mouse.
- Connect the USB-C end of the cable to the mouse.
- Tilslut USB-A-enden til en kompatibel USB-strømadapter (medfølger ikke) eller en USB-port på computeren.
- A red indicator light on the underside of the mouse will illuminate during charging and turn off when fully charged.
3.2 Tilslutningsmuligheder
The mouse offers two primary connection methods: 2.4GHz USB wireless dongle and Bluetooth.
3.2.1 2.4GHz USB Wireless Dongle Connection
- Locate the USB wireless dongle stored in the compartment on the underside of the mouse.
- Insert the USB dongle into an available USB-A port on your computer.
- Turn on the mouse using the power switch on its underside. The red optical sensor light will activate.
- Musen burde automatisk oprette forbindelse til din computer.

Figure 3: Underside of the mouse, highlighting the USB dongle storage compartment and the power switch.
3.2.2 Bluetooth-forbindelse
The mouse supports connecting wirelessly to up to two Bluetooth devices.
- Tænd musen ved hjælp af tænd/sluk-knappen på undersiden.
- Press the Bluetooth pairing button (often labeled 'BT1' or 'BT2') on the underside of the mouse. The corresponding LED indicator will blink, indicating pairing mode.
- On your device (computer, tablet, etc.), navigate to Bluetooth settings and search for new devices.
- Select "JLab GO Charge Mouse" from the list of available devices to pair.
- Repeat for a second Bluetooth device using the 'BT2' button if available.
3.3 Multi-Device Toggle
The JLab GO Charge Mouse allows seamless switching between up to three connected devices (one via USB dongle, two via Bluetooth). Use the dedicated toggle button on the underside of the mouse to switch between the paired devices.
4. Betjening af musen
4.1 Grundlæggende funktioner
- Venstre klik: Primær selektion og aktivering.
- Højreklik: Åbner kontekstmenuer.
- Scrollhjul: Rul indhold lodret. Kan også klikkes for at bruge midterklik.

Figure 4: Proper hand placement for operating the JLab GO Charge Wireless Mouse.
4.2 Adjustable Tracking (DPI)
The mouse features an adjustable DPI (Dots Per Inch) button, typically located below the scroll wheel. Press this button to cycle through different sensitivity settings, allowing you to adjust the cursor speed to your preference.
4.3 Sideknapper
The mouse is equipped with side buttons, usually for 'Forward' and 'Back' navigation in web browsere eller file explorers. These can often be customized through your operating system's mouse settings.
5. Vedligeholdelse
5.1 Rengøring
To maintain optimal performance, regularly clean your mouse. Use a soft, dry cloth to wipe the surface. For the optical sensor, use a cotton swab lightly dampened with isopropyl alcohol, ensuring no liquid enters the mouse's interior.
5.2 Pleje af batterier
Sådan forlænger du levetiden på det interne genopladelige batteri:
- Undgå at aflade batteriet helt ofte.
- Opbevar musen et køligt og tørt sted, når den ikke er i brug i længere perioder.
- Charge the mouse regularly, even if not completely depleted.
6. Fejlfinding
6.1 Musen reagerer ikke
- Sørg for, at musen er tændt.
- Kontroller batteriniveauet og oplad om nødvendigt.
- For 2.4GHz connection: Ensure the USB dongle is securely inserted into a working USB port. Try a different USB port.
- For Bluetooth connection: Verify Bluetooth is enabled on your device and the mouse is paired. Try re-pairing the mouse.
- Genstart din computer eller enhed.
6.2 Uregelmæssig markørbevægelse
- Rengør den optiske sensor på undersiden af musen.
- Sørg for at bruge musen på en passende overflade (f.eks. en musemåtte). Undgå meget reflekterende eller gennemsigtige overflader.
- Adjust the DPI setting to a lower sensitivity.
6.3 Opladningsproblemer
- Verify the charging cable is correctly connected to both the mouse and the power source.
- Prøv en anden USB-port eller strømadapter.
- Sørg for, at opladningskablet ikke er beskadiget.
7. Specifikationer
| Mærke | JLab |
| Model | GO Charge Wireless Mouse |
| Farve | Sort |
| Forbindelsesteknologi | Bluetooth, USB, Wireless (2.4GHz) |
| Bevægelsesdetekteringsteknologi | Optisk |
| Speciel funktion | Trådløs, genopladelig |
| Kompatibilitet | Mac, Windows, Chrome OS |
8. Garanti og support
8.1 Garantioplysninger
JLab products are designed with quality and durability in mind. For detailed warranty information, please refer to the official JLab webwebstedet eller garantikortet, der fulgte med dit produkt. Gem din købsbevis til garantikrav.
8.2 Kundesupport
If you encounter any issues or have questions regarding your JLab GO Charge Wireless Mouse, please visit the official JLab support page or contact their customer service. Contact information can typically be found on the JLab webwebstedet eller i hurtigstartguiden.


