1. Introduktion
This manual provides detailed instructions for the installation, operation, and maintenance of your ATEM POWER 40A DC to DC Battery Charger. This charger is designed to efficiently charge various battery types, including AGM, Gel, Calcium, Lead Acid, and LiFePO4, in 4WDs, RVs, campers, and trailers. Please read this manual thoroughly before use to ensure proper function and safety.

Image 1.1: The ATEM POWER 40A DC to DC Battery Charger with its included Anderson style plugs.
2. Sikkerhedsoplysninger
Observe the following safety precautions to prevent injury or damage to the charger and connected equipment:
- Sørg for, at alle forbindelser er sikre og korrekt polariserede før brug.
- Udsæt ikke opladeren for regn, fugt eller ekstreme temperaturer.
- Install the charger in a well-ventilated area to prevent overheating.
- Afbryd altid strømmen, før du udfører vedligeholdelse eller installation.
- This device is intended for 12V DC systems only. Do not connect to 24V or higher systems.
- Consult a qualified electrician for complex installations or if you are unsure about any wiring procedures.
3. Produktfunktioner
The ATEM POWER 40A DC to DC Battery Charger incorporates several advanced features for optimal battery management:
- Reverse Charging Capability: Allows charging of the start battery from the auxiliary battery.
- Bred batterikompatibilitet: Supports AGM, Gel, Calcium, Lead Acid, and LiFePO4 battery types.
- MPPT Solar Input: Integrated Maximum Power Point Tracking (MPPT) controller for efficient solar charging.
- Intelligent 3-Stage Opladning: Optimizes charging for efficiency and extends battery lifespan.
- LiON Mode: Automatically activates sleeping LiFePO4 batteries.
- Omfattende beskyttelse: Includes reverse polarity, overvoltage, over-temperature, charge timeout, and lithium battery BMS safeguards.
- DC Charging Priority: Prioritizes vehicle battery input over solar input when both are available and meet startup conditions.
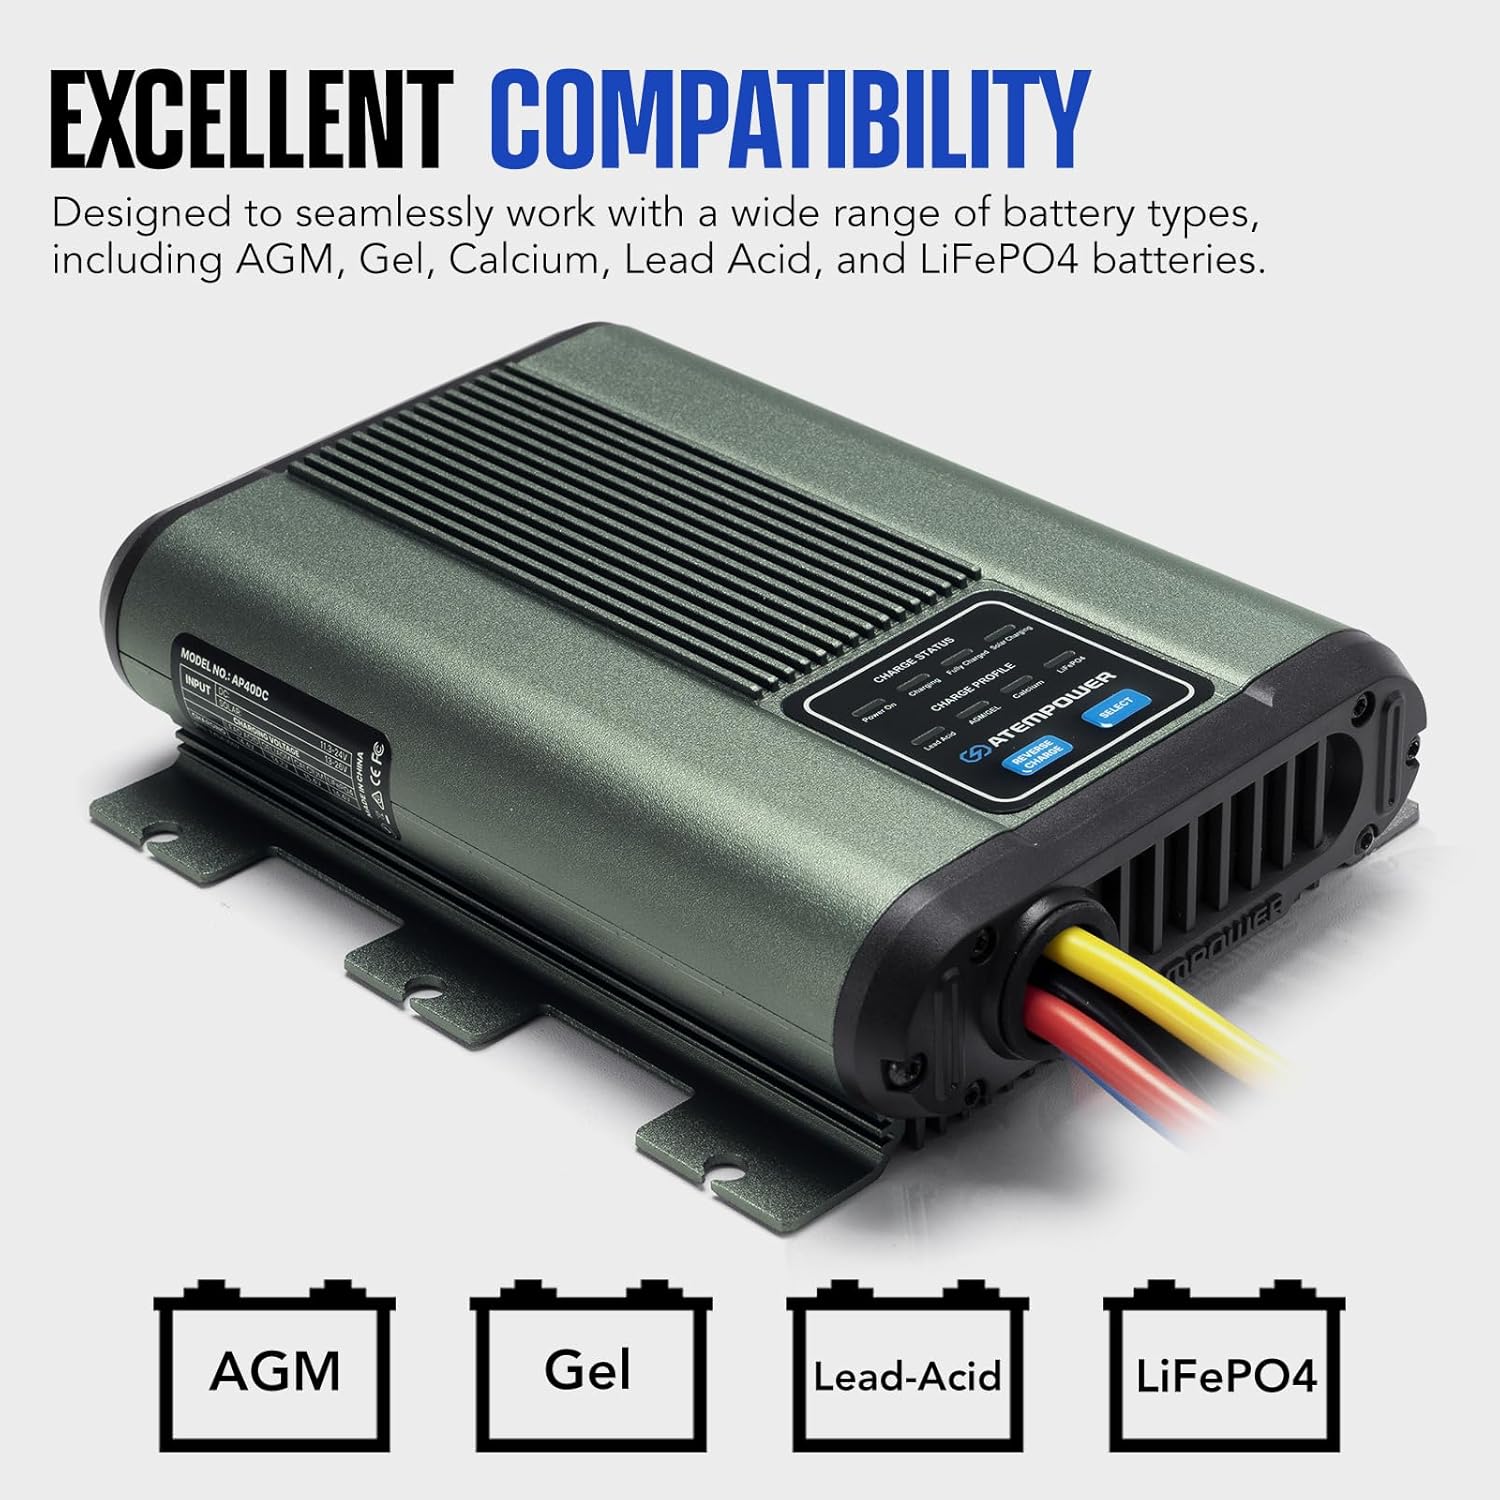
Image 3.1: The charger is compatible with multiple battery chemistries.

Image 3.2: The charger includes multiple protection features for safe operation.
4. Pakkens indhold
Bekræft at alle varer er til stede i pakken:
- 1 x ATEM POWER 40A DC to DC Charger with Anderson Style Plugs
- 3 x Anderson Style Plugs (additional for custom wiring)
- 1 x brugermanual

Image 4.1: The complete package contents.
5. Opsætning og installation
5.1. Forbindelse overview
The charger is equipped with Anderson style plugs for convenient wiring. Refer to the diagram below for connection details:

Image 5.1: Anderson style plug connections and their functions.
- Blå: Solar Input (+)
- Sort: Ground (GND) for Solar Input
- Gul: Output (+) to Auxiliary Battery
- Sort: Ground (GND) for Output
- Rød: DC Input (+) from Start Battery
- Sort: Ground (GND) for DC Input
- ACC Ignition Line: Connect to an ignition-switched power source (optional, for smart alternator compatibility).
5.2. Ledningsdiagram
Follow the wiring diagram for a typical installation in a vehicle with both a start battery and an auxiliary (house) battery, including an optional solar panel connection.

Image 5.2: Comprehensive wiring diagram for installation.
Vigtige overvejelser:
- Ensure appropriate fuses/breakers are installed on all positive lines as indicated in the diagram.
- The ACC ignition wire is recommended for vehicles with smart alternators to ensure proper charging initiation.
- Maintain proper cable gauge for the current draw to prevent voltage drop og overophedning.
6. Betjeningsvejledning
6.1. Valg af batteritype
Tryk på "VÆLGE" button on the charger to cycle through and choose the appropriate battery type for your auxiliary battery (AGM, Gel, Calcium, Lead Acid, or LiFePO4). The selected battery type will be indicated by an illuminated LED.
6.2. Reverse Charging Function
To activate reverse charging and revive a flat start battery from your auxiliary battery, press the "REVERSE CHARGE" button. This feature ensures your starter battery remains charged for off-road use.
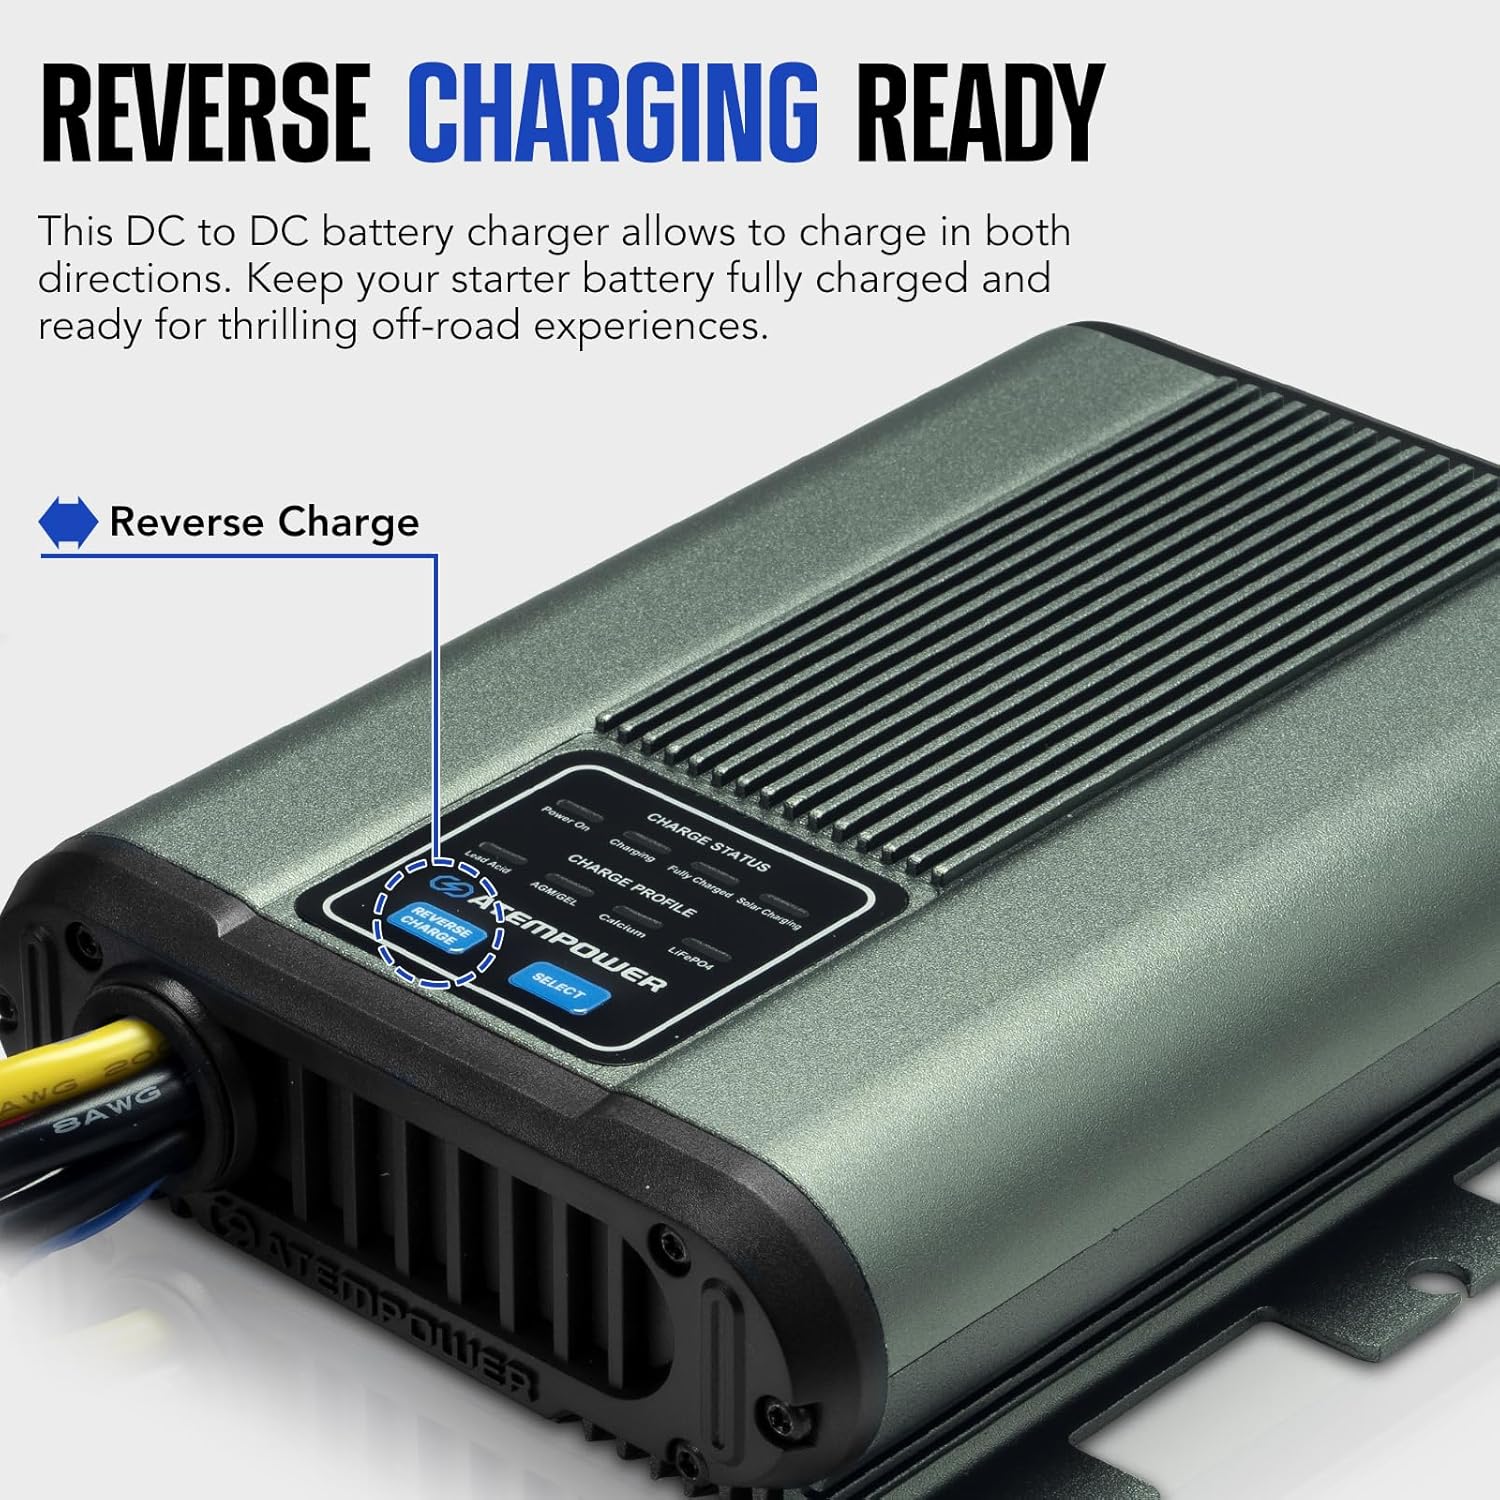
Image 6.1: Location of the Reverse Charge button.
6.3. DC Charging Priority
The charger is configured with DC charging priority. When both the vehicle's start battery (DC input) and solar panels are connected and meet the startup conditions, the charger will prioritize the vehicle battery input. If solar charging is already active, the system will continuously monitor the DC input and automatically switch to DC power if conditions are met.
- Startup Conditions:
- DC-indgang: 13-24V
- Solar Input: 13-26V
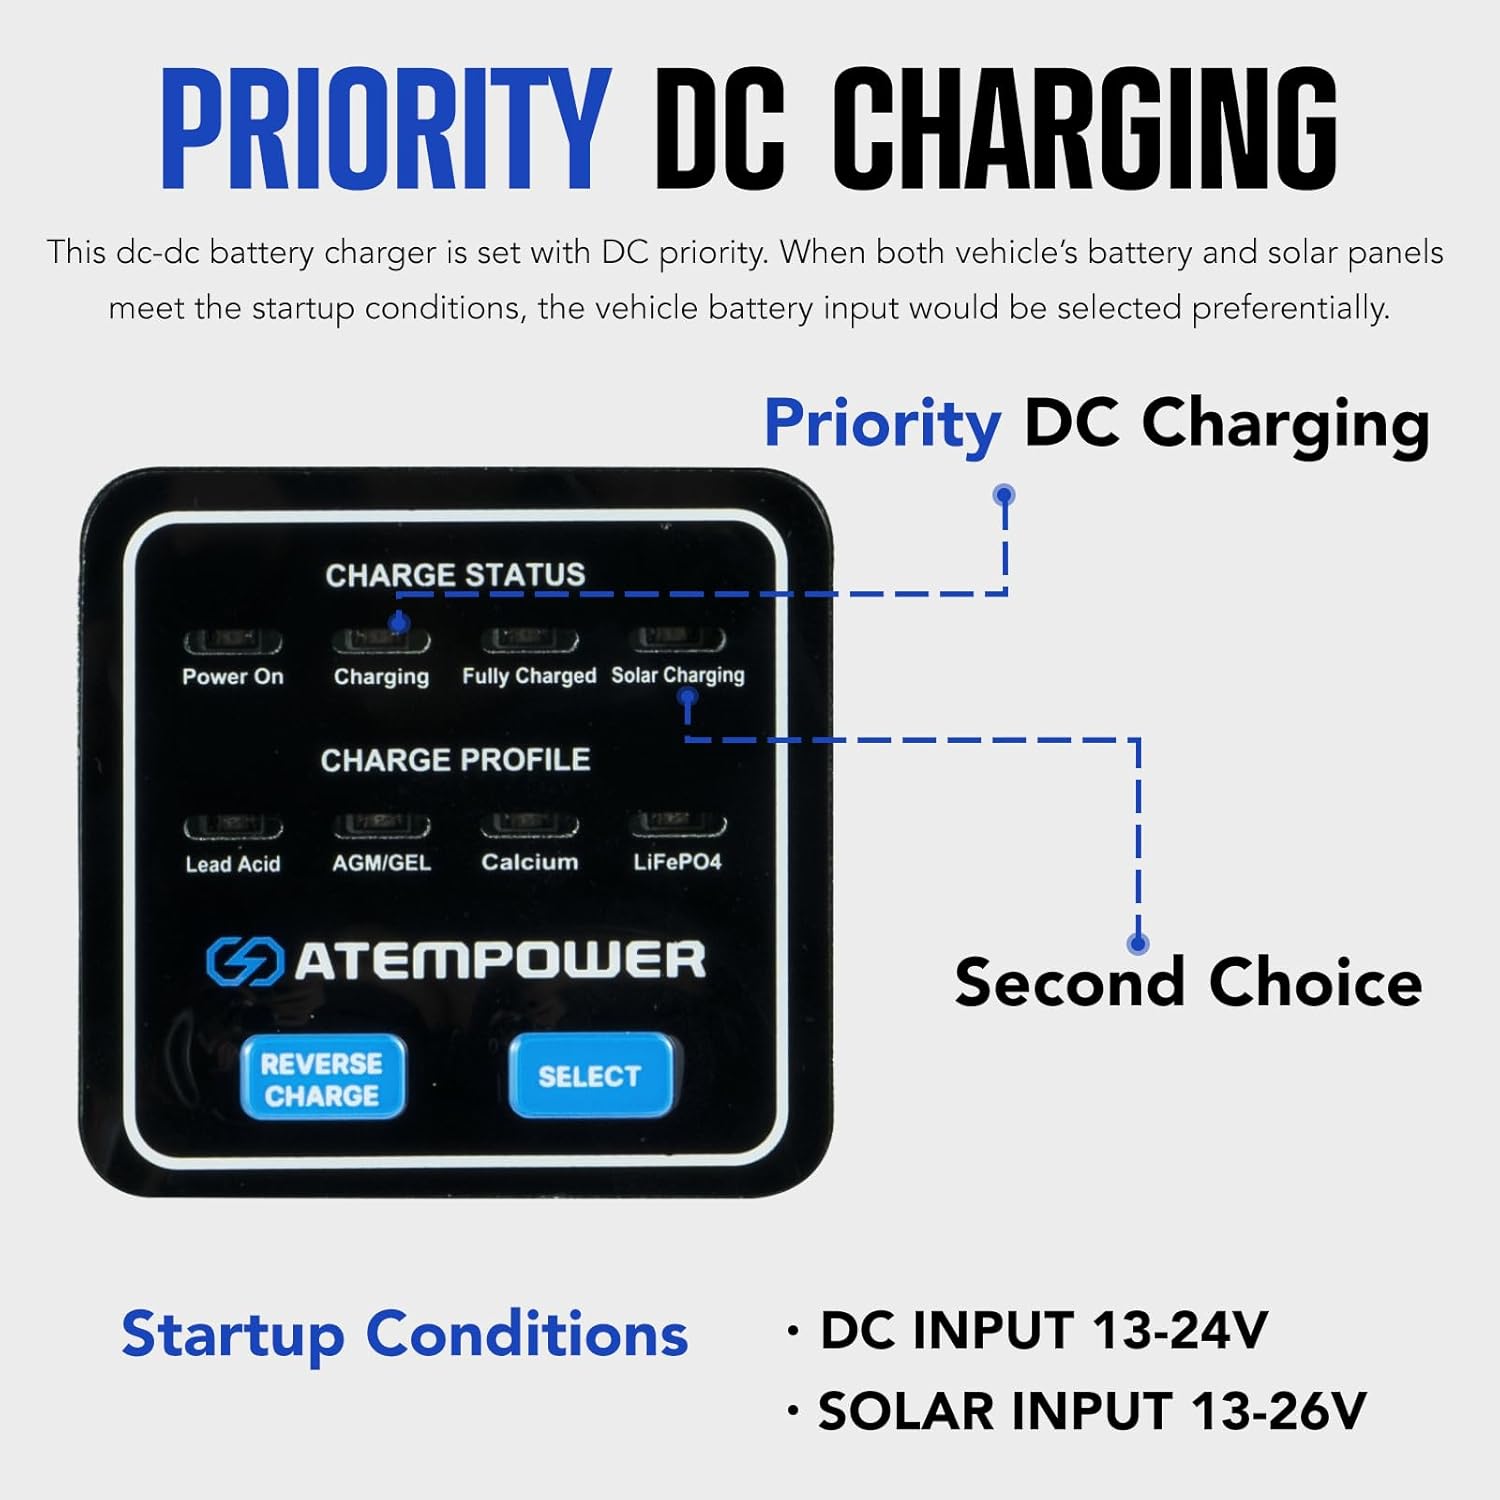
Image 6.2: DC Charging Priority logic.
6.4. LiON Mode for LiFePO4 Batteries
For LiFePO4 batteries, the intelligent LiON mode automatically activates a sleeping battery, ensuring prolonged and reliable use without manual intervention.

Image 6.3: The charger's LiON mode activating a LiFePO4 battery.
7. Vedligeholdelse
Regelmæssig vedligeholdelse sikrer din opladeres levetid og optimale ydeevne:
- Periodically inspect all wiring and connections for signs of wear, corrosion, or looseness.
- Hold opladeren ren og fri for støv og snavs. Brug en tør klud til rengøring.
- Ensure adequate ventilation around the unit to prevent heat buildup.
- Check the condition of fuses/breakers regularly and replace if necessary with the correct rating.
8. Fejlfinding
Hvis du støder på problemer med din oplader, kan du se følgende almindelige fejlfindingstrin:
- Oplader aktiveres ikke:
- Verify that both DC input (from start battery) and/or solar input meet the minimum voltage requirements (DC: 13-24V, Solar: 13-26V).
- Check all connections for proper seating and polarity.
- Inspect fuses/breakers for continuity.
- Ensure the ACC ignition wire (if used) is receiving power when the vehicle is running.
- Lav opladningsudgang:
- Confirm the correct battery type is selected on the charger.
- Tjek for overdreven voltage drop in wiring due to undersized cables or long runs.
- Ensure solar panels are clean and receiving adequate sunlight if solar charging is active.
- Verify the alternator is functioning correctly and providing sufficient voltage.
- Overophedning:
- Ensure the charger is installed in a location with sufficient airflow.
- Remove any obstructions around the cooling fins.
- Reduce load if possible, or ensure the charger is not operating beyond its rated capacity.
If the issue persists after performing these checks, contact ATEM POWER customer support.
9. Specifikationer
| Feature | Specifikation |
|---|---|
| Model | 40A DC to DC Battery Charger |
| Produktdimensioner | 14.2 cm D x 19 cm B x 5 cm H (5.59 cm D x 7.48 cm B x 1.97 cm H) |
| Varens vægt | 3.19 pund (1.45 kg) |
| Udgang Voltage | 12 Volts (DC) (Note: Input voltage range is 13-24V for DC, 13-26V for Solar) |
| Batterikompatibilitet | AGM, Gel, Calcium, Lead Acid, LiFePO4 |
| Fabrikant | ATEM POWER |
| Farve | Grå |

Billede 9.1: Produktmål.
10. Garanti og support
The ATEM POWER 40A DC to DC Battery Charger comes with a 1 års garanti fra købsdatoen, dækker defekter i materialer og udførelse.
For technical support, warranty claims, or further assistance, please contact ATEM POWER customer service through their official website or the retailer where the product was purchased. Please have your purchase receipt and product model information ready.


