1. Introduktion og overview
This manual provides detailed instructions for the installation, operation, and maintenance of your Yansoo 3-Channel Dash Cam. Please read this manual thoroughly before using the device to ensure proper functionality and safety.
Produktegenskaber:
- 3-kanals optagelse: Simultaneously captures video from the front (170° wide-angle), rear (165°), and inside (140°) of your vehicle.
- HD-video: Supports 1080P Front video + AHD-720P Rear video + AHD-720P Inside video.
- Forbedret nattesyn: Features 4 unique infrared LED fill lights, F1.8 aperture, and WDR technology for optimal performance in low light.
- Emergency Lock (G-Sensor): Automatically detects sudden shocks or collisions and locks the current video footage for at forhindre overskrivning.
- Loop-optagelse: Continuously records and automatically overwrites the oldest unlocked video files når hukommelseskortet er fuldt.
- Parkeringsmonitor: Activates recording when motion or shocking is detected while parked (requires separate hardwire kit for 24/7 monitoring).
- Adjustable Interior Camera: The interior lens can be rotated 60° for flexible positioning.
Pakkeindhold:
- Yansoo 3-Channel Dash Cam Unit
- Bagkamera med kabel
- Sugekopmontering
- Car Charger (Type-C)
- USB datakabel
- Brugermanual
- Mounting Hardware for Rear Camera
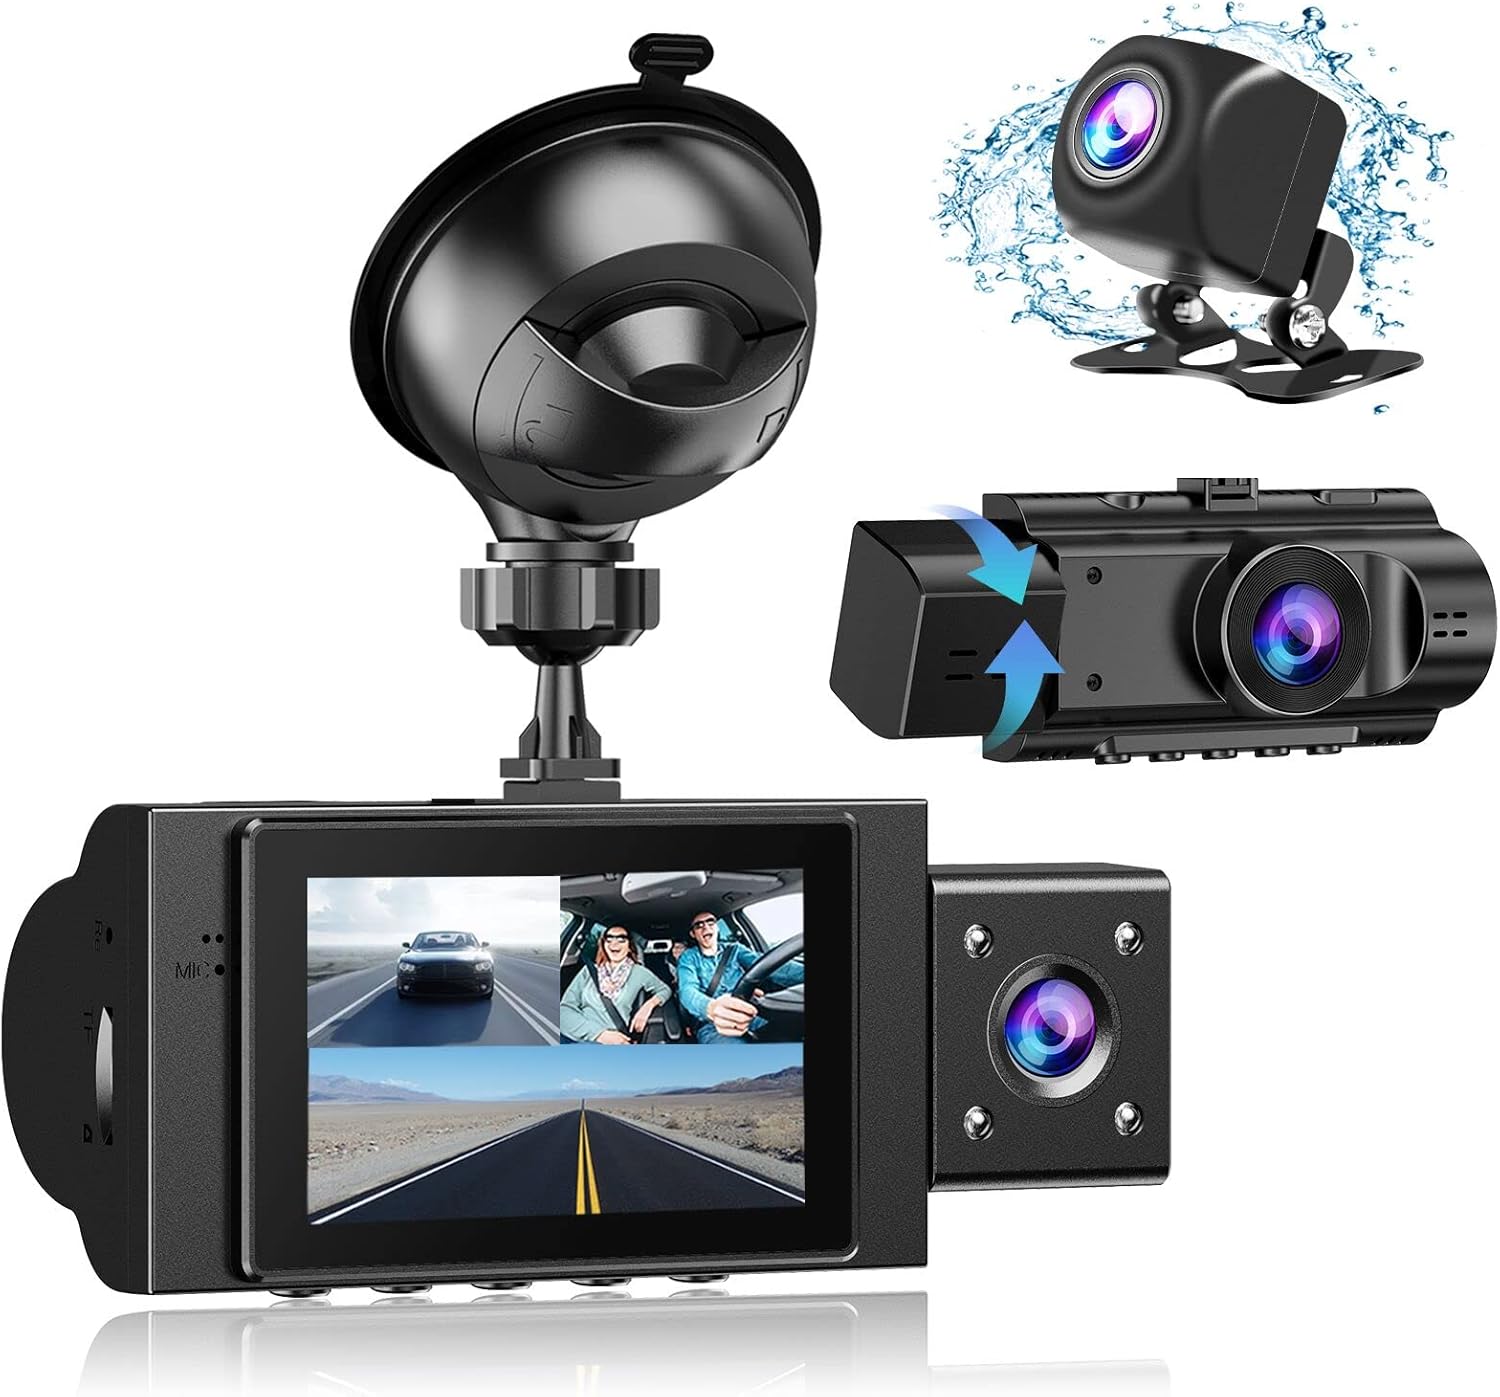
Image: The Yansoo 3-Channel Dash Cam unit with its suction cup mount and the separate rear camera, illustrating the complete package.
2. Opsætning
2.1 Isætning af hukommelseskortet
The dash cam supports Micro Memory cards up to 64GB (Class 10 or above recommended, not included). Please format the card in the camera menu before first use.
- Locate the memory card slot on the side of the dash cam.
- Insert the Micro Memory card into the slot until it clicks into place.
- For at fjerne det skal du forsigtigt skubbe kortet, indtil det springer ud.

Image: A four-panel illustration showing the steps to insert a Micro SD card into the dash cam's slot.
2.2 Montering af dashcam'et
Mount the main dash cam unit to your windshield using the provided suction cup mount. Choose a location that does not obstruct your view mens du kører.
- Rengør det valgte område på din forrude grundigt.
- Attach the suction cup mount to the dash cam unit.
- Tryk sugekoppen godt mod forruden, og vip håndtaget for at fastgøre den.
- Juster kameravinklen for at sikre et klart billede view af vejen forude.

Image: The Yansoo 3-Channel Dash Cam mounted on a car's windshield, showing its position relative to the driver's view.
2.3 Installation af bagkameraet
The rear camera provides a view of the vehicle's rear. It can be installed inside the rear window or externally above the license plate.
- Tilslut bagkamerakablet til den primære dashcam-enhed.
- Route the cable neatly along the vehicle's interior trim to the rear.
- Mount the rear camera in the desired location, ensuring a clear view.

Image: A diagram illustrating the recommended cable routing path for the dash cam and rear camera within a car's interior.
2.4 Strømtilslutning
Connect the dash cam to your vehicle's cigarette lighter socket using the provided car charger. The camera will automatically power on and begin recording when the vehicle starts.

Image: The Yansoo 3-Channel Dash Cam connected to a power source, indicating its readiness for operation.
3. Betjeningsvejledning
3.1 Grundlæggende betjening
- Tænd/sluk: The camera powers on/off automatically with your vehicle's ignition. You can also manually power on/off by pressing and holding the power button.
- Start/stop optagelse: Recording starts automatically when the camera powers on. Press the "OK" button to manually stop or start recording.
- Skift skærm Views: Press the "Up" button to cycle through different display modes (Front, Inside, Rear, Picture-in-Picture combinations).
Video: Demonstration of the Yansoo X88 Dash Cam's recording capabilities, showcasing its ability to capture clear video footage.
Video: Footage from the Yansoo X88 Dash Cam demonstrating its clear day and night recording capabilities.
Video: A demonstration of the Yansoo X88 Dash Cam's 1080P Full HD recording quality.
3.2 Menuindstillinger
To access the menu settings, stop recording (if active) by pressing the "OK" button, then press the "M" button twice.
- Opløsning: Adjust video resolution for front, inside, and rear cameras.
- Loop-optagelse: Indstil varigheden af videosegmenter (f.eks. 1, 3, 5 minutter).
- G-sensor følsomhed: Adjust the sensitivity of the emergency lock feature.
- Parkeringsmonitor: Enable or disable the parking monitoring function.
- Dato/tid: Indstil den korrekte dato og klokkeslæt for nøjagtigt tidspunktamps på optagelser.
- Sprog: Select your preferred language for the menu.
Video: A step-by-step guide on how to set the date and time on the Yansoo Dash Cam.
4. Vedligeholdelse
- Almindelig formatering: Format the memory card regularly (e.g., once a month) to prevent data corruption and ensure optimal recording performance.
- Rengøring af linser: Keep the camera lenses clean using a soft, lint-free cloth. Avoid abrasive materials that could scratch the lens.
- Firmwareopdateringer: Check the official Yansoo webwebstedet for tilgængelige firmwareopdateringer for at forbedre ydeevnen og tilføje nye funktioner.
- Temperaturovervejelser: Undgå at udsætte dashcam'et for ekstreme temperaturer i længere perioder.
5. Fejlfinding
| Problem | Mulig årsag | Løsning |
|---|---|---|
| Kameraet tænder ikke. | Ingen strøm fra cigarettænderen; løs forbindelse. | Check car charger connection; ensure vehicle ignition is on. |
| Optagelsen stopper uventet. | Memory card full or corrupted; G-Sensor triggered. | Format memory card; adjust G-Sensor sensitivity. |
| Video footage er sløret. | Protective film on lens; dirty lens. | Remove protective film; clean lenses with a soft cloth. |
| Date/Time is incorrect. | Date/Time not set or battery low. | Set Date/Time in menu; ensure continuous power supply. |
| Kameraet fryser eller fungerer ikke korrekt. | Softwarefejl. | Use a needle to press the "RE" (Reset) button. |
6. Specifikationer
| Feature | Detalje |
|---|---|
| Produktdimensioner | 4.13 x 1.57 x 1.77 tommer |
| Varens vægt | 1.23 pund |
| Videooptagelsesopløsning | 1080p (Front), 720p (Inside & Rear) |
| Felt Af View | 170° (Front), 140° (Inside), 165° (Rear) |
| Forbindelsesteknologi | USB |
| Speciel funktion | G-Sensor, Loop Recording, Parking Monitor, Night Vision |
| Monteringstype | Sugemontering |
| Fabrikant | Yansoo |
7. Garanti og support
Yansoo offers comprehensive after-sales support for your dash cam.
- Garanti: 1-YEAR warranty from the date of purchase.
- Teknisk Service: 7*24 hours technical service is available.
- Kontakte: For any questions or issues, please contact our customer service team via Amazon or the after-sales email provided in the original product packaging.
- Brugermanual (PDF): En digital version af brugermanualen kan downloades her.


