1. Introduktion
Thank you for choosing the CREATE NETBOT S40 Robot Vacuum and Mop. This manual provides essential information for the safe operation, maintenance, and troubleshooting of your device. Please read it thoroughly before first use and retain it for future reference.
2. Sikkerhedsinstruktioner
For at mindske risikoen for personskade eller beskadigelse skal du overholde følgende sikkerhedsforanstaltninger:
- Dette apparat kan bruges af børn i alderen 8 år og derover og personer med nedsatte fysiske, sensoriske eller mentale evner eller mangel på erfaring og viden, hvis de har fået opsyn eller instruktion i brugen af apparatet på en sikker måde og forstår de involverede farer. .
- Børn må ikke lege med apparatet. Rengøring og brugervedligeholdelse må ikke udføres af børn uden opsyn.
- Ensure the robot is placed on a stable, level surface.
- Do not expose the robot to water or other liquids.
- Hold hår, løstsiddende tøj, fingre og alle dele af kroppen væk fra åbninger og bevægelige dele.
- Do not operate the robot in areas with open flames or explosive materials.
- Use only the original charging adapter and battery provided by the manufacturer.
- Before cleaning or maintenance, always switch off the robot and unplug it from the power source.
3. Pakkens indhold
Bekræft at alle varer er til stede i din pakke:
- CREATE NETBOT S40 Robot Vacuum and Mop
- Opladningsdock
- Strømadapter
- Fjernbetjening
- Sidebørster (2 par)
- Main Brush (pre-installed + 1 spare)
- Støvbeholder
- Vandtank med moppepude
- Rengøringsværktøj
- Brugermanual
4. Produktet er slutview
Familiarize yourself with the components of your CREATE NETBOT S40.

Billede 4.1: Top view of the CREATE NETBOT S40 robot vacuum, showing the main unit, a roller brush, a smartphone displaying the control app, and the remote control.

Billede 4.2: Bund view of the robot, illustrating the main brush, side brushes, wheels, and various sensors.
Robot komponenter
- Låg: Houses the dust bin/water tank.
- Power/Start knap: Initiates or pauses cleaning.
- Opladningskontakter: For automatic charging at the dock.
- Sidebørster: Sweep debris into the main brush path.
- Hovedbørste: Collects dust and debris from the floor.
- Støvbeholder: Opsamler tørt snavs.
- Vandtank: Holds water for mopping.
- Moppepude: Attaches to the water tank for wet cleaning.
- Klippesensorer: Detect edges and prevent falls.
- Kofanger: Detects obstacles.
- Drivhjul: Fremdriv robotten.
- Universalhjul: Provides steering.

Image 4.3: Close-up of the robot's top cover, showing the 'CREATE NETBOT S40' branding.
5. Opsætning
5.1 Placering af ladestation
Place the charging dock against a wall in an open, uncluttered area. Ensure there is at least 1 meter (3 feet) of clear space on both sides and 2 meters (6 feet) in front of the dock. Plug the power adapter into the dock and then into a wall outlet.

Image 5.1: The robot positioned next to its charging dock, illustrating proper placement.
5.2 Indledende opladning
Place the robot onto the charging dock, ensuring the charging contacts align. The robot will emit a sound and the indicator light will illuminate, indicating it is charging. Fully charge the robot for 4-6 hours before its first use.
5.3 App Connection (Wi-Fi & Alexa)
For full functionality, download the CREATE Home app from your smartphone's app store. Follow the in-app instructions to connect your NETBOT S40 to your home Wi-Fi network. Once connected, you can link the app to Alexa for voice control.
- Download the 'CREATE Home' app.
- Registrer eller log ind på din konto.
- Add your device by selecting 'Robot Vacuum' and following the pairing instructions.
- Sørg for, at dit Wi-Fi-netværk er 2.4 GHz.

Image 5.2: The robot shown alongside a smartphone displaying the CREATE Home app interface, indicating successful connection and mapping capabilities.
6. Betjeningsvejledning
6.1 Start/pause af rengøring
- Fra robotten: Press the power button on the robot's top cover.
- From Remote Control: Press the 'Start/Pause' button.
- Fra appen: Tap the 'Start' button in the CREATE Home app.
6.2 Rengøringstilstande
The NETBOT S40 offers various cleaning modes:
- Auto rengøring: Robotten navigerer og rengør intelligent hele gulvarealet.
- Rengøring af pletter: Koncentrerer rengøringen på et specifikt lille område.
- Kantrensning: Rengør langs vægge og møbelkanter.
- Planlagt rengøring: Set specific times for the robot to clean automatically via the app.
6.3 Moppefunktion
Sådan bruger du moppefunktionen:
- Fill the water tank with clean water. Do not use detergents or harsh chemicals.
- Fastgør moppepuden sikkert til vandtanken.
- Insert the filled water tank into the robot.
- Start en rengøringscyklus. Robotten vil støvsuge og moppe samtidigt.

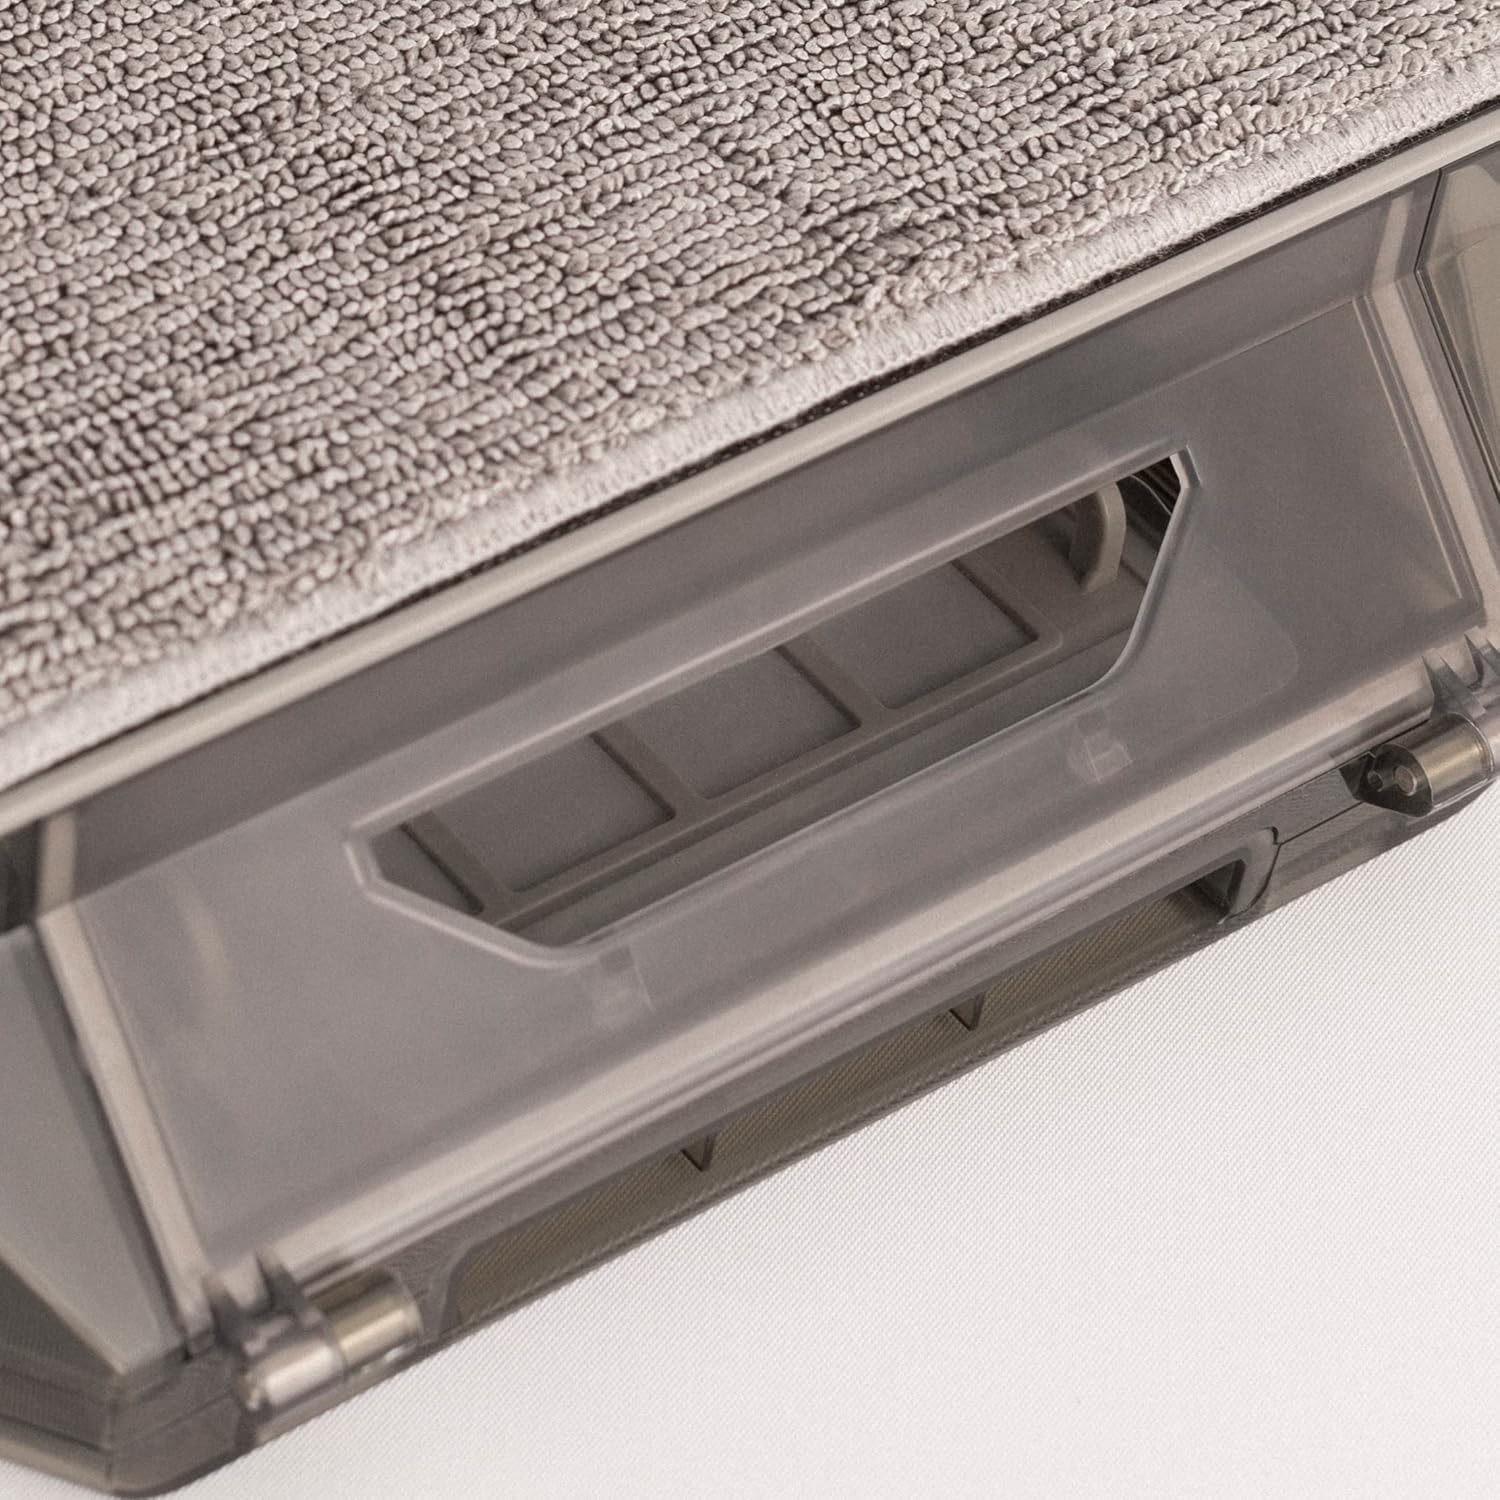
Billede 6.1: Nærbillede view of the mop pad attached to the water tank, ready for installation into the robot.
7. Vedligeholdelse
Regelmæssig vedligeholdelse sikrer optimal ydeevne og forlænger robottens levetid.
7.1 Rengøring af støvbeholder og filter
Empty the dust bin after each use and clean the filter regularly.
- Tryk på udløserknappen for at fjerne støvbeholderen.
- Åbn låget til støvbeholderen, og tøm indholdet.
- Remove the filter and tap it gently to remove dust. Do not wash the HEPA filter with water.
- Skyl støvbeholderen med vand om nødvendigt, og sørg for, at den er helt tør, inden den monteres igen.
Billede 7.1: Detaljeret view of the dust bin and its filter compartment, showing how it integrates into the robot.
7.2 Rengøring af hovedbørste
Clean the main brush weekly to remove tangled hair and debris.
- Vend robotten om, og find hovedbørstedækslet.
- Remove the cover and lift out the main brush.
- Use the provided cleaning tool to cut and remove tangled hair.
- Geninstaller hovedbørsten og dækslet.
7.3 Rengøring af sidebørster
Inspect side brushes regularly for wear and tear, and clean them as needed.
- Træk forsigtigt sidebørsterne opad for at fjerne dem.
- Remove any hair or debris.
- If brushes are damaged, replace them with new ones.
- Press the new brushes firmly onto their posts until they click into place.
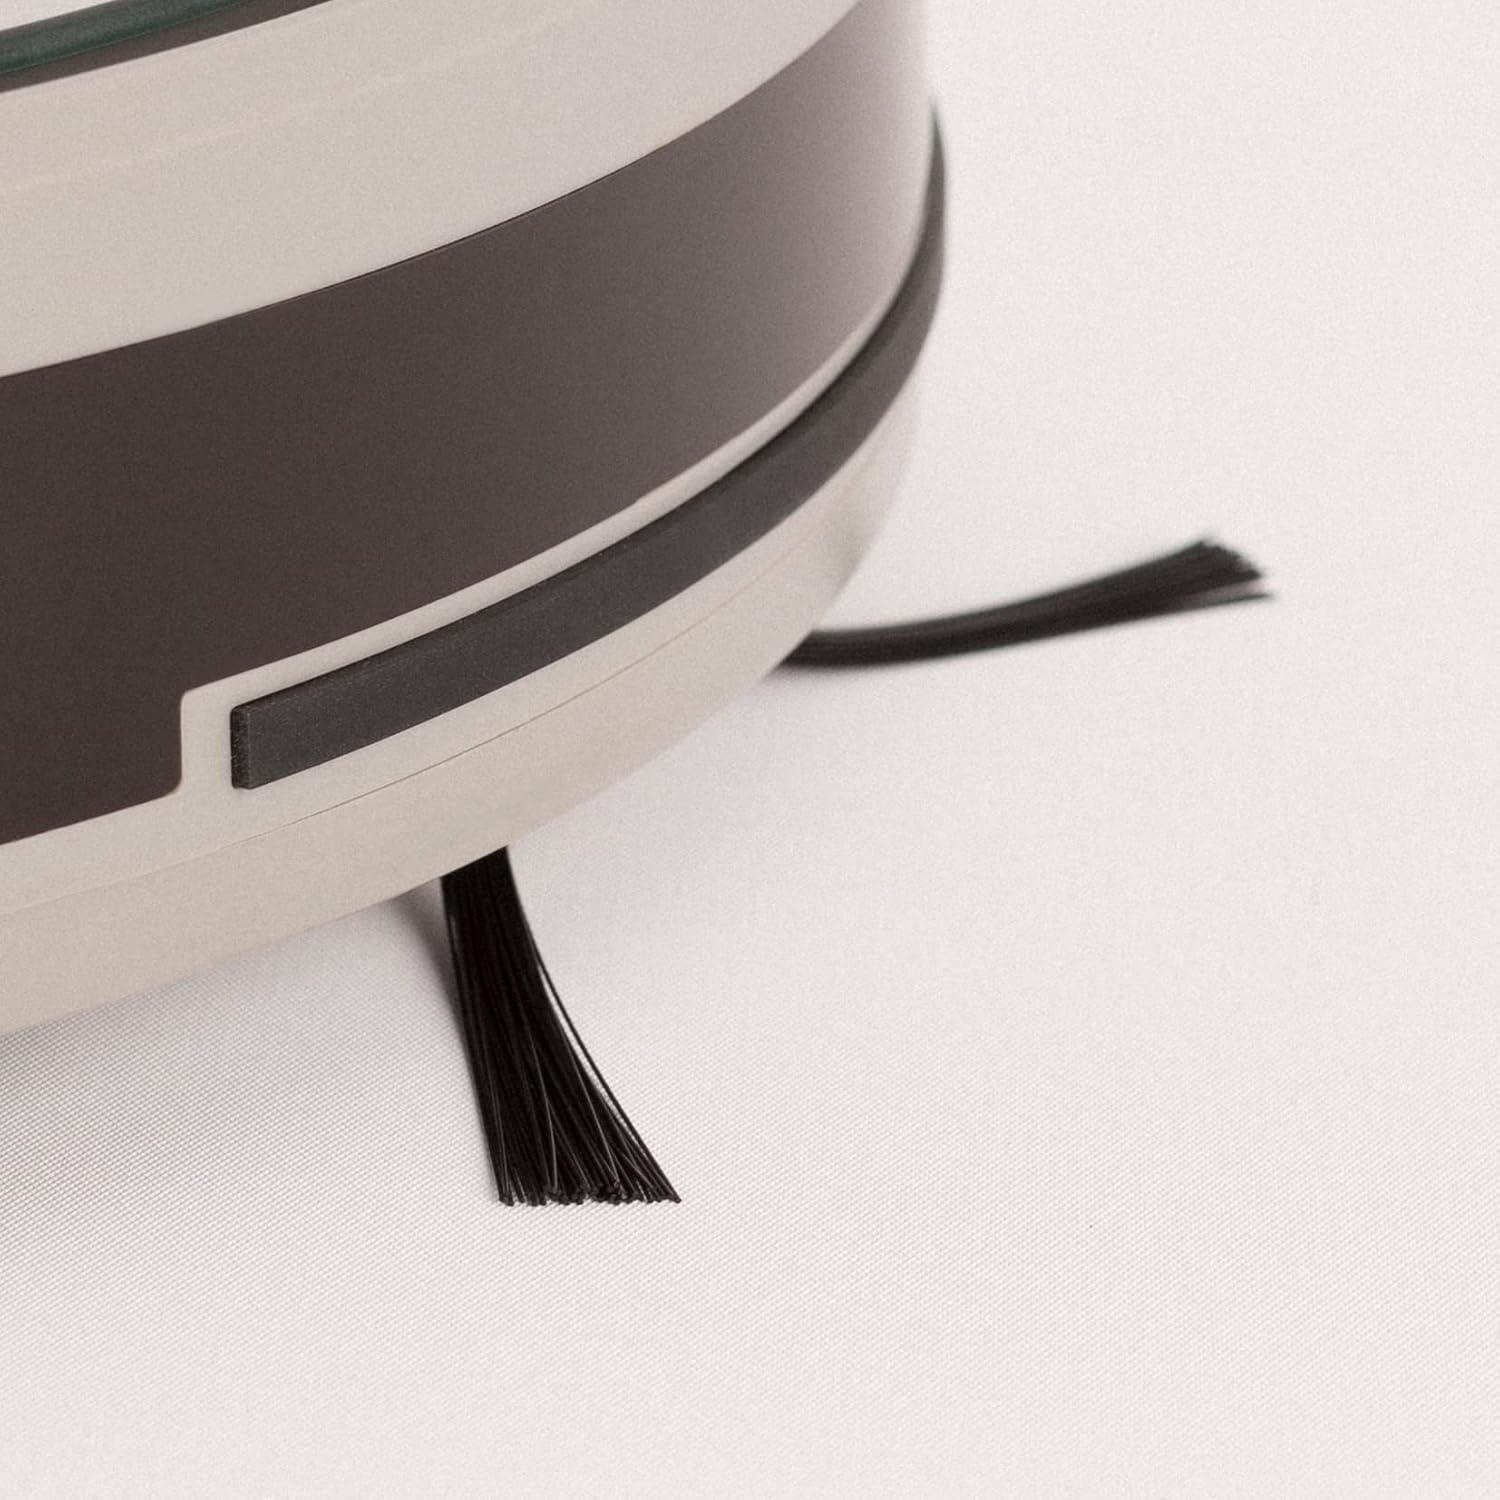
Image 7.2: Close-up of a side brush, showing its bristles and attachment point.
7.4 Rengøring af vandtank og moppepude
Efter hver moppesession:
- Tøm eventuelt resterende vand fra tanken.
- Remove the mop pad and rinse it thoroughly with water. Allow it to air dry.
- Rengør vandbeholderen med adamp klæde.
7.5 Sensorrensning
Wipe all sensors (cliff sensors, bumper sensor) with a clean, dry cloth monthly to ensure proper navigation.
8. Fejlfinding
If you encounter issues with your robot, refer to the following table:
| Problem | Mulig årsag | Løsning |
|---|---|---|
| Robotten tænder ikke | Lavt batteri; Sluk for strømmen | Oplad robotten; Sørg for, at tænd/sluk-knappen er tændt |
| Robotten kan ikke oplade | Opladningskontakter beskidte; Docken er ikke strømforsynet | Clean charging contacts; Check power adapter connection |
| Cleaning performance is poor | Støvbeholder fuld; Børster filtret sammen; Filter tilstoppet | Empty dust bin; Clean main/side brushes; Clean/replace filter |
| Robotten sidder ofte fast | Forhindringer på gulvet; klippesensorer snavsede | Clear floor area; Clean cliff sensors |
| App-forbindelse mislykkes | Forkert Wi-Fi-adgangskode; Router for langt væk; 5 GHz Wi-Fi | Bekræft adgangskode; Flyt robotten tættere på routeren; Sørg for 2.4 GHz Wi-Fi |
Hvis problemet fortsætter, bedes du kontakte kundesupport.
9. Specifikationer
- Mærke: SKABE
- Modelnavn: NETBOT S40
- Modelnummer: 130436_269434
- Sugekraft: 4000 Pa (as per product description)
- Batterilevetid: Up to 220 minutes (as per product description)
- Forbindelse: Wi-Fi, App Control, Alexa compatible
- Dimensioner: 64 x 40 x 12 cm (package dimensions)
- Varens vægt: 116 Grams (as per specifications, likely product weight is higher, but using provided data)
- Batteri inkluderet: Ja
10. Garanti og support
Your CREATE NETBOT S40 comes with a standard manufacturer's warranty. Please refer to the warranty card included in your package for specific terms and conditions, including warranty period and coverage.
For technical support, troubleshooting assistance, or to inquire about replacement parts, please contact CREATE customer service through their official webwebstedet eller kontaktoplysningerne i din produktdokumentation.


