Indledning
Thank you for choosing KepStars 300 LED Smart Curtain Lights. This manual provides essential information for the safe and efficient operation of your new lighting system. Please read it thoroughly before installation and use, and retain it for future reference.
Vigtige sikkerhedsoplysninger
- Sørg for, at strømkilden passer til produktets lydstyrketage-krav (5V DC).
- Do not expose the USB plug or controller to water. The lights are designed for indoor/outdoor use, but the power components require protection.
- Avoid bending or twisting the wires excessively, as this may damage the internal circuitry.
- Opbevares utilgængeligt for børn og kæledyr.
- Unplug the lights from the power source before cleaning or when not in use for extended periods.
- Forsøg ikke at reparere eller ændre produktet. Kontakt kundesupport for at få hjælp.
Hvad er der i æsken
- LED Curtain Lights (9.8ft x 9.8ft, 300 LEDs)
- IR fjernbetjening
- Brugervejledning (denne manual)
- 10 Hooks for installation
Opsætningsinstruktioner
- Pak lysene ud: Carefully remove the LED curtain lights from their packaging. Be gentle to avoid tangling the individual light strings.
- Identificér hovedkablet: Locate the main horizontal cable from which the 10 vertical light strings descend.
- Hæng lysene: Use the provided hooks to hang the main horizontal cable in your desired location. Ensure the hooks are securely fastened to a stable surface. The vertical strings should hang freely.
- Tilslut strøm: The lights are USB-powered. Connect the USB plug to a compatible 5V USB power source (e.g., USB charger, power bank, laptop USB port).

Image: The USB plug connected to various power sources like a wall adapter, power bank, and laptop.
- Tjek forbindelser: Ensure all individual light strings are securely connected to the main horizontal cable. Loose connections can prevent certain sections from lighting up.
Betjeningsvejledning
Your KepStars LED Curtain Lights can be controlled via the included IR remote or the dedicated smart application.
1. Brug af IR-fjernbetjeningen
The IR remote allows for quick adjustments to color, brightness, and scene modes. Point the remote directly at the USB controller for optimal response.
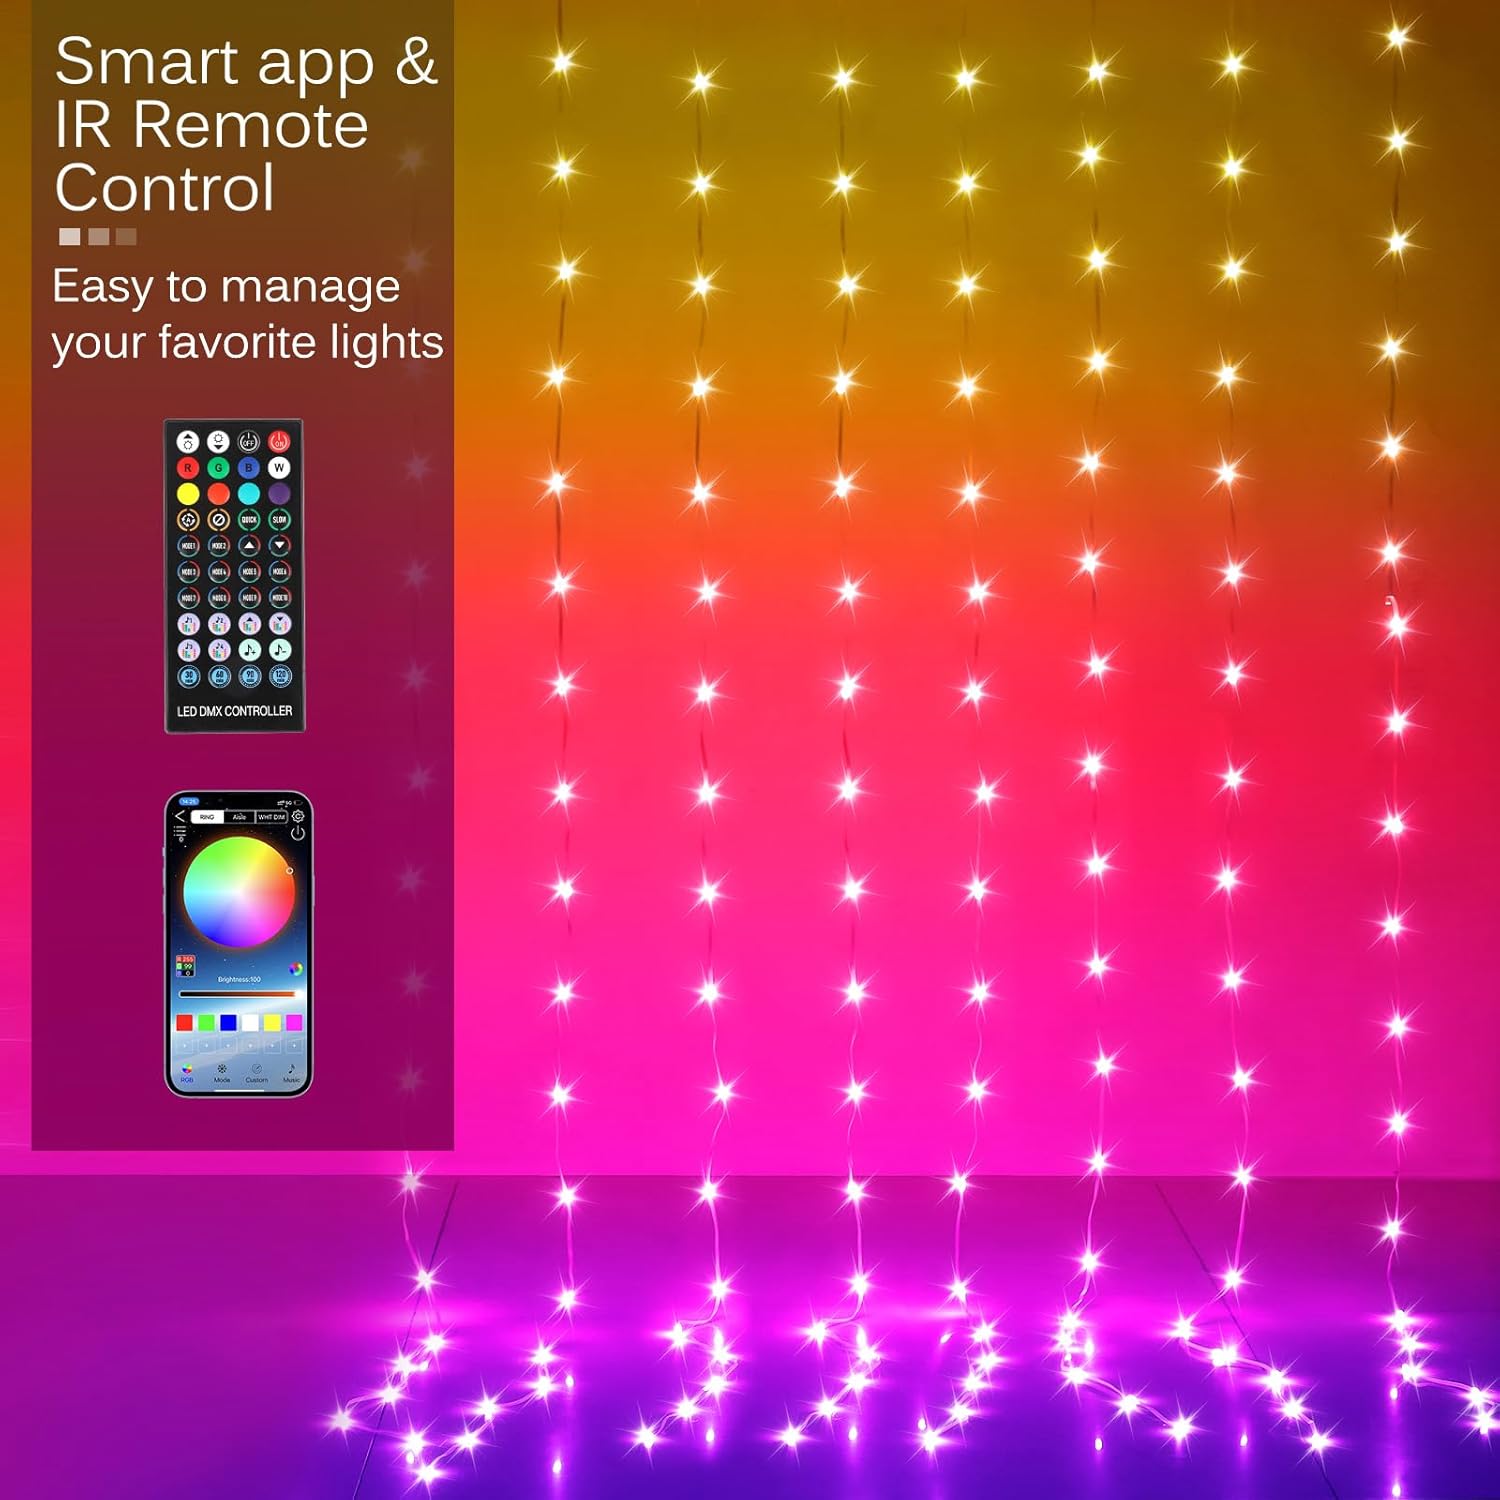
Image: The IR remote control and a smartphone displaying the control app interface.
- Tænd/sluk: Use the red power button.
- Farvevalg: Choose from a variety of preset colors using the color buttons.
- Justering af lysstyrke: Increase or decrease brightness using the dedicated buttons.
- Valg af tilstand: Cycle through various scene modes (e.g., blinking, twinkling, fading) using the mode buttons.
2. Using the Smart APP (Bluetooth Connection)
For advanced control and customization, download the "LED Bluetooth Symphony Controller" app (refer to the user guide for QR code or app store links). Ensure your phone's Bluetooth is enabled.
Video: Demonstration of the KepStars LED Curtain Lights being controlled via the smart app, showcasing various scene modes and color changes.
- App-forbindelse: Open the app, and it will automatically search for nearby devices. Select your LED Curtain Lights to connect via Bluetooth.
- 200+ Scene Options: Explore over 200 preset scene modes to match any occasion or mood.

Image: A smartphone screen showing the app interface with various scene mode selections for the LED curtain lights.
- Tilpasning: Adjust brightness, speed, and create custom color patterns.
- Music & Voice Sync: Activate the music or voice-activated mode to synchronize the lights with your favorite audio.
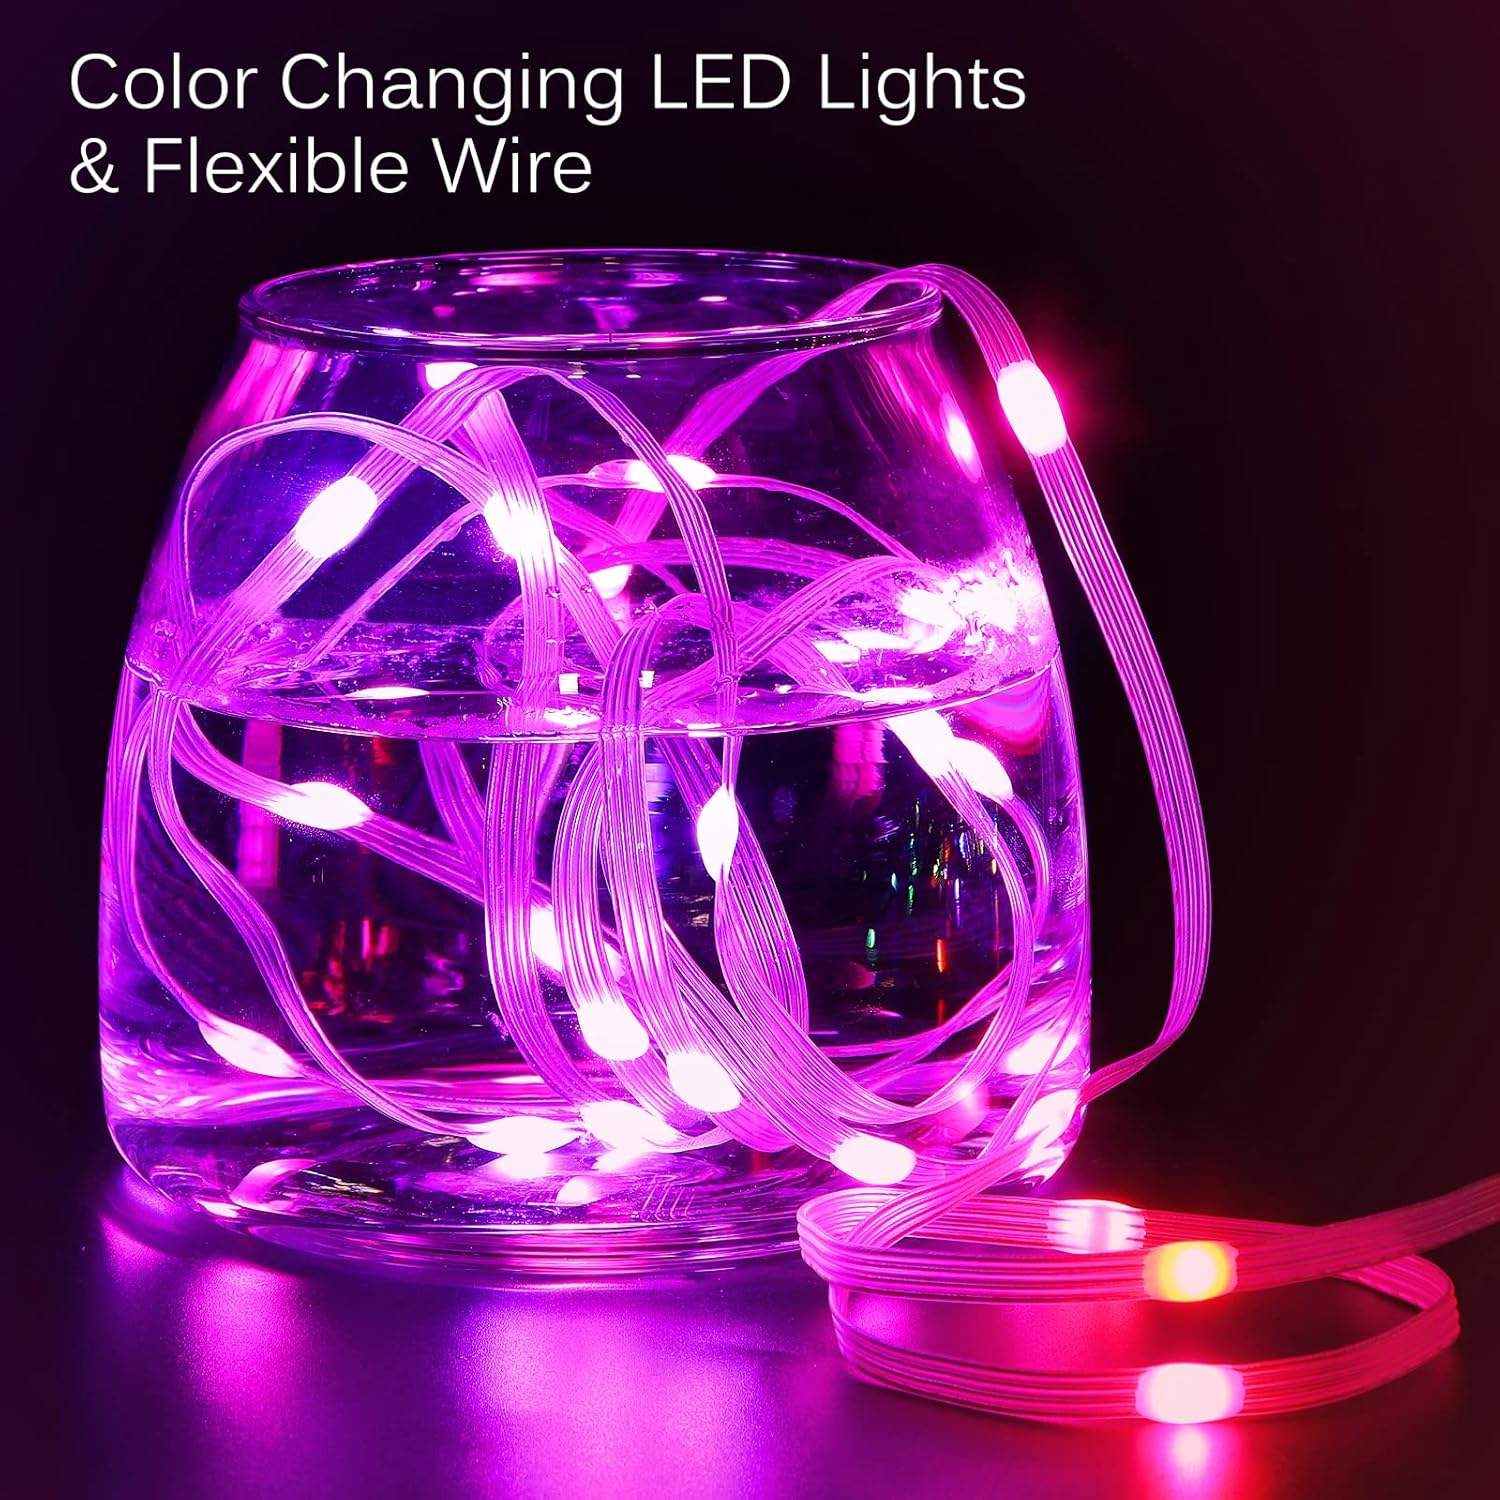
Image: Two people dancing in a room illuminated by KepStars LED Curtain Lights, demonstrating the music and voice sync feature.
Video: En kort optaktview video demonstrating the music and voice sync feature of the KepStars LED Curtain Lights, showing lights changing to the beat of music.
Opretholdelse
- Rensning: Gently wipe the lights with a soft, dry cloth. Do not use liquid cleaners or immerse the lights in water.
- Opbevaring: When not in use, carefully coil the light strings and store them in a cool, dry place away from direct sunlight and moisture.
- Battery Replacement (IR Remote): The IR remote uses 1 CR2 battery (included). Replace the battery when the remote's range or responsiveness decreases.
Fejlfinding
| Problem | Mulig årsag | Løsning |
|---|---|---|
| Lysene tænder ikke. | No power, loose USB connection, faulty power source. | Ensure USB is securely plugged into a working 5V power source. Try a different USB port or adapter. |
| Some light strings are not lit. | Loose connection between individual strings and main cable. | Check and firmly re-connect all white connectors along the main cable. |
| IR-fjernbetjeningen reagerer ikke. | Remote battery low/dead, remote not aimed at USB controller, obstruction. | Replace the CR2 battery in the remote. Ensure direct line of sight to the USB controller. |
| Smart APP cannot connect to lights. | Bluetooth off, lights not powered, app issue. | Ensure phone Bluetooth is on. Power cycle the lights. Restart the app. |
| Lights are glitching or changing colors randomly. | Interference, loose wiring in the USB controller. | Try moving the lights away from other electronic devices. Check the USB controller for any visible damage or loose wires. Contact support if issue persists. |
Specifikationer
| Feature | Detalje |
|---|---|
| Mærke | KepStars |
| Modelnummer | KEPS-MC-300LED |
| Lys type | LED gardinlamper |
| Dimensioner | 9.8 fod x 9.8 fod |
| Antal lysdioder | 300 |
| Farve | Flerfarvet (RGB) |
| Særlige funktioner | Blinking, Color Changing (200+ Preset Scene Mode), Dimmable, Smart APP & Remote Controlled, Timer, Twinkling |
| Kontrolmetoder | Smart APP (Bluetooth), IR Remote, Button Control |
| Strømkilde | DC 5V (USB-drevet) |
| Wattage | 5 watt |
| Indendørs/Udendørs brug | Indendørs og udendørs |
| Materiale | Plastic - PVC |
| Varens vægt | 0.34 kilogram (ca. 12 ounces) |
| Fjernbatteri | 1 CR2 batteri (medfølger) |
Garanti og support
For warranty information or technical support, please refer to the contact details provided with your purchase or visit the official KepStars webwebstedet. Behold din købskvittering som købsbevis.


