1. Introduktion
This manual provides detailed instructions for the safe and effective use of your Strex SP66 Inspection Camera. Please read this manual thoroughly before operating the device and retain it for future reference. The Strex SP66 is designed for inspecting hard-to-reach areas, offering clear visuals with its 1080P HD camera and 4.3-inch LCD screen.
2. Produktet er slutview
The Strex SP66 Inspection Camera is a versatile tool equipped with a flexible 10-meter cable and an 8mm camera lens. It features adjustable LED lighting for optimal visibility in dark environments and an IP67 waterproof rating for use in wet conditions. The integrated 4.3-inch LCD provides a clear 1080P HD display for real-time viewind og optagelse.
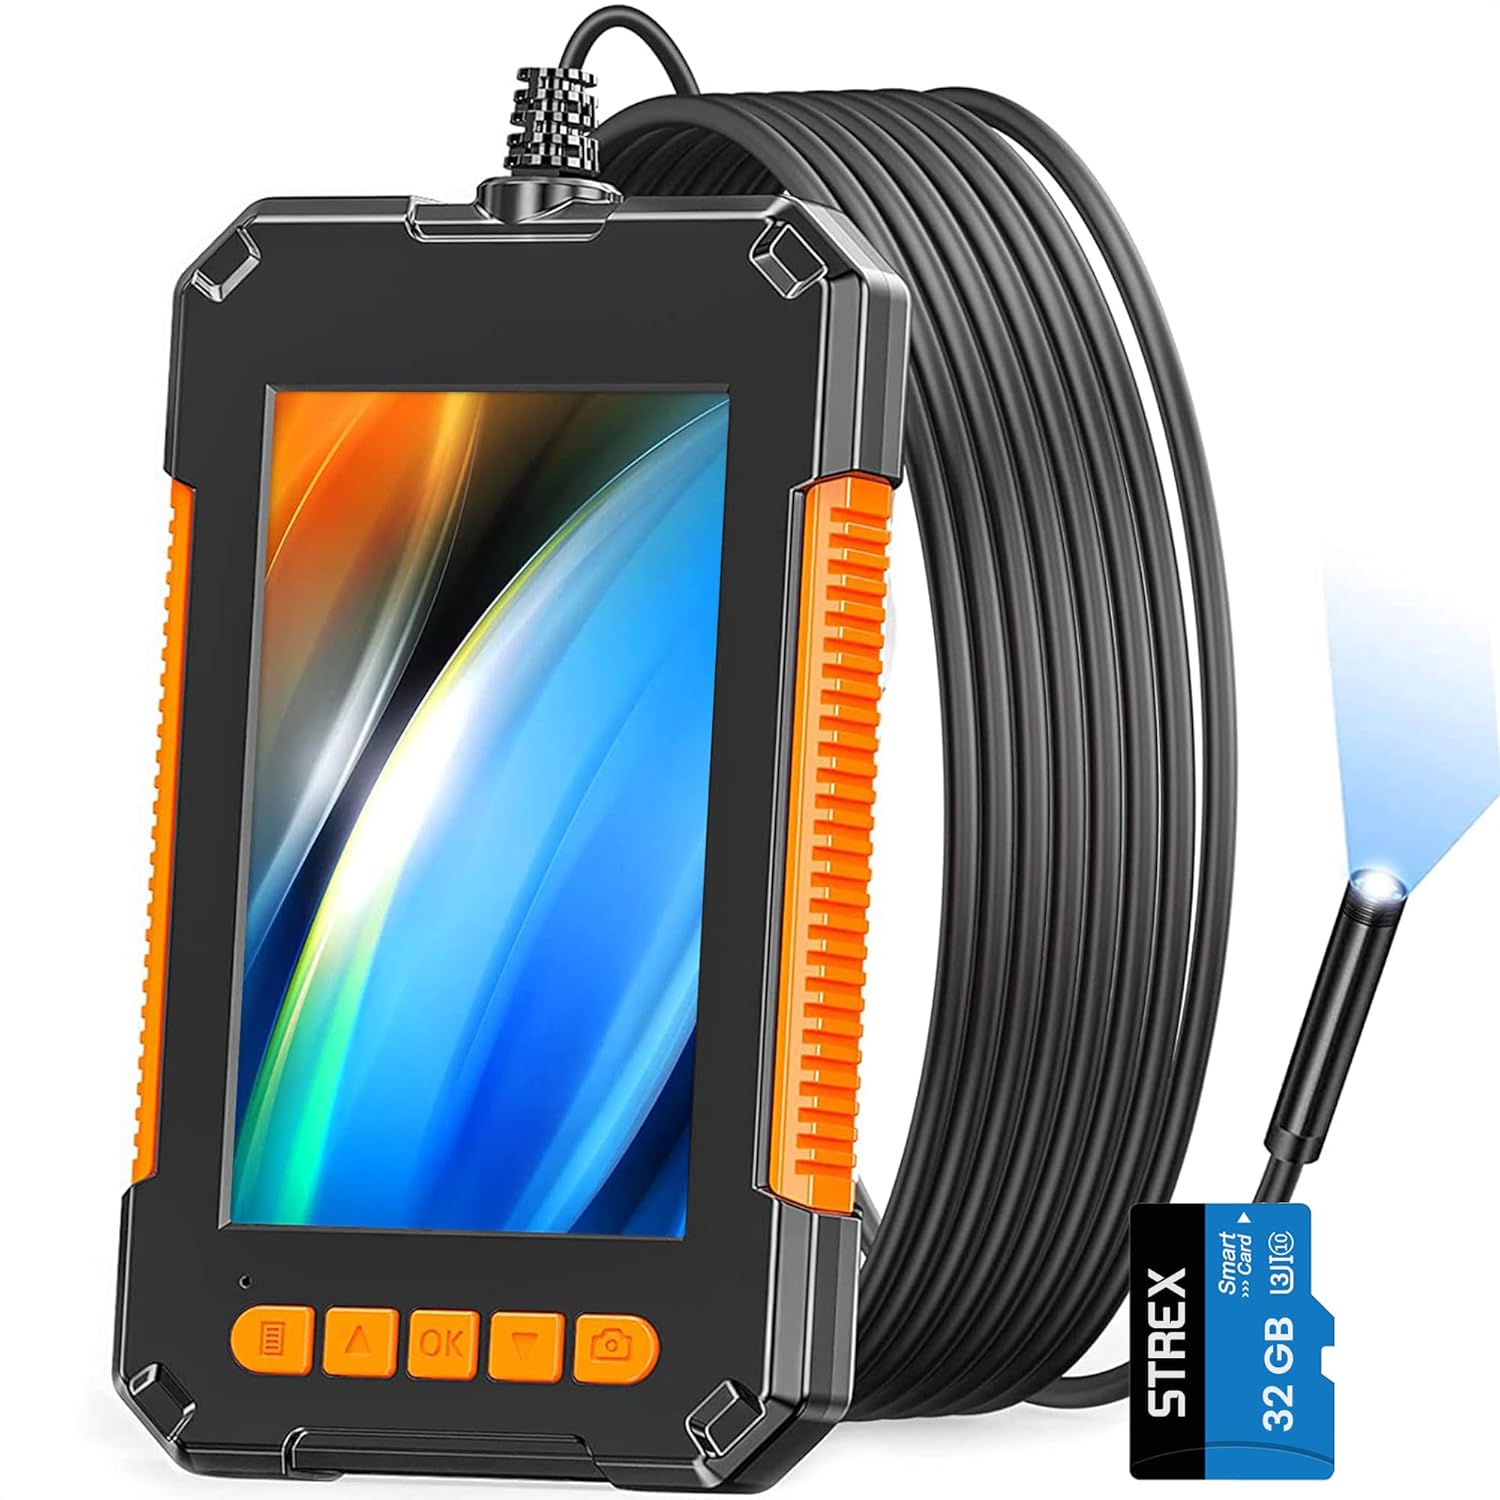
Figure 2.1: Strex SP66 Inspection Camera with its flexible cable and included SD card.

Figur 2.2: Overview of key features including the 8mm lens, 70-degree viewing angle, and IP67 rating.

Figure 2.3: The 4.3-inch HD LCD screen provides a clear 1080P display for detailed inspections.

Figure 2.4: The camera lens features 8 built-in adjustable LED lights and IP67 protection for clear images in various conditions.

Figure 2.5: The flexible yet rigid cable design allows it to hold its shape for easier navigation in tight spaces.

Figure 2.6: The inspection camera is suitable for a wide range of tasks, including plumbing, automotive, electrical, and industrial inspections.
3. Pakkens indhold
Bekræft, at alle nedenstående varer er inkluderet i din pakke. Hvis der mangler eller er beskadigede varer, bedes du kontakte kundesupport.
- 1 x Strex SP66 Inspection Camera (with 10-meter cable)
- 1 x USB ladekabel
- 1 x brugermanual
- 3 x Attachments: Hook, Magnet, Side Mirror
- 1 x SD Card (32GB, if included with your model)
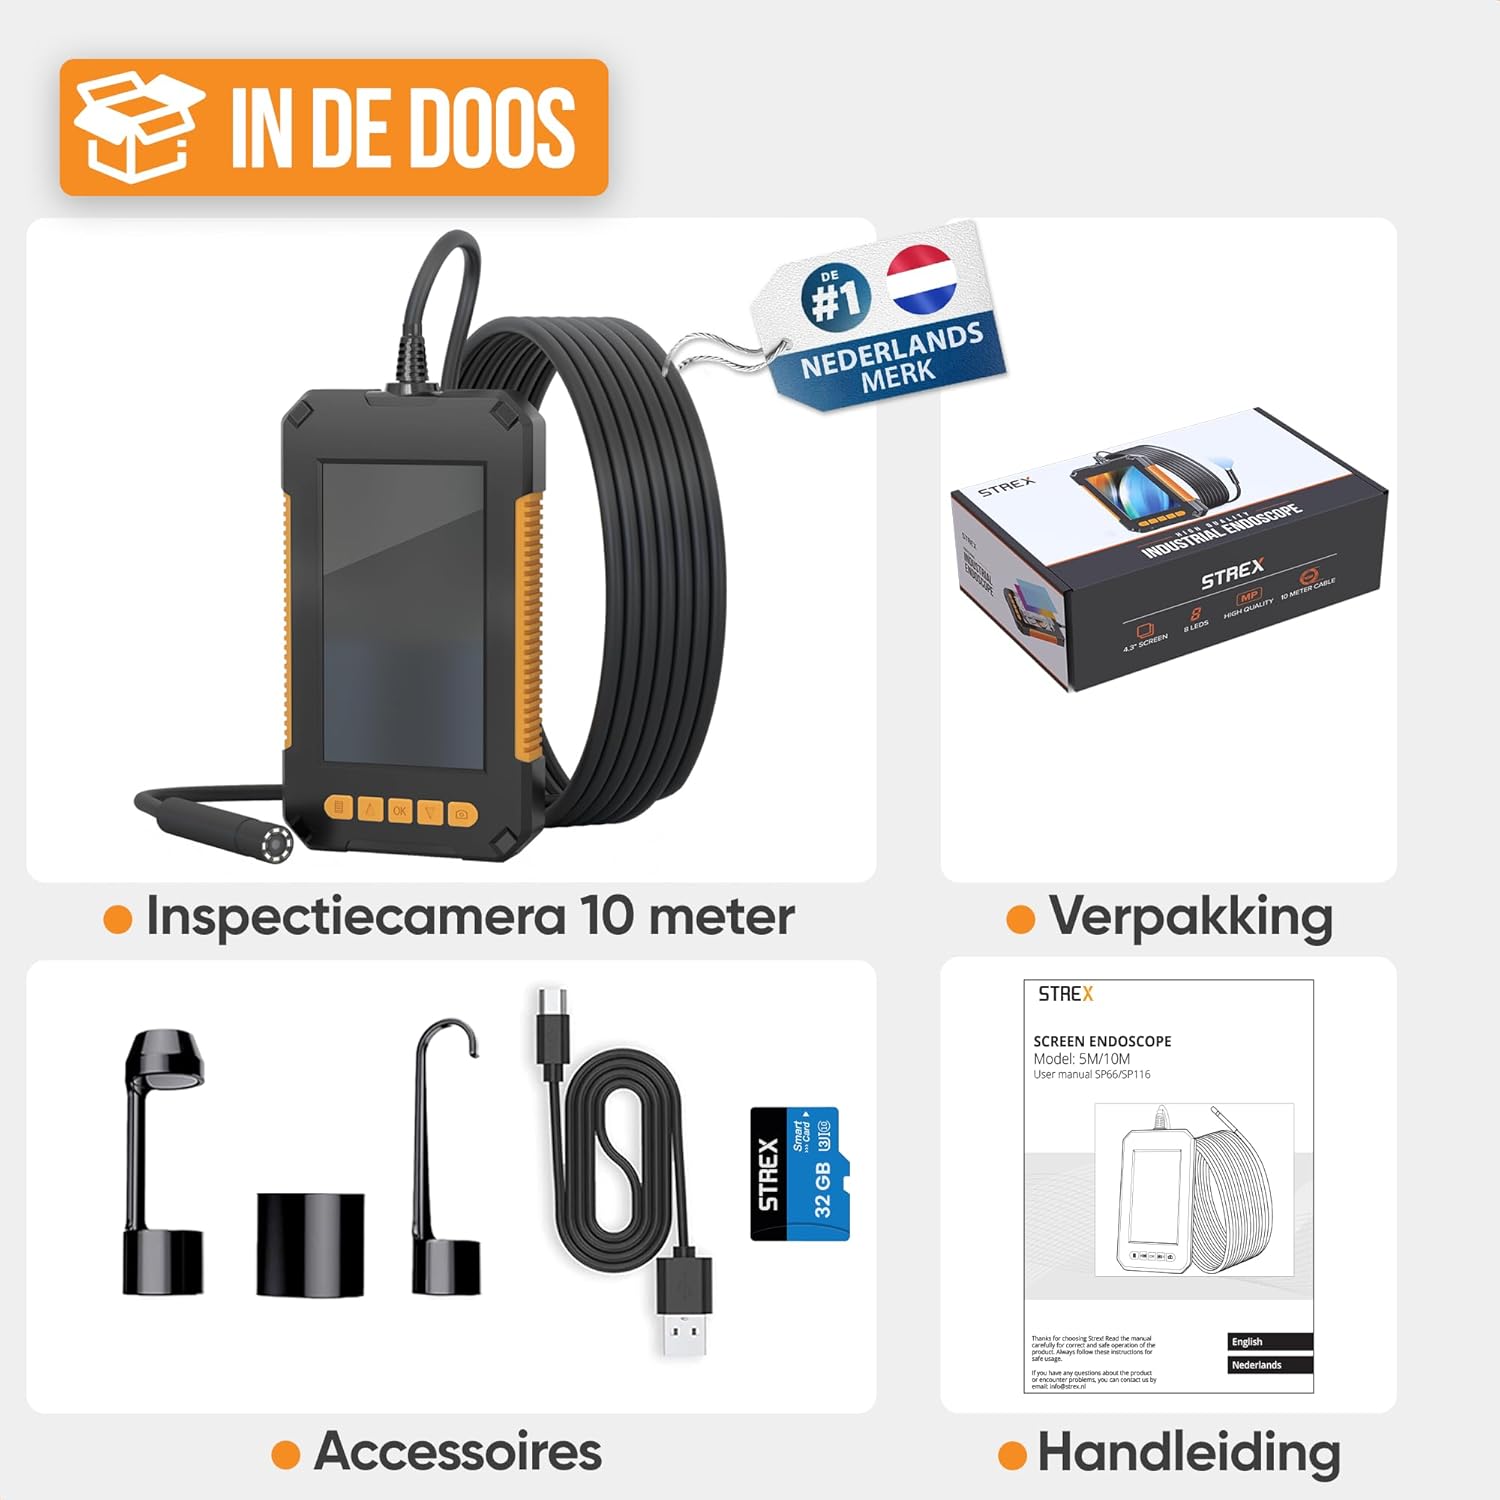
Figure 3.1: All components included in the Strex SP66 Inspection Camera package.
4. Opsætning
4.1 Opladning af enheden
Before first use, fully charge the inspection camera. Connect the provided USB charging cable to the camera's charging port and to a standard USB power adapter (not included) or a computer USB port. The built-in 2600 mAh battery provides up to 7 hours of continuous operation on a full charge.
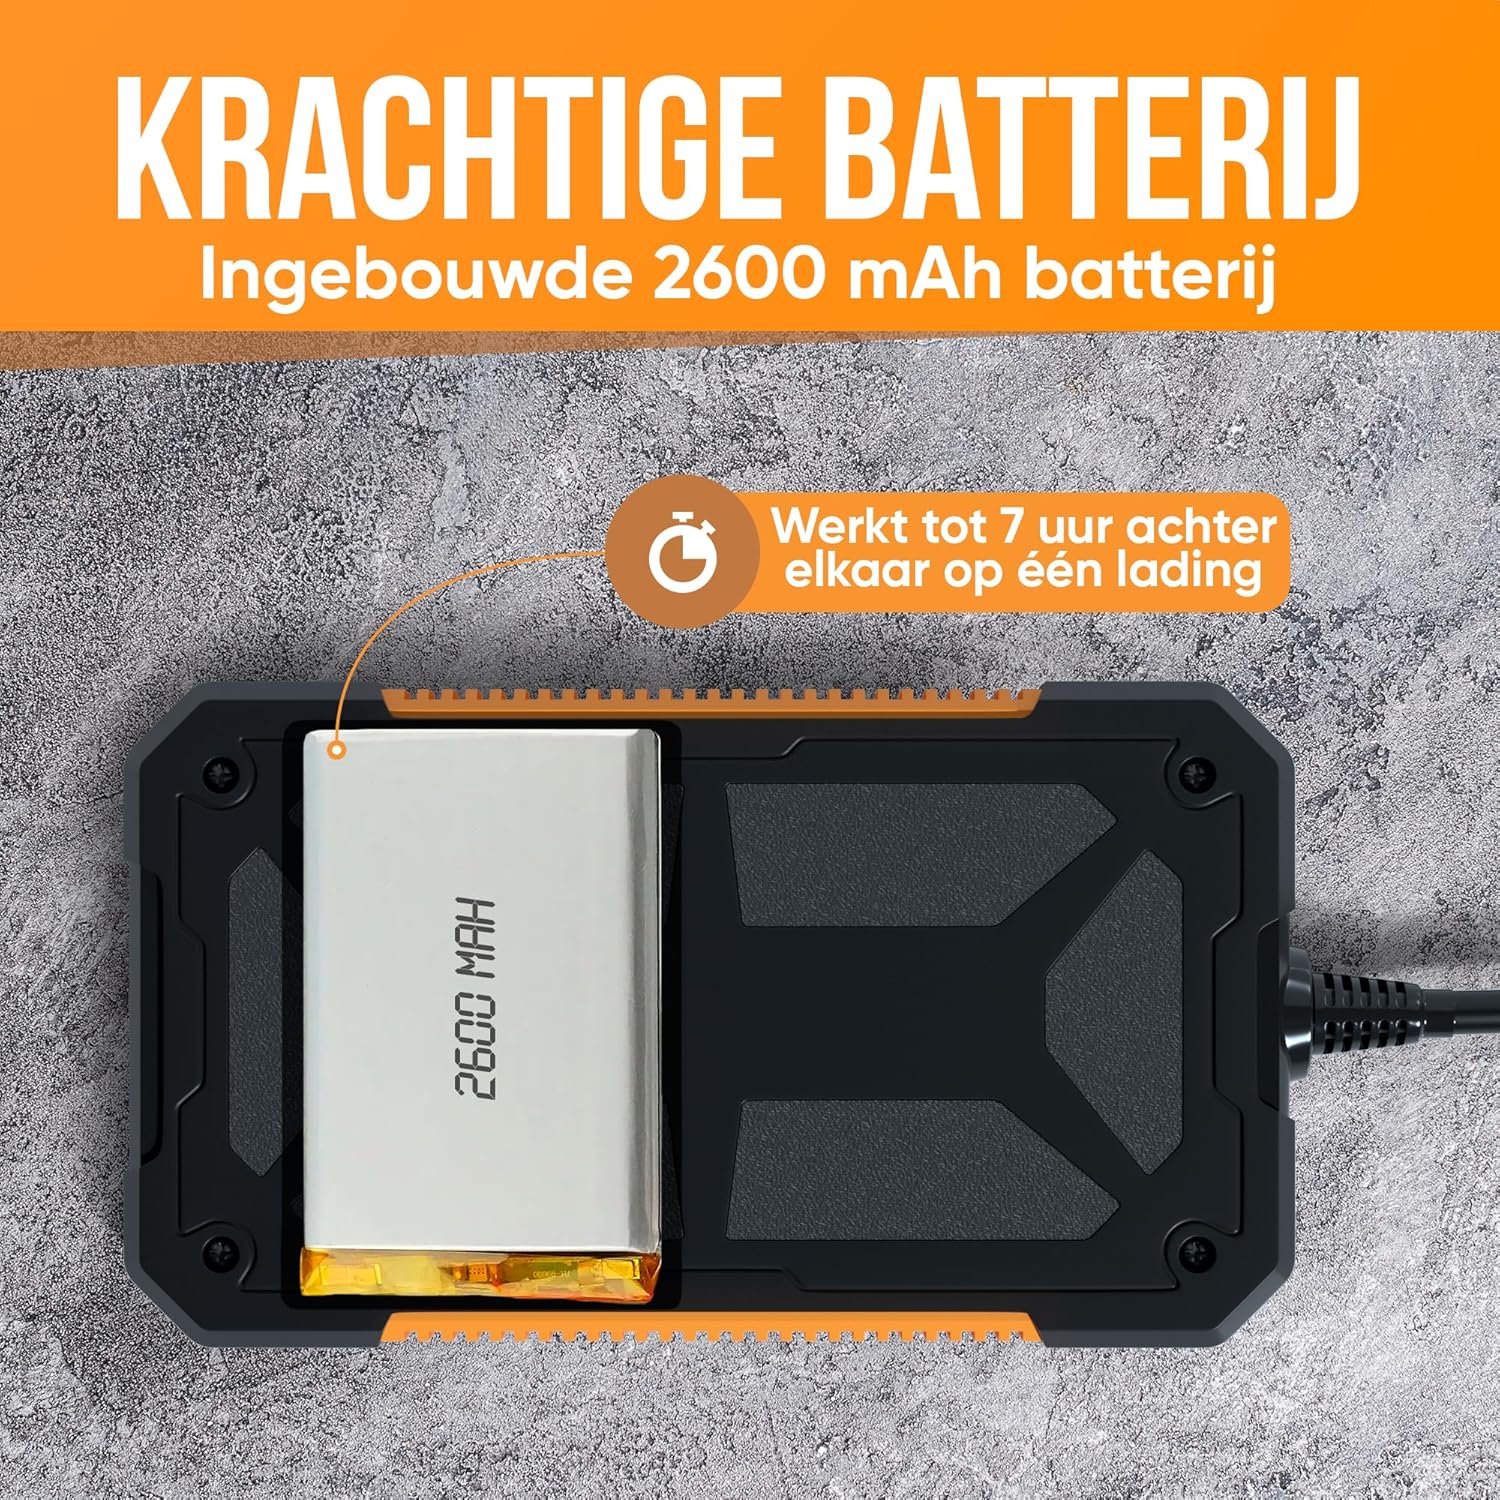
Figure 4.1: The camera is equipped with a 2600 mAh battery, offering extended usage time.
4.2 Isætning af SD-kortet
Locate the SD card slot on the side of the device. Gently insert the SD card (if not pre-installed) with the metal contacts facing down until it clicks into place. This card is essential for saving photos and videos.
4.3 Montering af tilbehør
The camera comes with three useful attachments: a hook, a magnet, and a side mirror. To attach an accessory, carefully screw it onto the threaded end of the camera lens. Ensure it is securely fastened before use.

Figure 4.2: The included hook, magnet, and side mirror attachments for various inspection needs.
5. Betjeningsvejledning
5.1 Tænd/sluk
To power on the device, press and hold the power button (usually marked with a power symbol) for a few seconds until the screen illuminates. To power off, press and hold the power button again until the screen turns off.
5.2 Justering af LED-belysning
The camera lens is equipped with adjustable LED lights. Use the designated button (often marked with a light bulb symbol or up/down arrows) to increase or decrease the brightness of the LEDs. Adjust the lighting to achieve optimal visibility in the inspection area.
5.3 Optagelse af billeder og videoer
- Tager billeder: Mens viewing the live feed, press the photo button (often marked with a camera icon) to capture a still image. The image will be saved to the inserted SD card.
- Optagelse af videoer: To start recording, press the video button (often marked with a video camera icon). Press it again to stop recording. Videos will be saved to the SD card in 1080p resolution.
5.4 Viewi medier
Access the gallery or playback mode on the device to review captured photos and videos. Use the navigation buttons to scroll through your media. You can also connect the device to a computer via the USB cable or remove the SD card and insert it into a card reader to transfer files.
6. Vedligeholdelse
- Rensning: Wipe the camera lens and screen with a soft, dry cloth. For stubborn dirt, use a slightly damp cloth and ensure the device is powered off. Do not use abrasive cleaners or solvents.
- Opbevaring: Store the device in a cool, dry place away from direct sunlight and extreme temperatures. Ensure the cable is neatly coiled to prevent damage.
- Batteripleje: To prolong battery life, avoid fully discharging the battery frequently. If storing for an extended period, charge the battery to approximately 50% every few months.
7. Fejlfinding
| Problem | Mulig årsag | Løsning |
|---|---|---|
| Enheden tænder ikke. | Lavt batteri; enhedfejl. | Charge the device for at least 2 hours. If still unresponsive, contact support. |
| Intet billede på skærmen. | Cable not properly connected; camera lens obstructed. | Ensure the camera cable is securely connected. Check the lens for obstructions. |
| Image is dark or unclear. | Insufficient LED brightness; dirty lens. | Adjust the LED brightness. Clean the camera lens. |
| Kan ikke gemme billeder/videoer. | No SD card inserted; SD card full or corrupted. | Insert a compatible SD card. Delete old files or format the SD card (backup data first). |
| Enheden fryser eller reagerer ikke. | Softwarefejl. | Tryk og hold tænd/sluk-knappen nede i 10-15 sekunder for at fremtvinge en genstart. |
8. Specifikationer
| Mærke | Strex |
| Model | SP66 |
| Farve | Orange |
| Kameralinsediameter | 8 mm |
| Display Type | 4.3 tommer LCD-skærm |
| Video opløsning | 1080p |
| Understøttede medier | SD Card (JPEG, MP4) |
| Kabellængde | 10 meter |
| Vandmodstand | IP67 (camera lens and cable) |
| LED lys | Adjustable, 8 LEDs |
| Batterikapacitet | 2600 mAh |
| Driftstid | Op til 7 timer (ved fuld opladning) |
| Varens vægt | 430 gram |
| Produktmål (L x B x H) | 1.8 x 8.5 x 14.5 cm |
9. Garanti og support
Information regarding specific warranty terms and customer support contact details is not available in the provided product data. Please refer to the product packaging or the manufacturer's official website for warranty information and support contacts.


