1. Introduktion
This manual provides essential instructions for the installation, operation, and maintenance of your Wiser Outdoor IP Camera, model CCT724319. Designed for outdoor surveillance, this camera integrates into the Wiser smart home ecosystem to enhance your property's security.
Nøglefunktioner:
- Outdoor DC power surveillance capability.
- Integrated Micro USB port for power supply.
- Supports 2.4 GHz Wi-Fi connectivity (IEEE 802.11 b/g/).
- Features video motion detection for enhanced security alerts.
- Designed for outdoor use with durable plastic material.
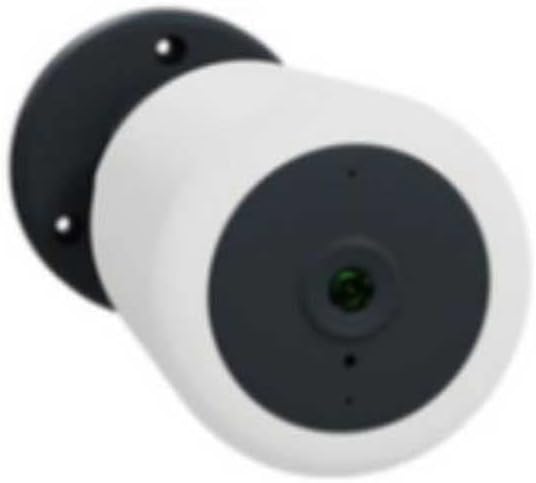
Figure 1: Wiser Outdoor IP Camera CCT724319. This image shows the camera's white cylindrical body, a dark grey front panel housing the lens, and a black mounting base with two screw holes for secure installation.
2. Pakkens indhold
Tjek venligst pakken for følgende varer:
- 1 x Wiser Outdoor IP Camera (Model CCT724319)
- Mounting screws and anchors (typically included, though not explicitly listed)
- Power adapter (for Micro USB port, typically included)
- Quick Start Guide (not explicitly listed, but standard)
3. Opsætning og installation
3.1. Montering af kameraet
- Vælg en placering: Select an outdoor location that provides the desired surveillance coverage and has access to a power outlet. Ensure the Wi-Fi signal is strong at the chosen spot.
- Marker borehuller: Use the camera's mounting base as a template to mark the positions for drilling on the wall or surface.
- Bore huller: Drill pilot holes at the marked positions. Insert wall anchors if necessary for secure mounting.
- Sikre kameraet: Align the camera's mounting base with the drilled holes and secure it using the provided screws.
3.2. Tænder
- Connect the power adapter to the camera's Micro USB port.
- Sæt strømadapteren i en passende udendørs stikkontakt.
- The camera will power on, and an indicator light (if present) will show its status.
3.3. Wi-Fi-forbindelse og app-opsætning
- Download the Wiser App: Søg efter "Wiser Home" or "Wiser by Schneider Electric" in your smartphone's app store (iOS or Android) and download it.
- Opret en konto: Åbn appen, og følg instruktionerne på skærmen for at oprette en ny brugerkonto eller logge ind, hvis du allerede har en.
- Tilføj enhed: In the app, select the option to add a new device. Choose "Camera" or "Security Camera" from the list.
- Følg instruktionerne i appen: The app will guide you through connecting the camera to your 2.4 GHz Wi-Fi network. This typically involves scanning a QR code on the camera or entering your Wi-Fi credentials.
- Komplet opsætning: Once connected, you can name your camera and adjust initial settings within the app.
4. Betjening af kameraet
4.1. Lev View og optagelse
- Open the Wiser app and select your camera to view det levende feed.
- The app allows you to manually record video, take snapshots, and access recorded footage.
4.2. Bevægelsesdetektion
- The camera features video motion detection. You can configure sensitivity levels and detection zones within the Wiser app.
- When motion is detected, the camera can trigger recordings and send notifications to your smartphone.
4.3. Multi-Device Support
The Wiser system supports connecting multiple devices. You can manage up to 4 devices per output (e.g., per gateway or specific Wiser hub) through the app, allowing for comprehensive home surveillance.
4.4. Camera Selector Switch (if applicable)
If your Wiser system includes a camera selector switch, refer to its specific manual for operation. This feature allows switching between different camera feeds within a multi-camera setup.
5. Pleje og vedligeholdelse
- Rensning: Tør forsigtigt kameralinsen og huset af med en blød kludamp klud. Undgå slibende rengøringsmidler eller opløsningsmidler.
- Firmwareopdateringer: Regularly check the Wiser app for available firmware updates to ensure optimal performance and security.
- Kabelinspektion: Periodically inspect the power cable and connections for any signs of wear or damage, especially in outdoor environments.
- Miljøbeskyttelse: While designed for outdoor use, ensure the camera is not directly exposed to extreme weather conditions beyond its operating limits.
6. Fejlfinding
Almindelige problemer og løsninger:
- Ingen strøm:
- Ensure the power adapter is securely connected to the camera and the power outlet.
- Kontroller, om stikkontakten fungerer.
- Wi-Fi afbrydelse:
- Verify your Wi-Fi router is working and the internet connection is stable.
- Sørg for, at kameraet er inden for rækkevidde af dit 2.4 GHz Wi-Fi-netværk.
- Genstart kameraet og din Wi-Fi-router.
- If issues persist, try re-pairing the camera with the Wiser app.
- Bevægelsesdetektion virker ikke:
- Check the motion detection settings in the Wiser app (sensitivity, detection zones).
- Sørg for, at der ikke er nogen forhindringer, der blokerer kameraets view.
- Verify that notifications are enabled on your smartphone and in the app.
- Dårlig videokvalitet:
- Rengør kameralinsen.
- Ensure a strong Wi-Fi signal.
- Check your internet upload speed.
7. Produktspecifikationer
| Mærke | Klogere |
| Modelnummer | CCT724319 |
| Fabrikant | APC Schneider Electric |
| Anbefalet brug | Udendørs sikkerhed |
| Forbindelsesteknologi | Wired, Wireless (Wi-Fi 2.4 GHz) |
| Strømkilde | DC Power (via Micro USB port), also listed as Battery Powered (may refer to compatibility with external battery packs or a general power category) |
| Strømforbrug | 12 watt |
| Materiale | Plast |
| Farve | Hvid |
| Varedimensioner (L x B x H) | 50 x 50 x 28 cm |
| Vægt | 428 gram |
| Speciel funktion | Udendørs brug |
| Infrarød type | Infrarød |
| Batterier inkluderet/påkrævet | Ingen |
| Oprindelsesland | Spanien |
8. Garanti og support
For warranty information, please refer to the documentation provided with your purchase or contact your retailer. The manufacturer of this product is APC Schneider Electric.
Spare parts availability information is currently unavailable. For technical support or further assistance, please visit the official Wiser or Schneider Electric webwebstedet, eller kontakt deres kundeserviceafdeling.


