1. Introduktion
Denne manual indeholder vigtige oplysninger om installation, betjening og vedligeholdelse af din FireAngel FA6115-FRT optiske røgdetektor. Denne detektor er designet til brug i hjemmet og campingvognen og har en avanceret optisk sensor til tidlig detektering af langsomt opståede brande. Den er en direkte erstatning for ST-625-modellen. Læs venligst disse instruktioner omhyggeligt inden installation, og gem dem til senere brug.

Figur 1: Forside view af FireAngel FA6115-FRT optisk røgdetektor.

Figur 2: Side view af FireAngel FA6115-FRT optisk røgdetektor, der viser ventilationsgitrene.
2. Sikkerhedsoplysninger
- Denne røgalarm er designet til at detektere røg. Den kan ikke forhindre brande.
- Test din røgalarm regelmæssigt som beskrevet i denne manual.
- Mal ikke røgalarmen. Maling kan blokere røgindgangspunkterne og forstyrre sensorens evne til at registrere røg.
- Forsøg ikke at reparere enheden selv. Se garantiafsnittet for serviceoplysninger.
- Sørg for, at batterierne er installeret korrekt, og at de udskiftes, når advarslen om lavt batteri indikerer det.
3. Pakkens indhold
Bekræft at alle varer er til stede i din pakke:
- FireAngel FA6115-FRT Optisk Røgdetektor
- Monteringsplatform
- 2 x AA batterier
- Skruer og ankre til installation
- Brugervejledning (dette dokument)

Figur 3: Pakkens indhold inklusive detektor, monteringsplade, batterier og manual.
4. Opsætning og installation
4.1 Valg af placering
For optimal beskyttelse skal du installere røgalarmer i alle rum, især soveværelser og gange, der fører til soveområder. Undgå at placere detektorer i eller i nærheden af:
- Køkkener eller badeværelser på grund af damp og mados, der kan forårsage falske alarmer.
- Områder med høj luftfugtighed eller ekstreme temperaturer.
- Inden for 50 cm (20 tommer) fra vægge eller hjørner ved montering i loftet.
- Nær ventilationsåbninger eller ventilatorer, der kan forhindre røg i at nå detektoren.
FA6115-FRT er en optisk røgdetektor, der er yderst effektiv til at detektere langsomt opståede brande, som producerer tyk, synlig røg. For omfattende brandsikkerhed bør du overveje at installere en varmealarm i køkkenet og en kuliltealarm, hvor der er apparater, der bruger brændstof.

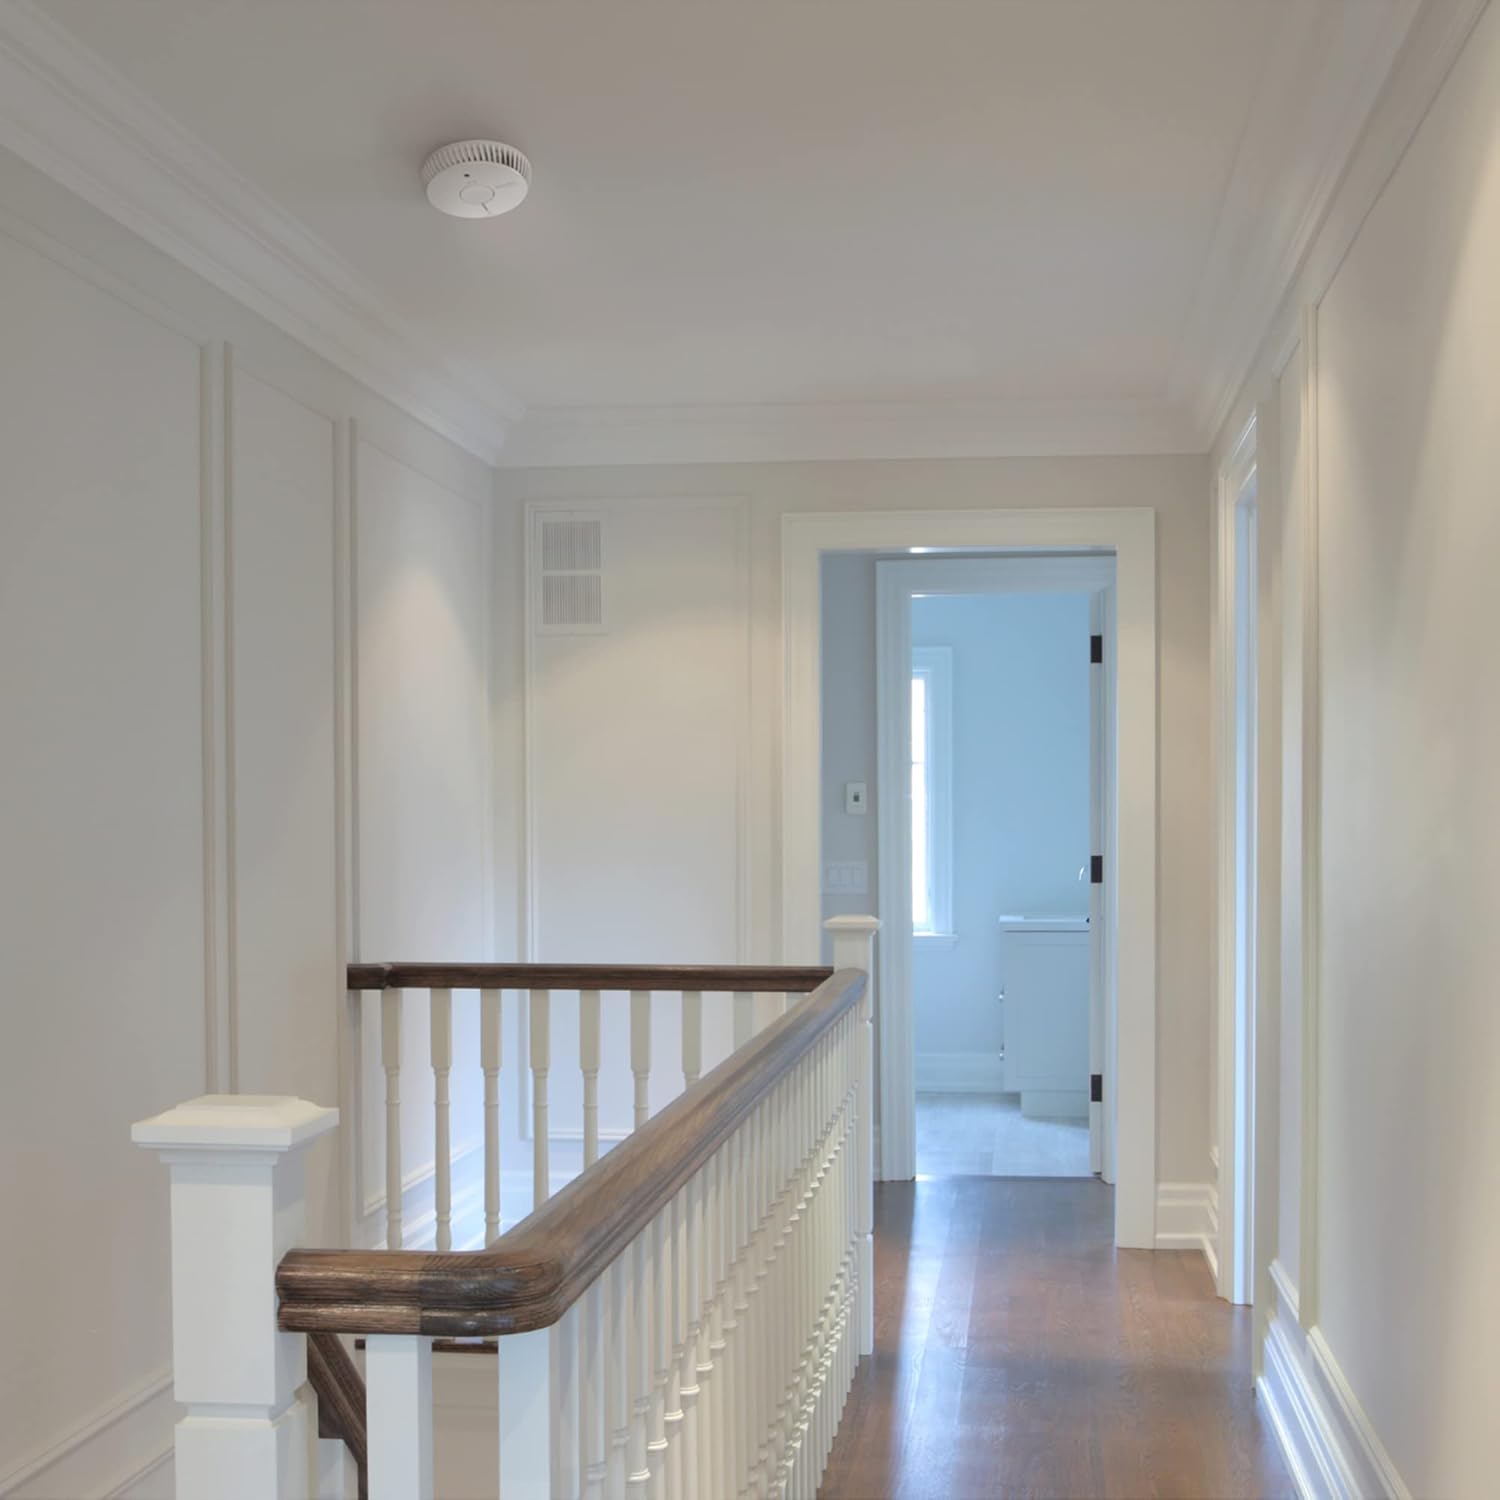
Figur 4: Eksampaf en røgalarm installeret i loftet i en gang, en anbefalet placering.
4.2 Monteringsvejledning
- Forbered monteringsoverfladen: Vælg en plan lofts- eller vægoverflade. Brug monteringsplatformen som skabelon til at markere skruehullerne.
- Bore huller: Bor to huller på de markerede steder. Indsæt de medfølgende ankre, hvis det monteres i gipsvæg eller puds.
- Fastgør monteringsplatform: Fastgør monteringsplatformen til loftet eller væggen med de medfølgende skruer.
- Installer batterier: Åbn batterirummet på bagsiden af detektoren. Isæt de to AA-batterier, og sørg for korrekt polaritet (+/-).
- Tilslut detektor: Juster detektoren med monteringsplatformen. Tryk og drej detektoren med uret, indtil den klikker sikkert på plads.
- Indledende test: Tryk og hold den store 'TEST'-knap på forsiden af detektoren nede i et par sekunder. Alarmen skal lyde højt, og den røde LED skal blinke. Dette bekræfter, at enheden fungerer korrekt.

Figur 5: Den aftagelige monteringsplade fastgøres til loftet eller væggen med skruer.

Figur 6: Batterirummet kræver to AA-batterier, som medfølger.
5. Betjeningsvejledning
5.1 Normal drift
Under normale driftsforhold blinker den røde LED-indikator cirka én gang hvert 45. sekund for at indikere, at detektoren er tændt og fungerer korrekt.
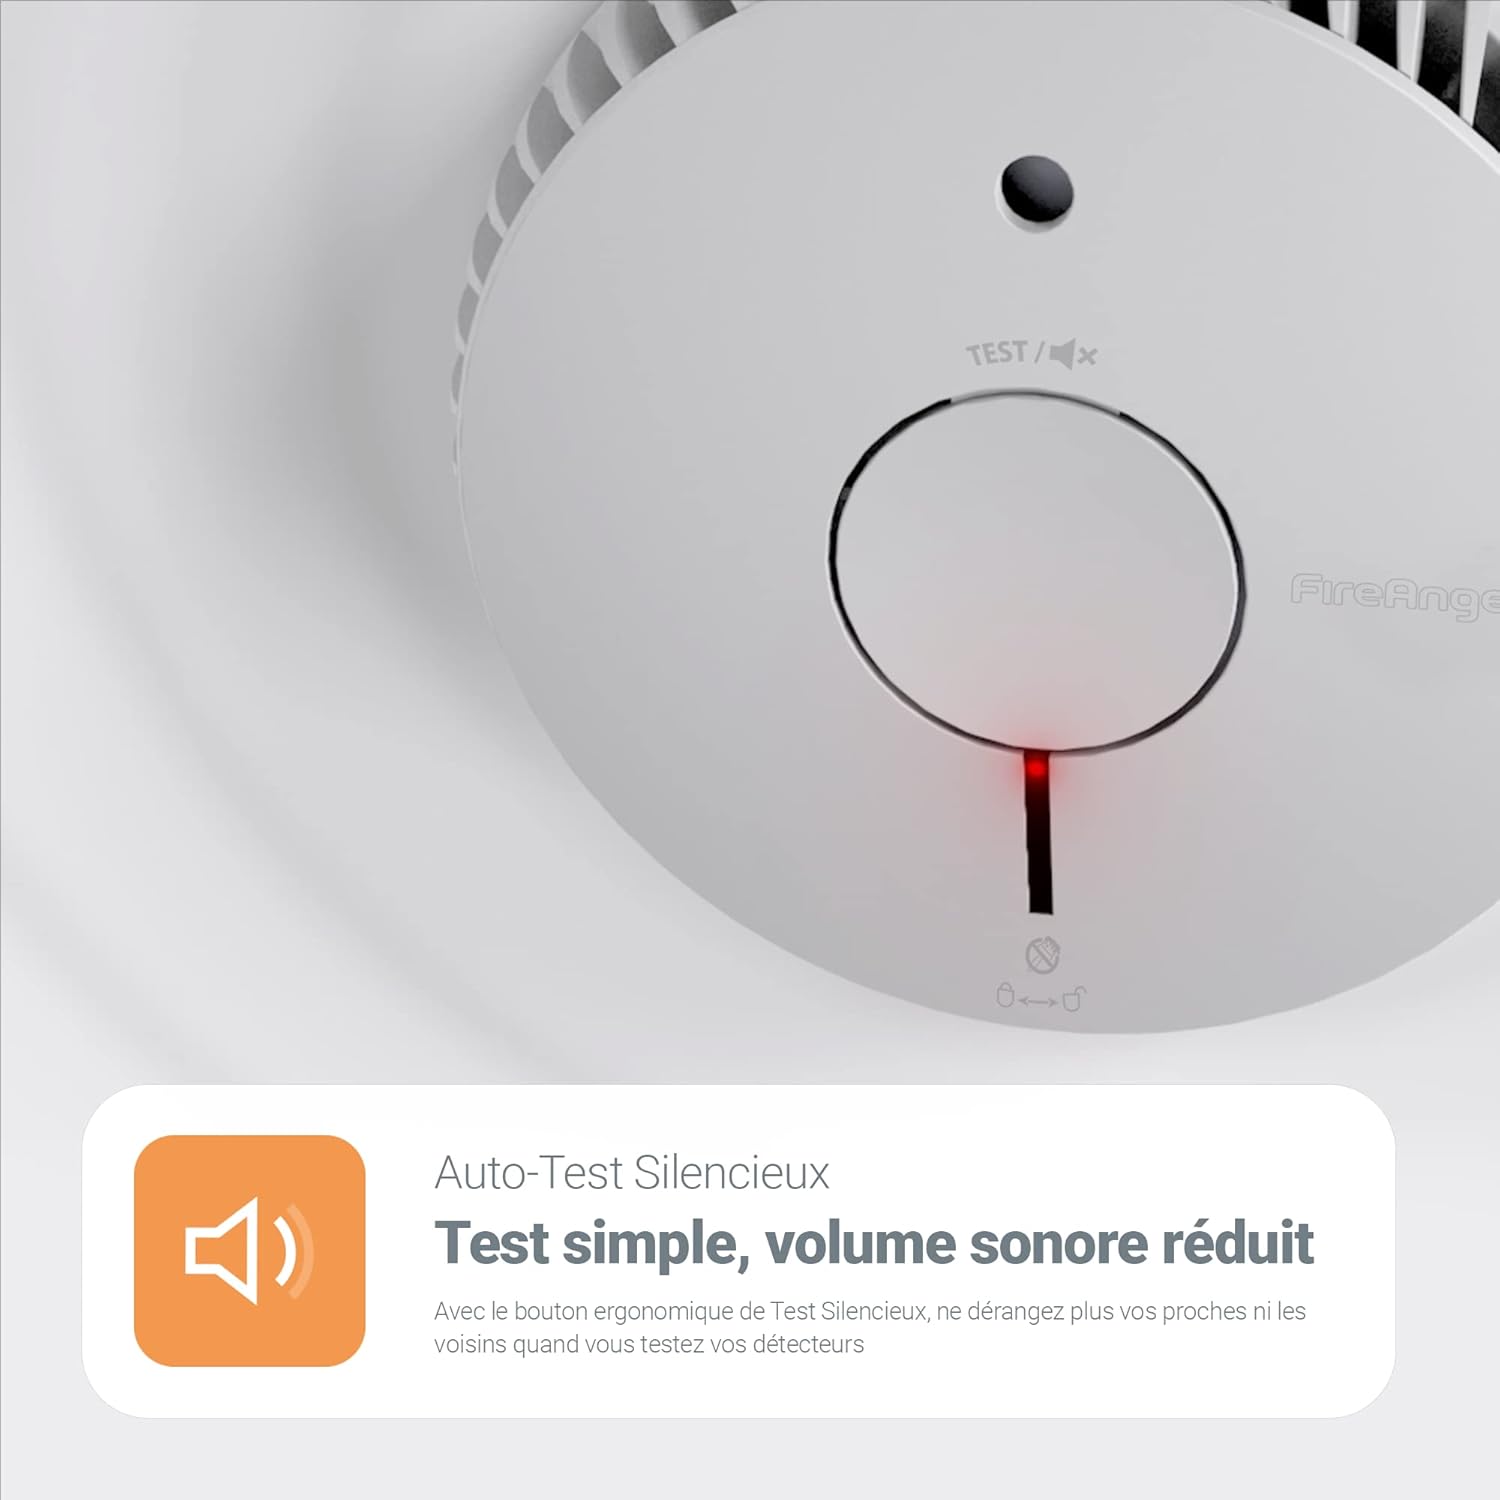
5.2 Test/Stilhed-knap
Den store midterste knap har to primære funktioner:
- Test: Tryk og hold knappen nede i et par sekunder for at udføre en funktionstest. Alarmen vil lyde, og den røde LED vil blinke hurtigt. Dette bør gøres månedligt.
- Lydløs: I tilfælde af en kendt falsk alarm (f.eks. fra mados), tryk kort på knappen for midlertidigt at afbryde alarmen i cirka 10 minutter. Detektoren nulstilles automatisk efter denne periode.
Figur 7: Den midterste knap bruges til at teste alarmen og afbryde falske alarmer.
5.3 Sleep Easy™-funktion (Lav batterilevetid)
Hvis batterierne er lave, udsender detektoren en kort biplyd cirka hvert 45. sekund, ledsaget af et rødt LED-blink. Hvis dette sker om natten, kan du aktivere Sleep Easy™-funktionen:
- Tryk på 'TEST'-knappen én gang. Den biplyd, der viser lavt batteri, vil være tavs i 8 timer.
- Den røde LED-lampe vil fortsætte med at blinke, hvilket indikerer lav batteristatus.
- Selv i Sleep Easy™-tilstand forbliver detektoren aktiv og vil udløse alarmen, hvis der detekteres røg.
- Udskift batterierne hurtigst muligt, helst inden for 30 dage efter den første advarsel om lavt batteriniveau.
Figur 8: Sleep Easy-funktionen muliggør midlertidig afbrydelse af biplyde ved lavt batteriniveau i 8 timer.

Figur 9: Den optiske sensor registrerer røgpartikler, der trænger ind i kammeret, hvilket giver hurtig detektion af langsomt opståede brande.
6. Vedligeholdelse
6.1 Månedlig testning
Test din røgalarm mindst én gang om måneden ved at trykke på 'TEST'-knappen og holde den nede, indtil alarmen lyder. Dette sikrer, at enheden fungerer korrekt.
6.2 Rengøring
Støv og snavs kan samle sig på detektoren, hvilket potentielt kan påvirke dens ydeevne. Rengør din røgalarm hver 3.-6. måned:
- Støvsug forsigtigt omkring detektorens casing og ventilationsåbninger med en blød børste.
- Brug ikke rengøringsspray eller opløsningsmidler på detektoren.
6.3 Udskiftning af batteri
FA6115-FRT bruger to udskiftelige AA-batterier med en typisk levetid på 5 år. Når advarselssignalet om lavt batteriniveau lyder (bidder hvert 45. sekund), skal begge batterier straks udskiftes. Se afsnit 4.2 for trin til batteriinstallation.
7. Fejlfinding
| Problem | Mulig årsag | Løsning |
|---|---|---|
| Detektoren bipper hvert 45. sekund | Lavt batteri | Udskift begge AA-batterier med det samme. Brug Sleep Easy™-funktionen, hvis der lyder lyde om natten. |
| Falske alarmer (f.eks. under madlavning) | Detektoren er for tæt på køkken/badeværelse, damp eller mados. | Tryk på knappen 'TEST' for at afbryde lyden i 10 minutter. Flyt detektoren, hvis falske alarmer fortsætter på grund af placeringen. Sørg for ordentlig ventilation under madlavning. |
| Alarmen lyder ikke under testen | Ingen strøm, defekt enhed eller forkert batteriinstallation. | Kontroller batteriinstallationen, og udskift den om nødvendigt. Hvis problemet fortsætter, kan enheden være defekt og skal udskiftes. |
| Rød LED blinker ikke | Ingen strøm eller defekt enhed. | Sørg for, at batterierne er korrekt installeret og opladet. Hvis problemet fortsætter, kan enheden være defekt. |
8. Specifikationer
| Feature | Detalje |
|---|---|
| Modelnummer | FA6115-FRT |
| Sensortype | Optisk (fotoelektrisk) |
| Strømkilde | Batteridrevet |
| Batterier | 2 x AA (inkluderet, udskiftelige) |
| Batterisammensætning | Alkalisk |
| Sensorens levetid | 10 år |
| Produktmål (L x B x H) | 11.81 x 11.81 x 3.15 cm |
| Diameter | 118.1 mm |
| Vægt | 70 gram |
| Materiale | Plast |
| Farve | Hvid |
| Installationsmetode | Væg eller loft (skruer og ankre medfølger) |
| Driftstemperatur | Op til 38°C |
| Operationel fugtighed | Op til 90 % RH (ikke-kondenserende) |
| Certificeringer | CE-certificeret, EN 14604:2005+AC:2008 kompatibel |

Figur 10: Teknisk tegning, der viser dimensionerne af FireAngel FA6115-FRT-detektoren.
9. Garanti og support
9.1 Producentens garanti
FireAngel FA6115-FRT optisk røgdetektor leveres med en 10 års producentgaranti fra købsdatoen. Denne garanti dækker materiale- og fabrikationsfejl ved normal brug. Gem venligst din købsbevis i tilfælde af garantikrav.
9.2 Kundesupport
Hvis du oplever problemer med din røgalarm, som ikke kan løses ved hjælp af fejlfindingsvejledningen, eller hvis du har spørgsmål om garantien, bedes du kontakte FireAngels kundesupport. Se FireAngels officielle webwebstedet eller produktemballagen for de mest aktuelle kontaktoplysninger.
Note: Forsøg ikke at åbne eller reparere enheden selv, da dette kan ugyldiggøre garantien og kompromittere enhedens sikkerhedsfunktioner.


