1. Introduktion
This manual provides instructions for the installation, operation, and maintenance of your PGST PE523R Solar Outdoor Alarm Siren. This device is designed to enhance your security system by providing an audible and visual alert in conjunction with compatible alarm panels.
2. Produktet er slutview
The PGST PE523R is a wireless outdoor siren featuring solar charging, an LED flashing light, and a loud alarm sound. It is compatible with Dadvu PG103, PG107, and PG108 alarm systems.

Figur 2.1: Forside view of the PGST PE523R Solar Outdoor Alarm Siren.
Nøglefunktioner
- Solcelledrevet: Equipped with a solar panel for continuous charging, reducing the need for external power.
- High Decibel Siren: Produces a loud 110 dB alarm sound to deter intruders.
- LED Flashing Light: Provides a visual alert during an alarm event.
- IP65 Vandtæt Design: Suitable for outdoor use, resistant to dust and water jets.
- 433 MHz Wireless Interface: Connects wirelessly to compatible alarm systems and sensors.
- Tyverisikring Tampeh Switch: Triggers an alarm if the siren is moved or removed from its mounting.
- Kompatibilitet: Designed to work with Dadvu PG103, PG107, and PG108 alarm panels.
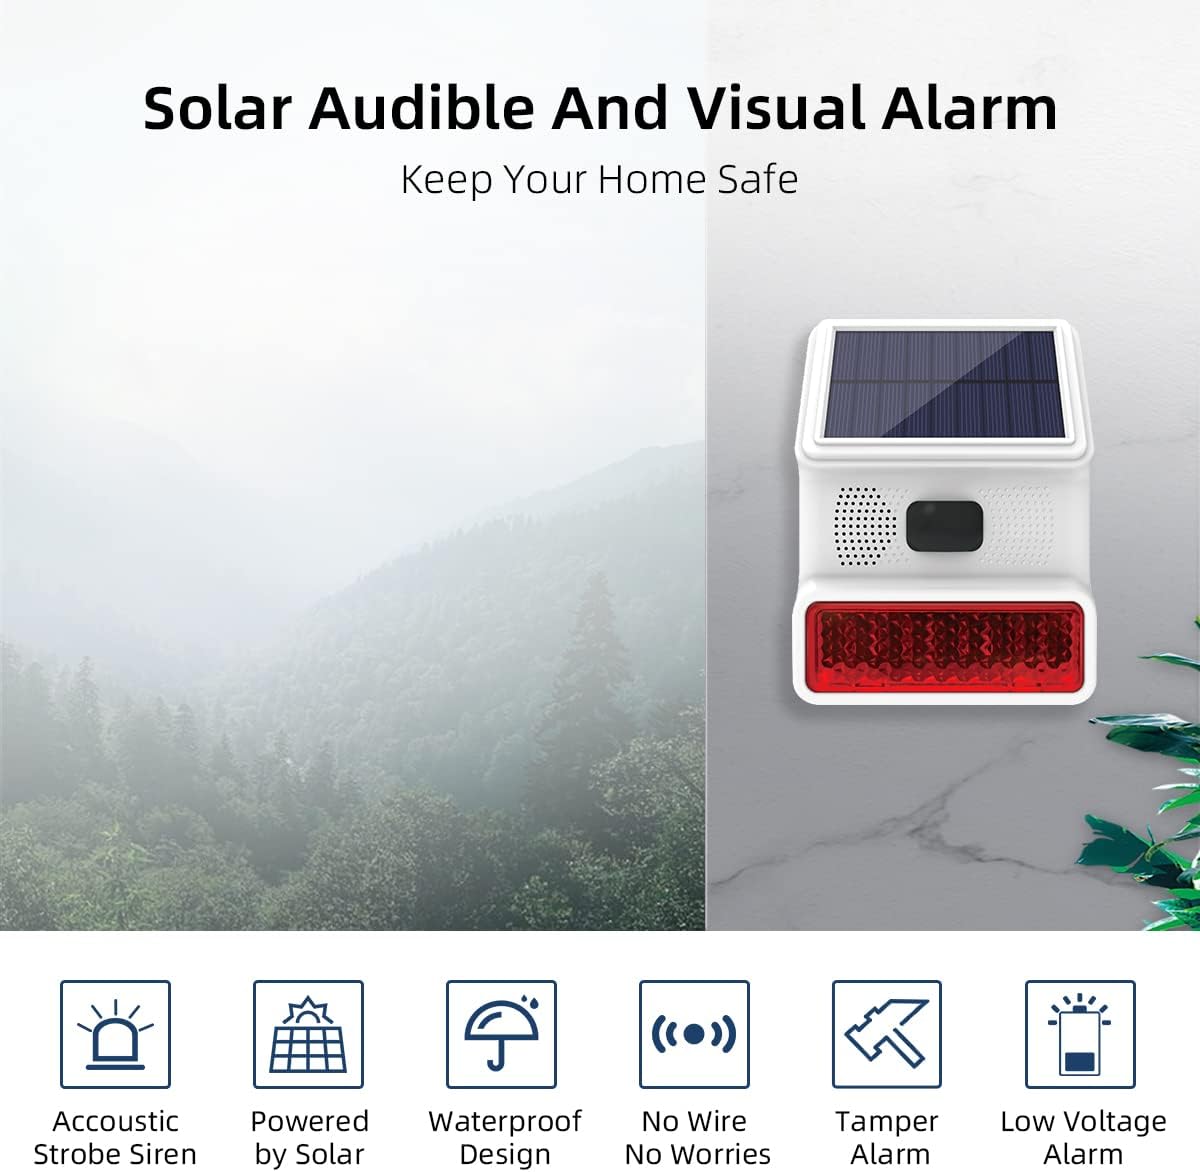
Figur 2.2: Overview of the siren's main features including acoustic strobe, solar power, waterproof design, wireless connectivity, tamper alarm, and low voltage alarm.

Figure 2.3: The siren's 100dB alarm capability in different security situations, ensuring alerts are not missed.

Figure 2.4: The siren's waterproof design ensures reliable operation in various weather conditions.

Figure 2.5: The siren is suitable for extensive use in various outdoor settings such as villa courtyards, orchards, hotels, and warehouses.

Figure 2.6: The 45-degree solar panel design ensures high efficiency in absorbing solar energy for long standby times.
3. Komponenter og kontroller
Familiarize yourself with the different parts and control buttons of your siren.

Figure 3.1: Labeled components of the siren, including solar charging panel, speaker, detection windows, indicator light, mounting bracket, Type C power interface, ON/OFF switch, and control buttons.

Figur 3.2: Detaljeret view of the S1, S2, and S3 control buttons on the siren.
- S1 knap: Short press to cycle through different alarm voice types.
- S2 knap: Short press to cycle through various working modes.
- S3 knap:
- Short press to enter accessory configuration mode for pairing.
- Long press to restore the siren to factory default settings.
4. Tekniske specifikationer
| Strømforsyningstilstand | Solar charging / DC 5V power supply |
| Alarmens lydniveau | ≤100dB (at 10cm), up to 110 Decibels |
| Opladningstid | Solar charging: >10 hours (dependent on solar radiation) USB charging: 4-5 hours (DC 5V/1A) |
| Batteri parametre | 3.7V 1000mA polymer lithium battery |
| Driftsstrøm | <10mA |
| Alarmstrøm | <200mA |
| Modtage frekvens | 433.92 MHz (1527 protocol) |
| Modtag afstand | ≥100m (distance affected by obstruction and interference signal) |
| Driftstemperatur | -20℃ ~ 55℃ |
| Driftsfugtighed | 40% -80% (ikke-kondenserende) |
| Dimensioner (L×B×H) | 164.3 × 124.3 × 59 mm |
| Varens vægt | 320 g |
| Monteringstype | Vægmontering |
| IP-vurdering | IP65 (Vandtæt) |

Figure 4.1: Physical dimensions of the PGST PE523R Solar Outdoor Alarm Siren.
5. Installation
Follow these steps to properly install your outdoor siren.
- Vælg en placering: Vælg et udendørs sted, der modtager ample direct sunlight for optimal solar charging. Ensure the location is within the wireless range of your main alarm panel (up to 100 meters in open areas).
- Monter beslaget: Use the provided screws and expansion plugs to securely fix the mounting bracket to the wall.
- Attach the Siren: Carefully hang the alarm siren onto the mounted bracket, ensuring it is firmly seated.

Figure 5.1: Installation procedure: 1) Fix the mounting bracket to the wall. 2) Hang the alarm siren on the bracket.
Note: The siren includes an anti-theft tamper switch on the back. If the siren is moved or removed from its mounting, it will trigger an alarm to enhance security.
6. Betjening
6.1. Tænd/sluk
The siren is primarily solar-powered. For initial setup or if the battery is depleted, you can charge it via the DC 5V power supply (adapter not included). The ON/OFF switch is located on the back of the unit (refer to Figure 3.1).
6.2. Knapfunktioner
- S1 Button (Alarm Voice Cycle): Short press S1 to switch between different alarm sound types.
- S2 Button (Working Mode Cycle): Short press S2 to cycle through available working modes. Refer to your main alarm panel manual for specific mode functionalities and how they interact with the siren.
- S3 Button (Accessory Configuration / Factory Reset):
- Short press S3: Enters accessory configuration mode, allowing the siren to be paired with your alarm system or other accessories.
- Long press S3: Restores the siren to its factory default settings. Use this if you encounter pairing issues or wish to clear all previous configurations.
6.3. Pairing with Alarm System
The siren operates on a 433MHz wireless frequency and uses the 1527 protocol. It can be connected to wireless sensors and remote controls compatible with this protocol.
To pair the siren with your Dadvu PG103, PG107, or PG108 alarm panel, refer to the specific pairing instructions provided with your main alarm system. Typically, this involves putting the alarm panel into a pairing mode and then activating the siren's configuration mode (short press S3).
Vigtig: The siren supports configuration with up to 10 accessories. If this quantity is exceeded, further configurations may not be successful.
7. Vedligeholdelse
- Solopladning: Regularly inspect the solar panel to ensure it is clean and free from dirt, dust, leaves, or other obstructions that could hinder sunlight absorption. A clean panel ensures optimal charging efficiency.
- Vandtæt Design: The IP65 rating provides protection against dust ingress and low-pressure water jets. While designed for outdoor use, avoid submerging the device in water or exposing it to high-pressure water streams.
- Batteri: The siren is equipped with a 3.7V 1000mA polymer lithium battery. Consistent exposure to sunlight helps maintain the battery's charge and prolong its lifespan. If the siren is stored for extended periods, ensure it is fully charged periodically.
- Rensning: Brug en blød, damp cloth to clean the exterior of the siren. Do not use abrasive cleaners or solvents.
8. Fejlfinding
- Siren not sounding during an alarm:
- Ensure the siren is powered on (check ON/OFF switch).
- Verify that the siren is properly paired with your alarm system.
- Check the battery charge level. If low, allow it to charge via solar power or USB.
- Confirm that the main alarm system is correctly triggering the siren.
- Siren not charging:
- Ensure the solar panel is exposed to direct sunlight for several hours daily.
- Clean the solar panel if it is dirty or obstructed.
- If solar charging is insufficient, try charging via the DC 5V USB port.
- Difficulty pairing with the alarm system:
- Ensure the siren is in accessory configuration mode (short press S3).
- Check the distance between the siren and the alarm panel; reduce interference sources if possible.
- Confirm you are not exceeding the 10-accessory configuration limit.
- Try restoring factory settings (long press S3) on the siren and then attempting the pairing process again.
9. Sikkerhedsoplysninger
- Do not attempt to disassemble, modify, or repair the device yourself. This may void the warranty and pose safety risks.
- Keep the device away from extreme temperatures, open flames, or highly corrosive environments.
- Dispose of batteries and electronic components according to local environmental regulations.
- Ensure the device is securely mounted to prevent it from falling, which could cause injury or damage.
- The siren produces a loud sound. Avoid prolonged exposure to the siren at close range to prevent hearing damage.
10. Garanti og support
For warranty information or technical support, please contact your retailer or the manufacturer directly. Please refer to the product packaging or the manufacturer's official webwebstedet for de seneste kontaktoplysninger og garantivilkår.
- Fabrikant: PGST
- Model: PE523R
- Varenummer: PE-523
- ASIN: B0BGL2YGF3
For additional resources and frequently asked questions, you may visit the PGST official webwebsted.


