Indledning
This manual provides comprehensive instructions for the setup, operation, and maintenance of your Karlsson Silver Mirror LED Alarm Clock. Please read this manual thoroughly before using the device to ensure proper function and longevity.
Sikkerhedsoplysninger
- Hold enheden væk fra vand og høj luftfugtighed.
- Udsæt ikke enheden for ekstreme temperaturer eller direkte sollys.
- Use only the provided USB adapter or a compatible power source.
- Ensure correct battery polarity when inserting AAA batteries.
- Forsøg ikke selv at skille enheden ad eller reparere den. Kontakt kvalificeret personale for service.
- Opbevares utilgængeligt for børn.
Pakkens indhold
Bekræft at alle varer er til stede i pakken:
- Karlsson Silver Mirror LED Alarm Clock (Kaki Green)
- USB-adapterkabel
- Instruktionsmanual (dette dokument)

Figur 1: Included USB adapter cable for powering the alarm clock.
Produkt overview
Gør dig bekendt med komponenterne og betjeningselementerne på dit vækkeur.

Figur 2: Front view of the alarm clock, displaying the time and the control buttons located on the top edge.

Figur 3: Detaljeret front view showing the clear LED time display on the mirror surface.
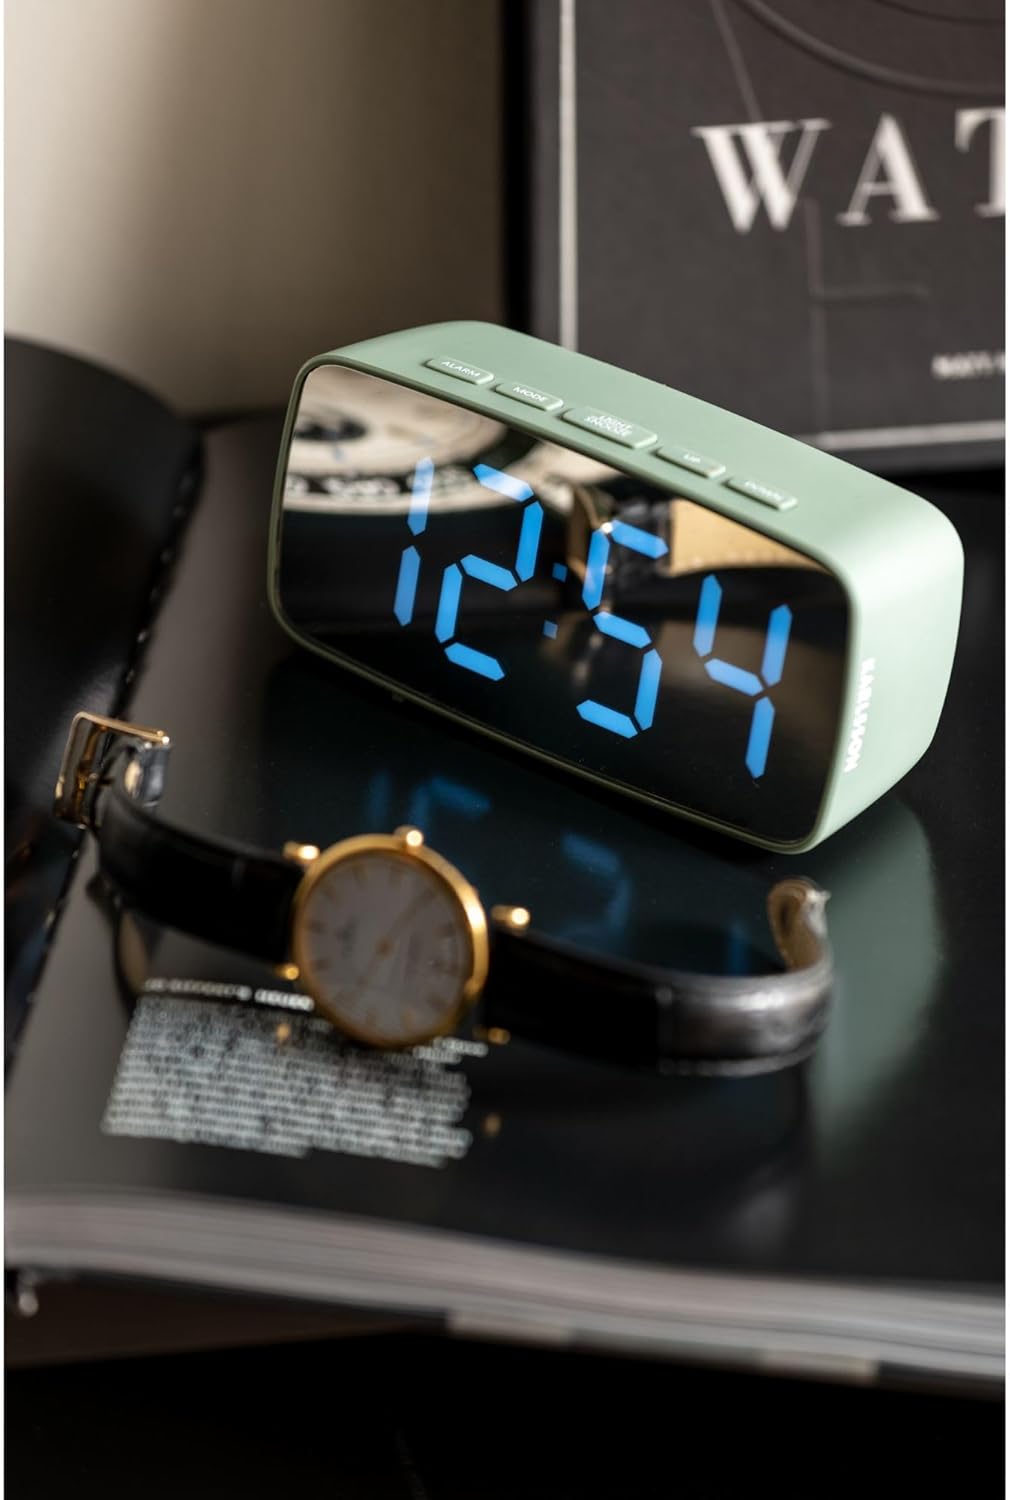
Figur 4: Lifestyle image of the alarm clock displaying 12:54, positioned next to a wristwatch.

Figur 5: Side view of the alarm clock, highlighting the 'KARLSSON' brand name vertically printed on the right side.
Kontrolknapper:
- ALARM: Aktiverer/deaktiverer alarm, går i alarmindstillingstilstand.
- KØRSELSVEJLEDNING: Switches between time display, date display, and temperature display. Enters time/date setting mode.
- LYS/SNOOZE: Adjusts display brightness, activates snooze function when alarm sounds.
- OP: Increases values during setting, changes display mode.
- NED: Decreases values during setting, changes display mode.

Figur 6: Bag view of the alarm clock, showing the battery compartment cover and the DC 5V power input port.
Opsætning
Strømforsyning til enheden:
The alarm clock can be powered via the included USB adapter or by 3x AAA batteries (not included).
- USB Strøm: Connect the small end of the USB adapter cable to the DC 5V port on the back of the alarm clock (refer to Figure 6). Plug the larger USB end into a compatible USB power source (e.g., wall adapter, computer USB port).
- Battery Power (for backup): Open the battery compartment on the back of the clock (refer to Figure 6). Insert 3x AAA batteries, ensuring correct polarity (+/-). Batteries are primarily for backup and may not power the display continuously at full brightness.
Indstilling af starttidspunkt:
Upon first power-up, the display will show a default time.
- Tryk og hold på MODE Tryk på knappen i cirka 3 sekunder for at gå ind i tidsindstillingstilstanden. Timecifrene blinker.
- Brug UP og NED knapper for at justere timen.
- Trykke MODE again to move to minute setting. The minute digits will flash.
- Brug UP og NED knapper for at justere minutterne.
- Trykke MODE igen for at bekræfte og afslutte tidsindstillingstilstanden.
Betjeningsvejledning
Indstilling af alarm:
- Tryk og hold på ALARM Tryk på knappen i cirka 3 sekunder for at gå ind i alarmindstillingstilstand. Alarmtimecifrene blinker.
- Brug UP og NED knapper for at justere alarmtiden.
- Trykke ALARM again to move to alarm minute setting. The alarm minute digits will flash.
- Brug UP og NED knapper til at justere alarmens minutter.
- Trykke ALARM again to confirm and exit alarm setting mode.
Aktivering/deaktivering af alarmen:
I normal tidsvisningstilstand skal du trykke på ALARM button once to toggle the alarm on or off. An alarm icon will appear on the display when the alarm is active.
Snooze-funktion:
Når alarmen lyder, skal du trykke på LYS / SNOOZE button to activate the snooze function. The alarm will temporarily stop and sound again after a few minutes (default snooze duration is typically 5-9 minutes, check product specifics if available).
To turn off the alarm completely when it sounds, press any other button (e.g., ALARM, MODE, UP, DOWN).
Skærmens lysstyrke:
I normal tidsvisningstilstand skal du trykke på LYS / SNOOZE button repeatedly to cycle through different brightness levels for the LED display.
Opretholdelse
Rensning:
Wipe the clock's surface with a soft, dry cloth. Do not use abrasive cleaners or solvents, as they may damage the mirror finish or plastic casing.
Udskiftning af batteri:
If using AAA batteries for backup, replace them when the display becomes dim or the clock loses time during power outages. Ensure correct polarity when inserting new batteries.
Fejlfinding
| Problem | Mulig årsag | Løsning |
|---|---|---|
| Skærmen er tom eller svag. | No power, loose USB connection, or depleted batteries. | Check USB connection. Ensure batteries are correctly inserted and not depleted. |
| Alarmen lyder ikke. | Alarmen er ikke aktiveret eller indstillet forkert. | Verify alarm time and ensure the alarm icon is displayed. |
| Tidspunktet er forkert. | Tiden var ikke indstillet korrekt, eller der var strømafbrydelse. | Nulstil tiden ved at følge instruktionerne i "Initial tidsindstilling". |
Specifikationer
| Feature | Detalje |
|---|---|
| Mærke | Karlsson |
| Modelnummer | PTG-KA5876GR |
| Farve | Kaki Green |
| Dimensioner (L x B x H) | 27.5 x 3.81 x 13.9 cm (10.8 x 1.5 x 5.5 tommer) |
| Vægt | 150 gram (0.33 lbs) |
| Materiale | Acrylonitril Butadien Styren (ABS) |
| Display Type | Digital LED |
| Strømkilde | USB powered (adapter included), 3x AAA batteries (not included) for backup |
| Speciel funktion | Alarm funktion |
Garanti og support
Specific warranty information is not provided in the product details. Please refer to the retailer or manufacturer's webhjemmeside for garantivilkår og -betingelser.
For technical support or further assistance, please contact Karlsson customer service or the retailer where the product was purchased.


