1. Introduktion
Thank you for choosing the EENOUR Golf Laser Rangefinder SW-1000D. This device is designed to provide accurate distance measurements for golf and other outdoor activities, enhancing your precision and enjoyment. Please read this manual thoroughly before use to ensure proper operation and to maximize the product's lifespan.
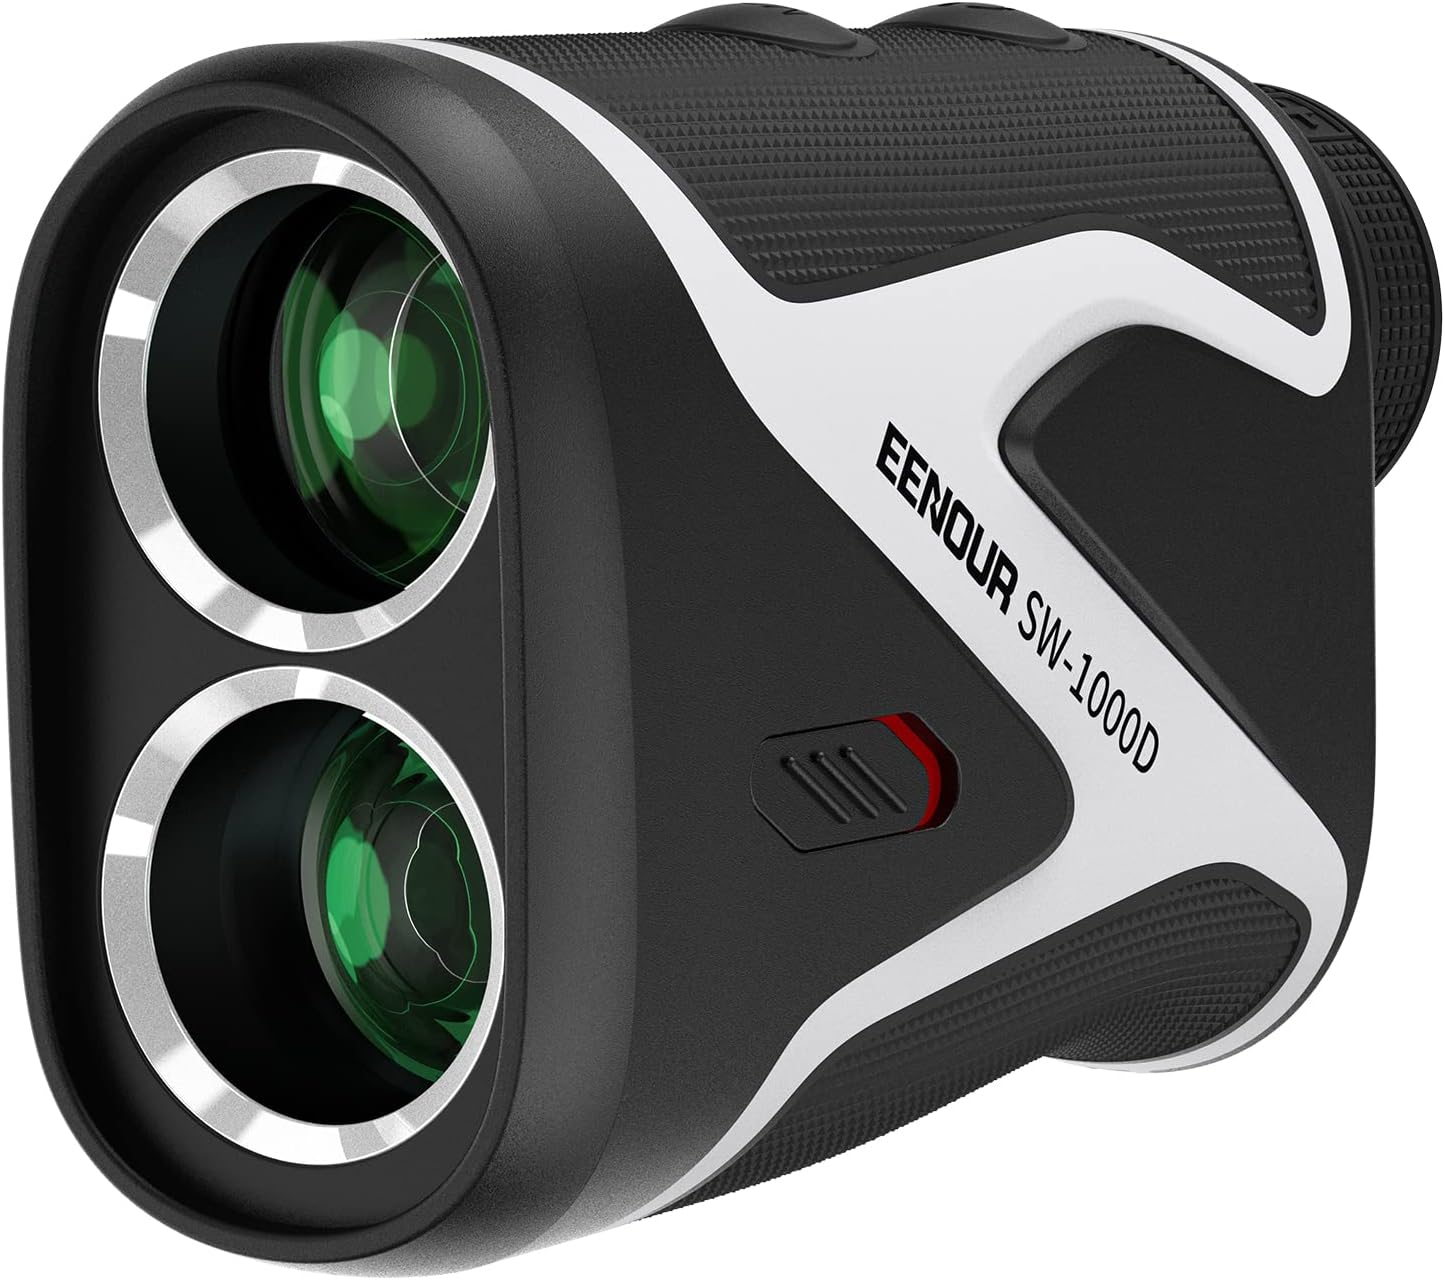
Image 1.1: The EENOUR Golf Laser Rangefinder SW-1000D, a compact and ergonomic device for precise distance measurement.
The SW-1000D features an advanced OLED display, rapid measurement capabilities, and multiple modes to suit various situations on the course. Its robust design ensures durability and ease of use.
2. Produktet er slutview
2.1 Nøglefunktioner
- Vivid OLED Display: Features a bright red OLED display with adjustable brightness for clear visibility in all lighting conditions.
- High Transmittance Optics: Equipped with a 23.5mm optical lens and 95% light transmittance for a bright, clear field of view.
- Hurtig måling: Provides distance readings in as little as 0.06 seconds.
- Flere måletilstande: Includes Slope Compensation Mode, Pin Lock Mode with vibration, and Speed Measurement Mode.
- Magnetisk fastgørelse: Integrated powerful magnet allows for convenient temporary attachment to metal surfaces.
- Ergonomisk design: Contoured body with non-slip rubber grip for comfortable and stable handling.
- USB genopladelig: Built-in battery offers up to 20,000 measurements per charge, with battery level indicator and auto power-off.
- Holdbar konstruktion: IP54 dustproof and waterproof rating, suitable for various outdoor environments.
2.2 Komponenter
The package includes the EENOUR SW-1000D Rangefinder, a dedicated storage case, a USB charging cable, a cleaning cloth, and this user manual.

Billede 2.1: Top-down view of the EENOUR SW-1000D, showing the power and mode buttons for operation.

Image 2.2: The EENOUR SW-1000D Rangefinder shown with its protective case, a golf glove, and a golf club, illustrating typical accessories.
3. Opsætning
3.1 Opladning af batteriet
The SW-1000D is equipped with a built-in rechargeable battery. Before first use, fully charge the device using the provided USB cable. Connect the USB cable to the charging port on the rangefinder and to a standard USB power source (e.g., computer, wall adapter). The battery indicator on the display will show charging status. A full charge allows for approximately 20,000 measurements.
3.2 Tænd/sluk
- To power on, press the Power button (usually the larger button on top).
- The device will automatically power off after approximately 10 seconds of inactivity to conserve battery.
3.3 Adjusting the Diopter
For at sikre en klar view through the eyepiece, rotate the diopter adjustment ring (located near the eyepiece) until the display and target appear sharp and in focus for your vision.

Image 3.1: The eyepiece with diopter adjustment ring, allowing users to focus the display for optimal clarity. The device offers 6x magnification.
4. Betjeningsvejledning
4.1 Grundlæggende afstandsmåling
- Tænd enheden ved at trykke på tænd/sluk-knappen.
- Look through the eyepiece and align the aiming reticle with your target.
- Press the Power button once to measure the distance. The result will be displayed on the OLED screen.

Billede 4.1: View through the rangefinder's OLED display, showing a target reticle and measured distance in red characters.
4.2 Scanningsmåling
For continuous measurement of multiple targets or moving objects:
- Tænd for enheden.
- Press and hold the Power button while sweeping the rangefinder across different targets.
- The display will show real-time distance updates as you scan.
4.3 Valg af tilstand
Press the Mode button (usually the smaller button) to cycle through available measurement modes: Linear Distance, Slope Compensation, Pin Lock, and Speed Measurement.
5. Måletilstande
5.1 Slope Compensation Mode
This mode calculates the 'play-as' distance, taking into account elevation changes between you and the target. It provides a more accurate distance for uphill or downhill shots.
- Activate Slope Mode by sliding the dedicated switch on the side of the device or cycling through modes with the Mode button.
- When Slope Mode is active, the display will show both the linear distance and the adjusted 'play-as' distance.
- For tournament play, ensure the Slope Mode is switched OFF to comply with regulations. The device has a visible indicator for this.

Image 5.1: Diagram illustrating how Slope Compensation Mode calculates the adjusted distance (e.g., 160yd) based on linear distance (186yd) and elevation difference (28yd).

Image 5.2: The dedicated switch for enabling/disabling Slope Mode, indicating its status for tournament compliance.
5.2 Pin Lock Mode
This mode is ideal for targeting small objects like flagsticks. It prioritizes the closest target, ignoring background objects, and provides a vibration confirmation when the flag is locked.
- Select Pin Lock Mode using the Mode button.
- Aim at the flagstick and press the Power button.
- The device will vibrate once it has successfully locked onto the flag, displaying its distance.

Image 5.3: Visual representation of Pin Lock Mode, showing the rangefinder locking onto a flagstick and indicating vibration feedback.
5.3 Hastighedsmålingstilstand
The rangefinder can also measure the speed of a moving object.
- Select Speed Measurement Mode using the Mode button.
- Sigt mod det bevægelige objekt, og tryk på tænd/sluk-knappen.
- The speed will be displayed in kilometers per hour (km/h).

Image 5.4: The rangefinder's display showing speed measurement, with a golf ball as an example of a moving target.
6. Vedligeholdelse
6.1 Rengøring
- Use the provided cleaning cloth or a soft, lint-free cloth to gently wipe the lenses and the body of the rangefinder.
- Do not use abrasive materials, solvents, or harsh chemicals, as these can damage the optics or casing.
- For stubborn dirt on lenses, a small amount of lens cleaning fluid designed for optical instruments can be used with the cleaning cloth.
6.2 Opbevaring
- Store the rangefinder in its dedicated case when not in use to protect it from dust, moisture, and physical impact.
- Opbevar enheden et køligt, tørt sted, væk fra direkte sollys og ekstreme temperaturer.
6.3 Pleje af batterier
- Oplad batteriet regelmæssigt, selvom enheden ikke bruges ofte, for at opretholde batteriets tilstand.
- Undgå at aflade batteriet helt i længere perioder.
- The automatic power-off feature helps conserve battery life during use.
7. Fejlfinding
If you encounter issues with your EENOUR SW-1000D, please refer to the following common solutions:
| Problem | Mulig årsag | Løsning |
|---|---|---|
| Enheden tænder ikke. | Lavt eller afladet batteri. | Oplad enheden helt med USB-kablet. |
| Display is unclear or blurry. | Diopter not adjusted; dirty lens. | Adjust the diopter ring. Clean the lenses with a soft cloth. |
| Unøjagtige afstandsaflæsninger. | Obstruction in laser path; unstable aiming; extreme weather conditions. | Ensure a clear line of sight. Hold the device steady. Re-measure in different conditions if possible. |
| Pin Lock Mode not vibrating. | Target not clearly identified as closest; multiple objects in view. | Ensure the flagstick is the clearest and closest object. Try scanning slowly. |
If the problem persists after attempting these solutions, please contact EENOUR customer support for further assistance.
8. Specifikationer
| Feature | Detalje |
|---|---|
| Produkt model | SW-1000D |
| Farve | Sort |
| Materiale | ABS |
| Måleområde | Op til 1093 yards |
| Målehastighed | Så hurtigt som 0.06 sekunder |
| Display Type | OLED (Red Display) |
| Optical Lens Diameter | 23.5 mm |
| Lystransmission | 95 % |
| Forstørrelse | 6X |
| Vandtæt/støvtæt vurdering | IP54 |
| Batteritype | Genopladelig (USB) |
| Produktdimensioner | 7 x 11 x 4 cm |
| Produktets vægt | 460 g |
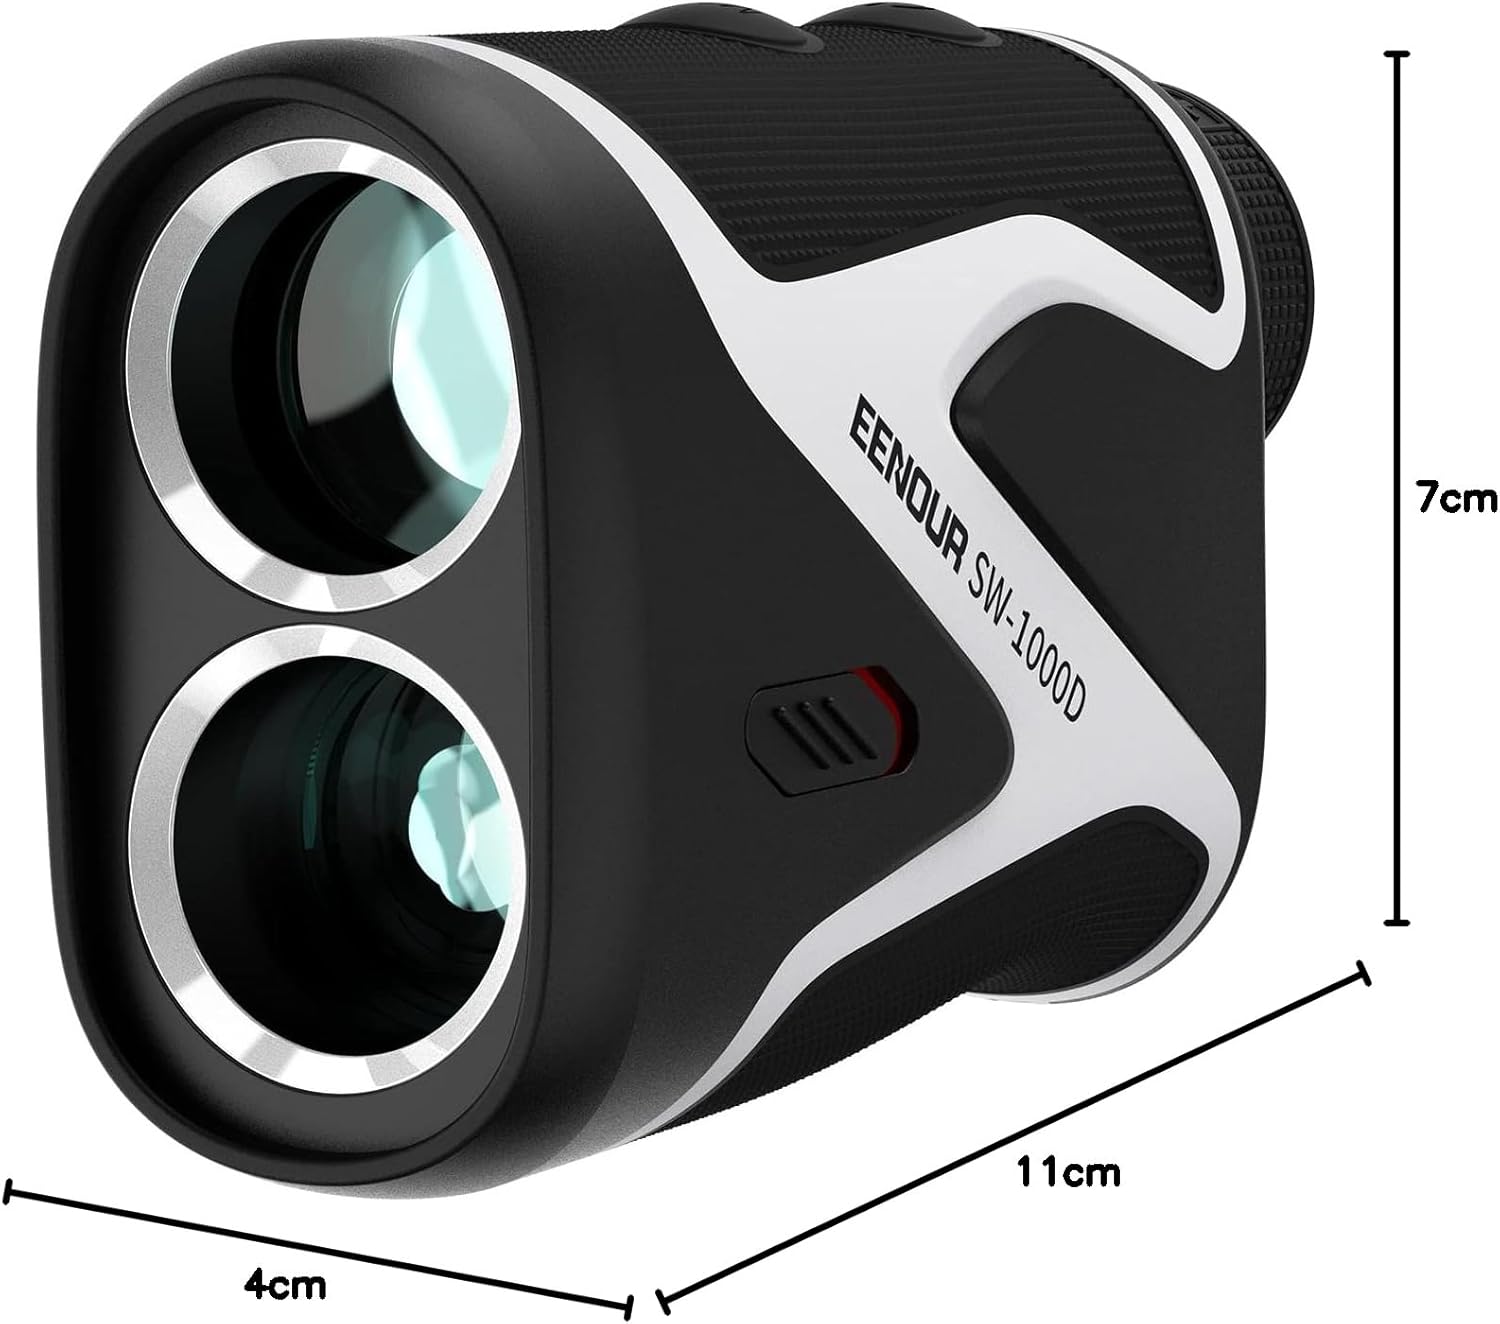
Image 8.1: The EENOUR SW-1000D Rangefinder with its approximate dimensions: 7cm height, 11cm length, and 4cm width.

Image 8.2: Illustration of the rangefinder's IP54 rating, indicating its resistance to dust and water splashes.
9. Sikkerhedsoplysninger
Denne enhed bruger en laser. Overhold venligst følgende sikkerhedsforanstaltninger:
- Se ikke direkte ind i laserstrålen, og ret den ikke mod andre.
- Enheden må ikke skilles ad eller modificeres.
- Opbevares utilgængeligt for børn.
- Brug kun det specificerede opladningskabel og de specificerede strømkilder.
10. Garanti og support
EENOUR products are manufactured to high-quality standards. For warranty information, product registration, or technical support, please refer to the warranty card included with your purchase or visit the official EENOUR webwebsted. Gem venligst din købsbevis til garantikrav.
For further assistance, you may contact EENOUR customer service through the contact information provided on their official webhjemmeside eller gennem din forhandler.


