1. Introduktion
Welcome to the user manual for your new Avtex W195TS Smart TV. This television is specifically designed for mobile living, offering versatile power options (12V, 24V, and 240V) and a range of smart features, including Wi-Fi, Bluetooth, and an integrated Freesat satellite decoder. This manual provides essential information for setting up, operating, maintaining, and troubleshooting your device to ensure optimal performance and enjoyment.
2. Sikkerhedsoplysninger
Læs alle sikkerhedsinstruktioner omhyggeligt, inden du bruger fjernsynet. Gem denne manual til senere brug.
- Strømforsyning: Sørg for den korrekte voltage is used (12V, 24V DC or 240V AC). Do not overload power outlets.
- Ventilation: Bloker ikke ventilationsåbningerne. Sørg for tilstrækkelig plads omkring tv'et for korrekt luftgennemstrømning.
- Vand og fugt: Udsæt ikke tv'et for regn eller fugt. Placer ikke genstande fyldt med væsker oven på tv'et.
- Rensning: Tag stikket ud af tv'et før rengøring. Brug en blød, tør klud. Brug ikke flydende rengøringsmidler eller sprayrengøringsmidler.
- Placering: Place the TV on a stable, flat surface or mount securely to a wall/bracket. Avoid direct sunlight or heat sources.
- Service: Forsøg ikke selv at servicere dette produkt. Overlad al service til kvalificeret servicepersonale.
3. Pakkens indhold
Before setup, please check that all items are present in the box:
- Avtex W195TS Smart TV
- Fjernbetjening med batterier
- 12V/24V DC strømkabel
- 240V AC Power Adapter
- Table Stand (if applicable)
- Brugervejledning (dette dokument)
4. Produktet er slutview
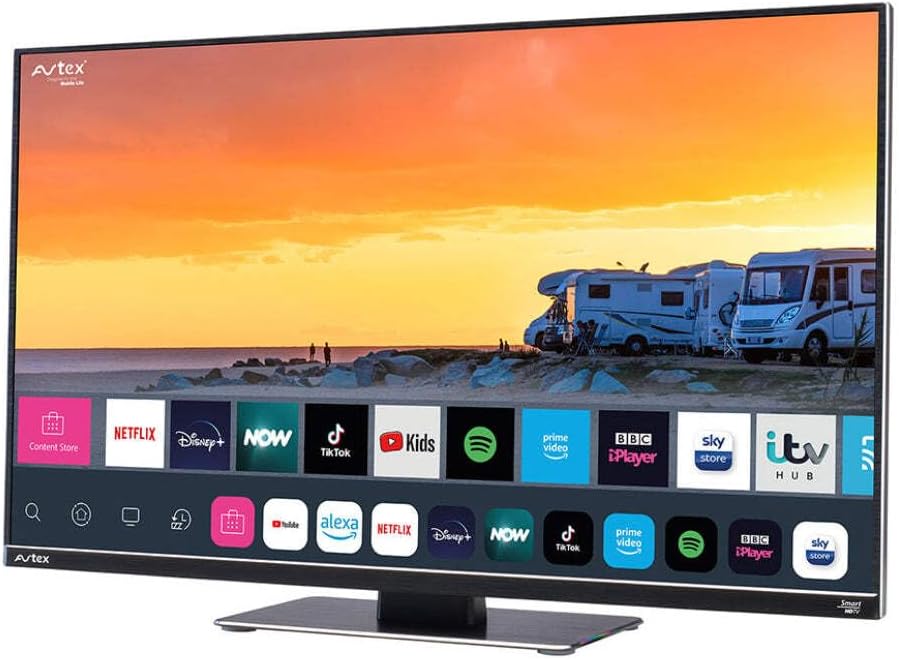
Figure 4.1: Avtex W195TS Smart TV Front View
This image shows the Avtex W195TS Smart TV from a slight angle, highlighting its slim design and the vibrant display. The screen shows a user interface with icons for popular streaming services like Netflix, Disney+, Now, TikTok, Kids, Spotify, Prime Video, BBC iPlayer, Sky Store, and ITV Hub. The background on the screen depicts a scenic view of motorhomes parked near a beach at sunset. The Avtex logo is visible on the top left and bottom left of the TV frame.
4.1. Porte og forbindelser
- HDMI-porte: For connecting external devices like Blu-ray players, game consoles, or set-top boxes.
- USB-porte (2): For media playback from USB drives or connecting USB accessories.
- Antenneindgang: For connecting a terrestrial TV antenna.
- Satellitindgang: For connecting a satellite dish for Freesat or other satellite services.
- DC strømindgang: For 12V/24V DC power connection.
- AC strømindgang: For 240V AC power connection via adapter.
- Ethernet-port: Til kabelbaseret netværksforbindelse.
- Lydudgang: Til tilslutning af eksterne lydsystemer eller hovedtelefoner.
5. Opsætning
5.1. Installing the Stand (Optional)
- Placer forsigtigt tv'et med forsiden nedad på en blød, ren overflade for at forhindre, at skærmen beskadiges.
- Juster stativet med monteringshullerne i bunden af tv'et.
- Fastgør stativet med de medfølgende skruer.
5.2. Strømtilslutning
The Avtex W195TS supports multiple power inputs:
- 12V/24V DC: Connect the supplied 12V/24V DC power cable to the DC input on the TV and to your vehicle's 12V or 24V power outlet.
- 240V AC: Connect the supplied 240V AC power adapter to the AC input on the TV, then plug the adapter into a standard 240V AC wall socket.
Note: Do not connect both DC and AC power simultaneously.
5.3. Antenna/Satellite Connection
- Terrestrial TV: Connect your aerial cable to the 'ANTENNA IN' port.
- Satellite TV (Freesat): Connect your satellite dish cable to the 'SATELLITE IN' port.
5.4. Første opstart og førstegangsopsætning
- Connect the TV to power and press the power button on the remote control or TV.
- The First-Time Setup Wizard will appear. Follow the on-screen prompts to select your language, country, and time zone.
- Perform an automatic channel scan for both terrestrial and satellite channels.
- Opret forbindelse til dit Wi-Fi-netværk ved at vælge dit netværksnavn og indtaste adgangskoden.
6. Betjening
6.1. Fjernbetjeningsfunktioner
Gør dig bekendt med fjernbetjeningens knapper for nem navigation og styring af dit tv's funktioner.
- Power knap: Tænder/slukker tv'et.
- Kildeknap: Selects input sources (HDMI, USB, TV, Satellite).
- Volumen +/-: Justerer lydstyrken.
- Kanal +/-: Skifter tv-kanaler.
- Navigationsknapper (Op/Ned/Venstre/Højre/OK): Til menunavigation og valg.
- Smart Hub/Home-knap: Giver adgang til Smart TV-grænsefladen.
- App-knapper: Dedicated buttons for popular streaming apps (if available).
6.2. Smart TV-funktioner
Your Avtex W195TS is equipped with smart TV capabilities:
- App Store: Download and install various applications for streaming, news, and entertainment.
- Streamingtjenester: Access pre-installed or downloaded apps like Netflix, Disney+, Prime Video, BBC iPlayer, etc. (subscription may be required).
- Web Browser: Surf på internettet direkte på dit tv.
- Skærmspejling: Connect your smartphone or tablet to display content on the TV screen (compatibility may vary).
6.3. Bluetooth-forbindelse
Pair Bluetooth devices such as headphones or external speakers for enhanced audio experience.
- Go to the TV's settings menu.
- Select 'Bluetooth' or 'Connected Devices'.
- Enable Bluetooth and put your device into pairing mode.
- Vælg din enhed fra listen for at parre.
6.4. Medieafspilning via USB
Insert a USB drive into one of the USB ports to view afspille fotos, afspille videoer eller lytte til musik.
- The TV will usually prompt you to open the media player.
- Naviger gennem din fileved hjælp af fjernbetjeningen.
7. Vedligeholdelse
7.1. Rengøring af tv'et
- Skærm: Tør forsigtigt skærmen af med en blød, fnugfri klud. Ved genstridige mærker, tør let afampRengør kluden med vand eller en skærmspecifik rengøringsopløsning (spray ikke direkte på skærmen).
- Casing: Brug en blød, tør klud til at tørre tv'et afasing. Undgå slibende rengøringsmidler eller opløsningsmidler.
7.2. Softwareopdateringer
Periodically check for software updates to ensure your TV has the latest features and bug fixes. Updates can usually be found in the TV's settings menu under 'System' or 'Software Update'.
8. Fejlfinding
If you encounter issues with your Avtex W195TS, refer to the following common problems and solutions:
| Problem | Mulig årsag | Løsning |
|---|---|---|
| Ingen strøm | Power cable not connected; no power from outlet. | Check power cable connection; test outlet with another device; ensure correct voltage (12V/24V/240V). |
| Intet billede, men der er lyd | Incorrect input source selected; faulty cable. | Press the 'Source' button on the remote to select the correct input; check HDMI/antenna cables. |
| Ingen lyd, men billedet er til stede | Lydstyrken er slået fra eller for lav; problem med eksternt lydsystem. | Unmute volume or increase level; check connections to external audio devices. |
| Kan ikke oprette forbindelse til Wi-Fi | Forkert adgangskode; routerproblem; TV'et er for langt fra routeren. | Re-enter Wi-Fi password; restart router; move TV closer to router or use an extender. |
| Fjernbetjeningen virker ikke | Løse batterier; blokering; parringsproblem. | Udskift batterier; fjern forhindringer; par fjernbetjeningen igen, hvis det er en Bluetooth-fjernbetjening. |
9. Specifikationer
| Feature | Specifikation |
|---|---|
| Mærke | Avtex |
| Modelnummer | AVTEX W195TS |
| Skærmstørrelse | 19.5 tommer |
| Opløsning | 1080p (Full HD) |
| Aspektforhold | 16:9 |
| Forbindelsesteknologi | Bluetooth, HDMI, Wi-Fi |
| Samlet USB-porte | 2 |
| Voltage | 12 Volts, 24 Volts, 240 Volts |
| Varens vægt | 2.5 kilo |
| Model årgang | 2018 |
10. Garanti og support
Your Avtex W195TS Smart TV comes with a manufacturer's warranty. Please refer to the warranty card included in your product packaging for specific terms and conditions, including warranty period and coverage details. Keep your proof of purchase for warranty claims.
For technical support, troubleshooting assistance beyond this manual, or warranty inquiries, please contact Avtex customer service through their official website or the contact information provided with your product. When contacting support, please have your model number (AVTEX W195TS) and serial number ready.


