1. Introduktion
This manual provides detailed instructions for the installation, operation, and maintenance of your Lorex 4K WiFi Halow 6-Channel NVR Indoor/Outdoor Security System. This system offers advanced surveillance capabilities with 4K Ultra HD resolution, wire-free battery-powered cameras, and intelligent features designed to enhance your property's security.
Nøglefunktioner omfatter:
- 4K Ultra HD Visual Excellence: Experience superior video clarity and digital zoom.
- Farve Night Vision: Capture detailed video in color under ambient lighting, or crisp black and white with Infrared Night Vision in complete darkness.
- Wire-Free Security: Battery-operated cameras provide flexible placement with up to 600 motion events per charge.
- Smarte meddelelser: Receive targeted alerts with Person Detection, without recurring monthly fees.
- 2-Way Talk: Communicate with visitors directly through the Lorex Cirrus app.
- Private Local Storage: Recordings are stored on the included 1TB Hard Drive, ensuring privacy and no subscription fees.
2. Hvad er der i æsken
Kontroller, at alle komponenter er til stede, før installationen påbegyndes:
- Lorex 4K NVR (Network Video Recorder)
- 4 x Battery-Powered Wireless Cameras
- 4 x Camera Batteries
- Mounting Kits for Cameras
- NVR strømadapter

Image: The Lorex 4K NVR unit with four battery-powered wireless cameras, illustrating the complete system components.
3. Opsætning
3.1 Initial NVR Setup
- Tilslut NVR'en til en strømkilde ved hjælp af den medfølgende strømadapter.
- Connect the NVR to your router via an Ethernet cable for initial network configuration.
- Connect the NVR to a monitor using an HDMI cable (not included) to complete the on-screen setup wizard.
3.2 Camera Preparation and Installation
- Oplad batterier: Fully charge all camera batteries using the provided USB cables and a compatible USB power adapter (not included) before first use.
- Indsæt batterier: Open the battery compartment on each camera and insert the charged battery pack. Ensure it clicks into place securely.

Image: A hand demonstrates inserting a battery pack into the base of a Lorex wireless security camera.
- Kameraplacering: Choose optimal locations for your cameras, considering coverage area, Wi-Fi signal strength, and potential obstructions. The cameras are weatherproof (IP65 rated) for outdoor use.
- Montering: Use the provided mounting kits to securely attach cameras to walls or other surfaces. Adjust the camera angle for desired viewing.

Image: A Lorex wireless camera is shown being mounted onto an exterior wall, illustrating the installation process.
3.3 Appinstallation og parring
- Download Lorex Cirrus app from your device's app store (Google Play Store or Apple App Store).
- Follow the in-app instructions to create an account and add your NVR system.
- The cameras should automatically pair with the NVR once powered on and within range of the NVR's Wi-Fi Halow connection.

Image: A smartphone displays the Lorex Home app, showing multiple live camera feeds for remote viewing.
4. Betjening af dit system
4.1 Live View og optagelse
Access live camera feeds and recorded footage through the Lorex Cirrus app or directly from the NVR connected to a monitor. The system records in 4K Ultra HD, providing clear visuals.

Image: A split image demonstrates the difference between standard video and 4K Ultra HD, highlighting enhanced clarity and detail.
4.2 Nattesynstilstande
Your cameras are equipped with two night vision modes:
- Farve Night Vision: Provides full-color video in low-light conditions where some ambient light is present.
- Infrarød (IR) nattesyn: Automatically activates in complete darkness, providing clear black and white video.

Billede: En splittelse view shows a backyard scene captured with Infrared Night Vision (monochrome) and Color Night Vision (full color).

Billede: En splittelse view illustrates the difference between Infrared Night Vision (monochrome) and daytime video capture on an outdoor patio.
4.3 Smart Notifications and Person Detection
The system utilizes Person Detection to minimize false alerts. You will receive notifications on your mobile device only when a person is detected, ensuring you are informed of relevant activity.
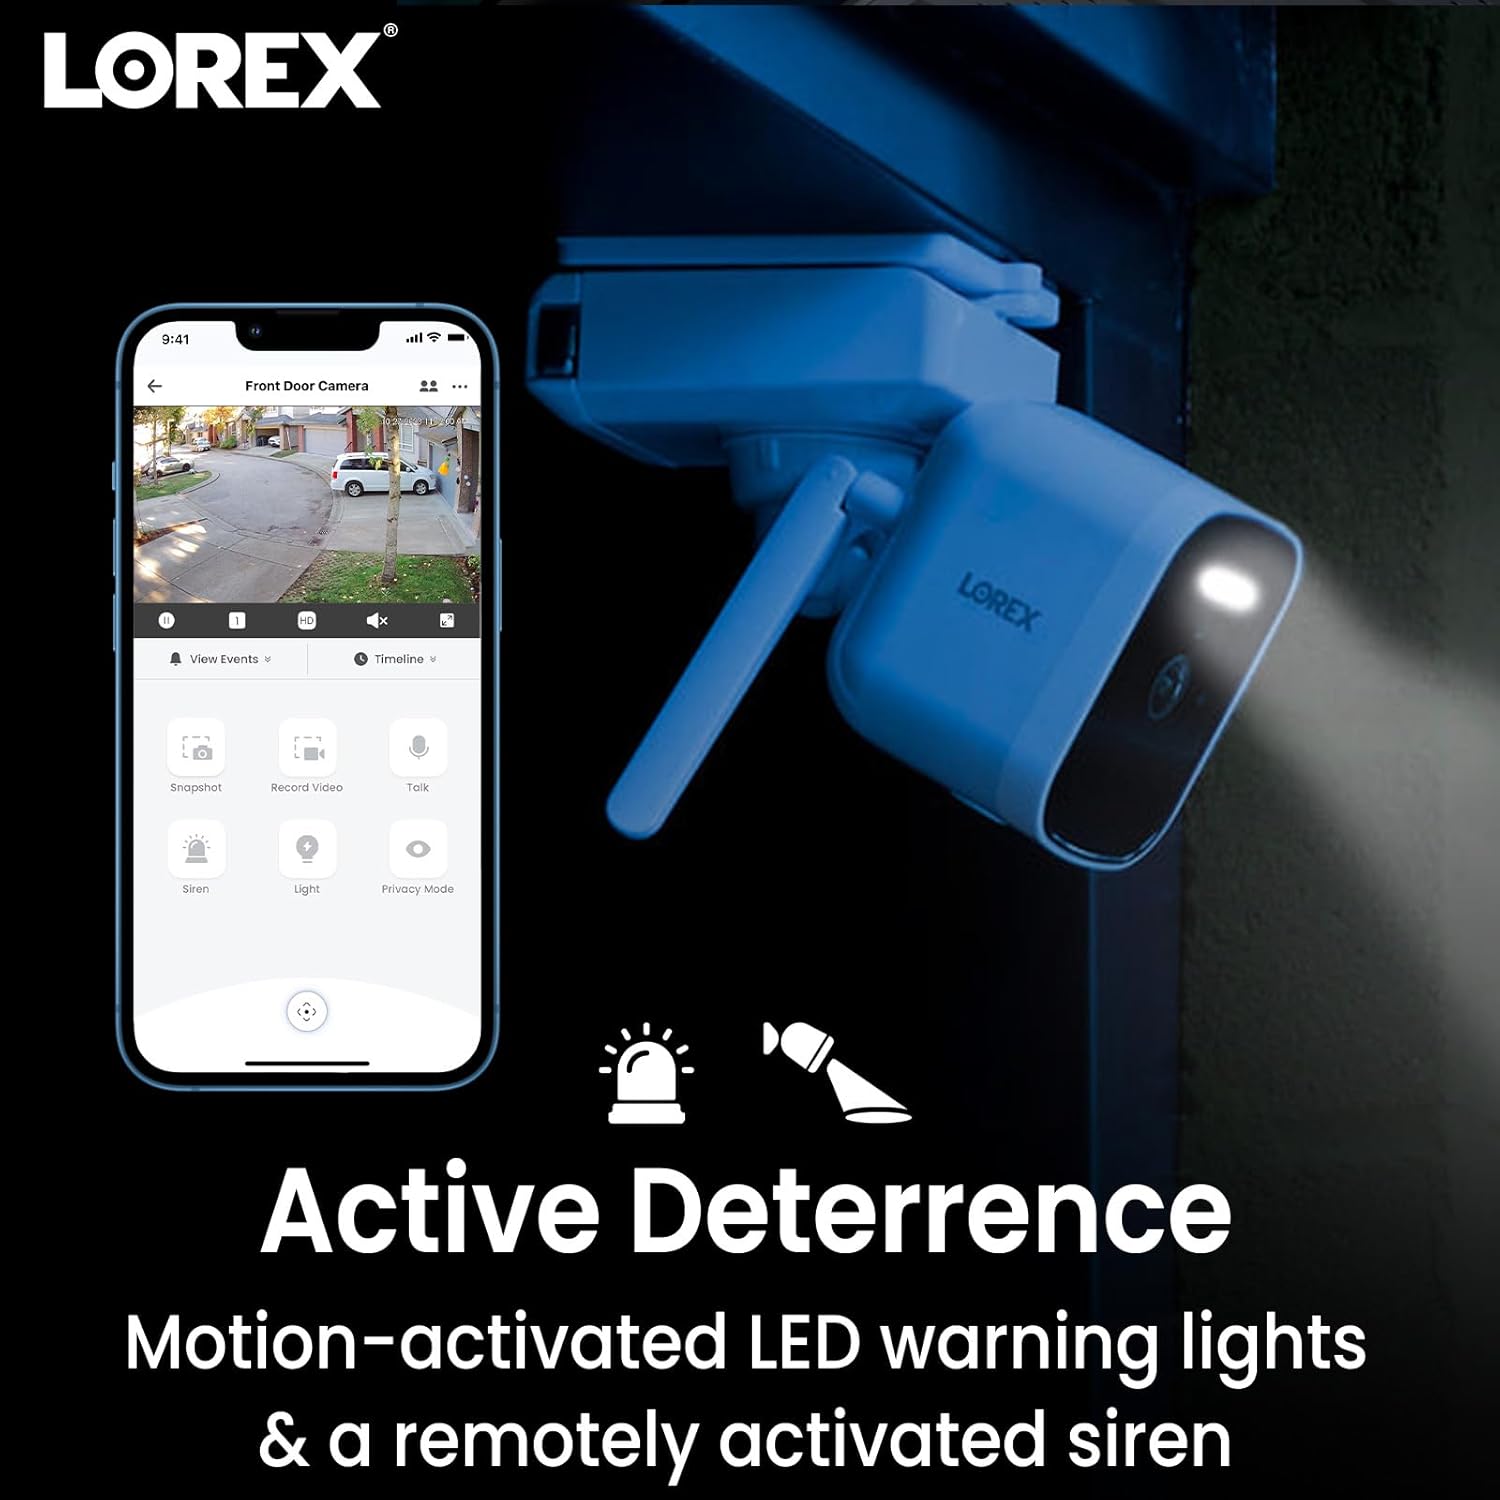
Image: A smartphone screen shows the Lorex app interface with a camera view and notification icons, indicating smart alerts.
4.4 2-Way Talk
Use the Lorex Cirrus app to engage in two-way conversations through your camera. This feature allows you to speak to and hear individuals near the camera, such as delivery personnel or visitors.

Image: A delivery driver is shown at a door, with speech bubbles indicating a two-way conversation facilitated by the camera's 2-Way Talk feature.
4.5 Active Deterrence
The cameras feature motion-activated LED warning lights and a remotely activated siren. These can be used to deter unwanted visitors or draw attention to an event.

Image: A Lorex camera is shown with its LED warning light activated, accompanied by icons representing motion-activated lights and a siren for active deterrence.
5. Vedligeholdelse
5.1 Batteristyring
The wireless cameras are powered by rechargeable batteries. Battery life varies based on usage, temperature, and recording frequency. It is recommended to periodically check battery levels via the Lorex Cirrus app and recharge as needed. To recharge, remove the battery pack and connect it to a USB power source.
5.2 Rengøring
To ensure optimal performance, periodically clean the camera lenses and housing with a soft, damp cloth. Avoid using harsh chemicals or abrasive materials that could damage the camera.
5.3 Vejrbestandighed
The cameras are rated IP65 weatherproof, meaning they are protected against dust and low-pressure water jets. While designed for outdoor use, avoid submerging the cameras in water or exposing them to extreme weather conditions beyond their rating.

Image: A Lorex camera is shown outdoors with water droplets, accompanied by an IP66 weatherproof icon, indicating its resistance to elements.
6. Fejlfinding
6.1 No Video/Offline Cameras
- Tjek strøm: Ensure the NVR is powered on and cameras have charged batteries.
- Wi-Fi-forbindelse: Verify that the NVR is connected to your network and cameras are within range of the NVR's Halow Wi-Fi signal. Obstructions can affect signal strength.
- Genstart: Try restarting the NVR and cameras.
- Re-pair Cameras: If a camera consistently loses connection, try re-pairing it with the NVR through the app settings.
6.2 Kort batterilevetid
- Motion Events: Frequent motion detection and recording will consume battery faster. Adjust motion sensitivity and recording zones in the app.
- Levende View Anvendelse: Excessive use of live view drains battery quickly.
- Temperatur: Kolde temperaturer kan reducere batteriets ydeevne.
- Opladning: Ensure batteries are fully charged using a reliable power source.
6.3 Excessive/Irrelevant Notifications
- Persondetektion: Ensure Person Detection is enabled and configured correctly in the app.
- Bevægelseszoner: Adjust motion detection zones to exclude areas with frequent, irrelevant movement (e.g., public sidewalks, trees swaying).
- Følsomhed: Lower the motion sensitivity setting in the app.
6.4 App-problemer
- Opdater app: Ensure your Lorex Cirrus app is updated to the latest version.
- Internetforbindelse: Verify your mobile device has a stable internet connection.
- Geninstaller app: If issues persist, try uninstalling and reinstalling the app.
7. Specifikationer
| Feature | Detalje |
|---|---|
| Modelnavn | L85591-8AA4B-E |
| Varemodelnummer | Raysharp |
| Indendørs/Udendørs brug | Udendørs |
| Forbindelsesprotokol | Wi-Fi |
| Trådløs kommunikationsteknologi | Wi-Fi |
| Videooptagelsesopløsning | 4K (Recording at 2K) |
| Antal kanaler | 6-Channel NVR (4 cameras included) |
| Strømkilde | Corded Electric (NVR), Battery (Cameras) |
| Batterier påkrævet | Yes, 4 Lithium Ion batteries (included) |
| Low Light teknologi | Nat farve |
| Alert Type | Motion Only (with Person Detection) |
| International Protection Rating | IP65 |
| Varedimensioner (L x B x H) | 6.7 x 2.5 x 8.6 tommer |
| Varens vægt | 11.18 pund |
| Fabrikant | Lorex |
8. Garanti og support
For warranty information, technical support, and additional resources, please visit the official Lorex website or contact Lorex customer service. You can also find support and product information on the Lorex Store on Amazon.
Gem dit købsbevis for garantikrav.


