1. Produktet er slutview
The UeeVii CPE820 Gigabit Wireless WiFi Bridge is a 5.8G long-range outdoor CPE designed for extending network signals over distances up to 3KM (barrier-free). It features a digital tube display for simplified point-to-point pairing, eliminating the need for complex GUI access during initial setup. This device is engineered to provide reliable wireless coverage, data transmission, and monitoring capabilities for various outdoor applications.
Key functionalities include extending WiFi networks to remote buildings like barns, shops, or garages, and boosting Starlink signals. It supports both point-to-point and point-to-multipoint configurations with flexible transmission/receiver switching. The system utilizes 5.8 GHz IEEE 802.11ac single-band wireless transmission technology, offering strong anti-interference capabilities and enhanced stability for high-speed video transmission, particularly for surveillance systems.
Designed for outdoor use, the CPE820 boasts an IP65 waterproof rating and supports 24V PoE power supply for easy installation. It incorporates low power consumption and high-performance design, with RF and radiation indexes compliant with national standards. The device also features dynamic MIMO power saving mode (DMPS) and automatic power-saving transmission (APSD), and automatically repairs connections after power outages.
Equipped with a 16 dBi directional antenna, the CPE820 can automatically adjust power (up to 27 dBm) to adapt to environmental changes, ensuring smooth video transmission even at ultra-close distances.
Pakkens indhold
Når du åbner pakken, skal du kontrollere, at alle komponenter er til stede og i god stand:
- 2 x Wireless Bridge (CPE820 units)
- 2 x 24V PoE Injector
- 2 x 3FT Test Network Cables
- 2 x Metal Hoop (for mounting)
- 1 x Brugermanual (dette dokument)
If any items are missing or damaged, please contact UeeVii customer support.
2. Opsætning og installation
The UeeVii CPE820 is designed for straightforward setup, primarily through a digital display for point-to-point pairing without requiring initial GUI access. This section outlines the basic steps for installation and initial configuration.
2.1 Fysisk installation
The CPE820 units are designed for outdoor mounting. Choose locations that provide a clear line of sight between the two units for optimal performance. Avoid obstructions such as large trees, buildings, or hills.
- Montering: Use the provided metal hoops to securely attach the CPE units to poles or suitable mounting brackets. Ensure the units are mounted vertically with the UeeVii logo facing upwards.
- Vejrbeskyttelse: While the units are IP65 waterproof, consider additional protection for cable connections to prolong lifespan, especially in harsh weather conditions.
- Optimal placering: For best signal strength, aim the front face of each CPE unit directly towards the other.

Figure 2.1: UeeVii CPE820 mounted on a pole, illustrating its directional antenna capability.
2.2 Powering and Initial Connection
The CPE820 units are powered via Power over Ethernet (PoE) using the included 24V PoE injectors.
- Connect one end of an Ethernet cable (e.g., the 3FT test cable) from the PoE port on the PoE injector to the Ethernet port on the CPE820 unit.
- Tilslut et andet Ethernet-kabel fra LAN-port on the PoE injector to your network device (e.g., router, switch, or PC for configuration).
- Plug the PoE injector into a standard electrical outlet. The CPE unit will power on.

Figure 2.2: Powering the CPE820 via PoE injector.
2.3 Easy Pairing (Digital Display Method)
The CPE820 allows for quick point-to-point pairing using its digital display, bypassing complex GUI setup for basic operation.
- Identify Master and Slave: Decide which CPE unit will be the "Master" (connected to your main network source, e.g., router) and which will be the "Slave" (connected to the remote network device, e.g., another router or IP camera).
- Set Master Unit: On the Master CPE, use the dial or buttons (refer to the unit's physical interface) to set its digital display to 'A'.
- Set Slave Unit: On the Slave CPE, set its digital display to 'B'.
- Bekræft parring: Once both units are powered on and set to 'A' and 'B' respectively, they should automatically detect and pair with each other. The digital display or LED indicators on the units will confirm a successful connection.
For point-to-multipoint setups, additional units can be configured. For example, if you have multiple slave units, they can all be set to 'B' to connect to a single 'A' master unit, provided they are within the 60-degree angle range for multi-camera monitoring.

Figure 2.3: Easy pairing method using the digital display.
3. Operating the Wireless Bridge
Once the CPE820 units are physically installed and paired, they function as an invisible Ethernet cable, extending your network wirelessly. This section details common operational scenarios.
3.1 Network Extension to Outbuildings
The primary use case for the CPE820 is to extend your existing network to a remote location such as a barn, garage, or another building without running physical cables.
- The Master CPE connects to your main router/modem.
- The Slave CPE is placed at the remote building. You can connect a secondary router or a network switch to the Slave CPE to provide Wi-Fi and wired connections within that building.
- The system supports transmission speeds up to 1200Mbps between the two bridges, with a maximum achievable network speed of 433 Mbps for connected devices.

Figure 3.1: Extending network to an outbuilding.
3.2 Starlink WiFi Extension
The CPE820 can be used to extend Starlink internet service to other buildings. The Master wireless bridge connects to your Starlink V2 or V3 router/adapter, boosting the Starlink signal to distant locations.

Figure 3.2: Integrating CPE820 with Starlink for extended coverage.
3.3 Surveillance System Extension
The CPE820 is optimized for wireless video surveillance transmission, ensuring smooth video feeds for IP cameras without the need for extensive wiring.
- Point-to-Point Surveillance: Connect IP cameras to a switch at the remote location, which then connects to a Slave CPE. The Master CPE connects to your DVR/NVR system.
- Point-to-Multipoint Surveillance: Multiple Slave CPE units can connect to a single Master CPE, allowing for decentralized camera monitoring. Ensure cameras are within a 60-degree angle range from the Master unit for optimal performance in multi-camera setups.
- Relætilstand: For scenarios with obstacles, two pairs of wireless bridges can be used in a relay mode to transmit signals around obstructions.

Figure 3.3: Point-to-point extended surveillance.

Figure 3.4: Point-to-multipoint camera monitoring.

Figure 3.5: Relay mode for signal transmission around obstacles.
4. Vedligeholdelse
The UeeVii CPE820 is designed for robust outdoor performance with minimal maintenance. Adhering to these guidelines will ensure its longevity and reliable operation.
- Miljømæssig holdbarhed: The CPE820 has an IP65 waterproof rating, making it resistant to dust and water jets. It is built to withstand various outdoor weather conditions, including rain, heat, and cold.
- Power Cycling: The device is designed to automatically repair its connection and resume operation after a power outage, requiring no manual intervention in most cases.
- Fysisk inspektion: Periodically inspect the units and their mounting hardware for any signs of wear, damage, or loose connections, especially after severe weather events. Ensure cables are securely connected and protected.
- Rensning: If necessary, gently clean the exterior of the units with a soft, damp cloth. Do not use harsh chemicals or abrasive materials. Ensure the digital display and LED indicators are clear for visibility.
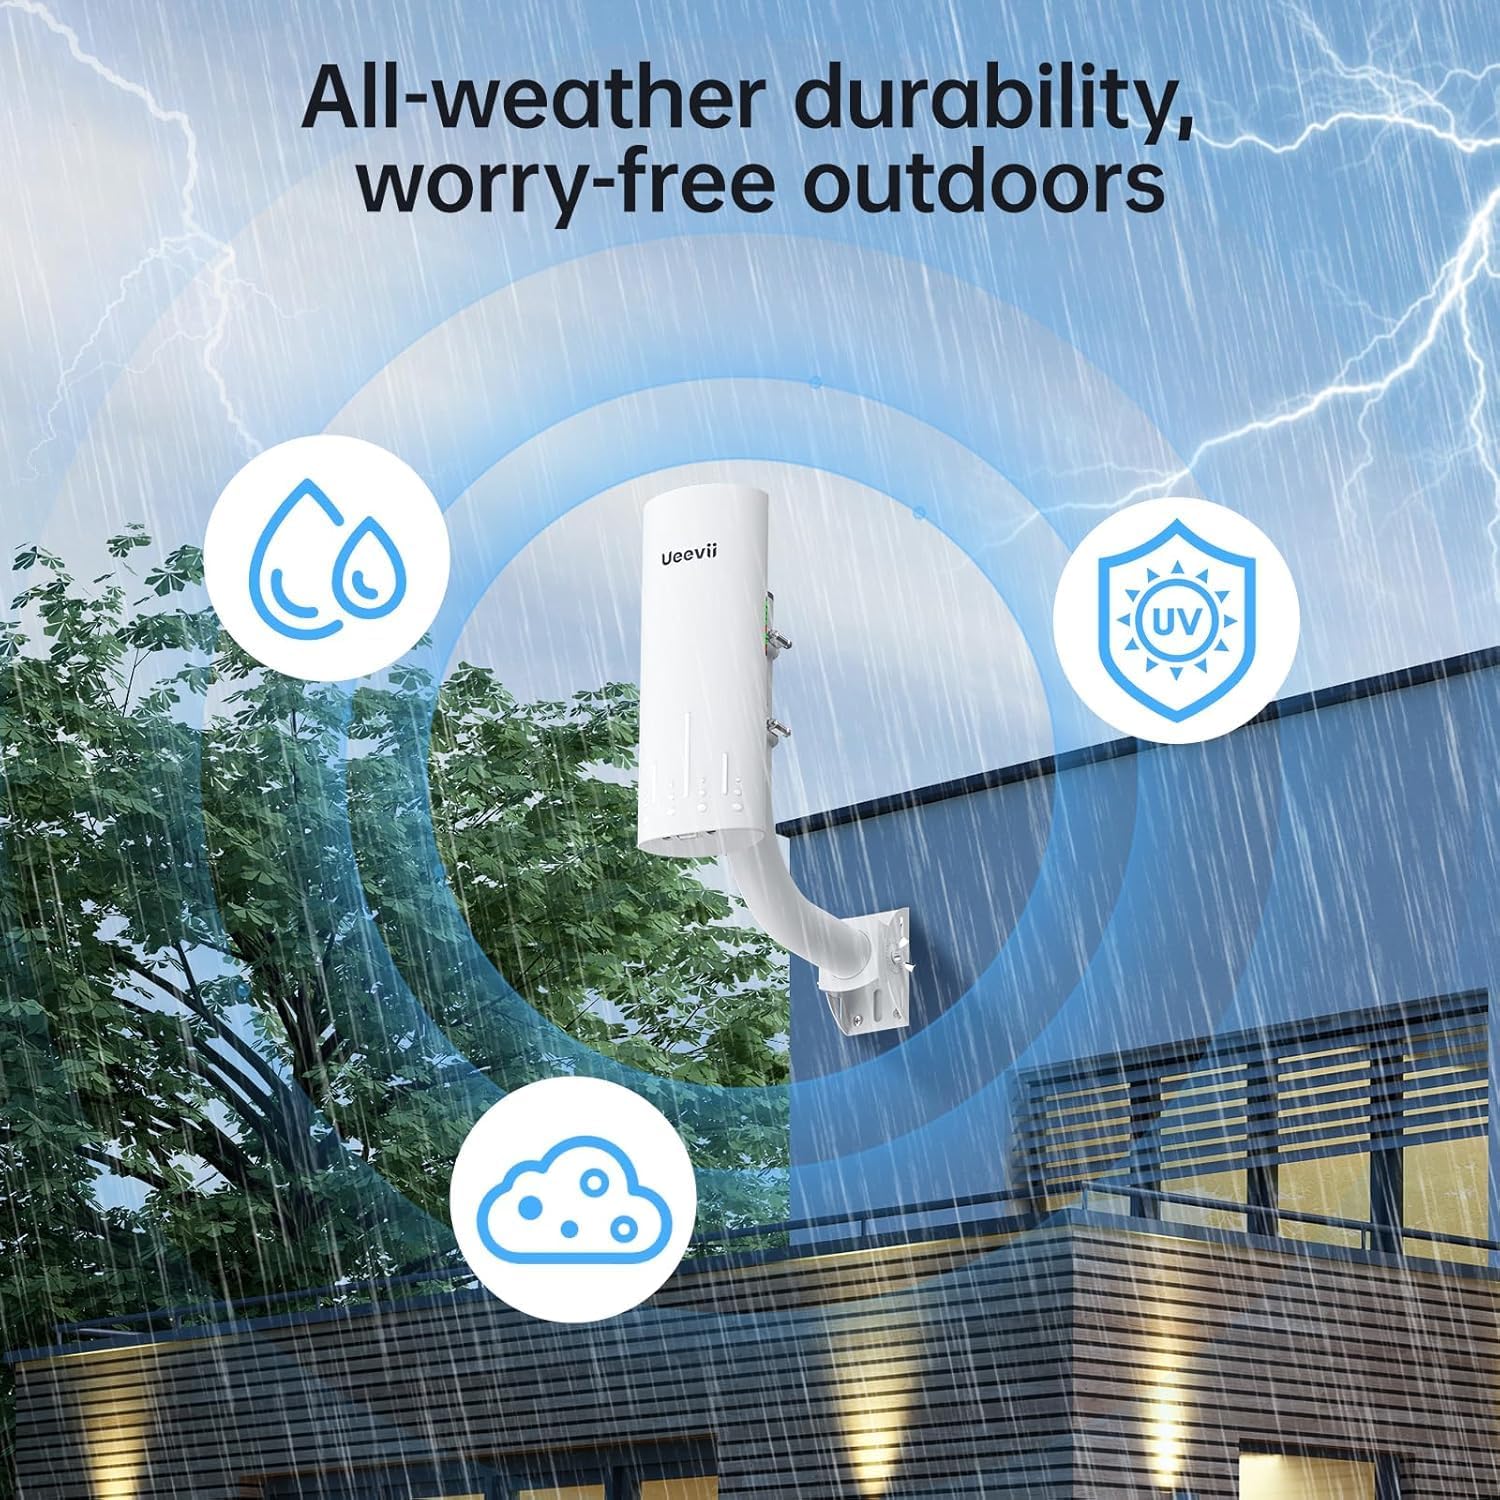
Figure 4.1: All-weather durability of the CPE820.
5. Fejlfinding
This section provides solutions to common issues you might encounter with your UeeVii CPE820 Wireless Bridge.
5.1 No Connection / Poor Signal
- Synslinje: Ensure there is a clear, unobstructed line of sight between the Master and Slave units. Obstacles like buildings, dense foliage, or hills can significantly degrade signal quality.
- Justering: Verify that both CPE units are precisely aimed at each other. Even slight misalignments can impact performance over long distances.
- Magt: Check that both CPE units are properly powered via their PoE injectors and that the injectors are plugged into working electrical outlets.
- Ethernet-kabler: Ensure all Ethernet cables are securely connected and undamaged. Test with the provided 3FT test cables if you suspect a cable issue.
- Parring: Re-verify the digital display settings for Master ('A') and Slave ('B') units to ensure they are correctly paired.
5.2 Network Speed Issues
- Afstand: While rated for up to 3KM, actual performance can vary based on environmental factors. Ensure your distance is within reasonable limits for your specific environment.
- Interferens: The 5.8 GHz band is generally less congested than 2.4 GHz, but interference from other wireless devices or strong electromagnetic sources can occur.
- Tilsluttede enheder: If you are experiencing slow speeds at the remote end, test the connection by plugging a PC directly into the Slave CPE's LAN port (via its PoE injector) to rule out issues with the secondary router or devices connected to it. Old or low-performance routers at the remote end can bottleneck the connection.
- GUI Optimization: For advanced users, accessing the device's Graphical User Interface (GUI) allows for optimization of settings like channel selection, bandwidth, and power adjustment. Refer to the full user manual (PDF) for details on GUI access.
5.3 Unit Not Responding
- Power Cycle: Disconnect power from the PoE injector for about 10 seconds, then reconnect it. This can resolve temporary software glitches.
- Gendan fabriksindstillinger: If the unit is unresponsive or you need to reconfigure it from scratch, a factory reset may be necessary. Consult the full user manual (PDF) for instructions on performing a factory reset, as this typically involves a physical button press or a specific sequence.
For persistent issues or advanced troubleshooting, please refer to the comprehensive User Manual PDF available online or contact UeeVii customer support.
6. Specifikationer
Detailed technical specifications for the UeeVii CPE820 Wireless Bridge:
| Feature | Specifikation |
|---|---|
| Modelnavn | CPE820 |
| Trådløs type | 802.11a, 802.11ac, 802.11n |
| Frekvensbåndsklasse | Enkeltbånd (5.8 GHz) |
| Antenne | 16 dBi Directional Antenna |
| Max transmissionsafstand | Up to 3KM (Barrier-free) |
| Max Transmission Speed (Bridge-to-Bridge) | 1200 Mbps |
| Max Network Speed (to device) | 433 Mbps |
| Strømforsyning | 24V PoE (24V~48V Wide Voltage Powered) |
| Operativsystem | RouterOS (Internal) |
| Ingress Protection (IP) Rating | IP65 (Vandtæt) |
| Dimensioner (LxBxH) | 3.54 x 2.76 x 9.84 tommer |
| Varens vægt | 2.44 pund |
| Farve | Hvid |
| Særlige funktioner | Access Point Mode, LED Indicator, Weatherproof, Digital Display Pairing |
| Kompatible enheder | Personal Computer, Network Devices (Routers, Switches, IP Cameras, NVRs) |
7. Garanti og support
UeeVii is committed to providing reliable products and excellent customer service.
7.1 Garantioplysninger
Specific warranty details for the UeeVii CPE820 are typically provided with your purchase documentation or can be found on the official UeeVii webwebsted. Gem venligst din købsbevis til garantikrav.
7.2 Kundesupport
For technical assistance, troubleshooting, or any product-related inquiries, please contact UeeVii customer support. Many users have reported positive experiences with UeeVii's responsive and helpful support team.
- Officiel brugermanual (PDF): For a more comprehensive guide, you can download the official User Manual PDF: Download PDF Manual
- UeeVii Brand Store: Explore other UeeVii products and resources by visiting their official brand store: Visit UeeVii Store
When contacting support, please have your product model (CPE820) and purchase details ready to facilitate faster service.


