Indledning
This manual provides essential instructions for the safe and efficient operation, maintenance, and troubleshooting of your KARACA Coffee Art Aroma Filter Coffee Machine. Please read this manual thoroughly before first use and keep it for future reference.
Vigtige sikkerhedsinstruktioner
- Læs alle instruktioner før brug af apparatet.
- Rør ikke ved varme overflader. Brug håndtag eller knopper.
- For at beskytte mod brand, elektrisk stød og personskade må ledning, stik eller apparat ikke nedsænkes i vand eller anden væske.
- Tæt opsyn er nødvendigt, når et apparat bruges af eller i nærheden af børn.
- Træk stikket ud af stikkontakten, når det ikke er i brug, og før rengøring. Lad det køle af, før du sætter dele på eller af, og før du rengør apparatet.
- Betjen ikke noget apparat med en beskadiget ledning eller stik, eller efter at apparatet ikke fungerer korrekt eller er blevet beskadiget på nogen måde.
- Brug af tilbehør, der ikke er anbefalet af apparatets producent, kan resultere i brand, elektrisk stød eller personskade.
- Må ikke bruges udendørs.
- Lad ikke ledningen hænge ud over kanten af bordet eller bordpladen eller røre ved varme overflader.
- Må ikke placeres på eller i nærheden af en varm gas- eller elektrisk brænder eller i en opvarmet ovn.
- Sæt altid stikket i apparatet først, og sæt derefter ledningen i stikkontakten. For at afbryde forbindelsen skal du slukke for en vilkårlig knap og derefter tage stikket ud af stikkontakten.
- Brug ikke apparatet til andet end tilsigtet brug.
Produktkomponenter
Familiarize yourself with the parts of your KARACA Coffee Art Aroma Filter Coffee Machine:

Billede: En eksploderet view showing the main components of the coffee machine, including the digital display, removable water tank (1.35 L), nylon filter, coffee basket, and stainless steel thermos (1.2 L).
- Digital skærm: Shows time and brewing status.
- Kontrolpanel: Buttons for ON/OFF, START, PROGRAM, AUTO, AROMA FUNCTION, HOUR, MIN.
- Removable Water Tank (1.35 L): For easy filling and cleaning.
- Nylon Filter: Genanvendeligt filter til formalet kaffe.
- Kaffekurv: Holds the nylon filter and ground coffee.
- Stainless Steel Thermos (1.2 L): Keeps coffee hot for extended periods.
Opsætning og første brug
- Udpakning: Carefully remove all packaging materials and inspect the coffee machine for any damage.
- Indledende rengøring: Before first use, wash the removable water tank, nylon filter, coffee basket, and thermos with warm, soapy water. Rinse thoroughly and dry. Wipe the exterior of the machine with a damp klæde.
- Placering: Place the coffee machine on a stable, flat, heat-resistant surface, away from the edge of the counter. Ensure adequate ventilation around the appliance.
- Første brygcyklus (rengøring): Fill the water tank with clean water up to the maximum level. Do not add coffee. Run a full brewing cycle to clean the internal components. Discard the water.
Betjeningsvejledning
Basic Coffee Brewing

Image: A visual guide demonstrating the coffee brewing process, from adding coffee grounds and water to starting the machine and pouring the finished coffee.
- Tilbered kaffe: Insert the nylon filter into the coffee basket. Add your desired amount of ground coffee into the filter.
- Tilsæt vand: Fill the removable water tank with fresh, cold water up to the desired level (max 1.35 L). Ensure the thermos is correctly placed on the heating plate.
- Begynd at brygge: Press the "ON/OFF" button, then press the "START" button to begin the brewing process. The digital display will show the brewing progress.
- Tjene: Once brewing is complete, carefully remove the thermos and pour your coffee. The stainless steel thermos is designed to keep your coffee hot for an extended period.
Brug af Aroma-funktionen

Billede: En detaljeret view of the coffee machine's control panel, highlighting the digital display and various function buttons, including the 'Aroma Function' button.
The Aroma Function enhances the coffee's flavor for a richer taste.
- Follow steps 1 and 2 for basic brewing.
- Before pressing "START", press the "AROMA FUNCTION" button. An indicator light may illuminate.
- Press "START" to begin brewing with the enhanced aroma setting.
Setting the Timer (Programmable Brewing)

Image: The coffee machine on a wooden table with a cup of coffee, emphasizing the digital display and control panel, indicating the timer function for scheduled brewing.
Timerfunktionen giver dig mulighed for at programmere maskinen til at starte brygningen på et bestemt tidspunkt.
- Indstil aktuel tid: With the machine plugged in, use the "HOUR" and "MIN" buttons to set the current time on the digital display.
- Forberedelse til brygning: Add coffee grounds to the filter and fill the water tank as described in the basic brewing section.
- Indstil programtid: Press the "PROGRAM" button. The display will flash. Use the "HOUR" and "MIN" buttons to set your desired brewing start time.
- Activate Auto Brew: Press the "AUTO" button. An indicator light will confirm that the automatic brewing is set. The machine will now start brewing at the programmed time.
Pleje og vedligeholdelse
Daglig rengøring
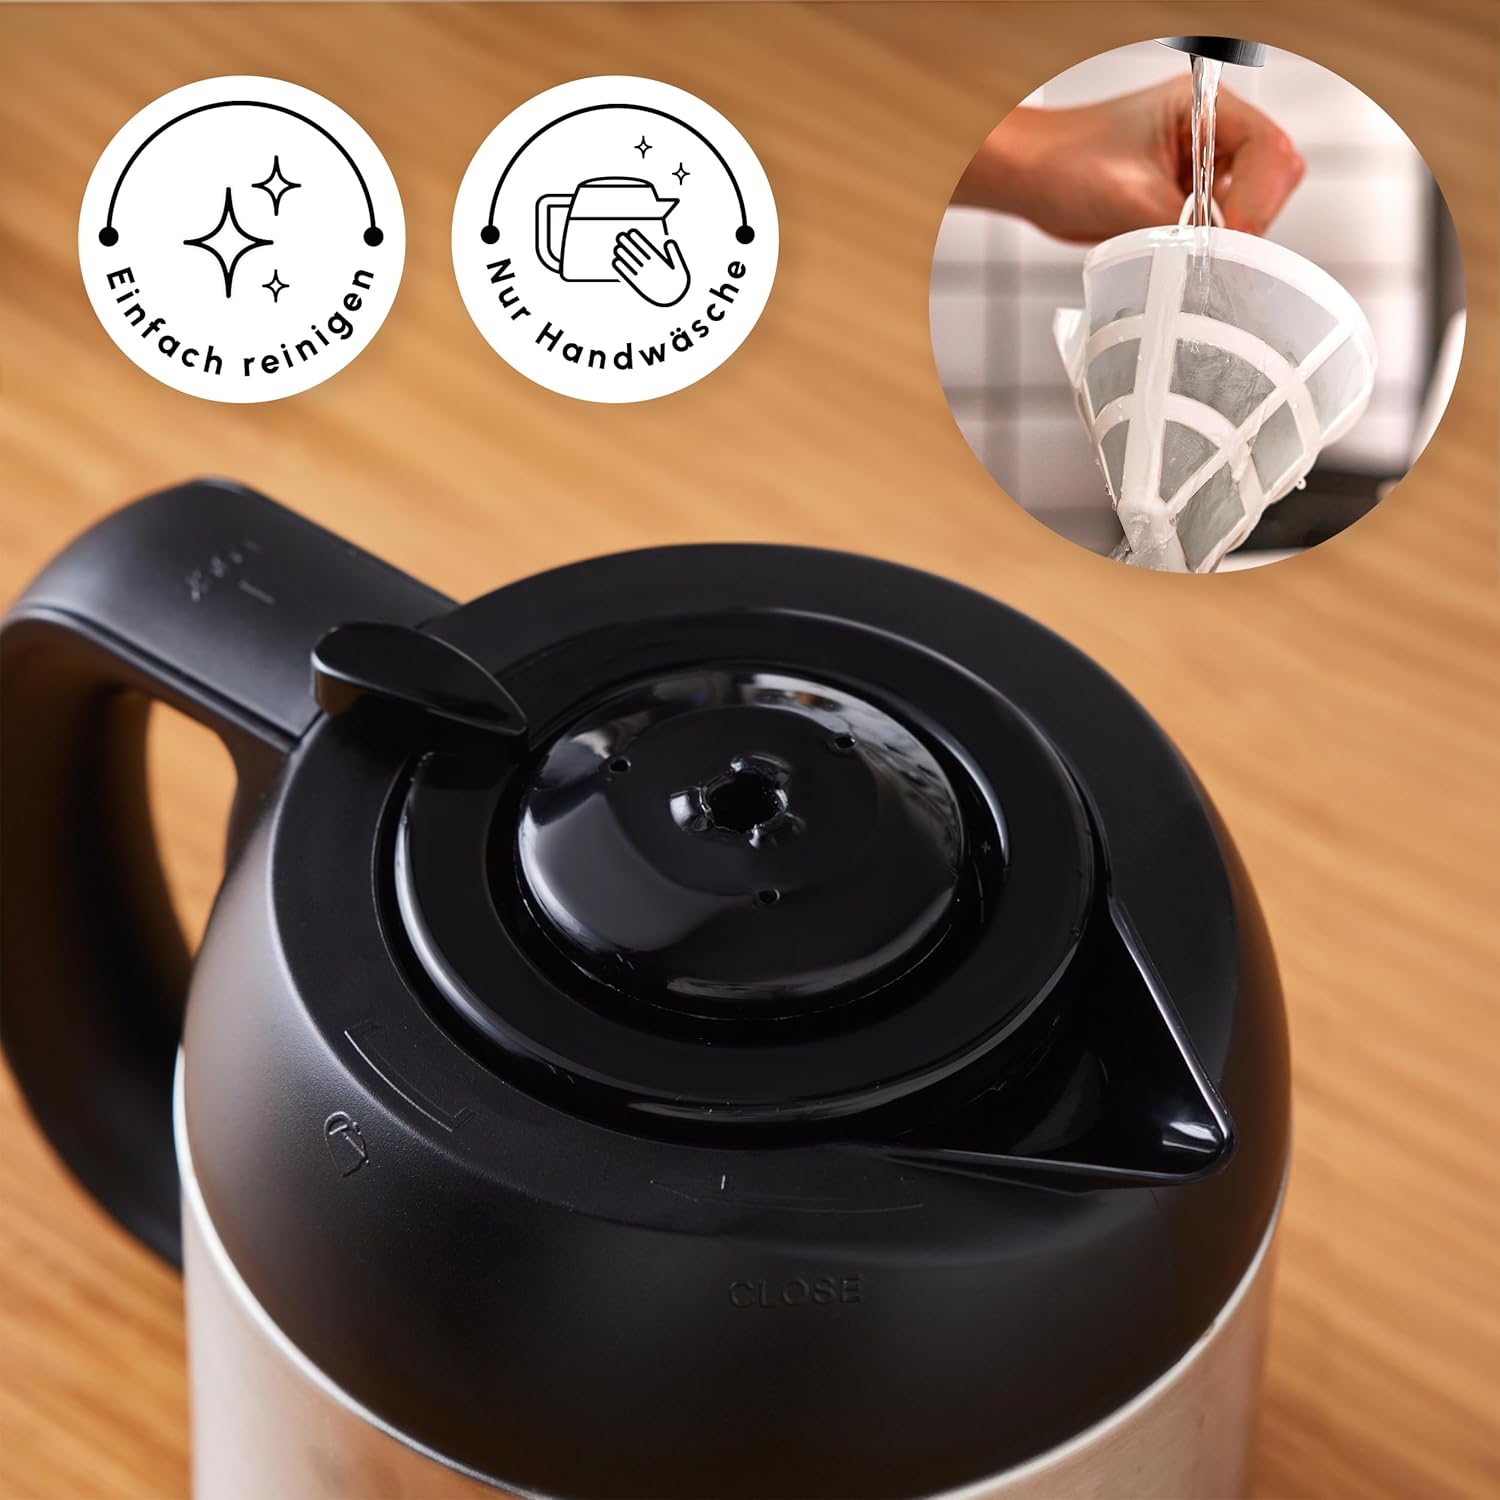
Image: A hand cleaning the reusable nylon filter under a faucet, accompanied by icons signifying easy cleaning and the recommendation for hand washing.
- Tag stikket ud: Always unplug the coffee machine from the power outlet before cleaning.
- Vask aftagelige dele: Remove the water tank, nylon filter, coffee basket, and thermos. Wash them with warm, soapy water. Rinse thoroughly and dry completely. The nylon filter should be hand-washed.
- Aftør udvendigt: Tør ydersiden af kaffemaskinen af med en blød, tør klud.amp klæde. Brug ikke slibende rengøringsmidler eller skuresvampe.
- Fordyb ikke: Never immerse the main unit of the coffee machine in water or any other liquid.
Afkalkning
Mineral deposits from water can build up in your coffee machine over time, affecting performance and coffee taste. Regular descaling is essential.
- Frekvens: The frequency of descaling depends on the hardness of your water and how often you use the machine. A general recommendation is every 2-4 weeks.
- Afkalkningsløsning: Use a commercially available descaling solution suitable for coffee machines, or a mixture of white vinegar and water (1 part vinegar to 2 parts water).
- Behandle: Fill the water tank with the descaling solution. Place the empty thermos on the heating plate. Run a full brewing cycle.
- Skyllecyklusser: After the descaling cycle, discard the solution. Fill the water tank with clean water and run at least two full brewing cycles with only water to rinse out any remaining descaling solution.
Fejlfinding
| Problem | Mulig årsag | Løsning |
|---|---|---|
| Coffee does not brew or stops mid-cycle. | Machine needs descaling; water tank empty; power interruption. | Perform descaling procedure; ensure water tank is filled; check power connection. |
| Kaffe er ikke varm nok. | Thermos not properly sealed; thermos not pre-heated. | Ensure thermos lid is securely closed; pre-heat thermos with hot water before brewing. |
| Plastic taste in coffee. | New machine residue; insufficient initial cleaning. | Run several cycles with only water; ensure all removable parts are thoroughly cleaned. If problem persists, contact customer support. |
| Digital display or controls not responding. | Power issue; temporary electronic glitch. | Unplug the machine for a few minutes, then plug it back in. If the issue persists, contact customer support. |
Tekniske specifikationer

Image: The coffee machine with its key dimensions labeled, including height, width, and depth, along with the power cord length.
- Mærke: ROE
- Modelnummer: 153.03.06.2270
- Farve: Inox (rustfrit stål)
- Produktmål (L x B x H): 22 x 22 x 34 cm
- Vandtankkapacitet: 1.35 liter
- Thermos Capacity: 1.2 liter
- Magt: 1000 watt
- Voltage: 230 volt
- Materiale: Rustfrit stål
- Vægt: 3.88 kilo
- Særlige funktioner: Programmable, Timer Function, Aroma Function, Digital Clock, Large Control Panel, Removable Water Tank, Reusable Nylon Filter
Garanti og kundesupport
For warranty information, please refer to the documentation included with your product packaging or visit the official KARACA website. For technical support, spare parts, or service inquiries, please contact KARACA customer service through their official channels.


