Indledning
This manual provides essential information for the proper setup, operation, and maintenance of your Smart Tech 24HN10T2 HD LED TV. Please read this manual thoroughly before using the television and retain it for future reference.
Sikkerhedsoplysninger
- Sørg for korrekt ventilation omkring tv'et.
- Udsæt ikke TV'et for regn eller fugt.
- Undgå at placere tv'et i nærheden af varmekilder eller i direkte sollys.
- Brug kun den netledning, der følger med tv'et.
- Åbn ikke tv'etasing; overlad al service til kvalificeret personale.
- Opbevar batterier utilgængeligt for børn.
Pakkens indhold
Før du fortsætter med opsætningen, skal du kontrollere, at alle dele er til stede i pakken:
- Smart Tech 24HN10T2 HD LED TV
- Fjernbetjening (med 2 AAA-batterier)
- TV-bord (2 stk.)
- Skruer til stativmontering
- Strømledning
- Brugervejledning (dette dokument)
Opsætning
1. Montering af tv-stativet
- Placer forsigtigt tv'et med forsiden nedad på en blød, ren overflade for at forhindre, at skærmen beskadiges.
- Juster hvert stativstykke med de tilsvarende riller i bunden af tv'et.
- Fastgør stativerne med de medfølgende skruer. Sørg for, at de er ordentligt fastgjort.
- Løft forsigtigt tv'et op, og placer det på en stabil, plan overflade.
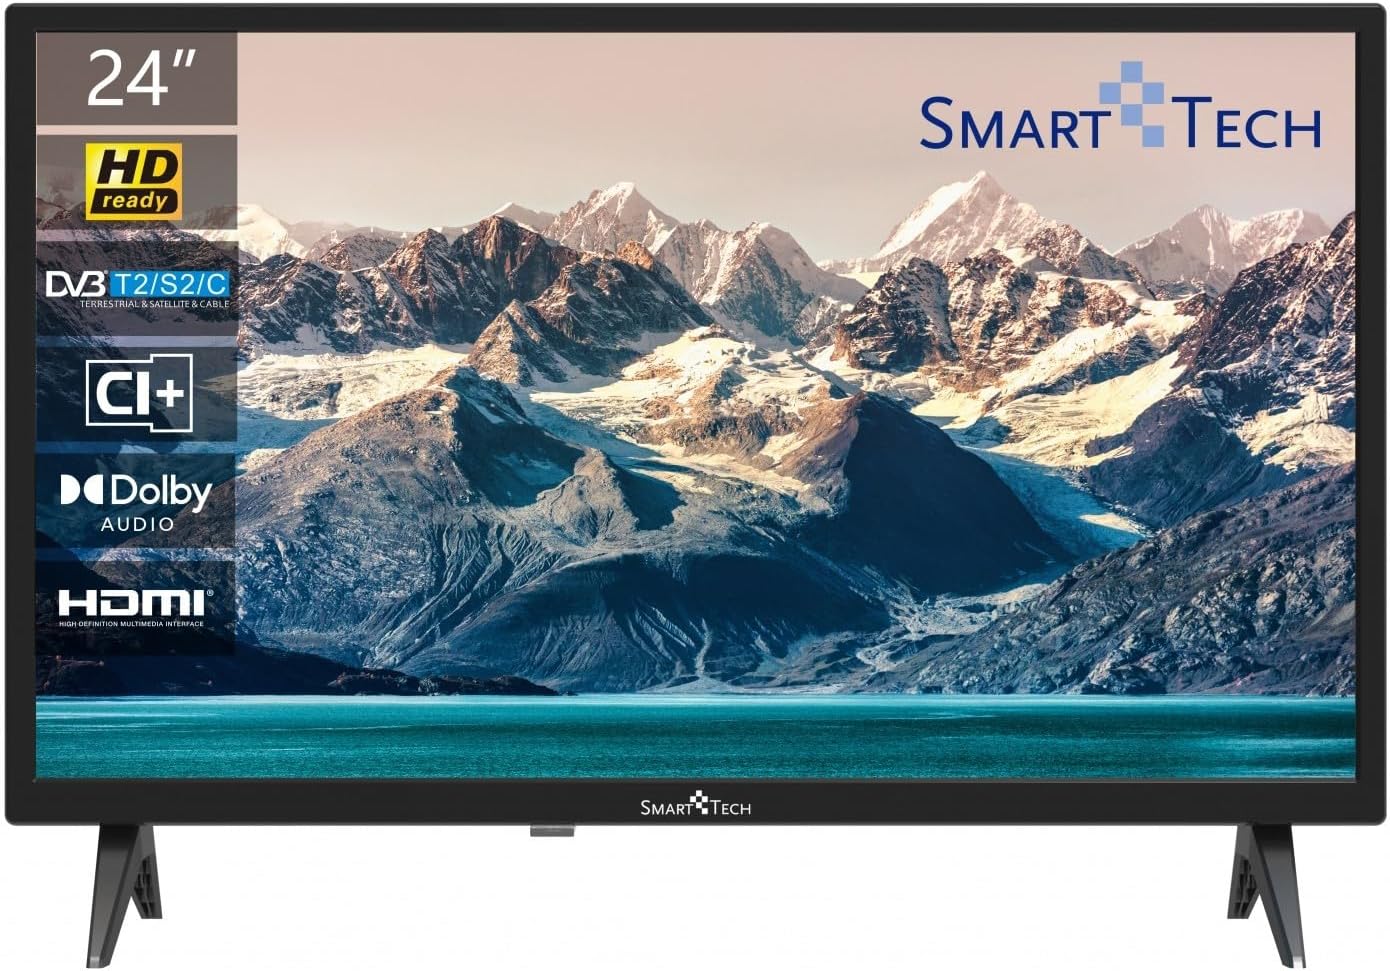
Billede: Forside view of the Smart Tech 24HN10T2 HD LED TV with its attached side stands. The screen displays a scenic mountain and lake landscape. The TV features a slim bezel and the Smart Tech logo at the bottom center.
2. Tilslutningskabler
- Magt: Tilslut netledningen til tv'ets strømindgang og derefter til en stikkontakt.
- Antenne/kabel: Connect your antenna or cable TV signal to the "ANT IN" port.
- HDMI-enheder: Connect external devices like a Blu-ray player, game console, or set-top box to one of the 3 HDMI ports.
- USB-enheder: Insert USB drives for media playback into one of the 2 USB ports.
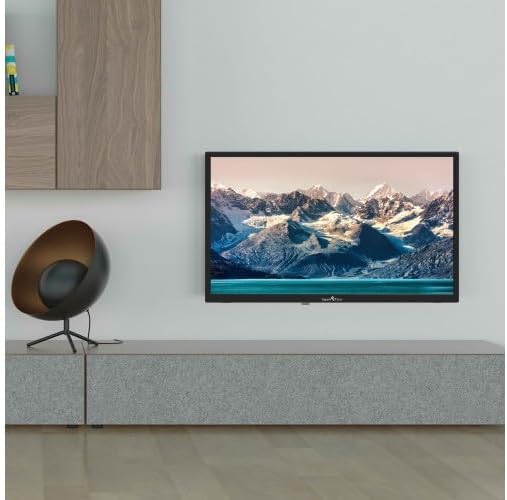
Image: The Smart Tech 24HN10T2 HD LED TV mounted on a wall above a media console, demonstrating its compatibility with VESA 100x100 wall mounts. A decorative chair is visible to the left.
3. Første opstart
After connecting all necessary cables, plug the TV into a power outlet. Press the power button on the remote control or on the TV itself to turn it on. The initial setup wizard will guide you through language selection, country, and channel scanning.
Betjening af tv'et
Fjernbetjening overview

Image: A diagram illustrating the dimensions of the Smart Tech 24HN10T2 HD LED TV (551mm width, 377mm height with stand, 180mm depth with stand) and an image of the included remote control, showing its various buttons for navigation, volume, channel, and input selection.
Gør dig bekendt med fjernbetjeningens knapper:
- Power knap: Tænder eller slukker for tv'et.
- Input/Source-knap: Selects the input source (HDMI1, HDMI2, HDMI3, TV, USB).
- Lydstyrke op/ned: Justerer lydniveauet.
- Kanal op/ned: Skifter tv-kanaler.
- Navigation Buttons (Arrows & OK): Bruges til at navigere i menuer og bekræfte valg.
- Menu-knap: Åbner hovedindstillingsmenuen.
- Afslut-knap: Forlader den aktuelle menu eller funktion.
- Medieafspilningskontrol: Afspil, pause, stop, spol frem, spol tilbage for USB-medier.
Valg af inputkilde
To switch between connected devices (e.g., a game console on HDMI1 or a Blu-ray player on HDMI2), press the Input or Kilde button on your remote control. Use the arrow keys to select the desired input and press OK.
Menu navigation og indstillinger
Tryk på Menu button to access TV settings. You can adjust picture settings (brightness, contrast, color), sound settings (Dolby Audio, equalizer), channel settings, and system settings (time, language, software update).
- Billedindstillinger: Adjust modes like Standard, Dynamic, Movie, or customize settings manually.
- Lydindstillinger: Select sound modes (Standard, Music, Movie, User) and adjust bass/treble. The TV supports Dolby Audio for enhanced sound experience.
- Kanalscanning: If you haven't done so during initial setup, perform an auto-scan to find available channels via the Triple Tuner (DVB-T2/S2/C).
USB-medieafspilning
Insert a USB flash drive into one of the TV's USB ports. The TV will typically prompt you to open the media browser. If not, select the USB input source. You can play various media formats including videos (H.265 supported), photos, and music.
Opretholdelse
Rengøring af TV
- Tag altid stikket ud af tv'et inden rengøring.
- Brug en blød, tør og fnugfri klud til at tørre skærmen og kabinettet af.
- For genstridige mærker på skærmen, dræn letampRengør kluden med vand eller en specialiseret skærmrens (spray ikke direkte på skærmen).
- Undgå at bruge slibende rengøringsmidler, voks eller opløsningsmidler.
Opbevaring
Hvis du opbevarer tv'et i længere tid, skal du afbryde strømmen til det, fjerne batterierne fra fjernbetjeningen og opbevare det et køligt og tørt sted, helst i originalemballagen.
Fejlfinding
| Problem | Mulig årsag/løsning |
|---|---|
| Ingen strøm | Check if the power cord is securely plugged into the TV and the wall outlet. Ensure the outlet has power. Try pressing the power button on the TV itself. |
| No picture / No sound | Verify the correct input source is selected. Check cable connections (HDMI, antenna). For TV channels, perform a channel scan. |
| Dårlig billedkvalitet | Check antenna connection or signal strength. Adjust picture settings (brightness, contrast, sharpness) in the menu. Ensure the source device is outputting a high-quality signal. |
| Fjernbetjening virker ikke | Check and replace batteries (2 AAA). Ensure there are no obstructions between the remote and the TV's IR sensor. |
| USB-medier afspilles ikke | Ensure the USB drive is formatted correctly (FAT32 recommended). Check if the media file format is supported by the TV. Try a different USB port. |
Specifikationer
| Feature | Detalje |
|---|---|
| Mærke | Smart Tech |
| Modelnummer | 24HN10T2 |
| Skærmstørrelse | 24 tommer (60 cm) |
| Displayteknologi | LED |
| Opløsning | HD (1366 x 768) |
| Opdateringshastighed | 60 Hz |
| Særlige funktioner | Triple Tuner (DVB-T2/S2/C), HEVC Advance, Dolby Audio |
| Forbindelse | 3 x HDMI, 2 x USB |
| Aspektforhold | 16:9 |
| Produktmål (med stativ) | 10D x 60B x 37H cm (ca.) |
| Strømkilde | AC strøm |
Garanti og support
This product is covered by a standard manufacturer's warranty. For specific warranty terms and conditions, please refer to the warranty card included with your purchase or contact your retailer. For technical support or service inquiries, please contact Smart Tech customer service through their official webwebstedet eller de kontaktoplysninger, der følger med din produktdokumentation.
Please note that information regarding spare parts availability and guaranteed software updates is not available at this time.


