Indledning
This manual provides detailed instructions for the safe and effective use of your pxton PX-8S-01 two-way radio. Please read this manual thoroughly before operating the device to ensure optimal performance and longevity.
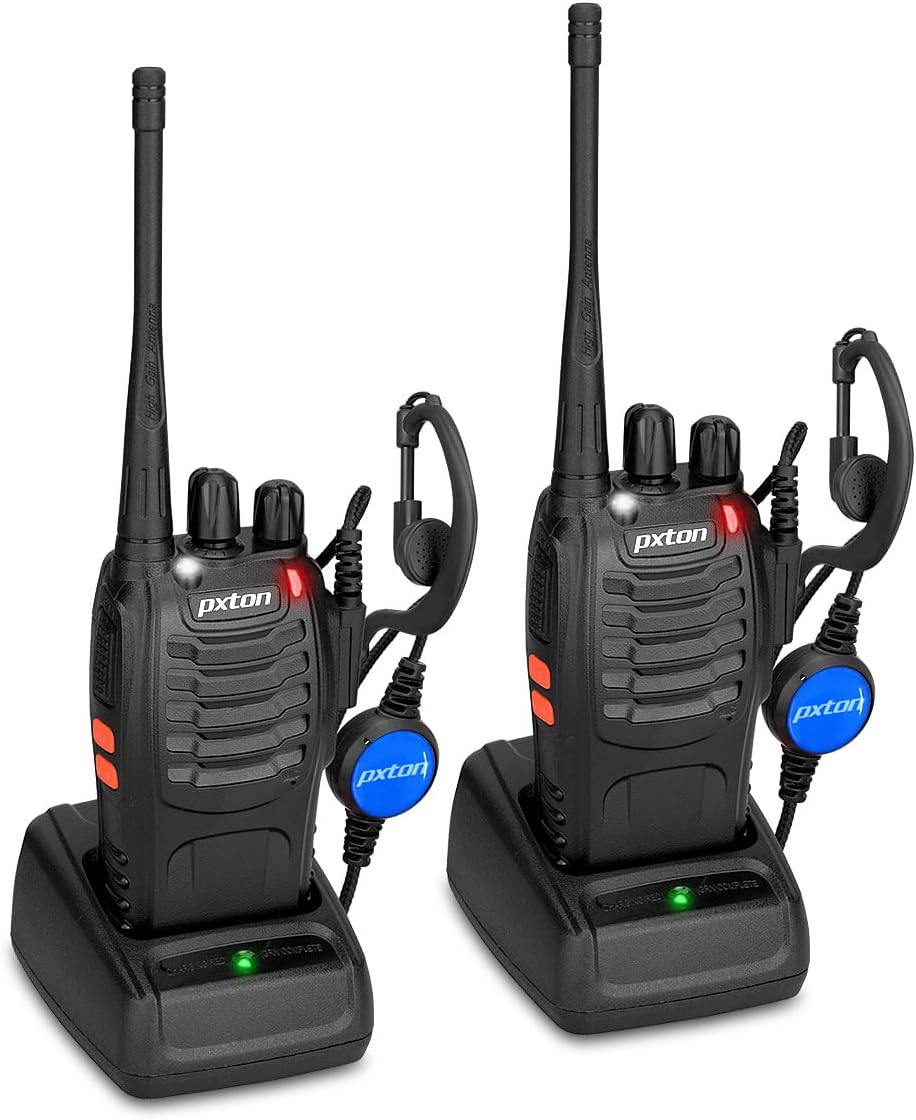
Image: Two pxton PX-8S-01 two-way radios with charging bases and earpieces.
Pakkens indhold
Bekræft at alle varer er til stede i din pakke:
- pxton PX-8S-01 Two-Way Radio (2 units)
- Lithium-Ion Battery (2 units)
- USB Charger (2 units)
- Upgraded Earpiece (2 units)
- Bælteclips (2 enheder)
- Håndledsrem (2 enheder)
- Antenna (2 units)
- Brugervejledning (1 enhed)

Image: Contents of the pxton PX-8S-01 package.
Produkt overview
Familiarize yourself with the components of your pxton PX-8S-01 two-way radio:

Image: Labeled diagram of the pxton PX-8S-01 two-way radio components.
- Integrated Sensitive Antenna: Til at sende og modtage signaler.
- Kanalskift: Drejeknap for at vælge en af de 16 tilgængelige kanaler.
- Strømafbryder/lydstyrkekontrol: Drejeknap til at tænde/slukke radioen og justere lydstyrken.
- Lommelygte: Indbygget LED-lys til belysning.
- LED-indikator: Viser radiostatus (f.eks. sender, modtager, oplader).
- PTT-knap (Push-to-Talk): Tryk og hold nede for at sende, slip for at modtage.
- MONI Button (Monitor): Tryk for midlertidigt at deaktivere squelch og lyt efter svage signaler.
- Lommelygteknap: Aktiverer den indbyggede lommelygte.
- SP/MIC-stik: Ports for connecting external audio accessories like earpieces or speaker microphones.
- Clear Speaker: Udgange modtaget lyd.
- Indbygget mikrofon: Optager din stemme til transmission.
Opsætning
1. Batteriinstallation
- Sørg for, at radioen er slukket.
- Juster batteripakken med rillerne på bagsiden af radioen.
- Skub batteripakken opad, indtil den klikker på plads.
- For at fjerne det skal du trykke på udløserlåsen (hvis den er til stede) og skubbe batteriet nedad.
2. Opladning af batteriet
- Connect the USB charger to a power source.
- Place the radio with the battery installed into the charging cradle.
- The LED indicator on the charger will show the charging status (e.g., red for charging, green for fully charged).
- A full charge from 0 capacity typically takes 3-4 hours.
3. Montering af tilbehør
- Antenne: Skru antennen med uret på stikket oven på radioen, indtil den er fingerstram. Spænd den ikke for hårdt.
- Bælteklips: Fastgør bælteklipsen til den dertil beregnede åbning på bagsiden af radioen ved hjælp af de medfølgende skruer.
- Højttaler: Insert the earpiece plug into the SP/MIC jacks on the side of the radio. Ensure it is fully inserted for proper connection.
Betjeningsvejledning
1. Tænd/sluk og justering af lydstyrke
- To power on the radio, rotate the Power Switch/Volume Control knob clockwise. You will hear a "click" and a voice prompt indicating the current channel.
- Fortsæt med at dreje knappen med uret for at øge lydstyrken, og mod uret for at sænke den.
- To power off, rotate the knob counter-clockwise until you hear a "click."
2. Kanalvalg
- Drej kanalskiftknappen for at vælge en af de 16 tilgængelige kanaler.
- Radioen vil annoncere det valgte kanalnummer.
- Sørg for, at alle radioer i din gruppe er indstillet til den samme kanal til kommunikation.
3. Sending og modtagelse
- For at sende, tryk og hold nede PTT (Push-to-Talk) button. Speak clearly into the microphone. The LED indicator will illuminate red.
- Slip PTT-knappen for at stoppe transmissionen og vende tilbage til modtagetilstand. LED-indikatoren lyser grønt, når der modtages et signal.
4. VOX (Voice Operated Exchange) Function
The VOX function allows hands-free operation. When activated, the radio will automatically transmit when it detects your voice, without needing to press the PTT button.
- VOX settings are typically programmed via software. Refer to advanced programming instructions if available.
- When using VOX, ensure the microphone is positioned correctly to pick up your voice effectively.
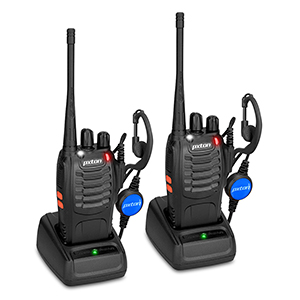
Image: VOX/Handfree function icon.
5. Lommelygtefunktion
- Tryk på den dedikerede Lommelygte knap to turn the built-in LED flashlight on or off.
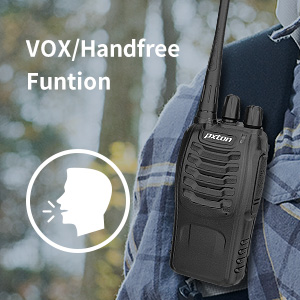
Image: Flashlight function icon.
6. Scanningsfunktion
The scan function allows the radio to automatically scan through channels to find active transmissions.
- To activate the scan function, typically this is done via a programmed side key or by selecting a specific channel. Refer to your radio's programming guide for details.
- When scanning, the radio will stop on an active channel until the transmission ends, then resume scanning.
7. Nødalarm
The radio features an emergency alarm function for critical situations.
- To activate the emergency alarm, press the designated Emergency Alarm button (if programmed) or a specific key combination. This will typically emit a loud siren sound and/or transmit an alert signal.

Image: Emergency Alarm function icon.
8. Justering af squelch
Squelch suppresses background noise when no signal is being received. The PX-8S-01 has an adjustable squelch feature.
- Squelch levels are typically set via programming software. A higher squelch level requires a stronger signal to open the receiver, reducing static but potentially missing weak signals.
- The MONI button can be used to temporarily override the squelch and listen to all signals, including weak ones or background noise.
Image: Squelch adjustment icon.
9. Privatlivskoder (CTCSS/DCS)
The radio supports 165 privacy codes (50 CTCSS / 210 DCS) per programmable channel to help filter out unwanted conversations.
- When a CTCSS/DCS code is set, you will only hear transmissions from other radios using the same channel and the same CTCSS/DCS code.
- Similarly, other radios will only hear your transmissions if they are on the same channel and using the same code.
- These codes are typically programmed using specialized software.
Image: CTCSS/DCS privacy codes icon.
Opretholdelse
- Rensning: Brug en blød, damp klud til at rengøre radioens yderside. Brug ikke skrappe kemikalier eller opløsningsmidler.
- Batteripleje:
- Undgå overopladning eller fuldstændig afladelse af batteriet.
- Opbevar batterierne på et køligt, tørt sted, når de ikke er i brug.
- Hvis radioen ikke skal bruges i længere tid, skal batteriet fjernes.
- Opbevaring: Opbevar radioen et tørt, støvfrit miljø væk fra ekstreme temperaturer.
- Antenne: Do not bend or modify the antenna, as this can affect performance.
Fejlfinding
| Problem | Mulig årsag | Løsning |
|---|---|---|
| Radioen tænder ikke. | Batteriet er afladet eller ikke installeret korrekt. | Oplad batteriet. Sørg for, at batteriet er korrekt installeret. |
| Kan ikke sende eller modtage. | Incorrect channel selected. Battery low. Radio out of range. | Verify both radios are on the same channel. Charge battery. Move closer to the other radio. |
| Dårlig lydkvalitet eller statisk støj. | Weak signal. Squelch level too low/high. Interference. | Move to an area with fewer obstructions. Adjust squelch level (if programmable). Check for sources of interference. |
| Short communication range. | Obstructions (buildings, terrain). Low battery. | Flyt til et åbent område. Sørg for, at batteriet er fuldt opladet. |
| Earpiece not working. | Earpiece not fully inserted. Faulty earpiece. | Ensure earpiece plug is fully inserted into the SP/MIC jack. Try a different earpiece if available. |
Specifikationer
- Model: PX-8S-01
- FCC ID: 2AX68PX-888S
- Antal kanaler: 16
- Frekvensområde: UHF
- Maksimal talerækkevidde: Up to 5 miles (unobstructed)
- Privatlivskoder: 165 (50 CTCSS / 210 DCS)
- Batteritype: Lithium-ion (inkluderet)
- Batteri Voltage: 3.7 volt (DC)
- Batterilevetid: 8-96 hours standby, 8-12 hours continuous use (actual time varies with usage)
- Opladningstid: 3-4 hours (from 0 capacity)
- Vandmodstandsniveau: Vandtæt
- Produktdimensioner: 1.1" D x 1.89" B x 8.34" H
- Varens vægt: 1.34 pund (for parret)
- Særlige funktioner: Rechargeable, VOX, TOT, Emergency Alarm, Battery Low Alert, Flashlight, Scan Function

Image: Size comparison of the pxton PX-8S-01 radio.
Sikkerhedsoplysninger
Your pxton PX-8S-01 walkie-talkie has been granted FCC transmission and reception certification and authorization (FCC ID: 2AX68PX-888S). This device is intended for use only within the frequency points authorized by the FCC certification range.
Overhold venligst følgende sikkerhedsretningslinjer:
- Brug ikke radioen i eksplosive atmosfærer (f.eks. brandfarlige gasser, støvpartikler, metalpulver).
- Do not modify the radio or its accessories. Unauthorized modifications can void your warranty and violate FCC regulations.
- Opbevar radioen og dens tilbehør utilgængeligt for børn.
- Use only pxton-approved batteries and chargers. Using unapproved accessories can cause damage or injury.
- Avoid exposing the radio to extreme temperatures, direct sunlight, or moisture for prolonged periods.
- If the radio emits smoke or an unusual odor, immediately turn off the power and remove the battery. Contact customer support.
Garanti og support
pxton provides lifetime customer service for its walkie-talkies. If you encounter any questions or issues with your PX-8S-01 radio, please contact pxton customer support through the platform where you purchased the product. Our professional team is available to assist you with troubleshooting and support.
For further assistance, please refer to the official pxton webhjemmeside eller kontakt deres kundeservice direkte.


