1. Introduktion
This manual provides essential information for the safe and efficient operation of your Reloop RP-7000 MK2 Direct Drive High Torque Turntable. Please read these instructions thoroughly before using the product to ensure proper setup, optimal performance, and longevity of your equipment. Keep this manual for future reference.
2. Sikkerhedsinstruktioner
- Strømforsyning: Tilslut kun enheden til en stikkontakt med vekselstrøm med den angivne lydstyrke.tage. Sørg for, at netledningen ikke er beskadiget eller klemt.
- Fugtighed: Do not expose the unit to rain, moisture, or excessive humidity. Avoid placing liquid-filled objects on the turntable.
- Ventilation: Sørg for tilstrækkelig ventilation omkring enheden. Bloker ikke ventilationsåbningerne.
- Placering: Place the turntable on a stable, level surface away from direct sunlight, heat sources, and strong magnetic fields.
- Rensning: Afbryd strømmen før rengøring. Brug en blød, tør klud. Undgå flydende rengøringsmidler eller opløsningsmidler.
- Service: Forsøg ikke selv at udføre service på enheden. Overlad al service til kvalificeret personale.
3. Pakkens indhold
Kontroller, at alle nedenstående varer er inkluderet i din pakke. Hvis der mangler eller er beskadigede varer, skal du straks kontakte din forhandler.
- Reloop RP-7000 MK2 Direct Drive High Torque Turntable (x2)
- Dust Cover (x2)
- Digital Turntable Stylus Scale
- Record Care Solution
- Strømkabel
- RCA-kabel
- Jordtråd
- slipmat
- Modvægt
- Headshell with Cartridge (pre-mounted or separate, depending on region/bundle)

Figur 1: Overview of the Reloop RP-7000 MK2 turntable bundle components.
4. Opsætning
4.1 Udpakning og placering
- Carefully remove all components from the packaging. Retain packaging for future transport.
- Place the turntable on a flat, stable, and vibration-free surface. Ensure there is enough space for the dust cover to open fully.
- Attach the dust cover by aligning its hinges with the slots on the turntable's rear.

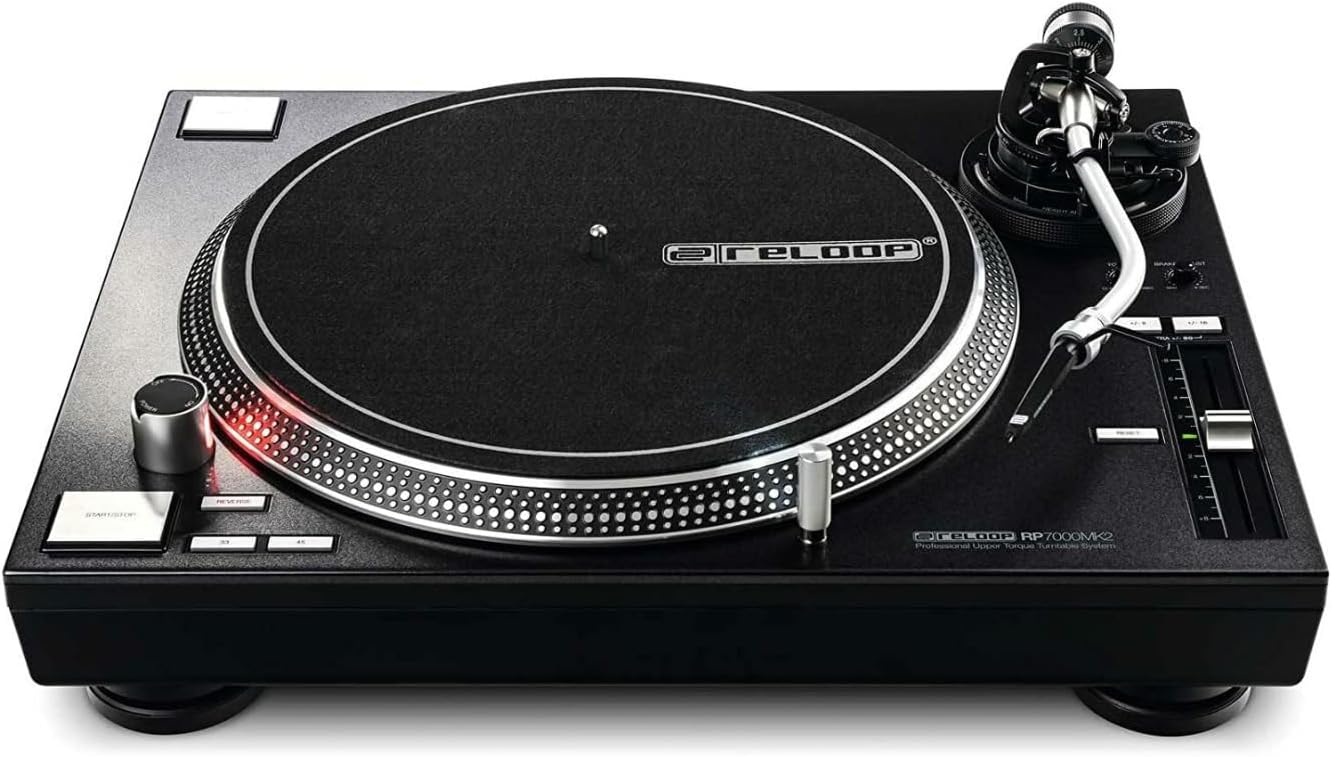
Figur 2: Turntable with the dust cover in place.
4.2 Installation af tallerken og underlag
- Carefully place the platter onto the center spindle. Ensure it sits flush.
- Placer slipmatten oven på fadet.
4.3 Tonearm and Cartridge Setup
- If not pre-mounted, attach the headshell with the cartridge to the tonearm. Secure it by turning the locking ring.
- Screw the counterweight onto the rear of the tonearm.
- Balancer tonearmen: Slip tonearmen clamp. Adjust the counterweight until the tonearm is perfectly balanced and floats horizontally.
- Indstil sporingskraft: Return the tonearm to its rest and clamp it. Rotate the numbered ring on the counterweight to '0' without moving the counterweight itself. Then, rotate the entire counterweight to the recommended tracking force for your cartridge (typically 2-4 grams for DJ cartridges).
- Indstil Anti-Skate: Juster anti-skate-knappen, så den passer til indstillingen af sporingskraften.
4.4 Using the Digital Stylus Scale
The included digital stylus scale allows for precise measurement of your cartridge's tracking force, ensuring optimal sound quality and minimizing record wear.
- Place the stylus scale on the platter.
- Tænd for vægten ved hjælp af tænd/sluk-knappen.
- Carefully lower the stylus onto the designated measuring point on the scale.
- Read the tracking force displayed. Adjust the tonearm's counterweight as needed until the desired force is achieved.

Figur 3: Digital Stylus Scale for precise tracking force measurement.
4.5 Forbindelser
- Lydudgang: Connect the RCA cables from the turntable's audio output to the PHONO input of your mixer or amplifier. If your mixer/amplifier does not have a PHONO input, you will need an external phono preamplivligere.
- Jordledning: Connect the ground wire from the turntable to the ground terminal on your mixer or amplifier to reduce hum.
- Magt: Connect the power cable to the turntable and then to a suitable AC power outlet.
5. Betjeningsvejledning
5.1 Grundlæggende afspilning
- Place a record on the slipmat.
- Select the appropriate speed (33, 45, or 78 RPM) using the speed selector buttons.
- Tryk på START/STOP knappen for at starte tallerkenrotation.
- Carefully lift the tonearm using the cueing lever and position the stylus over the desired groove on the record.
- Sænk cue-håndtaget for forsigtigt at placere pennen på pladen.
- To stop playback, lift the tonearm using the cueing lever, return it to the tonearm rest, and press the START/STOP knap.
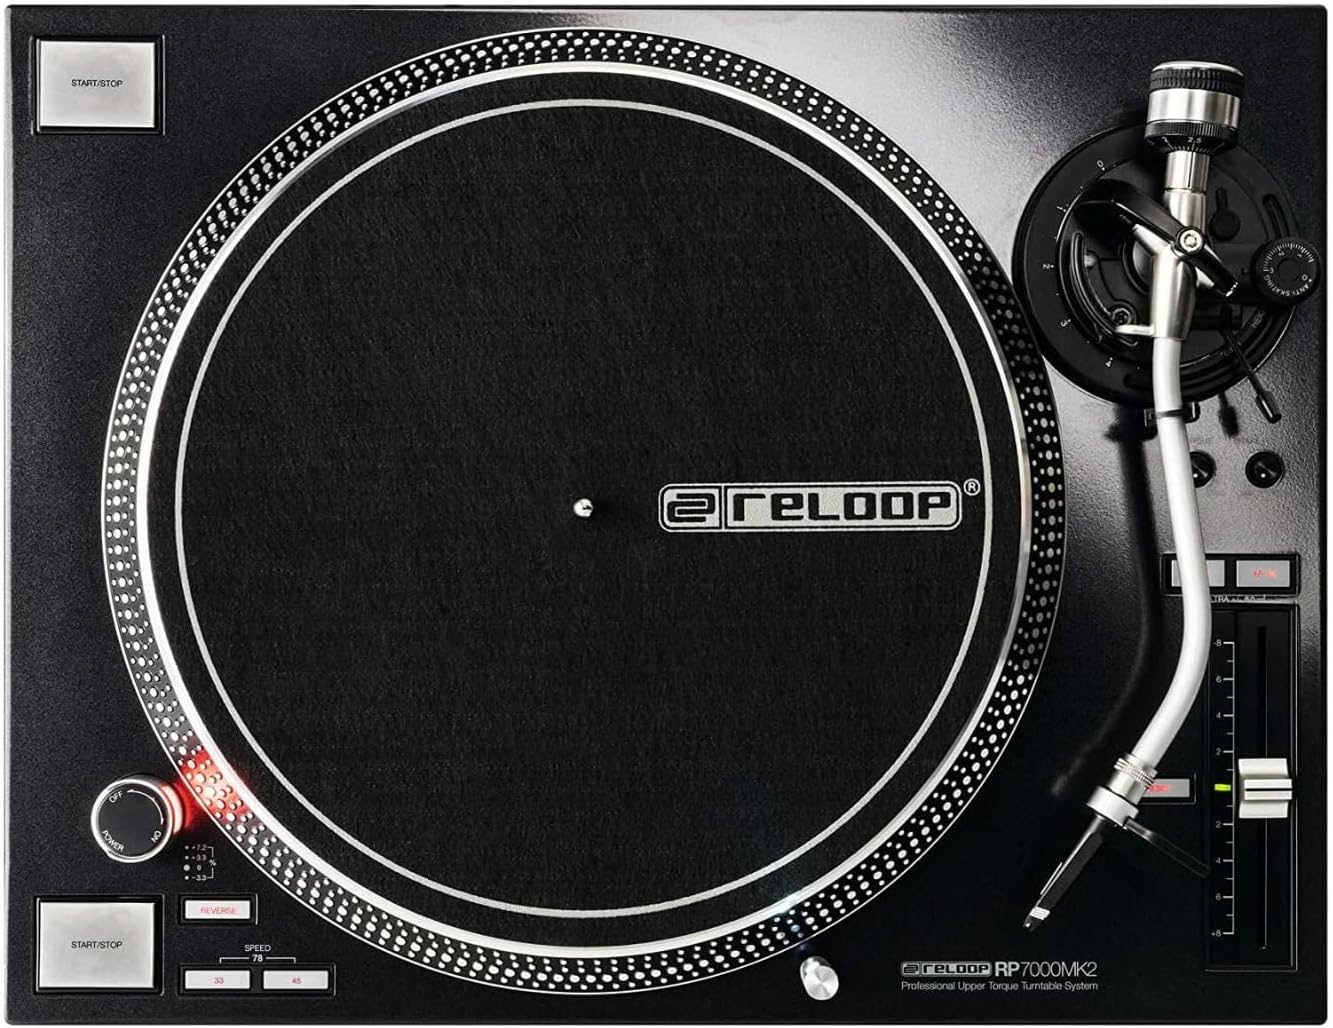
Figur 4: Turntable platter and control layout.
5.2 Pitch Control
The pitch fader allows you to adjust the playback speed (BPM) of the record. Move the fader up or down to increase or decrease the pitch. The pitch range can be selected using the range buttons (e.g., +/- 8%, 16%, 50%).
5.3 Omvendt funktion
The RP-7000 MK2 features a reverse playback function. Press the BAGSIDE button to change the direction of platter rotation. Press it again to return to normal playback.
6. Vedligeholdelse
6.1 Rengøring af drejeskiven
- Afbryd altid strømmen før rengøring.
- Use a soft, dry, lint-free cloth to wipe the surface of the turntable and dust cover.
- Undgå at bruge slibende rengøringsmidler, opløsningsmidler eller kemiske spraymidler, da disse kan beskadige overfladen.
6.2 Pleje af pennen
- Gently brush the stylus from back to front using a soft stylus brush to remove dust and debris.
- Undgå at berøre pennen med fingrene.
6.3 Record Care
The included record care solution helps maintain the quality of your vinyl records and prolong their lifespan.
- Apply a small amount of record care solution to a clean, soft, lint-free cloth or a dedicated record cleaning brush.
- Gently wipe the record surface in a circular motion, following the grooves.
- Allow the record to dry completely before playing.
Figur 5: Record Care Solution for maintaining vinyl quality.
7. Fejlfinding
| Problem | Mulig årsag | Løsning |
|---|---|---|
| Ingen strøm | Power cable not connected; outlet not active | Kontroller strømkablets forbindelse; test stikkontakten med en anden enhed |
| Ingen lyd eller lav lydstyrke | RCA cables incorrect; no PHONO input; amplifier/mixer settings | Ensure RCA cables are connected to PHONO input; check amplifier/mixer input selection and volume |
| Brummende støj | Ground wire not connected; interference | Connect ground wire; move turntable away from other electronic devices |
| Springende eller forvrænget lyd | Incorrect tracking force; dirty stylus/record; damaged stylus | Adjust tracking force using stylus scale; clean stylus and record; replace stylus if damaged |
| Tallerkenen drejer ikke | START/STOP button not pressed; motor issue | Press START/STOP; if problem persists, contact support |
8. Specifikationer
| Feature | Detalje |
|---|---|
| Modelnavn | RP-7000 MK2 |
| Mærke | Reloop |
| Motortype | Direct Drive DC Motor |
| Speciel funktion | Højt drejningsmoment |
| Produktdimensioner | 27.9 x 20 x 18.6 tommer |
| Materiale | Metal |
| Farve | Sort |
| Kompatible enheder | Speaker, Headphone, Personal Computer, MP3 Player, Laptop |
| Signalformat | Digital |
9. Garanti og support
Reloop products are designed for reliability and performance. For warranty information, please refer to the warranty card included with your product or visit the official Reloop website. For technical support or service inquiries, please contact your authorized Reloop dealer or distributor.
Fabrikant: Reloop
Dato først tilgængelig: 8. juli 2022


