Indledning
This manual provides detailed instructions for the installation, operation, and maintenance of your AXAGON ADSA-ST USB 3.0 Docking Station. This device is designed to connect 2.5" and 3.5" SATA SSDs and HDDs to your computer via a USB 3.0 interface, offering fast data transfer speeds.
Læs venligst denne manual grundigt, inden produktet tages i brug, for at sikre korrekt funktionalitet og forhindre skader.
Pakkens indhold
Bekræft at alle komponenter er til stede i pakken:
- AXAGON ADSA-ST Docking Station
- USB 3.0 Type-A to Micro-B cable
- Strømadapter
- Brugervejledning (dette dokument)

Image: The AXAGON ADSA-ST Docking Station shown alongside its retail packaging, illustrating the product and its box.
Nøglefunktioner
- Supports 2.5" and 3.5" SATA I/II/III SSDs and HDDs.
- USB 3.0 (USB 3.2 Gen 1) interface with up to 5 Gbps transfer speed.
- SATA 6G (SATA III) support.
- UASP (USB Attached SCSI Protocol) understøtter forbedret ydeevne.
- TRIM support for SSDs.
- HDD Auto Spindown function.
- LED indication for power and activity.
- Compact design with aluminum body.

Billede: A view of the AXAGON ADSA-ST Docking Station highlighting its 5 Gbps USB 3.2 Gen 1 speed and compact size.
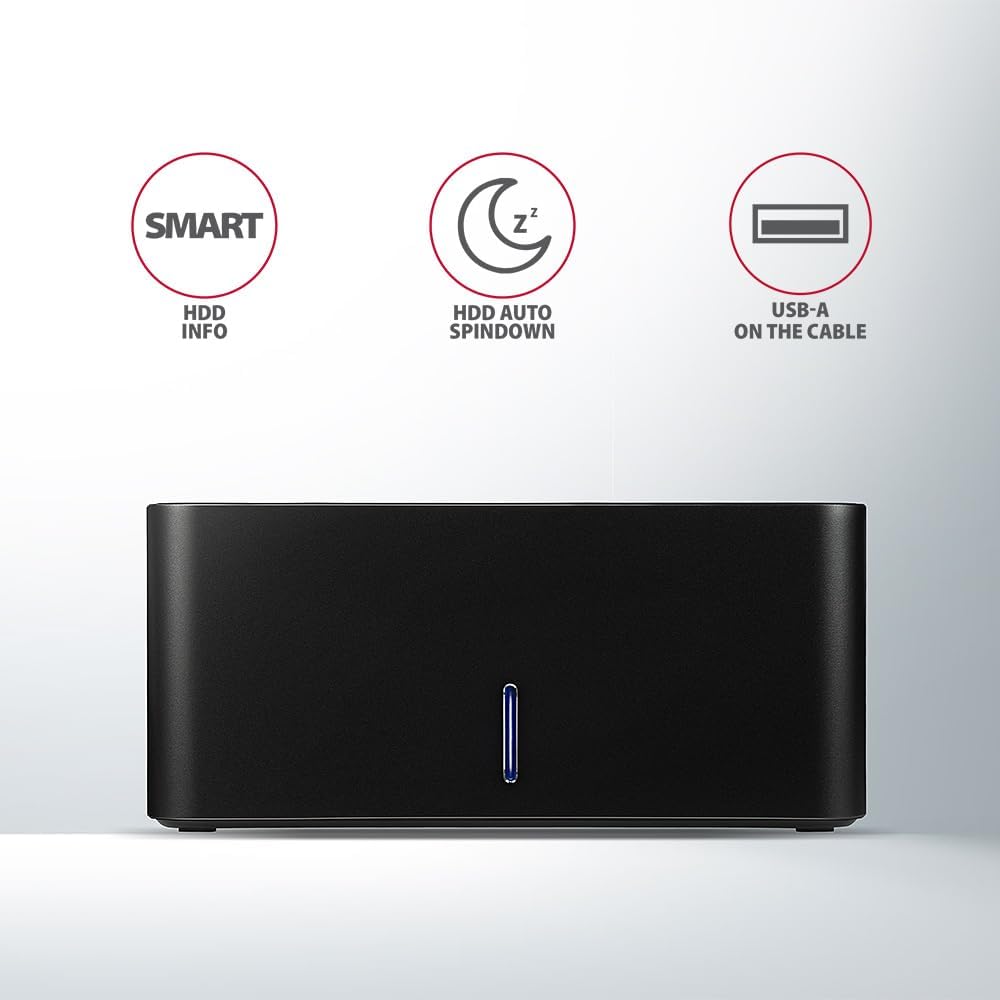
Image: The docking station from the front, indicating features like SMART HDD info, automatic HDD spindown, and USB-A connectivity.
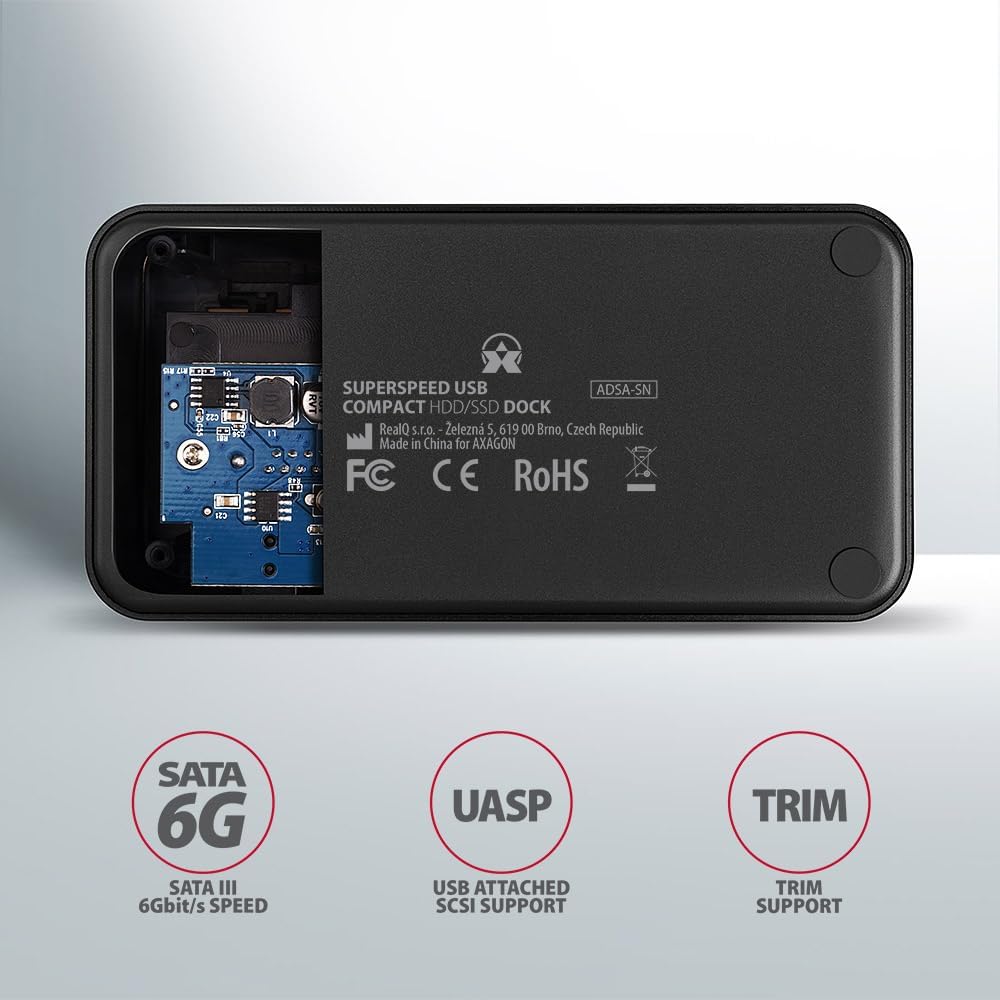
Image: The underside of the docking station, showing internal components and highlighting SATA 6G, UASP, and TRIM support.
Opsætningsinstruktioner
- Tilslut strømadapter: Plug the included power adapter into the DC IN port on the back of the docking station and then into a power outlet.
- Tilslut til computer: Connect the USB 3.0 cable from the docking station's Micro-B port to an available USB 3.0 (or higher) port on your computer.
- Insert HDD/SSD:
- For 2.5" SSD/HDD: Gently slide the 2.5" drive into the slot until it connects firmly with the SATA connector.
- For 3.5" HDD: Gently slide the 3.5" drive into the slot until it connects firmly with the SATA connector.
Ensure the drive is inserted correctly with the SATA connector facing the correct direction. Do not force the drive.

Image: A 2.5-inch SSD being inserted into the docking station, demonstrating compatibility with smaller drives.
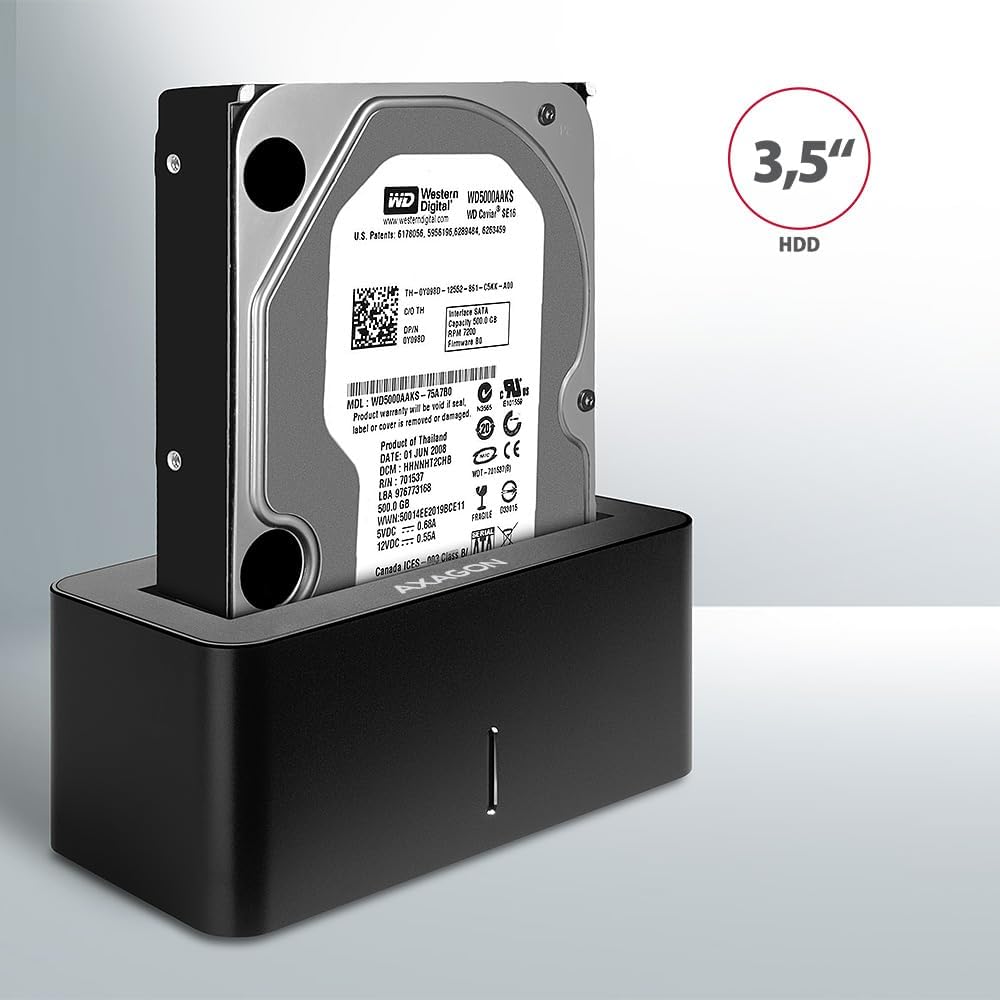
Image: A 3.5-inch HDD being inserted into the docking station, demonstrating compatibility with larger drives.
- Tænd: Press the power button located on the back of the docking station. The LED indicator on the front will illuminate.
Image: The rear panel of the docking station, showing the power button, USB Micro-B port, and power input for connection.
Betjeningsvejledning
Drive Recognition
Once powered on and connected, your operating system should automatically detect the inserted drive. If it's a new drive, you may need to initialize and format it through Disk Management (Windows) or Disk Utility (macOS) before it appears in File Explorer/Finder.
LED-indikator
The LED indicator on the front of the docking station provides status information:
- Ensfarvet blå: Power on, drive idle.
- Blinker blåt: Drive activity (reading or writing data).
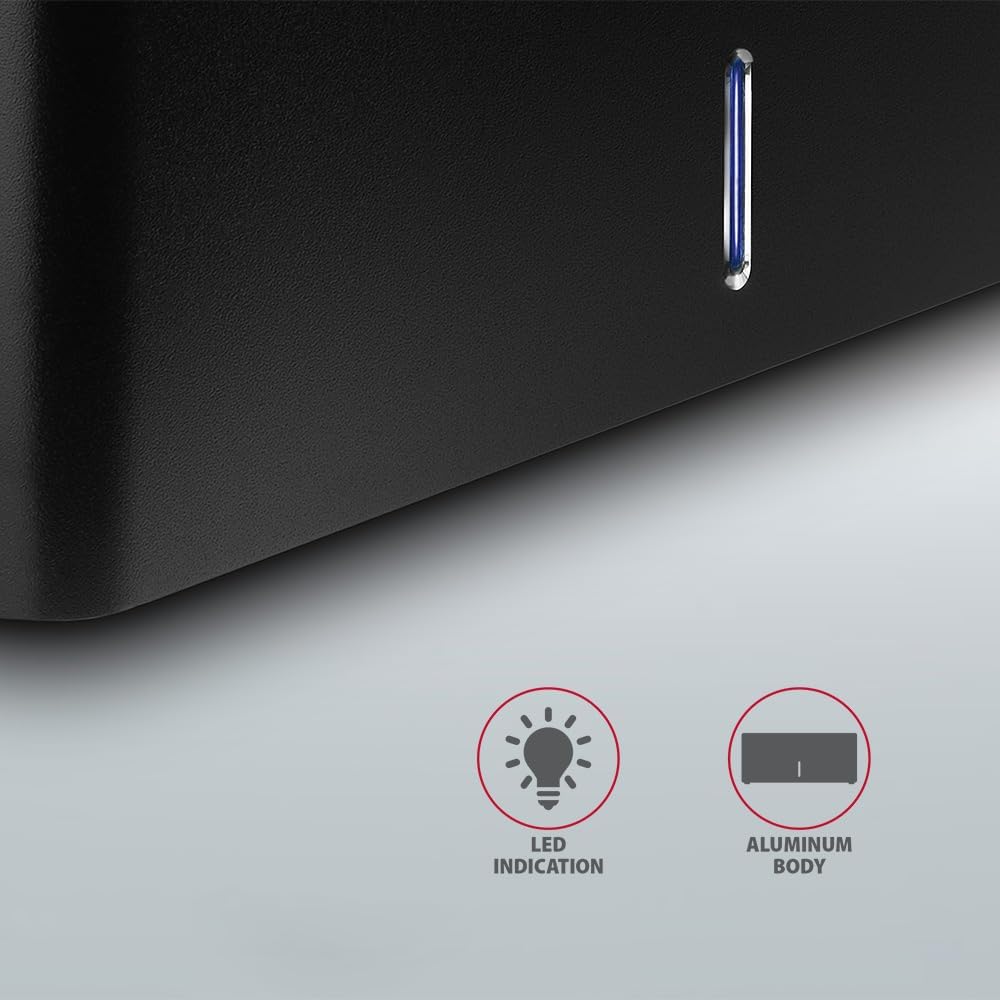
Billede: Et nærbillede view of the docking station's front panel, highlighting the LED indicator light.
Removing a Drive
Before removing a drive, always safely eject it from your operating system to prevent data corruption. After ejection, gently pull the drive straight out of the docking station slot.
Automatisk nedspoling af harddisken
The docking station supports automatic spindown of the HDD when it is idle for a certain period, conserving power and extending drive lifespan. This feature is managed by the operating system or the drive itself.
Opretholdelse
- Hold dockingstationen ren og fri for støv. Brug en blød, tør klud til rengøring.
- Undgå at udsætte enheden for ekstreme temperaturer, fugt eller direkte sollys.
- Forsøg ikke selv at skille enheden ad eller reparere den. Kontakt kvalificeret servicepersonale.
- Ensure proper ventilation around the docking station during operation.
Fejlfinding
- Drev ikke fundet:
- Sørg for, at strømadapteren er korrekt tilsluttet, og at dockingstationen er tændt.
- Verify the USB cable is properly connected to both the docking station and the computer.
- Prøv en anden USB-port på din computer.
- Ensure the HDD/SSD is fully seated in the docking station's slot.
- Check Disk Management (Windows) or Disk Utility (macOS) to see if the drive is recognized but uninitialized/unformatted.
- Test with a different HDD/SSD to rule out a drive issue.
- Langsomme overførselshastigheder:
- Ensure the docking station is connected to a USB 3.0 (or higher) port on your computer. USB 2.0 ports will limit speeds.
- Kontroller, at dit operativsystem og dine drivere er opdaterede.
- The actual speed depends on the drive's performance and your computer's USB controller.
- Drive disconnects randomly:
- Kontroller alle kabelforbindelser.
- Sørg for, at strømadapteren leverer stabil strøm.
- Disable USB power saving features in your computer's operating system settings.
Tekniske specifikationer
| Feature | Detalje |
|---|---|
| Mærke | AXAGON |
| Modelnummer | ADSA-SN |
| Hardware platform | PC |
| Kompatible enheder | Bærbar computer, stationær pc |
| Drev kompatibilitet | 2.5" / 3.5" SATA I/II/III SSD/HDD |
| Interface | USB 3.0 (USB 3.2 Gen 1) |
| Dataoverførselshastighed | Up to 5 Gbps (USB 3.0), 6 Gbps (SATA III) |
| Samlet USB-porte | 1 (Micro-B) |
| Antal Drive Bays | 1 |
| Farve | Sort |
| Varens vægt | 2.2 pund (ca. 1 kg) |
| Pakkedimensioner | 3.94 x 0.79 x 0.39 tommer (ca. 10 x 2 x 1 cm) |
| Dato først tilgængelig | 30. marts 2021 |
Garanti og support
For warranty information and technical support, please refer to the official AXAGON webwebstedet eller kontakt din lokale forhandler. Gem din købsbevis til garantikrav.


