1. Introduktion
Tak for købetasing the 4lite Die-Cast Aluminium LED Security Floodlight. This manual provides essential information for the safe installation, operation, and maintenance of your floodlight. Please read these instructions carefully before installation and retain them for future reference.
2. Sikkerhedsoplysninger
WARNING: Electrical installation should only be performed by a qualified electrician.
- Sørg for, at strømforsyningen er afbrudt før installation eller vedligeholdelse.
- This product is designed for outdoor use and must be installed in accordance with local wiring regulations.
- Se ikke direkte ind i LED-lyskilden, når den er tændt.
- Hold emballagemateriale væk fra børn.
- Do not attempt to modify or repair the unit yourself. Contact qualified personnel for service.
3. Pakkens indhold
Kontroller, at alle komponenter er til stede, før installationen påbegyndes:
- 1 x 4lite LED Security Floodlight (Model 4L2/1100)
- Monteringsudstyr (skruer, vægdyvler)
- Instruktionsmanual
4. Produktet er slutview
The 4lite 4L2/1100 LED Security Floodlight features a durable die-cast aluminium design with two adjustable LED heads and an integrated Passive Infrared (PIR) motion sensor. It provides powerful illumination for outdoor areas.
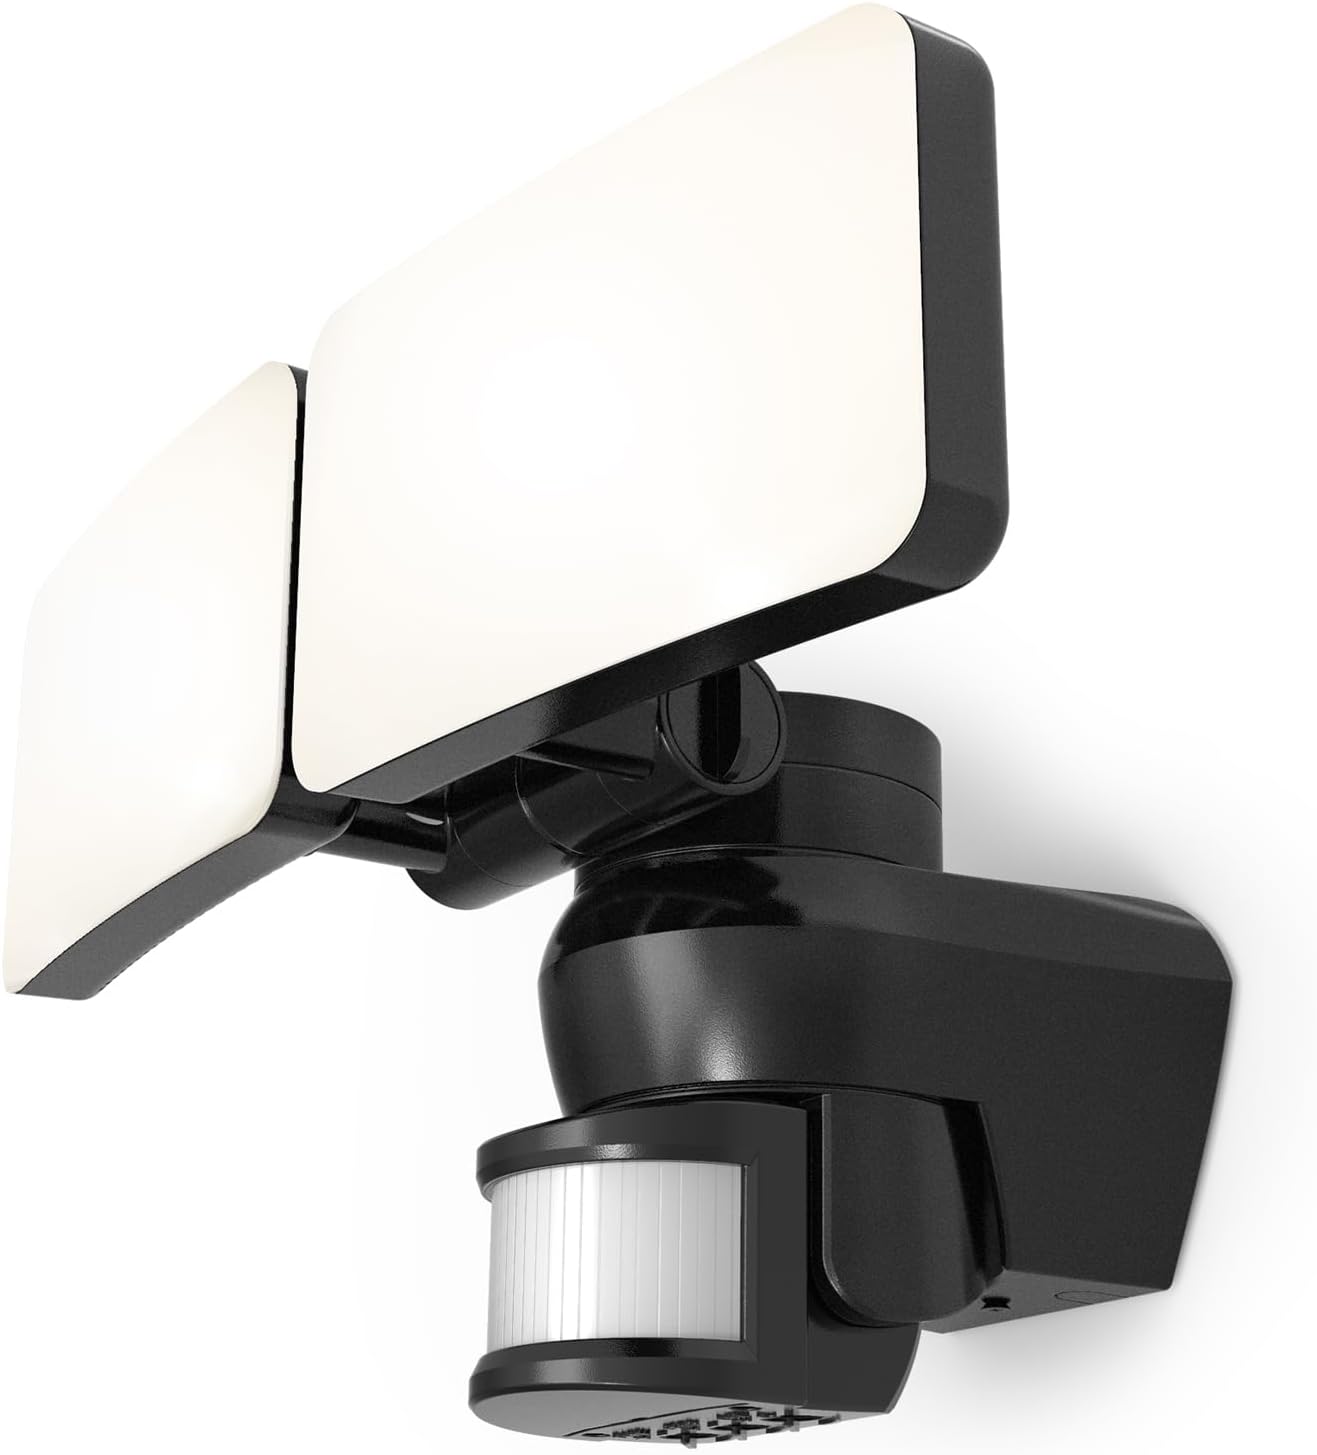
Figur 4.1: Front view of the 4lite LED Security Floodlight, showing the two adjustable light heads and the motion sensor located below.

Figur 4.2: Technical drawing illustrating the dimensions of the floodlight in millimeters. The width is 316mm, height 189mm, and depth 174mm.
5. Installation og opsætning
Nødvendige værktøjer: Drill, screwdriver, wire strippers, electrical tape, safety glasses.
- Strømafbrydelse: Before starting any electrical work, ensure the main power supply to the installation area is switched off at the circuit breaker.
- Monteringssted: Choose a suitable outdoor location for the floodlight, ensuring it is securely mounted to a solid surface (e.g., wall). Consider the desired coverage area for both light and motion detection.
- Montering af beslaget: Use the provided mounting hardware to securely attach the floodlight's base to the chosen surface.
- Ledningsføring: Connect the floodlight to your electrical supply. Ensure correct polarity: Live (L), Neutral (N), and Earth (E). All connections must be secure and insulated.
- Justering af lyshoveder: Loosen the adjustment screws on the side of each LED head and position them to illuminate the desired areas. Tighten the screws once adjusted.
- PIR Sensor Adjustment: The PIR sensor can be adjusted for direction. Gently pivot the sensor housing to cover the desired detection zone.
- Genopkobling af strøm: Når installationen er færdig, og alle forbindelser er sikre, skal strømmen genoprettes ved afbryderen.
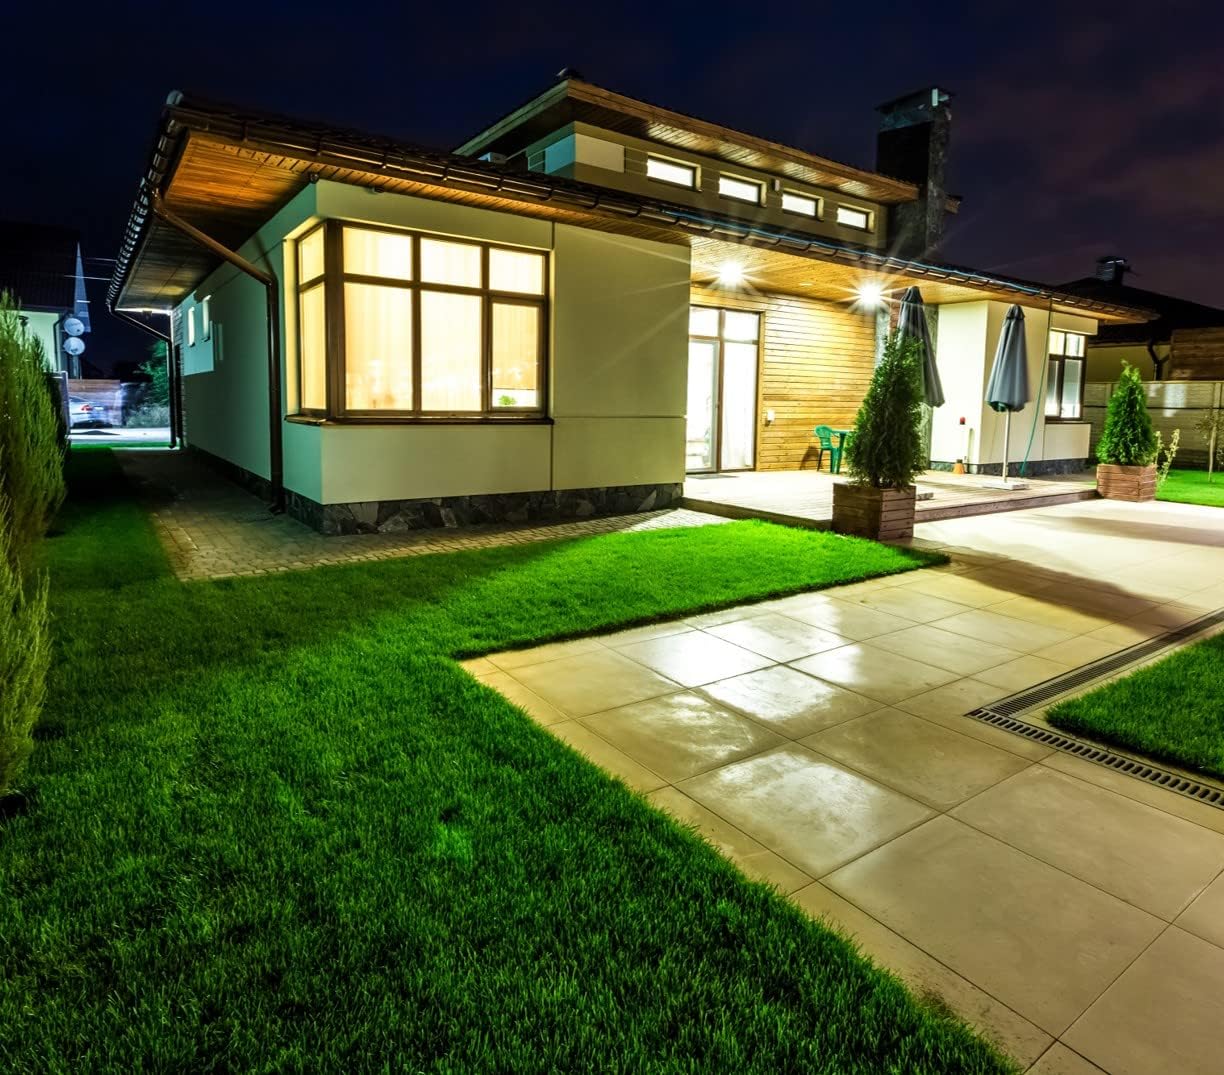
Figur 5.1: En eksample of the 4lite LED Security Floodlight installed on the exterior of a building, providing illumination to a driveway and garden area at night.
6. Betjeningsvejledning
The 4lite 4L2/1100 floodlight operates automatically based on its integrated PIR motion sensor and ambient light detection.
6.1. Sensorindstillinger
The PIR sensor typically has adjustable settings for LUX (ambient light level), TIME (duration of illumination), and SENSITIVITY (detection range). These controls are usually located on the underside or side of the PIR sensor unit. Refer to the markings on your specific unit for exact dial functions.
- LUX (lysfølsomhed): Adjusts the ambient light level at which the sensor becomes active. Turn towards the 'sun' icon for daytime operation (always on when motion detected) or towards the 'moon' icon for nighttime operation only.
- TID (Belysningsvarighed): Sets how long the light remains on after motion is detected. Typically adjustable from a few seconds to several minutes.
- SENS (følsomhed/detektionsområde): Controls the range and sensitivity of the motion detection. Adjust to prevent unwanted activations (e.g., from passing traffic or small animals).
6.2. Testtilstand
To test the floodlight's functionality and sensor settings, some units feature a test mode. A common method to activate test mode is to cycle the power switch ON-OFF-ON rapidly (e.g., 3 times). In test mode, the light may stay on for a short period (e.g., 5-10 seconds) regardless of the TIME setting, and the LUX setting will be overridden, allowing testing in daylight. Consult the specific markings on your unit for test mode activation and behavior.
7. Vedligeholdelse
- Rensning: Periodically clean the floodlight's surface and the PIR sensor lens with a soft, damp klæde. Brug ikke slibende rengøringsmidler eller opløsningsmidler.
- Inspektion: Regularly inspect the wiring and mounting for any signs of damage or wear. Ensure all connections remain secure.
- lysdioder: LED-lyskilden er designet til lang levetid og kan ikke udskiftes af brugeren.
8. Fejlfinding
| Problem | Mulig årsag | Løsning |
|---|---|---|
| Lyset tændes ikke. | No power supply; LUX setting too high (daylight); faulty wiring; sensor obstruction. | Check circuit breaker; adjust LUX setting; verify wiring connections; clear sensor path. |
| Lyset forbliver tændt konstant. | Constant motion detected; TIME setting too long; faulty sensor. | Adjust SENSITIVITY; reduce TIME setting; check for constant heat sources; contact support if sensor is faulty. |
| Lyset blinker eller flimrer. | Unstable power supply; loose wiring connection; faulty LED driver. | Check power supply stability; inspect and secure wiring; contact support. |
| Bevægelsessensorens rækkevidde er dårlig. | PIR sensor obstructed; SENSITIVITY setting too low; incorrect sensor angle. | Clear obstructions; increase SENSITIVITY; adjust PIR sensor direction. |
Hvis fejlfindingstrinene ikke løser problemet, bedes du kontakte kundesupport.
9. Specifikationer
| Modelnummer | 4L2 / 1100 |
| Mærke | 4lite |
| Strømindgang | 220-270V AC |
| Wattage | 46W |
| Lysstrøm | 3719 lumen |
| Lyskilde | Integreret LED |
| Materiale | Trykstøbt aluminium |
| Farve | Sort |
| Dimensioner (L x B x H) | 31.6 x 17.4 x 18.9 cm |
| Vægt | 630 g |
| Driftstemperatur | -20°C til 40°C |
| Særlige funktioner | Adjustable PIR Motion Sensor, Adjustable Light Heads |
| Installationsmetode | Vægmontering |
10. Garantioplysninger
Specific warranty details for the 4lite 4L2/1100 LED Security Floodlight are typically provided at the point of purchase or on the manufacturer's official webwebsted. Gem venligst din købsbevis i tilfælde af garantikrav. Garantien dækker generelt materiale- og fabrikationsfejl ved normal brug.
11. Kundesupport
For technical assistance, troubleshooting beyond this manual, or warranty inquiries, please contact 4lite customer support through their official webwebstedet eller den forhandler, hvorfra produktet blev købt.
Webwebsted: www.4lite.co.uk (Eksample, actual link may vary)


