1. Introduktion
This manual provides detailed instructions for the setup, operation, and maintenance of your Bytech BYMCWC101BLK PC Web Camera. Please read this manual thoroughly before using the product to ensure proper functionality and longevity.
2. Pakkens indhold
Bekræft, at alle nedenstående varer er inkluderet i din produktpakke:
- Bytech BYMCWC101BLK PC Web Kamera
- Brugervejledning (dette dokument)
- Integreret USB-kabel
3. Opsætning
Follow these steps to set up your Bytech BYMCWC101BLK PC Web Kamera:
- Placering: Placer webcam on top of your computer monitor, laptop screen, or a flat surface. The adjustable clip allows for secure attachment.
- Tilslut til computer: Sæt det integrerede USB-kabel i stikkontakten webcam til en ledig USB-port på din computer.
- Driver installation: De webcam is typically plug-and-play. Your operating system (Windows, macOS, Linux) should automatically detect and install the necessary drivers. Wait for the installation to complete.
- Verifikation: Open a video conferencing application (e.g., Zoom, Skype, Microsoft Teams) or your computer's camera application to confirm the webKameraet genkendes og viser video.
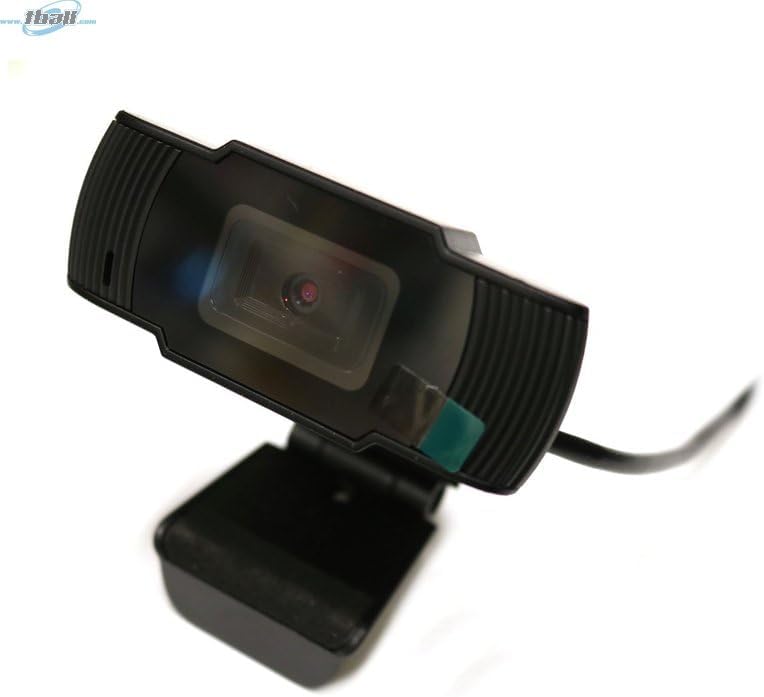
Image: The Bytech BYMCWC101BLK PC Web Camera securely mounted on top of a computer monitor, demonstrating its adjustable clip design.
4. Betjeningsvejledning
Once installed, the Bytech BYMCWC101BLK PC Web Camera can be used with various applications:
- Videokonference: Select the Bytech webcam as your video input device within your preferred video conferencing software (e.g., Zoom, Skype, Google Meet).
- Streaming: For live streaming platforms, configure the webcam as your primary video source in your streaming software (e.g., OBS Studio).
- Indspilning: Use your computer's built-in camera application or third-party software to record video.
- Lav lys ydeevne: De webcam features BSI CMOS photo sensor technology and is designed to perform effectively in low-light conditions, providing clear video even with limited ambient lighting.
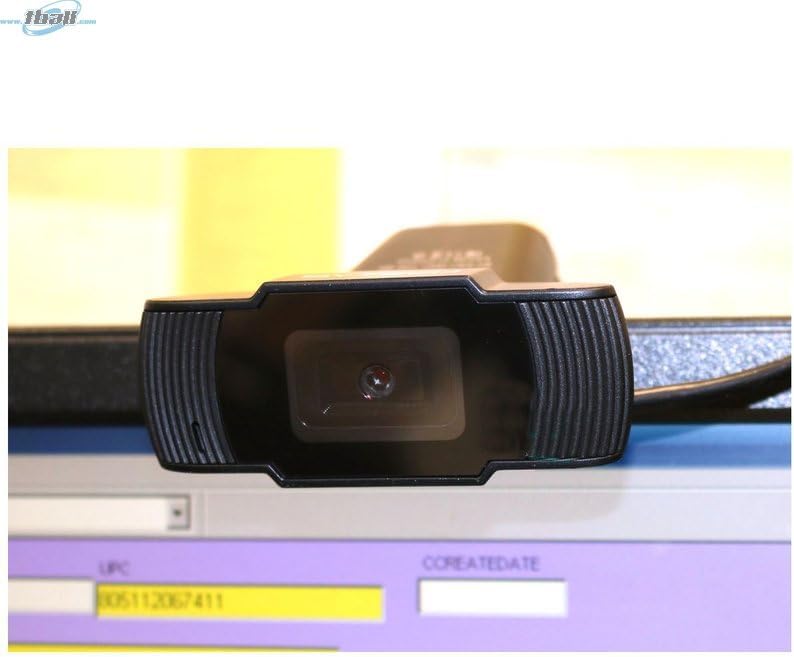
Billede: Et nærbillede view of the Bytech BYMCWC101BLK PC Web Camera's lens, highlighting its design and integrated privacy cover (if applicable, otherwise just lens).
5. Vedligeholdelse
To ensure optimal performance and extend the lifespan of your webcam:
- Rensning: Gently wipe the lens with a soft, lint-free cloth. Avoid using harsh chemicals or abrasive materials.
- Opbevaring: Når den ikke er i brug, skal du opbevare den webcam in a clean, dry environment away from direct sunlight and extreme temperatures.
- Kabelpleje: Bøj eller klem ikke USB-kablet for meget.
6. Fejlfinding
Hvis du støder på problemer med din webkamera, se følgende almindelige problemer og løsninger:
- Intet billede/video:
- Sørg for, at USB-kablet er korrekt tilsluttet til begge webkameraet og din computer.
- Prøv at tilslutte webcam til en anden USB -port.
- Genstart din computer.
- Check your application settings to ensure the Bytech webkameraet er valgt som videoinputenhed.
- Dårlig videokvalitet:
- Sørg for tilstrækkelig belysning i dine omgivelser.
- Rengør webcam lens with a soft cloth.
- Check your application's video settings for resolution and frame rate.
- Microphone Not Working (if applicable):
- Bekræft, at webcam's microphone is selected as the audio input device in your computer's sound settings and within your application.
- Ensure the microphone is not muted in your system or application.
7. Specifikationer
| Feature | Detalje |
|---|---|
| Modelnavn | BYMCWC101BLK |
| Mærke | Bytech |
| Forbindelsesteknologi | USB |
| Fotosensorteknologi | BSI CMOS |
| Videooptagelsesformat | MP4 |
| Speciel funktion | Lavt lys |
| Farve | Sort |
| Varens vægt | 4.9 ounce |
| Pakkedimensioner | 7.76 x 4.65 x 2.44 tommer |
8. Garanti og support
For warranty information or technical support, please refer to the documentation included with your purchase or contact your retailer. Keep your proof of purchase for warranty claims.


