1. Introduktion
This manual provides essential information for the safe and efficient operation, maintenance, and troubleshooting of your WEN 4212T 5-Amp 10-Inch Variable Speed Benchtop Drill Press with Laser. Please read and understand all instructions before use to ensure proper functionality and user safety.
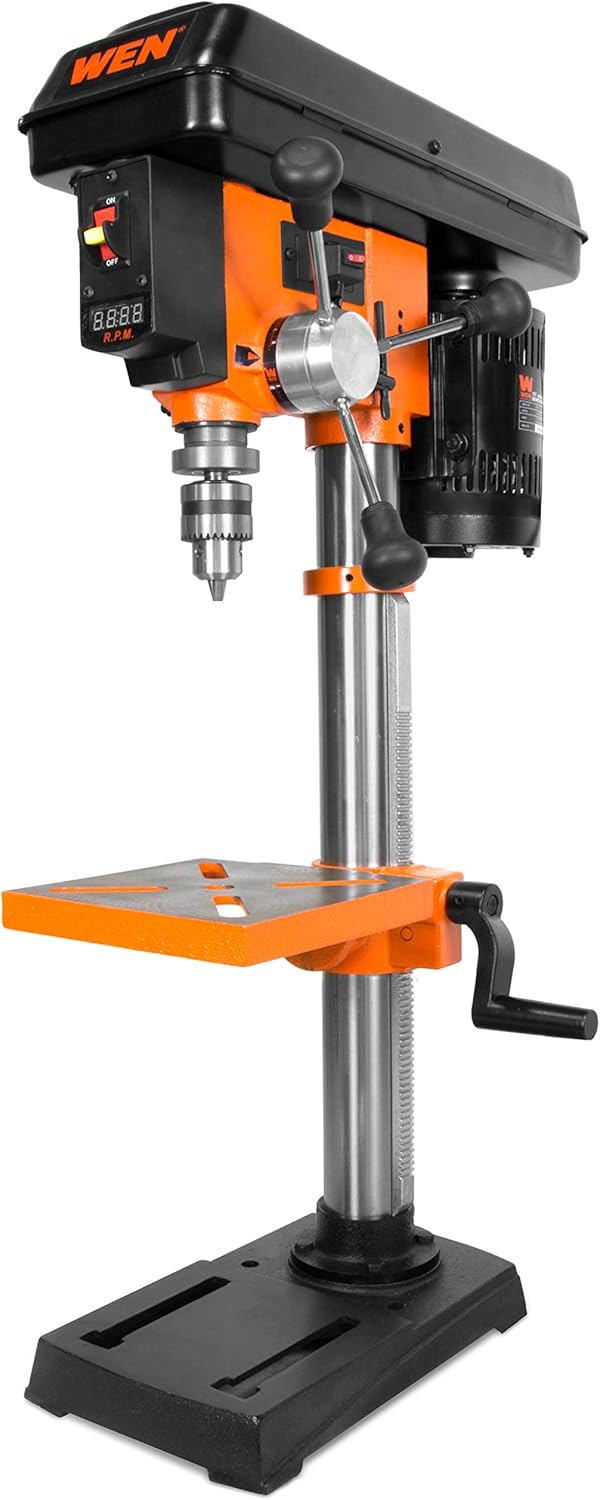
Figure 1: WEN 4212T 10-Inch Variable Speed Benchtop Drill Press
2. Sikkerhedsoplysninger
Always wear appropriate personal protective equipment (PPE) including safety glasses, hearing protection, and gloves when operating the drill press. Ensure the workpiece is securely clamped before drilling. Keep hands clear of the rotating chuck and drill bit. Disconnect power before making adjustments or performing maintenance. Do not operate the machine in damp or wet conditions. Maintain a clean and well-lit work area.
3. Funktioner overview
- Kraftig motor: Equipped with a 5-amp induction motor for reliable performance across various materials.
- Variabel hastighed: Mechanical variable speed allows adjustment from 530 to 3100 RPM, suitable for different drilling applications.
- Digital Speed Readout: An integrated LED display shows the current RPM for precise speed control.
- 10-Inch Swing: Provides a 10-inch swing capacity, allowing drilling through the center of workpieces up to 10 inches in diameter.
- 2-Inch Spindle Travel: Offers a 2-inch maximum spindle travel for deeper drilling.
- 1/2-Inch Keyed Chuck: Accommodates drill bits up to 1/2 inch in diameter, with convenient on-board storage for the chuck key.
- Beveling Work Table: The 8 by 7.5-inch cast-iron worktable can bevel 45° left and right for angled drilling operations.
- Precision Laser: A Class IIIA 2.5mW laser pinpoints the exact drilling location, enhancing accuracy.
- Sturdy Cast Iron Base: The 8 by 12.5-inch cast iron base provides stability and includes predrilled holes for secure benchtop mounting.

Figure 2: Digital Speed Readout

Figure 3: Beveling Work Table
4. Opsætning og montering
- Udpakning: Fjern forsigtigt alle komponenter fra emballagen. Kontroller, at alle dele er til stede i henhold til paklisten.
- Base montering: Secure the drill press to a sturdy workbench using the predrilled holes in the cast iron base. Use appropriate bolts and washers (not included) to prevent movement during operation.
- Column and Head Assembly: Follow the detailed diagrams in the included manufacturer's manual for attaching the column to the base and the head assembly to the column.
- Worktable Installation: Mount the worktable to the column, ensuring it can be freely adjusted up and down and can pivot.
- Montering af borepatron: Clean the spindle taper and the inside of the chuck. Install the chuck onto the spindle with a firm, twisting motion.
5. Betjeningsvejledning
- Strømtilslutning: Connect the drill press to a standard 120V AC power outlet.
- Installing a Drill Bit: Insert the desired drill bit into the chuck jaws. Use the chuck key to tighten the jaws securely around the bit. Ensure the bit is centered.
- Adjusting Spindle Speed: Use the mechanical variable speed lever to select the appropriate RPM for your material and drill bit size. The digital LED readout will display the current speed.
- Adjusting Worktable Height and Angle: Loosen the worktable locking handle to adjust its height or to bevel it up to 45 degrees left or right. Securely tighten the handle after adjustment.
- Brug af laserguiden: Activate the laser guide to project crosshairs onto your workpiece, indicating the exact drilling point.
- Setting Drilling Depth: Utilize the adjustable depth stop to control the maximum depth of your drill. This ensures consistent and repeatable drilling depths.
- Starting the Drill Press: Press the ON switch to start the motor. Allow the drill bit to reach full speed before contacting the workpiece.
- Boring: Apply steady, even pressure to the feed handles to lower the drill bit into the material. Avoid excessive force.
- Stopping the Drill Press: Press the OFF switch to stop the motor. Wait for the chuck and drill bit to come to a complete stop before removing the workpiece.

Figure 4: Variable Speed Adjustment Lever
6. Vedligeholdelse
- Regelmæssig rengøring: Keep the drill press clean from dust, chips, and debris. Use a brush or vacuum.
- Smøring: Periodically lubricate moving parts such as the column, rack, and pinion mechanism to ensure smooth operation.
- Bælteinspektion: Kontroller drivremmen for slid, revner eller korrekt spænding. Udskift om nødvendigt.
- Vedligeholdelse af borepatron: Keep the chuck jaws clean and free of debris to ensure a secure grip on drill bits.
7. Fejlfinding
- Motoren starter ikke: Check power connection, ensure the ON/OFF switch is engaged, and verify the circuit breaker.
- Overdreven vibration/støj: Inspect for loose components, check belt tension, and ensure the drill bit is properly installed and not bent.
- Unøjagtig boring: Verify the laser alignment, ensure the workpiece is securely clamped, and check for any play in the spindle or worktable.
- Difficulty Adjusting Speed: Ensure the machine is running when adjusting the mechanical variable speed lever.
8. Specifikationer
| Specifikation | Værdi |
|---|---|
| Mærke | WEN |
| Modelnummer | 4212T |
| Strømkilde | AC |
| Ampslette | 5 Amps |
| Voltage | 120V |
| Maksimal rotationshastighed | 3100 RPM |
| Minimum rotationshastighed | 530 RPM |
| Maksimal Chuck-størrelse | 0.5 tommer |
| Spindelrejse | 2 tommer |
| Svinge | 10 tommer |
| Arbejdsbords dimensioner | 8 x 7.5 cm |
| Worktable Bevel | 45° Left/Right |
| Laser type | Class IIIA 2.5mW |
| Produktdimensioner | 33.9 cm L x 13.2 cm B x 19.3 cm H |
| Varens vægt | 57 pund |
9. Garanti og support
The WEN 4212T Benchtop Drill Press comes with a two-year warranty. For product questions, technical support, or replacement parts, please contact WEN customer support. You can reach them by phone at 1-800-232-1195 (M-F 8AM-5PM CST) or via email at techsupport@wenproducts.com. Further information is available at WENPRODUCTS.COM.


