1. Introduktion
Thank you for choosing the Cecotec EnergySilence Aero 480 Ceiling Fan. This manual provides essential information for the safe installation, operation, and maintenance of your new ceiling fan. Please read this manual thoroughly before installation and keep it for future reference.
The EnergySilence Aero 480 is designed to provide efficient air circulation and integrated lighting for your living space. It features a powerful 65W copper motor, a 106 cm diameter for wide coverage, three reversible blades for year-round use, and three speed settings, all controllable via a convenient remote.
2. Sikkerhedsinstruktioner
Følg altid grundlæggende sikkerhedsforanstaltninger, når du bruger elektriske apparater, for at mindske risikoen for brand, elektrisk stød og personskade.
- Read all instructions before installing or using the fan.
- Sørg for, at strømforsyningen er afbrudt ved hovedafbryderen før installation eller vedligeholdelse.
- Installationen skal udføres af en kvalificeret elektriker i overensstemmelse med lokale el-forskrifter.
- The mounting structure must be capable of supporting a minimum of 4.6 kg (the weight of the fan).
- Stik ikke fingre eller genstande ind i ventilatorbladene, mens ventilatoren er i drift.
- Sørg for, at ventilatorbladene er mindst 2.3 meter (7.5 fod) fra gulvet og 0.5 meter (1.6 fod) fra enhver væg eller forhindring.
- Brug ikke ventilatoren med en beskadiget netledning eller stik.
- Dette apparat er ikke beregnet til brug af personer (inklusive børn) med nedsatte fysiske, sensoriske eller mentale evner, eller mangel på erfaring og viden, medmindre de har fået opsyn eller instruktion i brugen af apparatet af en person, der er ansvarlig for deres sikkerhed.
- Børn skal være under opsyn for at sikre, at de ikke leger med apparatet.
3. Pakkens indhold
Carefully unpack your ceiling fan and check that all items are included. If any parts are missing or damaged, contact Cecotec customer service.
- Ventilator motor samling
- Ventilatorblade (3)
- Blade Holders/Brackets
- Nedstang og baldakin
- Monteringsbeslag
- Light Kit with Diffuser
- Fjernbetjening med vægmontering
- Hardwarepakke (skruer, skiver, trådmøtrikker)
- Brugermanual
4. Opsætning og installation
Følg disse trin for korrekt installation. Professionel installation anbefales.
4.1 Kontrol før installation
- Sluk for strømmen ved afbryderen.
- Ensure the ceiling joist or support structure can hold the fan's weight.
- Verify that the electrical box is suitable for fan support.
4.2 Montering af beslaget
Secure the mounting bracket to the ceiling electrical box using the provided screws. Ensure it is firmly attached and level.
4.3 Assembling the Motor and Downrod
Insert the downrod through the canopy and coupling cover. Feed the motor wires through the downrod. Secure the downrod to the motor assembly with the provided pin and screw.
4.4 Tilslutning af ventilatoren
Carefully connect the fan's electrical wires to the household wiring according to the wiring diagram in the full manual. Use the provided wire nuts. Ensure all connections are secure.
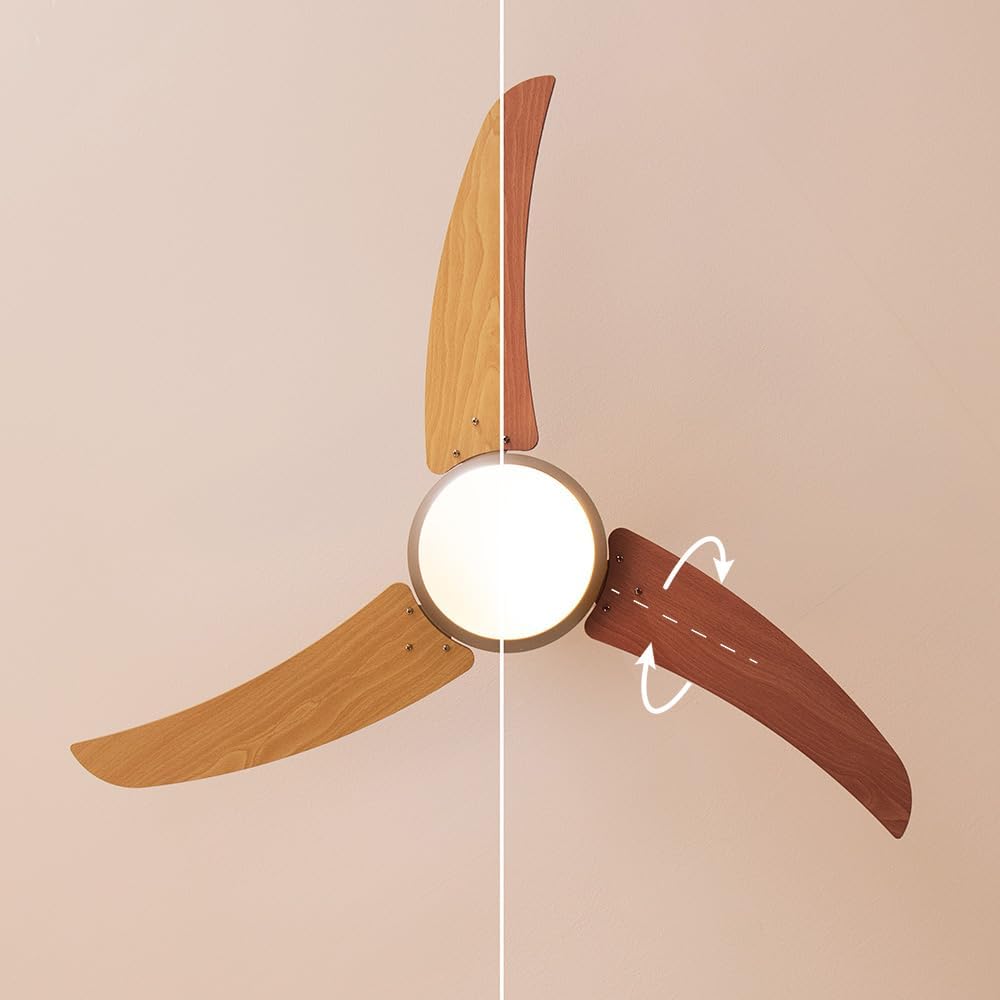
4.5 Montering af knivene
Attach each blade to its blade holder using the blade screws. Then, attach the blade holders to the motor housing. Ensure all screws are tightened securely.

Billede: Nærbillede view of a fan blade, illustrating its design and how it connects to the fan's central unit. This shows the smooth, curved shape of the blade, designed for efficient air movement.
4.6 Installation af lyssættet
Connect the light kit wires to the fan motor's light wires. Secure the light kit to the bottom of the fan motor assembly. Install the light bulb (if not pre-installed) and attach the diffuser.
Billede: En detaljeret view of the fan's central body, showcasing the integrated light fixture. The light globe is clearly visible, indicating the fan's dual functionality as both an air circulator and a light source.
4.7 Fastgørelse af baldakinen
Slide the canopy up against the ceiling and secure it to the mounting bracket with the provided screws. Ensure all wires are tucked neatly inside the canopy.

Image: The Cecotec EnergySilence Aero 480 ceiling fan elegantly installed in a modern bedroom. The fan is mounted centrally on the ceiling, providing both air circulation and ambient lighting to the room.
5. Betjeningsvejledning
Your Cecotec EnergySilence Aero 480 ceiling fan is operated using the included remote control.
5.1 Fjernbetjeningsfunktioner

Billede: En detaljeret view of the remote control for the Cecotec EnergySilence Aero 480 ceiling fan. The buttons for power, speed, mode, timer, and oscillation are clearly visible, indicating intuitive control over the fan's functions.
- ON/OFF knap: Tænder eller slukker for blæseren.
- SPEED knap: Skifter mellem ventilatorhastigheder: Lav, Mellem, Høj.
- MODE knap: Toggles between different operational modes (e.g., normal, sleep).
- TIMER Buttons (1H, 3H, 6H): Indstiller ventilatoren til automatisk at slukke efter 1, 3 eller 6 timer.
- LIGHT -knap: Turns the integrated light on or off.
- OSC/REVERSE Button: Activates oscillation (if applicable) or reverses blade direction.
5.2 Reversible Blade Function (Summer/Winter Mode)
The fan features reversible blades to optimize air circulation for different seasons. A switch on the fan motor housing (or a button on the remote, if available) controls this function.
- Sommertilstand (rotation mod uret): Skaber en nedadgående luftstrøm, hvilket giver en kølende effekt.
- Vintertilstand (rotation med uret): Skaber en opadgående luftstrøm, der cirkulerer varm luft fanget nær loftet.
Always ensure the fan is completely stopped before changing the blade direction.

Image: A clear diagram demonstrating the two operational modes of the ceiling fan: summer mode (left) and winter mode (right). The arrows indicate the direction of airflow for cooling in summer and circulating warm air in winter, highlighting the reversible blade function.
6. Vedligeholdelse
Regelmæssig vedligeholdelse sikrer din ventilators levetid og optimale ydeevne.
- Rensning: Støv ventilatorblade og motorhus regelmæssigt med en blød, tør klud.amp klæde. Brug ikke slibende rengøringsmidler eller opløsningsmidler.
- Klingepleje: Check blades for any cracks or damage. Ensure all blade screws are tight.
- Generelle kontroller: Kontrollér regelmæssigt alle forbindelser og monteringsbeslag for tæthed.
- Udskiftning af pære: Ensure power is off before replacing the light bulb. Use the specified bulb type and wattage.
Afbryd altid strømmen, før du udfører nogen form for rengøring eller vedligeholdelse.
7. Fejlfinding
Hvis du støder på problemer med din ventilator, kan du se følgende almindelige problemer og løsninger:
| Problem | Mulig årsag | Løsning |
|---|---|---|
| Ventilator starter ikke | No power; Loose wiring; Remote control battery dead. | Check circuit breaker; Verify wiring connections; Replace remote battery. |
| Blæseren slingrer | Loose blades/screws; Unbalanced blades; Loose mounting bracket. | Tighten all screws; Use balancing kit (not included); Secure mounting bracket. |
| Lys virker ikke | Bulb faulty; Loose wiring; Light switch off. | Replace bulb; Check light kit wiring; Ensure light is turned on via remote. |
| Støjende drift | Loose parts; Motor issue; Blades hitting obstruction. | Check all connections; Contact customer service if motor noise persists; Ensure clear path for blades. |
Hvis problemet fortsætter efter at have prøvet disse løsninger, bedes du kontakte Cecotecs kundesupport.
8. Specifikationer
- Mærke: Cecotec
- Modelnummer: 05944
- Farve: Wood | Metallic
- Produktmål (L x B x H): 21 x 26.1 x 53.5 cm
- Vægt: 4.6 kilo
- Magt: 65 watt
- Voltage: 220 volt (AC)
- Materiale: Plast
- Antal hastigheder: 3
- Speciel funktion: Fjernbetjening
- Ventilatordesign: Loft Fan
- Strømkilde: Elektrisk med ledning
- Anbefalede anvendelser: Køling, luftcirkulation
- Monteringstype: Loftmontering
- ASIN: B0913KJB6N
9. Garanti og support
Cecotec products come with a standard manufacturer's warranty. For detailed warranty information, please refer to the warranty card included with your product or visit the official Cecotec webwebsted.
For technical support, troubleshooting assistance, or to inquire about spare parts, please contact Cecotec customer service through their official channels. Spare parts availability is listed as 10 years.
Der er ingen officielle produktvideoer tilgængelige for denne model på nuværende tidspunkt.


