1. Introduktion
This manual provides detailed instructions for the installation, operation, and maintenance of your Strong 999 Full HD Satellite Receiver. Please read this manual thoroughly before using the device to ensure proper functionality and to maximize your viewoplevelse. Gem denne vejledning til fremtidig reference.
2. Sikkerhedsoplysninger
- Strømforsyning: Brug kun den angivne strømadapter. Sørg for, at lydstyrkentage matcher din lokale strømforsyning.
- Ventilation: Do not block ventilation openings. Place the receiver in a well-ventilated area to prevent overheating.
- Rensning: Afbryd strømmen før rengøring. Brug en blød, tør klud. Brug ikke flydende rengøringsmidler eller aerosolrengøringsmidler.
- Service: Do not attempt to open or repair the receiver yourself. Refer all servicing to qualified personnel.
3. Pakkens indhold
Markér venligst feltet for følgende elementer:
- Strong 999 Full HD Satellite Receiver
- Fjernbetjening
- HDMI kabel
- USB kabel
- Strømadapter
- Brugervejledning (dette dokument)
4. Produktet er slutview
Familiarize yourself with the various ports and controls on your Strong 999 Satellite Receiver.
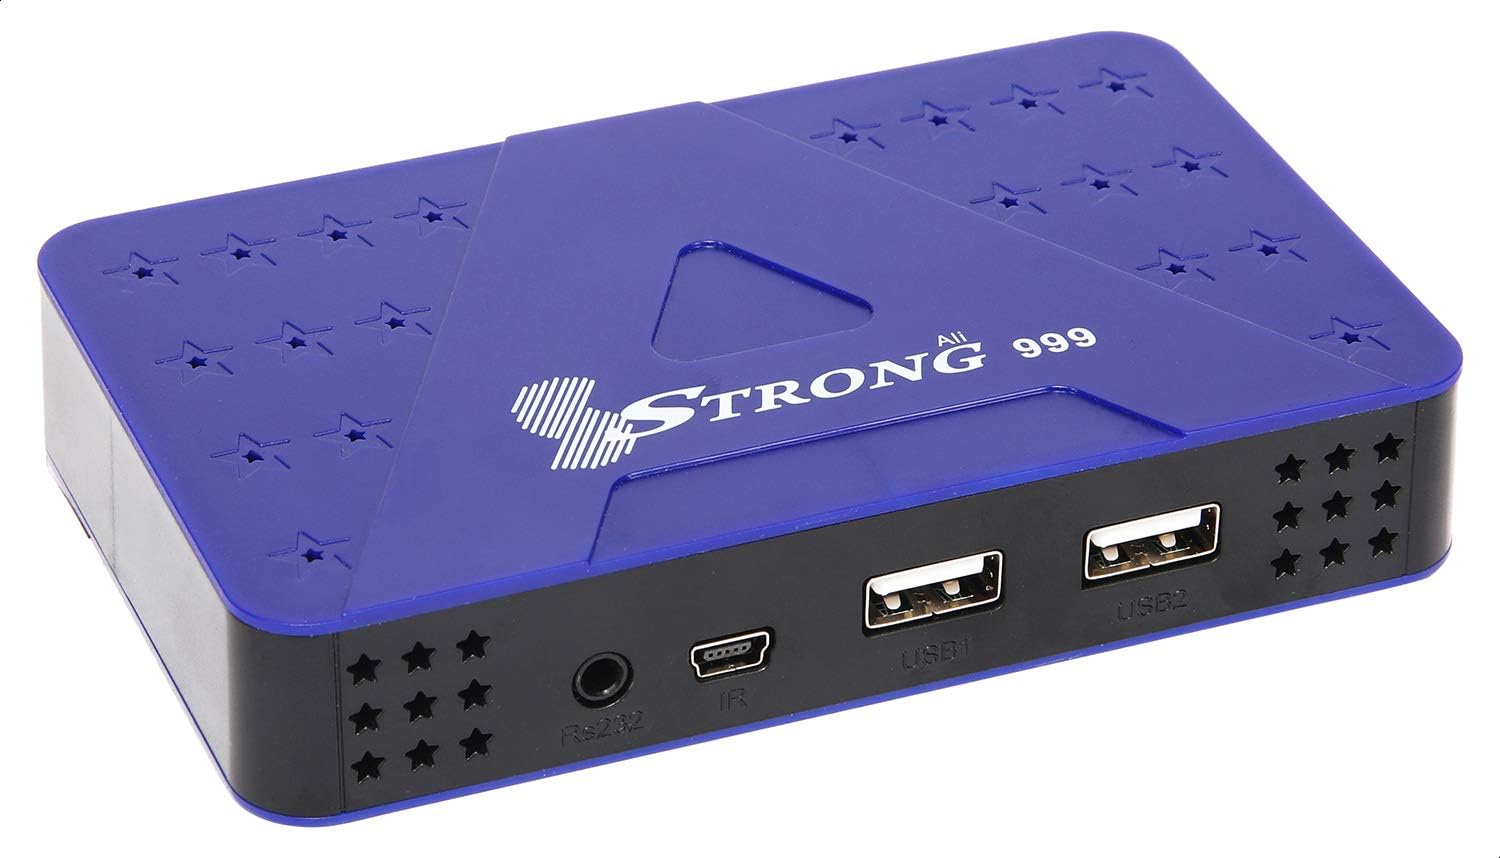
Figur 4.1: Frontpanel
The front panel features two USB ports (USB1, USB2), an IR sensor for the remote control, and an RS232 port for service.

Figur 4.2: Bagpanel
The rear panel includes the LNB IN port for satellite signal, an HDMI port for high-definition video and audio output, an AV port for standard definition output, and the DC IN port for power connection.
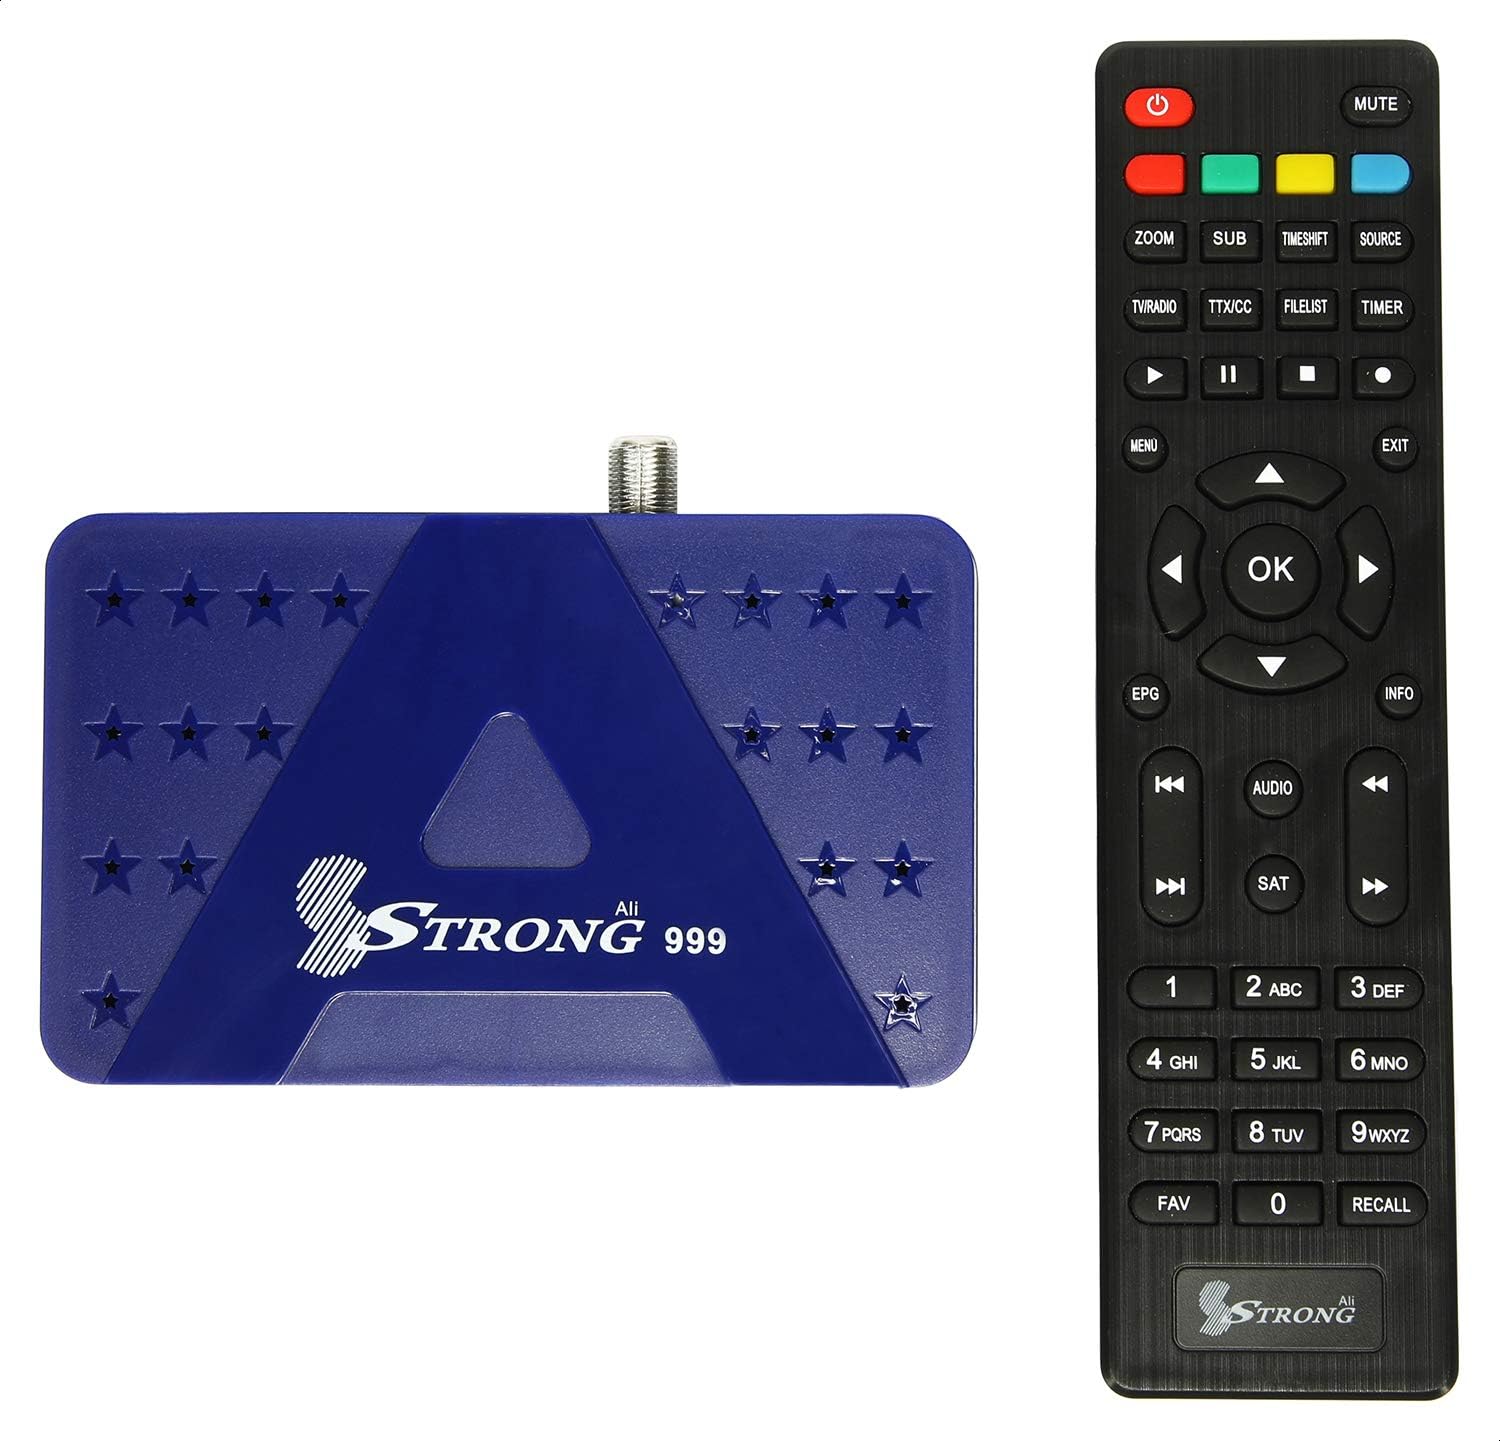
Figure 4.3: Receiver with Remote Control
The included remote control allows full navigation and control of the receiver's functions and menus.
5. Opsætning
5.1 Tilslutning af modtageren
- Connect Satellite Cable: Connect the satellite dish cable (LNB cable) to the 'LNB IN' port on the rear panel of the receiver.
- Tilslut til tv: Use the provided HDMI cable to connect the 'HDMI' port on the receiver to an HDMI input port on your television. Alternatively, use the AV port for standard definition connection.
- Tilslut strøm: Connect the power adapter to the 'DC IN' port on the receiver, then plug the adapter into a power outlet.
- Sæt batterier i fjernbetjeningen: Open the battery compartment on the remote control and insert two AAA batteries (not included), ensuring correct polarity.
5.2 Første opstart og førstegangsopsætning
- Tænd: Turn on your television and select the correct HDMI input source. Then, power on the Strong 999 receiver.
- Sprogvalg: The receiver will display a setup wizard. Select your preferred language from the available options. The receiver supports multiple languages.
- Tidszoneindstilling: Set the correct time zone for your region.
- Satellitscanning: Follow the on-screen instructions to perform a satellite scan. This process will search for available transponders and channels. The receiver supports Multi TP Søg efter efficient scanning.
- Gem indstillinger: Once the scan is complete, save the settings. Your receiver is now ready for use.
6. Betjeningsvejledning
6.1 Grundlæggende betjening
- Tænd/sluk: Tryk på MAGT knappen på fjernbetjeningen for at tænde eller slukke receiveren.
- Kanalnavigation: Brug CH + / CH- buttons to change channels sequentially. Enter channel numbers directly using the numeric keypad.
- Lydstyrkekontrol: Brug VOL + / VOL- knapper for at justere lydstyrken.
- Menuadgang: Tryk på MENU knappen for at få adgang til hovedmenuen med indstillinger og funktioner.
- Informationsdisplay: Tryk på INFO button to display current channel information.
6.2 Kanalstyring
From the main menu, navigate to 'Channel Management' to organize your channels:
- Rediger kanaler: Move, delete, or lock channels.
- Favoritlister: Create custom lists of your favorite channels for quick access.
- Satellite/Transponder Setup: Manually add or edit satellite and transponder settings if needed.
6.3 USB Recording and Playback
The Strong 999 receiver supports recording through its USB ports.
- Tilslut USB-enhed: Insert a USB storage device (e.g., flash drive or external hard drive) into one of the USB ports on the front panel.
- Format USB (if necessary): The receiver may prompt you to format the USB device. Follow on-screen instructions.
- Record Program: Mens du ser et program, skal du trykke på REC button on the remote to start recording. Press STOP for at afslutte optagelsen.
- Planlæg optagelse: Access the EPG (Electronic Program Guide) to schedule future recordings.
- Afspilning: Access recorded content via the 'Media Player' or 'USB' menu option.
6.4 Systemindstillinger
The 'System Settings' menu allows you to configure various aspects of your receiver:
- Billedindstillinger: Adjust resolution (up to 1080P 50/60 Hz), aspect ratio, and other display options.
- Lydindstillinger: Configure audio output mode (e.g., Stereo).
- OSD-indstillinger: Customize the On-Screen Display (OSD) appearance, which supports 32-bit color.
- Forældrekontrol: Set passwords and restrictions for channels or menus.
7. Vedligeholdelse
7.1 Rengøring
To clean the receiver, disconnect it from the power supply. Use a soft, dry, lint-free cloth to wipe the exterior. Do not use abrasive cleaners, waxes, or solvents.
7.2 Firmwareopgradering
The receiver's software can be upgraded via USB. Visit the official Strong website for the latest firmware updates and instructions. Typically, this involves downloading the firmware file to a USB drive, inserting it into the receiver, and initiating the upgrade process from the system menu.
8. Fejlfinding
| Problem | Mulig årsag | Løsning |
|---|---|---|
| No picture/No signal | Incorrect TV input selected; Loose cable connections; Satellite dish misalignment. | Ensure TV is on correct HDMI/AV input. Check all cable connections (LNB, HDMI/AV). Consult a professional for satellite dish alignment if needed. |
| Ingen lyd | TV or receiver volume too low; Mute activated; Incorrect audio settings. | Increase volume on both TV and receiver. Check if mute is active. Verify audio output settings in receiver menu. |
| Fjernbetjening virker ikke | Dead batteries; Obstruction between remote and receiver; Remote not pointed correctly. | Replace batteries. Ensure no objects block the IR sensor on the receiver. Point the remote directly at the receiver's front panel. |
| Receiver unresponsive | Midlertidig softwarefejl. | Tag modtageren ud af stikkontakten, vent 30 sekunder, og sæt den derefter i igen. |
9. Specifikationer
| Feature | Detalje |
|---|---|
| Modelnummer | 999 |
| Processor | Sun Plus Processor |
| Output opløsning | 576i, 576p, 720p, 1080i, 1080p (50/60 Hz) |
| HDMI porte | 1 |
| USB-porte | 2 |
| Videoudgange | 1 (HDMI), 1 (AV) |
| Lydudgangstilstand | Stereoanlæg |
| Understøttet lydformat | PCM |
| Channel Storage Capacity | Op til 8000 kanaler |
| Satellite/Transponder Memory | 100 Satellites, 4000 Transponders |
| OSD Color Depth | 32 Bits Color |
| Optagelsesfunktion | Recording through USB |
| Opgraderingsfunktion | Via USB |
| Dimensioner (pakke) | 19.8 x 15.2 x 5.6 cm |
| Vægt (pakke) | 348 g |
10. Garanti og support
For warranty information and technical support, please refer to the warranty card included with your product or visit the official Strong webwebsted. Gem din købskvittering som købsbevis i tilfælde af garantikrav.


