1. Introduktion
The iRobot Braava Jet m6 is an advanced robotic mop designed to clean hard floors efficiently. It utilizes Precision Jet Spray and Smart Mapping technology to navigate and clean multiple rooms and larger spaces, tackling sticky messes and kitchen grease. This manual provides essential information for setting up, operating, maintaining, and troubleshooting your Braava Jet m6 robot mop.

Figur 1.1: The Braava Jet m6 robot mop demonstrating its Precision Jet Spray feature, alongside a smartphone showing the iRobot Home App interface. This illustrates the robot's primary function and its connectivity.
2. Vigtige sikkerhedsoplysninger
Before using your Braava Jet m6, please read all safety instructions carefully. Failure to follow these instructions may result in electric shock, fire, or serious injury.
- Ensure the charging dock is placed on a level surface and away from heat sources or direct sunlight.
- Do not use the robot mop on wet surfaces or in areas with standing water.
- Only use the cleaning solution provided or recommended by iRobot. Other solutions may damage the robot or leave residue.
- Hold hår, løstsiddende tøj, fingre og alle dele af kroppen væk fra åbninger og bevægelige dele.
- Brug ikke robotten i rum, hvor et spædbarn eller barn sover.
- Regularly inspect the power cord for damage. If damaged, do not use and contact iRobot customer service.
- Dette apparat er ikke beregnet til brug af personer (inklusive børn) med nedsatte fysiske, sensoriske eller mentale evner, eller mangel på erfaring og viden, medmindre de har fået opsyn eller instruktion i brugen af apparatet af en person, der er ansvarlig for deres sikkerhed.
Figur 2.1: iRobot emphasizes user privacy and data security, ensuring that your home's mapping data is protected with high standards of encryption.
3. Hvad er der i æsken
Your iRobot Braava Jet m6 package should contain the following components:
- 1 Braava jet® m6 Robot Mop
- 1 Opladningsstation
- 1 North American Line Cord
- Cleaning Solution (starter bottle)
- Mop Pads (disposable wet and dry pads)
4. Opsætningsvejledning
4.1. Charging Dock Placement and Initial Charge
Place the charging dock against a wall in an open, uncluttered area. Ensure there is at least 1.5 feet (0.5 meters) of clear space on either side of the dock and 4 feet (1.2 meters) in front of it. Connect the line cord to the charging dock and plug it into a wall outlet. Place your Braava Jet m6 onto the charging dock. The light ring around the CLEAN button will pulse white to indicate it is charging. Allow the robot to charge for at least 3 hours before its first use.

Figur 4.1: The Braava Jet m6 robot mop intelligently navigates back to its charging dock to recharge, ensuring it's always ready for the next cleaning cycle.
4.2. Connecting to the iRobot Home App
For full functionality and smart features, download the iRobot Home App from your device's app store. Follow the in-app instructions to connect your Braava Jet m6 to your home Wi-Fi network. The app allows you to schedule cleanings, view Smart Maps, set Keep Out Zones, and receive cleaning recommendations.
4.3. Installing Mop Pads
The Braava Jet m6 uses specific pads for wet mopping and dry sweeping. Slide the desired pad into the slot on the underside of the robot until it clicks into place. The robot automatically detects the pad type and adjusts its cleaning mode accordingly.

Figur 4.2: An assortment of Braava Jet mop pads, including wet and dry options, along with the recommended cleaning solution. The robot identifies the pad type to select the appropriate cleaning mode.
4.4. Fyldning af tanken
To wet mop, open the tank lid located on top of the robot. Fill the tank with water and a small amount of iRobot Braava Jet Hard Floor Cleaning Solution. Do not overfill. Close the lid securely. For dry sweeping, the tank does not need to be filled.
5. Operating Your Braava Jet m6
5.1. Cleaning Modes: Wet Mopping and Dry Sweeping
The Braava Jet m6 offers two primary cleaning modes based on the installed pad:
- Vådmopping: Uses Precision Jet Spray and a wet mopping pad to tackle sticky messes and grime. Ideal for hard floors like hardwood, tile, and stone.
- Dry Sweeping: Uses a dry sweeping pad with electrostatic force to capture dirt, dust, and pet hair. Suitable for daily maintenance.

Figur 5.1: The Braava Jet m6 robot mop effectively cleans various hard floor surfaces, including tile, hardwood, and stone, adapting its cleaning method to the floor type.

Figur 5.2: The Braava Jet m6 utilizing a dry sweeping pad, which employs electrostatic force to efficiently capture dirt, dust, and pet hair from hard floors.
5.2. Precision Jet Spray
The Precision Jet Spray loosens dirt and sticky messes. The robot is designed to spray only in front of itself, avoiding furniture, rugs, and walls. For optimal results, ensure the area is clear of obstacles.

Figur 5.3: The Braava Jet m6 robot mop deploying its Precision Jet Spray to loosen and break up sticky messes and kitchen grease on a tiled floor.
5.3. Smart Mapping and Navigation
Using vSLAM navigation, the m6 learns the layout of your home and builds personal Smart Maps. This enables it to expertly clean and navigate in neat, efficient rows. You can view and customize these maps in the iRobot Home App.

Figur 5.4: The Braava Jet m6 robot mop demonstrating its Smart Mapping capability, learning and mapping the layout of your home to clean where and when you desire.
5.4. Keep Out Zones
With Smart Mapping, you can define "Keep Out Zones" in the app to prevent the robot from entering specific areas, such as pet bowls, delicate items, or areas with loose cables. This provides added control over your cleaning preferences.

Figur 5.5: The Braava Jet m6 robot mop respecting a user-defined 'Keep Out Zone', allowing for precise control over cleaning areas and avoiding sensitive spots.
5.5. Recharge and Resume
If the robot's battery runs low during a cleaning cycle, it will automatically return to its charging dock, recharge, and then resume cleaning exactly where it left off to complete the job.
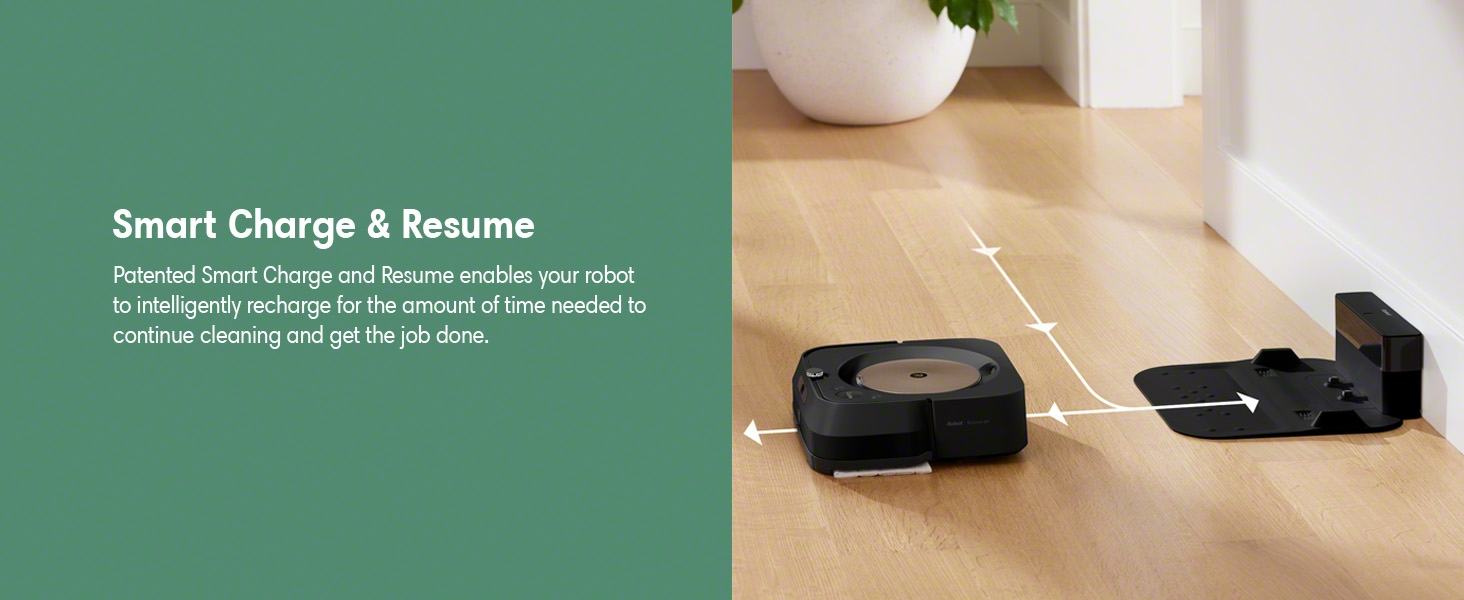
Figur 5.6: The Braava Jet m6 robot mop's Smart Charge & Resume feature, allowing it to intelligently recharge and continue cleaning until the task is complete.
5.6. Imprint Link Technology
The Braava Jet m6 can work with select Roomba robot vacuums using Imprint Link Technology. This allows the Roomba to vacuum first, and then the Braava Jet m6 will automatically begin mopping, creating a seamless two-step cleaning process.

Figur 5.7: The Braava Jet m6 robot mop syncing with a Roomba robot vacuum, demonstrating the Imprint Link Technology for an automated vacuum-then-mop cleaning sequence.
5.7. Integration af stemmeassistent
The Braava Jet m6 is compatible with Amazon Alexa and Google Assistant. You can start, stop, or send the robot to specific areas for cleaning using simple voice commands, such as "Alexa, tell Braava to mop in front of the kitchen table."
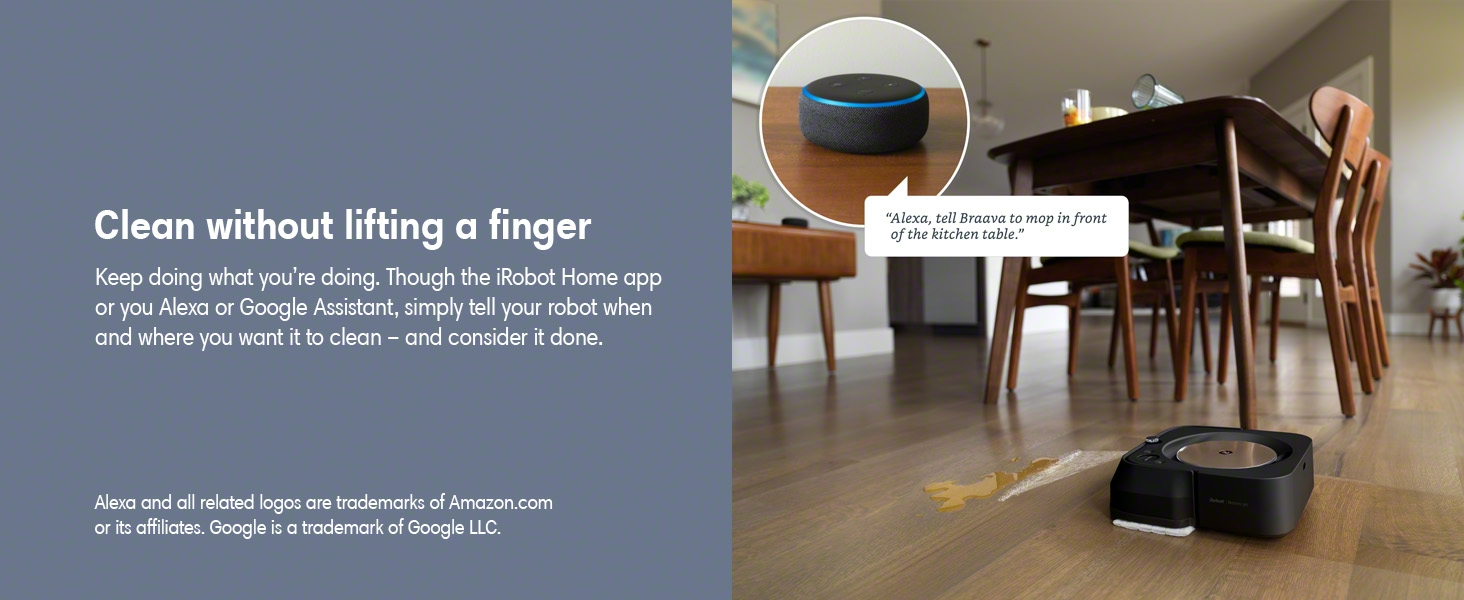
Figur 5.8: The Braava Jet m6 robot mop can be controlled hands-free using voice commands through Amazon Alexa or Google Assistant, allowing users to initiate cleaning tasks effortlessly.
5.8. Personalized Schedules and Software Updates
The robot learns your cleaning habits and can suggest personalized schedules through the iRobot Home App. It also receives over-the-air software updates, ensuring it continuously improves its performance and features.

Figur 5.9: The iRobot Home App providing personalized cleaning recommendations for the Braava Jet m6 robot mop, adapting to user habits and environmental factors like pollen season.
6. Vedligeholdelse
Regular maintenance is crucial for the optimal performance and longevity of your Braava Jet m6.
6.1. Rengøring af robotten
- Sensorer: Wipe the cliff sensors and floor tracking sensor with a clean, dry cloth regularly.
- Hjul: Check the drive wheels for debris (hair, lint) and clean as needed.
- Opladningskontakter: Rengør opladningskontakterne på både robotten og docken med en tør klud.
6.2. Mop Pad Care
- Disposable Pads: Eject used disposable pads directly into the trash by pressing the pad eject button. Do not reuse.
- Genanvendelige puder: If using reusable pads, remove them after each cleaning cycle and wash them according to the instructions provided with the pads. Allow them to air dry completely before reuse.

Figur 6.1: The Braava Jet m6 allows for easy, hands-free ejection of used mop pads directly into a trash receptacle with the push of a button.
6.3. Rengøring af tank
Periodically rinse the tank with clean water to prevent buildup. Do not use soap or other cleaning agents inside the tank unless specifically instructed by iRobot. Ensure the tank is completely dry before refilling or storing.
7. Fejlfinding
This section addresses common issues you might encounter with your Braava Jet m6.
| Problem | Mulig årsag | Løsning |
|---|---|---|
| Robotten oplader ikke | Loose power cord, dirty charging contacts, battery issue. | Ensure power cord is securely plugged in. Clean charging contacts on robot and dock. If issue persists, contact customer support. |
| "Fill Tank" error despite full tank | Float sensor stuck, lid not properly closed. | Gently shake the tank to free the float. Ensure the tank lid is securely closed and clicked into place. |
| Robotten sidder ofte fast | Obstacles, uneven surfaces, or "Keep Out Zones" not set. | Clear the cleaning area of small obstacles. Use the iRobot Home App to define "Keep Out Zones" for problematic areas like rugs or furniture. |
| Efterlader striber på gulvet | Incorrect cleaning solution, dirty pad, excessive solution. | Ensure you are using only iRobot Braava Jet Hard Floor Cleaning Solution or plain water. Use a clean pad. Adjust the amount of solution sprayed via the app settings if available. |
| Navigation issues / spinning in circles | Dirty sensors, wheel issues, software glitch. | Clean all sensors. Check wheels for debris or damage. Restart the robot. If persistent, a factory reset via the app or contacting support may be necessary. |
8. Specifikationer
| Feature | Detalje |
|---|---|
| Mærke | iRobot |
| Modelnavn | Braava M6 |
| Modelnummer | m601220 |
| Farve | Sort |
| Produktmål (L x B x H) | 10.6 cm x 10 cm x 3.5 cm |
| Varens vægt | 6.6 pund |
| Batterilevetid | 120 minutter |
| Strømkilde | Batteridrevet |
| Kontrolmetode | Stemme, app |
| Kompatible enheder | Amazon Echo, Google Home, Smartphones, Tablets, iPhone |
| Særlige funktioner | Edge Cleaning, Room-By-Room Navigation, Scheduling, Selective Room Cleaning, Smart Mapping, Wet/Dry |
9. Garanti og support
For warranty information, please refer to the official iRobot Warranty Document (PDF). This document outlines the terms and conditions of your product's warranty.
For additional support, frequently asked questions, or to contact customer service, please visit the official iRobot website or refer to the iRobot Home App.
Figur 9.1: iRobot's commitment to product authenticity and customer investment protection, advising purchase from authorized resellers and use of authentic parts for warranty validity.


