1. Introduktion
This manual provides instructions for the installation, operation, and maintenance of the Grandstream GRP2604 IP Phone. The GRP2604 is a 3-line, 6-SIP account IP phone designed for ease of use and advanced functionality, featuring a 2.7-inch LCD display and dual-port Gigabit Ethernet.
2. Sikkerhedsoplysninger
- Brug kun den strømadapter, der følger med telefonen.
- Udsæt ikke enheden for vand eller fugt.
- Undgå at placere telefonen i nærheden af varmekilder eller direkte sollys.
- Forsøg ikke at åbne eller reparere enheden selv. Overlad al service til kvalificeret personale.
- Sørg for ordentlig ventilation omkring telefonen.
3. Pakkens indhold
Bekræft, at din pakke indeholder følgende varer:
- GRP2604 IP Phone Unit
- Handset with Cord
- Telefonstativ
- Ethernet kabel
- Strømadapter
- Quick Installation Guide (this manual serves as the full guide)
4. Produktet er slutview
4.1. Telefonlayout

Figur 4.1: Front view of the Grandstream GRP2604 IP Phone. This image displays the phone's main body, handset, 2.7-inch LCD display, numeric keypad, function keys, and programmable line keys.
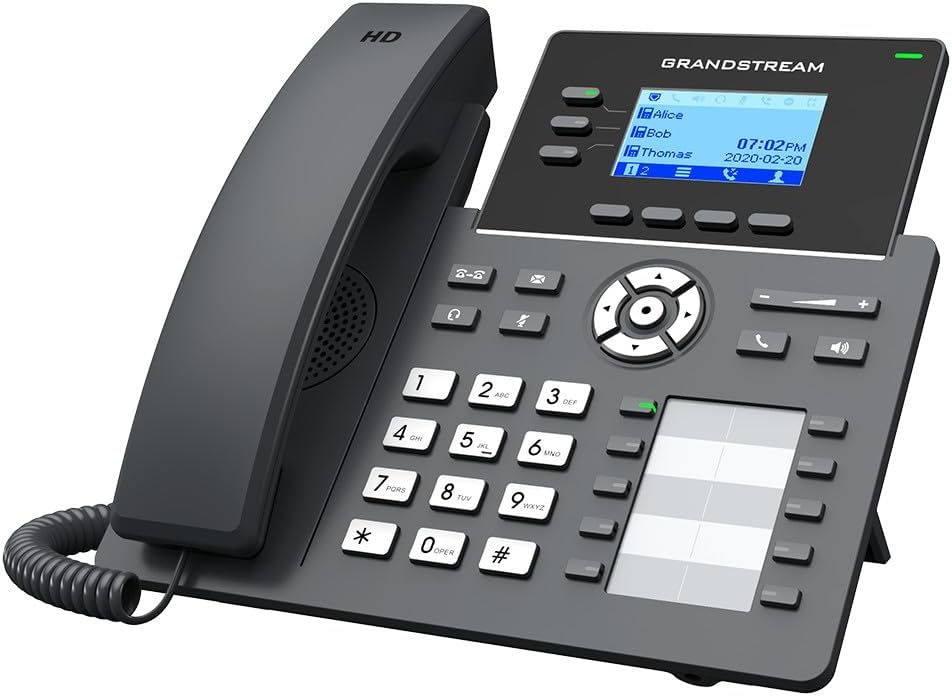
Figur 4.2: Vinklet view of the Grandstream GRP2604 IP Phone. This perspective highlights the ergonomic design of the handset and the slight tilt of the main unit, providing a clearer view of the display and keypad.

Figur 4.3: Side view of the Grandstream GRP2604 IP Phone with its stand attached. This image illustrates how the phone is positioned for desktop use, showing the angle provided by the stand.
4.2. Bagpanel og porte

Figur 4.4: Bag view of the Grandstream GRP2604 IP Phone, showing the various ports and connections. From left to right, these include the handset port, headset port, two Gigabit Ethernet ports (LAN and PC), and the DC 5V power input.
The rear panel of the GRP2604 features essential connection ports:
- Håndsætport: Tilslutter den spiralformede håndsætledning.
- Headset port: Til tilslutning af et kablet headset.
- PC Port (LAN Out): Connects to a computer or other network device.
- LAN Port (Network In): Connects to your network switch or router.
- DC 5V strømindgang: Tilslutter strømadapteren.
5. Opsætning
- Fastgør telefonholderen: Align the stand with the slots on the back of the phone and slide it into place until it clicks securely.
- Tilslut håndsættet: Plug one end of the coiled handset cord into the handset and the other end into the handset port on the rear of the phone.
- Opret forbindelse til netværk:
- Connect one end of the Ethernet cable to the LAN port on the phone.
- Tilslut den anden ende af Ethernet-kablet til en netværksswitch eller router.
- If connecting a computer, use another Ethernet cable to connect the PC port on the phone to your computer.
- Tilslut strøm: Plug the DC 5V power adapter into the power input port on the phone, then plug the adapter into a power outlet. The phone will automatically power on and begin the boot-up sequence.
- Indledende konfiguration: Once the phone boots up, it will attempt to obtain an IP address via DHCP. You may need to access the phone's web interface for further SIP account configuration, as instructed by your VoIP service provider or network administrator.
6. Betjeningsvejledning
6.1. Foretage opkald
- Opkald med røret af: Løft håndsættet, eller tryk på Højttalertelefon button. Dial the number and press the Urskive soft key or wait a few seconds.
- Opkald med pålagt rør: Dial the number first, then pick up the handset or press the Højttalertelefon knap.
- Brug af linjetaster: Press an available line key, dial the number, and press the Urskive softkey.
6.2. Modtagelse af opkald
- Answer with Handset: Tag håndsættet.
- Answer with Speakerphone: Tryk på Højttalertelefon knap.
- Answer with Headset: Tryk på Headset button (if a headset is connected).
6.3. Opkaldsfunktioner
- Holde: Under et aktivt opkald skal du trykke på Holde knap. Tryk på den igen for at genoptage opkaldet.
- Overførsel: Under et aktivt opkald skal du trykke på Overførsel button. Dial the transfer destination number and press the Overførsel soft key again (attended transfer) or hang up (blind transfer).
- Konference: Under et aktivt opkald skal du trykke på Konference button. Dial the second party's number and press the Konference soft key to join all parties. The GRP2604 supports 5-way voice conferencing.
- Telefonsvarer: Tryk på Besked knappen for at få adgang til din telefonsvarer.
6.4. Justering af lydstyrke
Brug Volumen +/- buttons located on the phone to adjust the ringer volume when idle, or the handset/speaker/headset volume during a call.
7. Vedligeholdelse
- Rensning: Use a soft, dry cloth to clean the phone's surface. Do not use liquid cleaners or aerosol sprays.
- Opbevaring: Hvis du opbevarer telefonen i længere tid, skal du afbryde forbindelsen til strøm og netværk og opbevare den et køligt og tørt sted.
- Firmwareopdateringer: Regularly check the Grandstream webwebsted for firmwareopdateringer for at sikre optimal ydeevne og sikkerhed.
8. Fejlfinding
| Problem | Mulig løsning |
|---|---|
| Telefonen tænder ikke. |
|
| Ingen klartone. |
|
| Kan ikke foretage eller modtage opkald. |
|
| Skærmen er tom eller frosset. |
|
9. Specifikationer
- Model: GRP2604
- Linjer: 3
- SIP-konti: 6
- Vise: 2.7-inch (132x48) LCD
- Ethernet-porte: Gigabit Ethernet med to porte
- Voice Conferencing: 5-vejs
- Dimensioner (L x B x H): 3.94 x 3.94 x 3.94 tommer
- Varens vægt: 1.1 pund (500 gram)
- Materiale: Plast
- Strømkilde: Ledningsbaseret elektrisk (DC 5V)
- Farve: Sort
10. Garanti og support
The Grandstream GRP2604 IP Phone comes with a manufacturer's warranty. For detailed warranty information, please refer to the warranty card included with your product or visit the official Grandstream website. For technical support, product inquiries, or service, please contact Grandstream customer support through their official channels.
Grandstream Networks Inc.
www.grandstream.com


