Indledning
This manual provides detailed instructions for the installation, operation, and maintenance of your BESTTEN Entry Door Knob with Keyed Lock, Model DK1-ET-SN. Please read these instructions carefully before installation and retain this manual for future reference. This product is designed for enhanced security and privacy on entry doors.
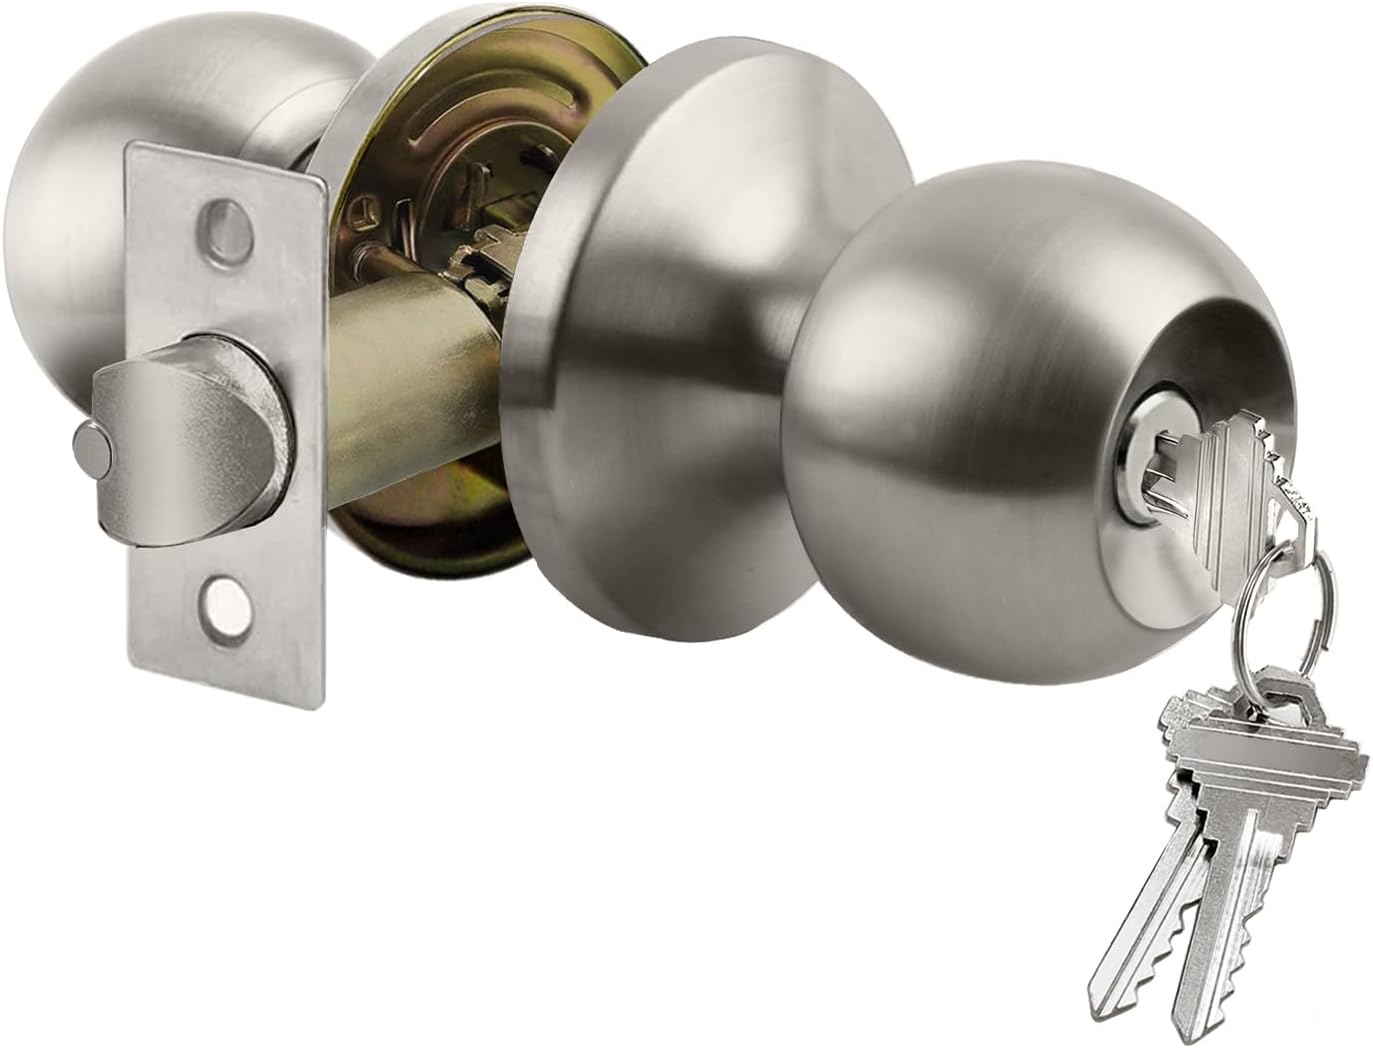
Billede 1: Overview of the BESTTEN Entry Door Knob components, showing the exterior knob with keyhole, interior knob, latch mechanism, and a set of keys.
Pakkens indhold
Kontroller, at alle komponenter er til stede, før installationen påbegyndes:
- Exterior Door Knob with Keyed Cylinder
- Interior Door Knob with Thumb-Turn
- Adjustable Latch Mechanism (60-70mm backset)
- Slagplade
- Mounting Screws (pre-installed in handle)
- Keys (3 included)
- Installationsvejledning
Specifikationer
| Feature | Detalje |
|---|---|
| Modelnummer | DK1-ET-SN |
| Materiale | Rustfrit stål, metal |
| Slutte | Satin nikkel |
| Dørtykkelseskompatibilitet | 35 mm to 45 mm (1.38" to 1.77") |
| Justerbart lås bagsæt | 60 mm (2.36") or 70 mm (2.76") |
| Nøgletype | KW1 Keyway (3 keys included) |
| Produktdimensioner | 7 x 6 x 0.1 cm (approx. 2.76 x 2.36 x 0.04 inches); 440 grams |
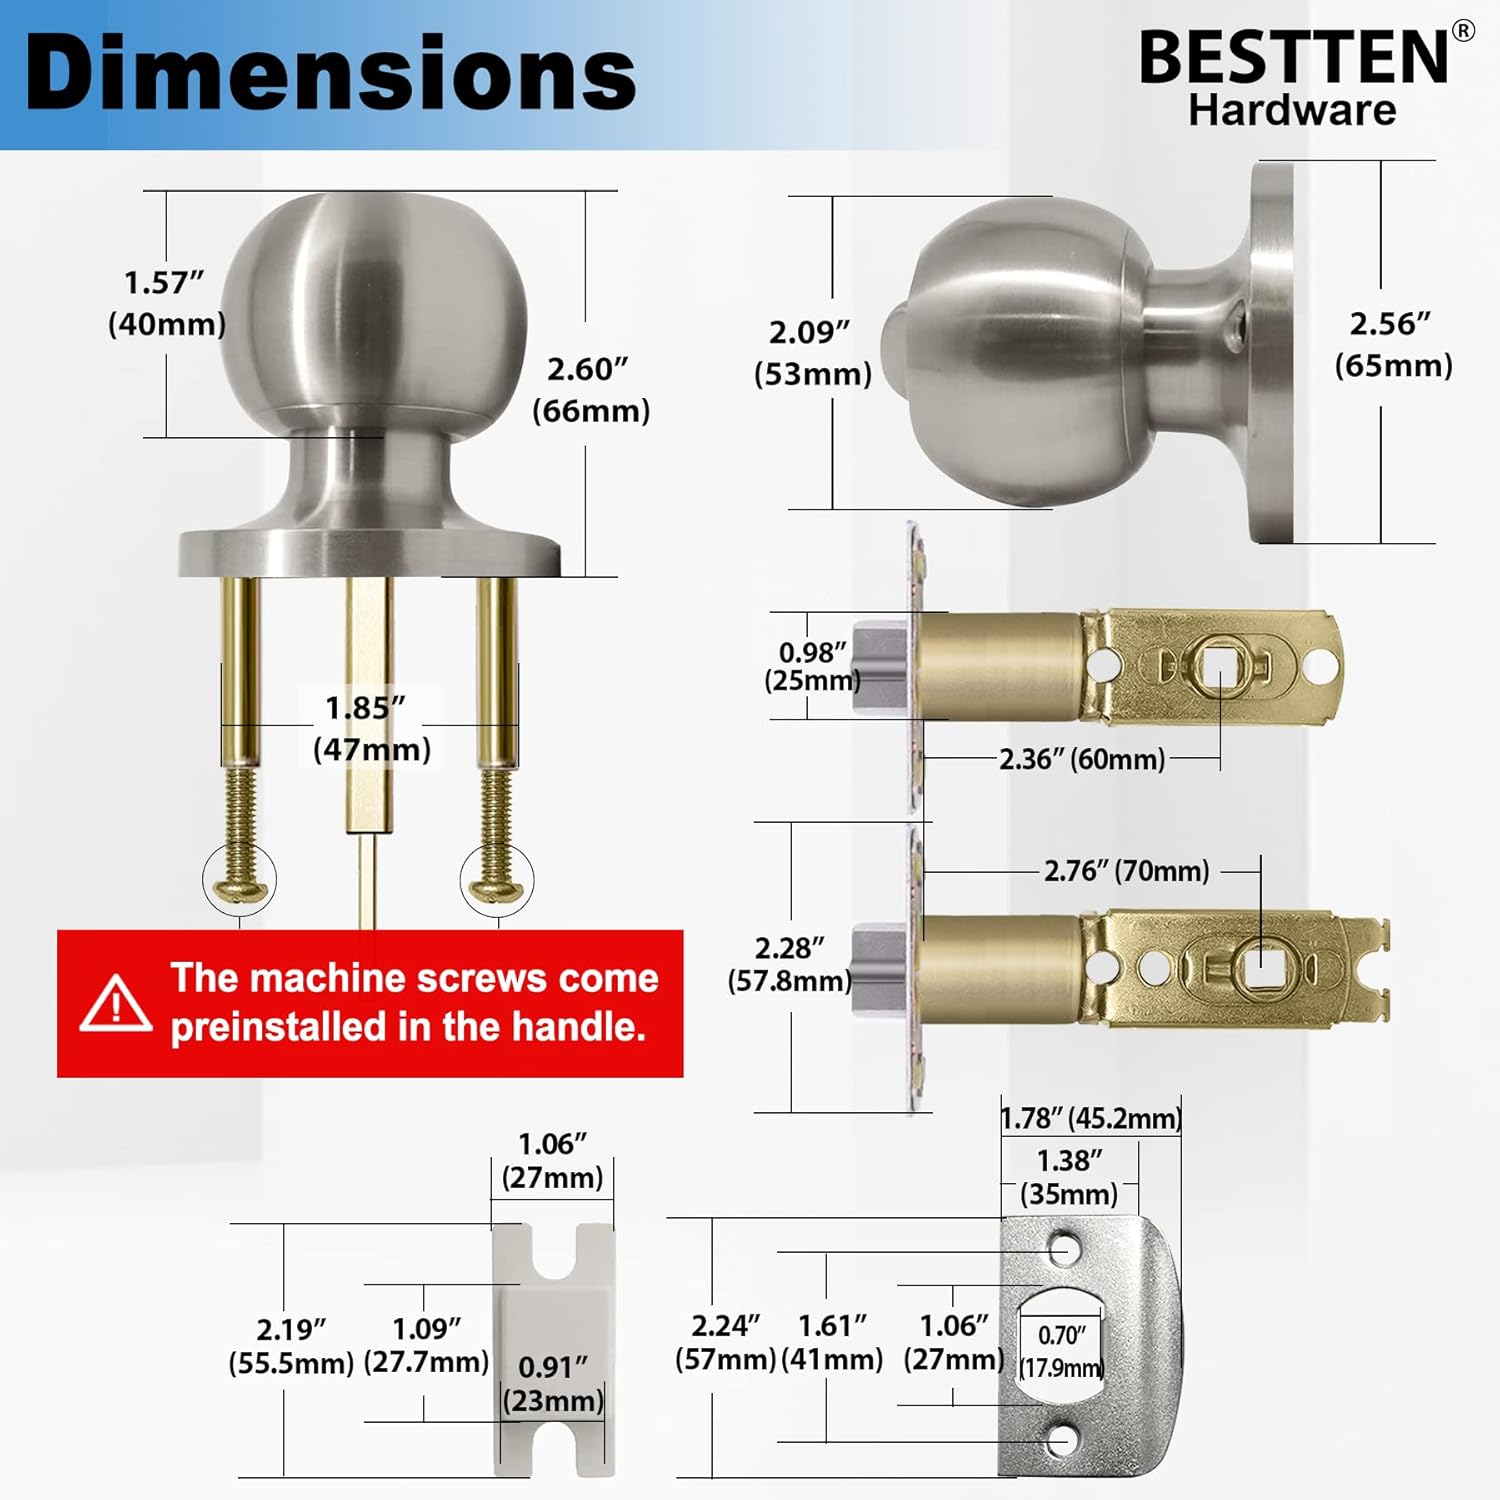
Image 2: Technical drawing showing the detailed dimensions of the door knob, latch, and strike plate in both inches and millimeters.
Installation
Follow these steps for proper installation of your BESTTEN Entry Door Knob. Ensure you have basic tools such as a screwdriver and tape measure.
- Forbered døren: Ensure your door has standard bore holes (typically 2-1/8 inches for the knob and 1 inch for the latch). The door thickness should be between 35mm and 45mm.
- Adjust Latch Backset: The latch is adjustable for either 60mm (2-3/8 inches) or 70mm (2-3/4 inches) backset. Adjust by twisting the latch mechanism as needed to match your door's preparation.
- Installer lås: Insert the latch into the door edge hole, ensuring the bevel of the latch bolt faces the door frame. Secure with two small screws.
- Remove Pre-installed Screws: Vigtig: The machine screws are pre-installed in the handle for packaging. Remove these screws before proceeding with the installation of the knobs.
- Orient Keyhole and Lock Tailpiece:
- The keyhole on the exterior knob must be oriented as shown in Image 3 (vertical position). Incorrect orientation will cause the key to get stuck.
- Ensure the lock tailpiece and the thumb-turn knob are in the same position, either vertical or horizontal, before inserting. Insert the lock tailpiece into the slot behind the thumb-turn knob.
- Installer knapper:
- Align the exterior and interior knobs with the latch mechanism.
- Insert the exterior knob first, ensuring the spindle engages with the latch.
- Place the interior knob over the spindle and secure both knobs using the long machine screws (previously removed from the handle). Tighten securely but do not overtighten.
- Installer låseplade: Close the door and mark the position of the latch bolt on the door frame. Chisel out a shallow recess and install the strike plate with two small screws, ensuring the latch operates smoothly.
- Test drift: Test the knob's function from both inside and outside with the key and thumb-turn to ensure smooth locking and unlocking.

Image 3: Visual guide for installation, illustrating the removal of pre-installed screws, correct keyhole orientation, and proper alignment of the lock tailpiece for both horizontal and vertical positions.
Operation
The BESTTEN Entry Door Knob provides secure locking for your door.
- Låsning udefra: Insert the key into the exterior knob's keyhole and turn to lock the door. Remove the key.
- Oplåsning udefra: Insert the key into the exterior knob's keyhole and turn to unlock the door.
- Låsning indefra: Rotate the thumb-turn on the interior knob to the locked position.
- Oplåsning indefra: Rotate the thumb-turn on the interior knob to the unlocked position.

Image 4: Depiction of the exterior knob with its keyway for external locking/unlocking, and the interior knob featuring a thumb-turn for convenient internal locking/unlocking.
Opretholdelse
Proper maintenance ensures the longevity and smooth operation of your door knob.
- Rensning: Rengør knapoverfladerne med en blød,amp cloth. Avoid abrasive cleaners, solvents, or harsh chemicals, as these can damage the satin nickel finish.
- Smøring: Periodically apply a small amount of graphite lubricant or a silicone-based spray to the keyway and latch mechanism to ensure smooth operation. Do not use oil-based lubricants as they can attract dust and grime.
- Tilspændingsskruer: Over time, screws may loosen. Periodically check and tighten all mounting screws to maintain stability and security.
Fejlfinding
If you encounter issues with your BESTTEN Entry Door Knob, refer to the following common problems and solutions:
- Knoppen er løs:
- Check and tighten the mounting screws that connect the interior and exterior knobs.
- Ensure the spindle is properly engaged with the latch mechanism.
- Key gets stuck or is difficult to turn:
- Verify the keyhole is correctly oriented (vertical). Refer to Image 3.
- Påfør grafitsmøremiddel på kilegangen.
- Ensure the key is fully inserted before turning.
- Latch bolt does not extend or retract smoothly:
- Kontrollér for forhindringer i dørkarmen eller slutblikket.
- Ensure the latch mechanism is properly aligned and secured.
- Lubricate the latch bolt mechanism.
- Door does not latch or close properly:
- Verify the strike plate is correctly aligned with the latch bolt. Adjust if necessary.
- Check for door misalignment or sagging.
Garanti og support
Your BESTTEN Entry Door Knob, Model DK1-ET-SN, comes with a 3-year mechanical and finish warranty.
For technical support, warranty claims, or further assistance, please contact BESTTEN customer service. Refer to the product packaging or the official BESTTEN webhjemmeside for aktuelle kontaktoplysninger.


