1. Introduktion
Tak for købetasing the ELEPHAS Mini Portable Projector. This compact and versatile projector is designed to provide an immersive viewing experience for movies, videos, and games, whether at home or on the go. Its small size and multiple connectivity options make it an ideal entertainment solution for various environments. Please read this manual thoroughly before using the projector to ensure proper operation and to maximize its lifespan.
Hvad er der i æsken:
- ELEPHAS Mini Portable Projector
- HDMI kabel
- AV-kabel
- Fjernbetjening
- Strømledning
- Brugervejledning (dette dokument)
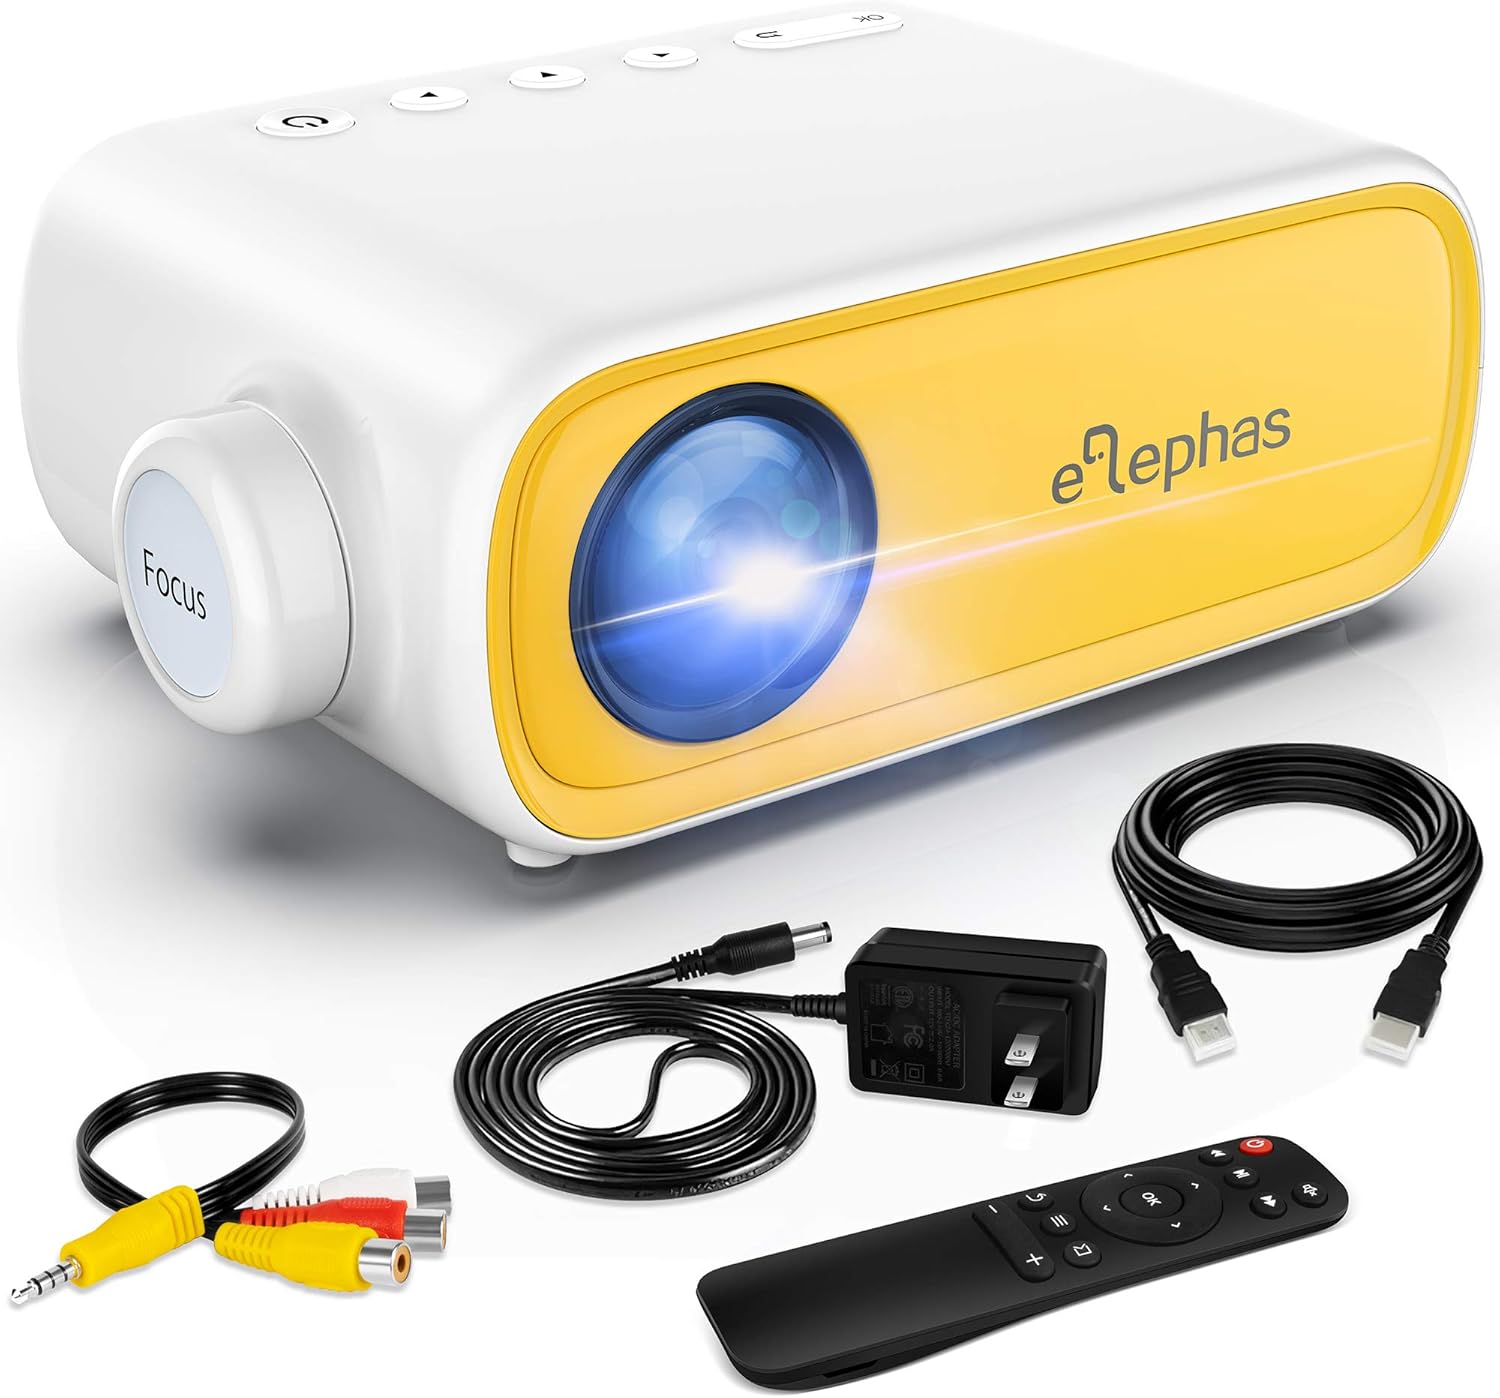
Figure 1.1: ELEPHAS Mini Portable Projector with its accessories including HDMI cable, AV cable, remote control, and power cord.
2. Sikkerhedsoplysninger
To ensure safe and optimal operation of your projector, please observe the following safety precautions:
- Strømforsyning: Use only the original power adapter and cord provided with the projector. Ensure the power outlet matches the voltage krav.
- Ventilation: Do not block the ventilation openings on the projector. Ensure adequate airflow around the device to prevent overheating.
- Placering: Place the projector on a stable, flat surface. Avoid placing it in direct sunlight, near heat sources, or in environments with high humidity or dust.
- Øjensikkerhed: Se ikke direkte ind i projektorlinsen, når lamp is on. The bright light can cause eye strain or damage.
- Rensning: Disconnect the power before cleaning. Use a soft, dry cloth for cleaning the exterior. For the lens, use a specialized lens cleaning cloth.
- Børn: Keep the projector and its accessories out of reach of small children. Adult supervision is recommended when children are using the device.
- Demontering: Forsøg ikke selv at skille projektoren ad eller reparere den. Overlad al service til kvalificeret personale.
3. Produktet er slutview og komponenter
Familiarize yourself with the various parts and interfaces of your ELEPHAS Mini Portable Projector.

Figur 3.1: Bagside og side view of the projector highlighting its input/output ports.
Nøglekomponenter:
- Linse: Projicerer billedet på skærmen.
- Fokusring: Justerer klarheden af det projicerede billede.
- DC-IN port: Til tilslutning af strømadapteren.
- AV-port: For connecting devices using the included AV cable.
- HDMI-port: For connecting devices with HDMI output (e.g., laptops, game consoles, TV boxes).
- USB-port: Til tilslutning af USB-drev for at afspille medier files.
- Audio Out (3.5mm) Port: Til tilslutning af eksterne højttalere eller hovedtelefoner.
- Micro SD/TF-kortslot: Til afspilning af medier filedirekte fra et Micro SD-kort.
- Indbygget højttaler: Giver lydoutput.
- Kontrolknapper: Power, navigation, and input selection buttons on top of the projector.
- Fjernbetjeningssensor: Modtager signaler fra fjernbetjeningen.
4. Opsætning
4.1 Strømtilslutning:
- Tilslut netledningen til strømadapteren.
- Plug the power adapter into the DC-IN port on the projector.
- Sæt den anden ende af netledningen i en stikkontakt.
4.2 Placement and Projection Distance:
Place the projector on a stable surface. The optimal projection distance ranges from 0.8 to 2 meters (approximately 31 to 79 inches) for a screen size of 24 to 60 inches. Adjust the distance to achieve your desired screen size.

Figure 4.1: Recommended projection distances and screen sizes.
4.3 Fokusjustering:
After powering on the projector, rotate the focus ring on the front of the projector until the image appears clear and sharp on the projection surface.
5. Betjeningsvejledning
5.1 Tænd/sluk:
- For at tænde: Press the power button on the projector or the remote control. The indicator light will turn on.
- For at slukke: Press the power button again. The projector will shut down.
5.2 Input Source Selection:
After connecting your device, press the "Source" button on the projector or remote control to select the correct input source (e.g., HDMI, AV, USB, Micro SD).
5.3 Lydstyrkekontrol:
Use the volume buttons on the remote control to adjust the audio output level. You can also connect external speakers or headphones to the 3.5mm audio out port for enhanced sound.
6. Forbindelse
6.1 Connecting to Laptops/PCs/Game Consoles (HDMI):
- Connect one end of the HDMI cable to the HDMI port on your device.
- Connect the other end of the HDMI cable to the HDMI port on the projector.
- Select "HDMI" as the input source on the projector.
6.2 Connecting to USB Drives/Micro SD Cards:
- Insert your USB drive into the USB port or your Micro SD card into the TF card slot.
- Select "USB" or "Micro SD" as the input source.
- Naviger gennem medierne files using the remote control and select the desired content to play.
6.3 Connecting to Smartphones/Tablets:
To connect your smartphone or tablet, you will need an appropriate adapter (not included):
- For iOS devices (iPhone/iPad): A Lightning to HDMI adapter is required.
- For Android devices: A Micro USB to HDMI or Type-C to HDMI adapter is required.
- For wireless connection: A Wi-Fi network adapter (dongle) is needed.
Once connected via the adapter, select "HDMI" as the input source.

Figure 6.1: Smartphone connectivity options using HDMI adapters (adapters not included).
6.4 Streaming Services Note:
Due to HDCP copyright restrictions, this mini projector does not directly support streaming from apps like Netflix, Amazon Prime Video, or Hulu when connected via smartphone mirroring. To watch content from these services, you can use an external streaming device such as an Amazon Fire Stick or Roku Stick, connected to the projector's HDMI port.
7. Vedligeholdelse
- Rengøring af linser: Gently wipe the projector lens with a soft, lint-free cloth specifically designed for optical lenses. Do not use abrasive cleaners or harsh chemicals.
- Udvendig rengøring: Use a soft, dry cloth to clean the exterior of the projector. For stubborn marks, a slightly damp en klud kan bruges, efterfulgt af en tør aftørring.
- Ventilation: Regularly check that the ventilation openings are free from dust and debris to ensure proper heat dissipation.
- Opbevaring: When not in use for extended periods, store the projector in a cool, dry place, away from direct sunlight and extreme temperatures. It is recommended to use the original packaging for storage.
8. Fejlfinding
| Problem | Mulig årsag | Løsning |
|---|---|---|
| Ingen strøm | Netledningen er ikke tilsluttet; problem med stikkontakten. | Sørg for, at netledningen er korrekt tilsluttet. Prøv en anden stikkontakt. |
| Intet billede | Forkert indgangskilde valgt; enhed ikke tilsluttet korrekt. | Select the correct input source (HDMI, AV, USB). Check all cable connections. |
| Sløret billede | Focus not adjusted; projection distance incorrect. | Rotate the focus ring until the image is clear. Adjust the projector's distance from the screen. |
| Ingen lyd | Volume too low; external speakers not connected; audio format not supported. | Increase volume. Ensure external speakers are connected correctly or disconnect them to use built-in speaker. Check audio format compatibility. |
| Fjernbetjeningen virker ikke | Batteries low/dead; sensor blocked. | Replace batteries. Ensure no obstructions between remote and projector sensor. |
9. Specifikationer
| Feature | Detalje |
|---|---|
| Modelnummer | JingHuier |
| Mærke | ELEFAS |
| Produktdimensioner | 5 x 3.6 x 2.16 tommer |
| Varens vægt | 10.4 ounce |
| Skærmopløsning | 1920 x 1080 (Understøttet) |
| Forbindelsesteknologi | HDMI, USB, AV, 3.5mm Audio, Micro SD/TF |
| Speciel funktion | Indbygget højttaler, bærbar |
| Fabrikant | ELEFAS |
| Første ledige dato | 28. oktober 2020 |

Figure 9.1: The compact dimensions of the projector, emphasizing its portability.
10. Garanti og support
ELEPHAS products are manufactured to the highest quality standards. For information regarding warranty coverage, please refer to the warranty card included with your product or visit the official ELEPHAS webwebsted.
If you encounter any issues or have questions about your ELEPHAS Mini Portable Projector, please contact our customer support team. Provide your model number (JingHuier) and a detailed description of the issue for prompt assistance.
For yderligere hjælp kan du besøge ELEPHAS Store on Amazon.


