1. Opsætning
Follow these steps to set up your TOMLOV DM9 Digital Microscope for the first time. Ensure all components are present before beginning assembly.

Figure 1: Fully assembled TOMLOV DM9 Digital Microscope.
Monteringstrin:
- Attach the Microscope Unit to the Stand: Secure the main microscope unit to the adjustable stand using the provided clamp and screws. Ensure it is firmly tightened to prevent movement.
- Connect the Gooseneck Lights: Insert the two flexible gooseneck LED lights into their designated ports on the base. Position them to illuminate the viewing område.
- Strømtilslutning: Connect the USB cable to the microscope unit and a suitable power adapter (not included). The unit can also be powered by its internal rechargeable battery.
- Indsæt SD-kort: Insert the included 32GB Micro SD card into the TF card slot on the side of the monitor. This is required for saving photos and videos.
Video: Detailed instructions on how to install and use the TOMLOV 7'' Digital Microscope.
2. Betjeningsvejledning
This section provides guidance on how to operate your digital microscope effectively.
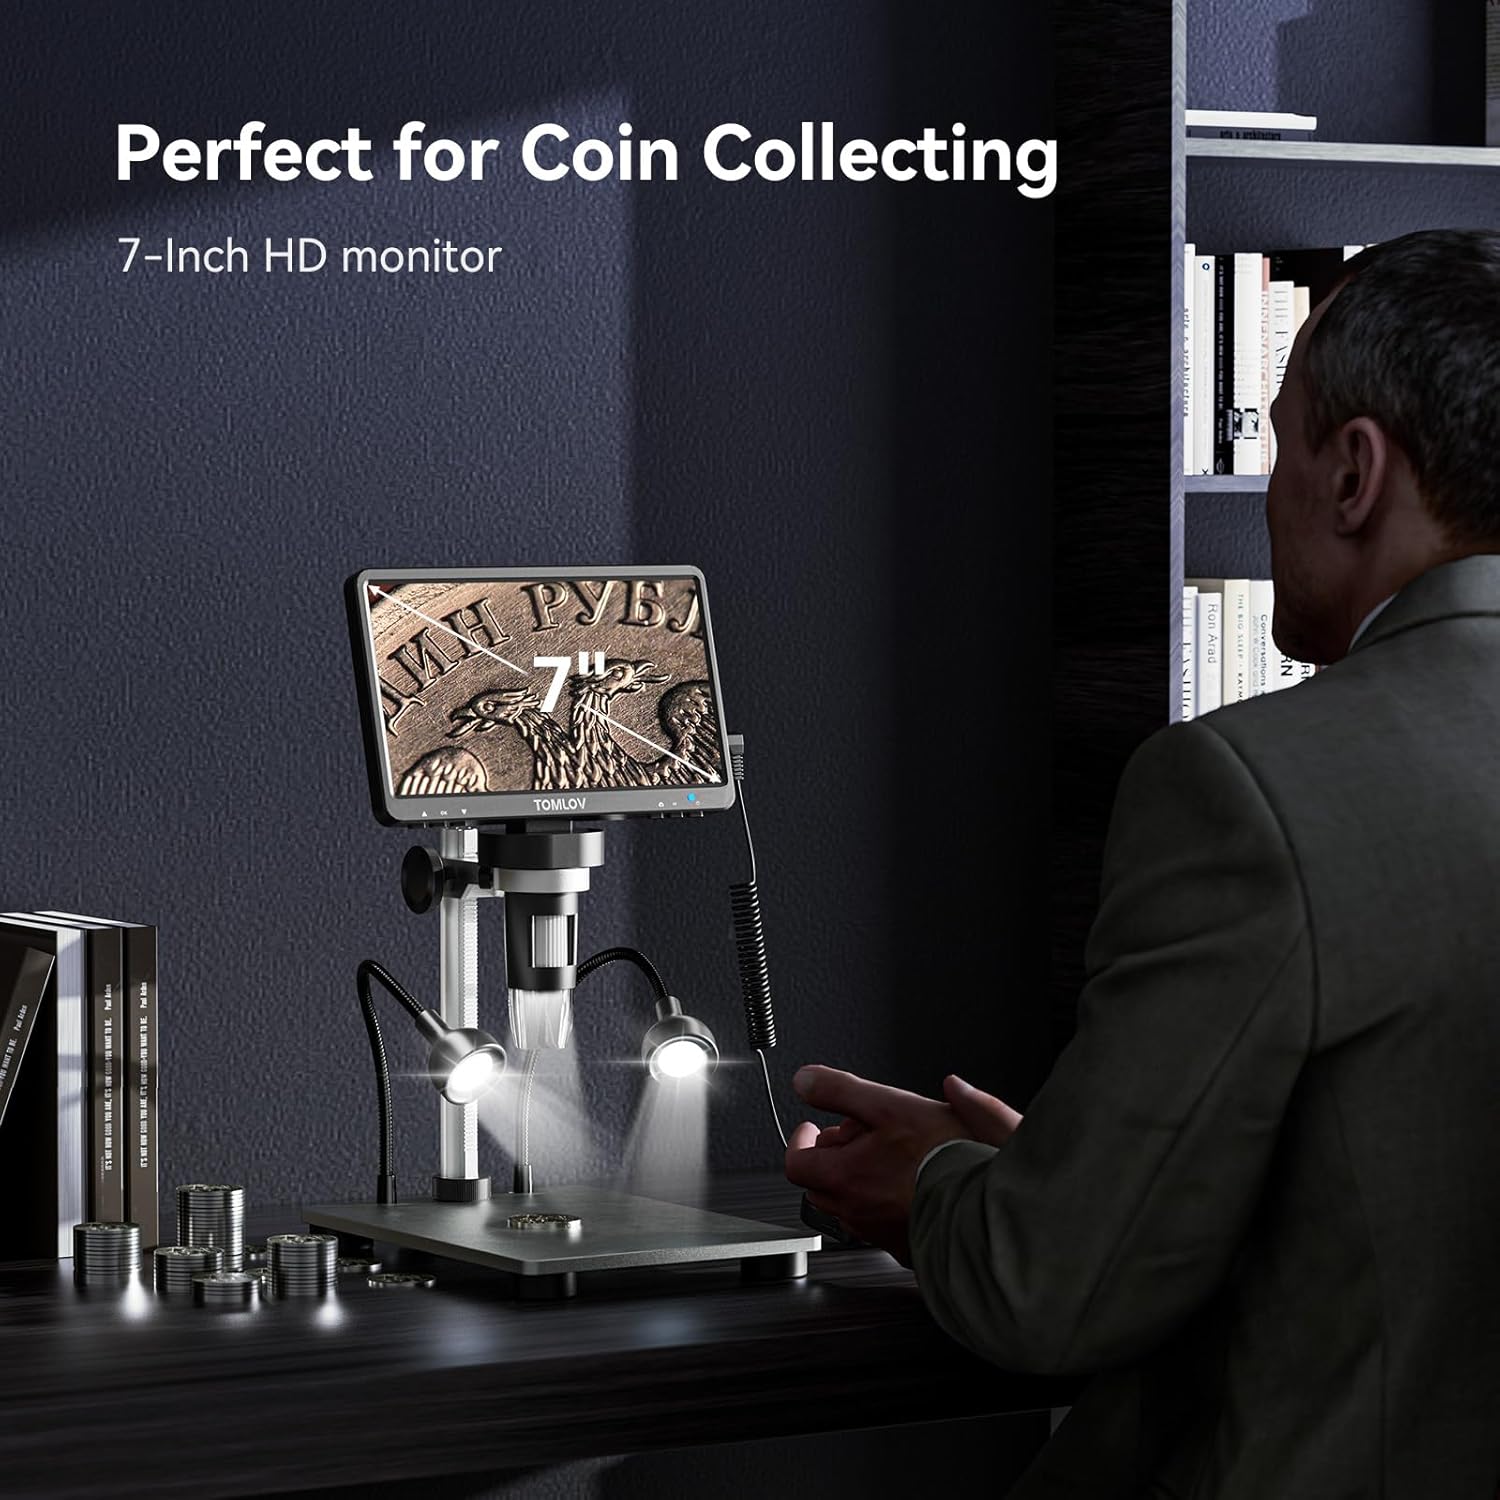
Figure 2: Observing a coin with the 7-inch HD monitor.
Grundlæggende betjening:
- Tænd/sluk: Press and hold the power button on the monitor for 3 seconds to turn the device on or off.
- Justering af forstørrelse: The microscope offers 5X-1200X magnification. Adjust the distance between the lens and the object using the stand's height adjustment knob.
- Fokusering: Rotate the focus wheel on the microscope unit to achieve a clear image on the screen.
- Skærmrotation: The 7-inch FHD screen can be rotated up to 90 degrees for ergonomic viewing.

Figure 3: Demonstrating the 90-degree rotatable screen for ergonomic viewing.
Lysstyring:
The microscope features 8 adjustable LED fill lights and 2 additional gooseneck lights for optimal illumination. Adjust their position and brightness using the controls on the base and the remote.

Figure 4: Adjustable LED fill lights providing a well-lit view af objektet.
Photo & Video Functions:
- Tilstande: Press and hold the menu button for 3 seconds to switch between "Photographing," "Video Recording," and "Playback" modes.
- Fjernbetjening: Use the included remote to capture photos or start/stop video recording without touching the unit, minimizing shake.
- Opbevaring: All captured media is saved to the 32GB Micro SD card.
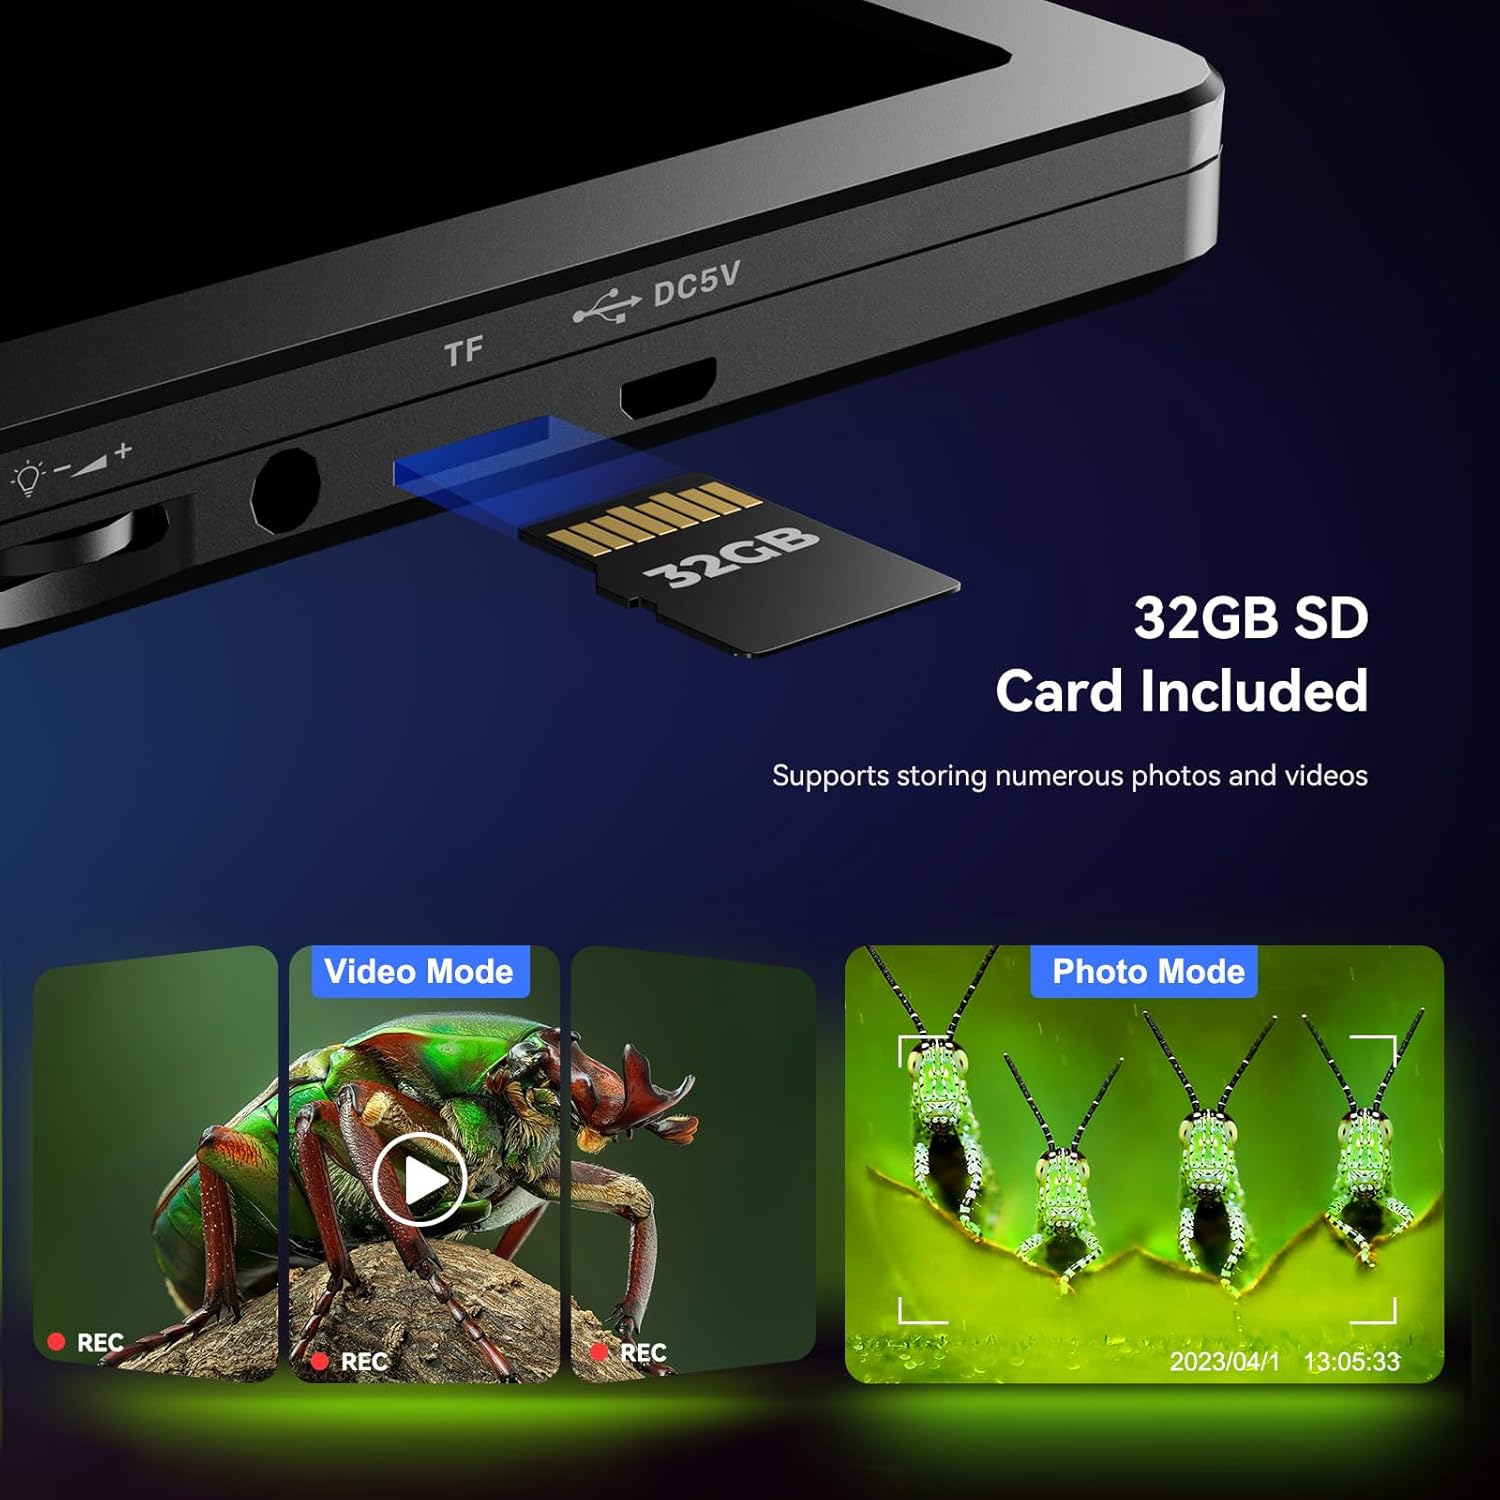
Figure 5: SD card slot and visual representation of video and photo modes.
PC tilslutning:
Connect the microscope to a Windows or macOS computer via USB for a larger viewing experience. No additional software is required; use default camera applications like "Windows Camera" or "Photo Booth."
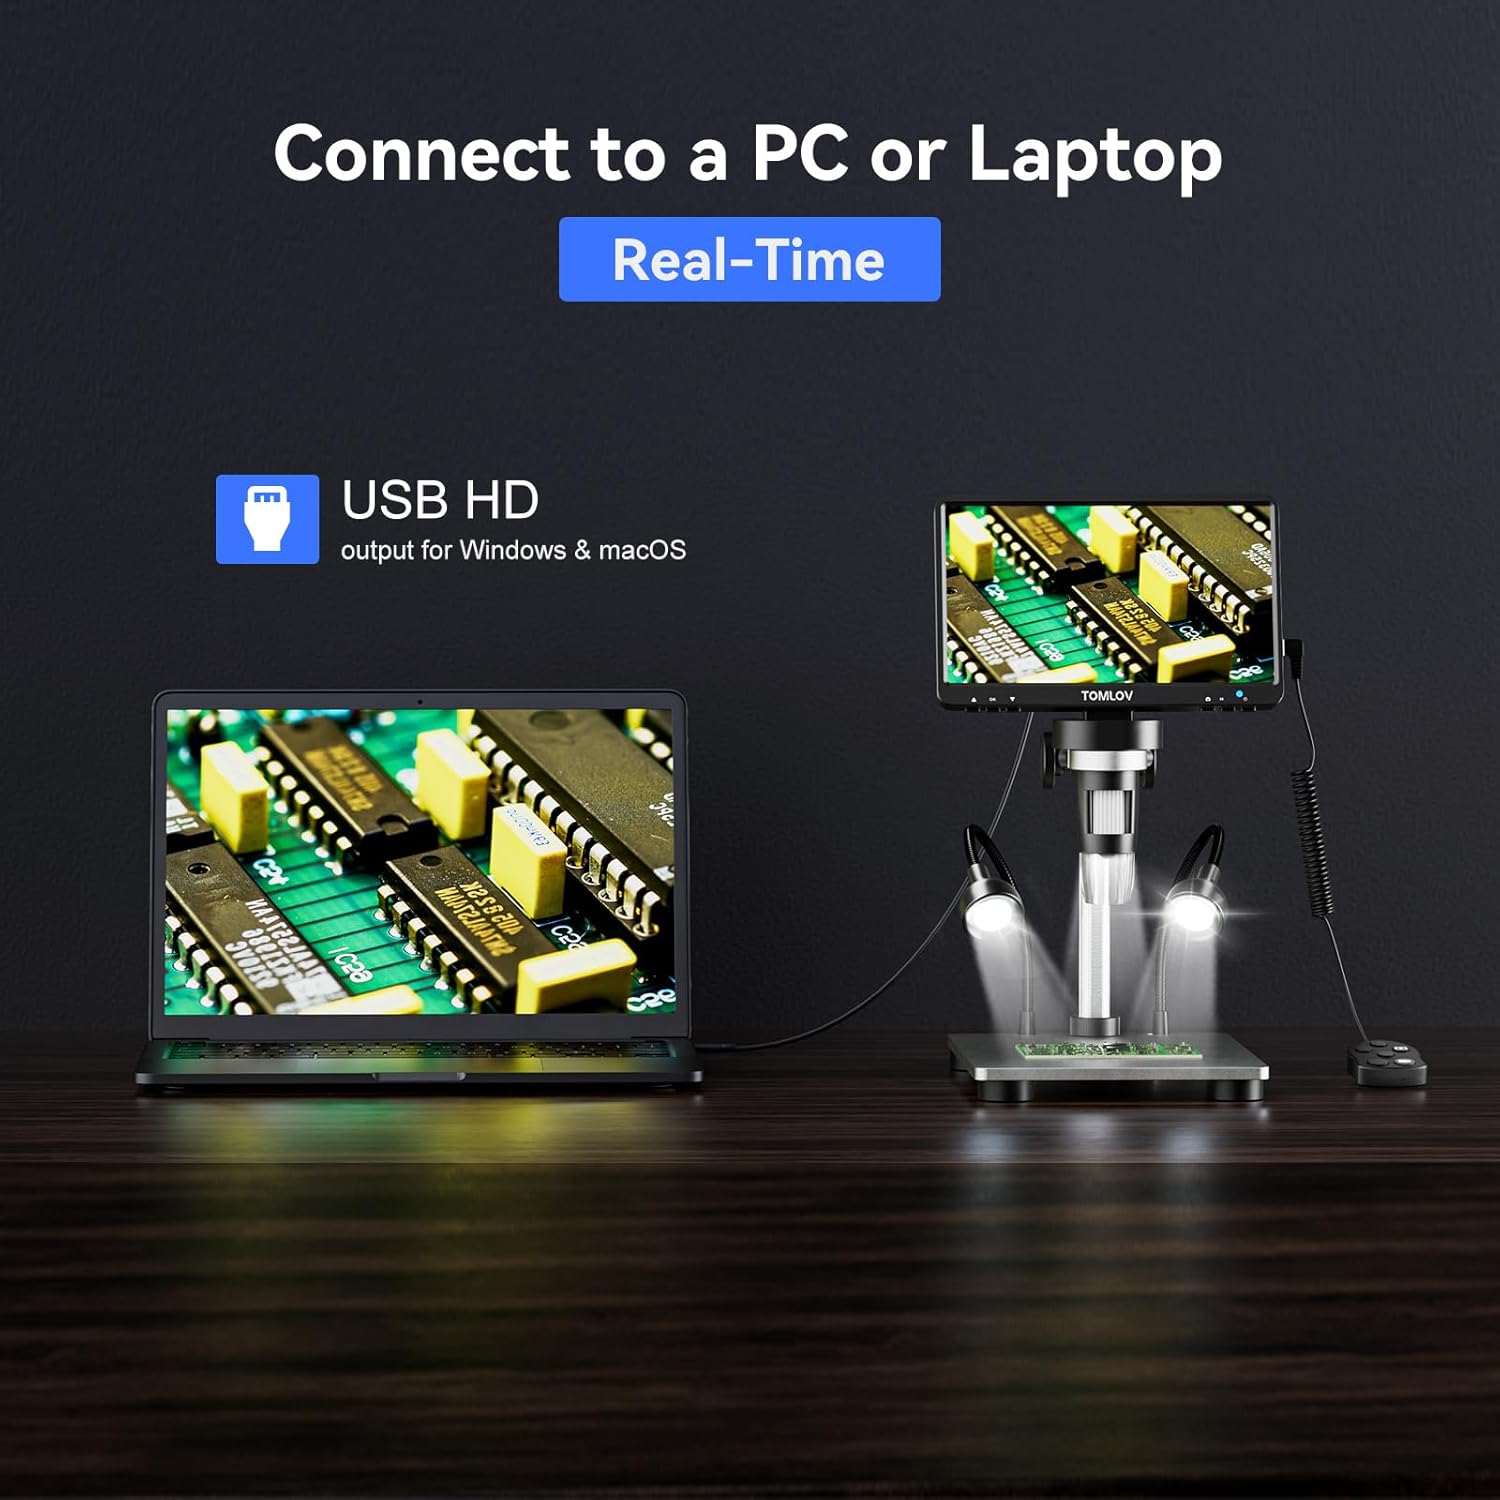
Figure 6: Digital microscope connected to a PC for real-time viewing.
Video: Learn how to use the TOMLOV DM9 Microscope, demonstrating key features and functions.
Video: Demonstration of the microscope's use for soldering printed circuit boards.
Video: Eks.ample of using the video microscope for kids to observe coins.
3. Vedligeholdelse
Proper maintenance ensures the longevity and optimal performance of your digital microscope.
Rensning:
- Linse: Brug en blød, fnugfri klud, der er specielt designet til optiske linser. Til genstridige pletter kan en lille mængde linserengøringsmiddel påføres kluden, ikke direkte på linsen.
- Skærm: Tør skærmen forsigtigt af med en mikrofiberklud. Undgå slibende rengøringsmidler.
- Legeme: Brug en tør eller let damp soft cloth to clean the microscope body and stand. Do not use harsh chemicals or solvents.
Opbevaring:
- Store the microscope in a cool, dry place away from direct sunlight and extreme temperatures.
- When not in use, cover the lens to protect it from dust and scratches.
Batteripleje:
- The microscope features a long-lasting rechargeable battery, working for up to 3 hours.
- Charge the battery fully before first use and periodically if stored for long periods to maintain battery health.
4. Fejlfinding
If you encounter any issues with your TOMLOV DM9 Digital Microscope, refer to the solutions below.
Ingen strøm:
- Ensure the USB cable is securely connected to both the microscope and the power source.
- Kontroller, at strømadapteren fungerer korrekt.
- Charge the internal battery if operating wirelessly.
Sløret billede:
- Juster fokushjulet, indtil billedet er klart.
- Ensure the distance between the lens and the object is appropriate for the desired magnification.
- Clean the lens if smudges or dust are present.
Problemer med pc-forbindelse:
- Sørg for, at USB-kablet er korrekt tilsluttet.
- Prøv en anden USB-port på din computer.
- Confirm your computer's camera application is selected and active.
5. Specifikationer
| Feature | Detalje |
|---|---|
| Modelnavn | DM9 |
| Varemodelnummer | TM-DM9 |
| Produktdimensioner | 9.53 x 8.03 x 3.54 tommer |
| Varens vægt | 2.11 pund |
| Maksimal forstørrelse | 1200 x |
| Foto opløsning | 12MP (4023×3024), 10MP (3648×2736), 8MP (3264×2448), 5MP (2592×1944), 3MP (2048×1536) |
| Video opløsning | 1080FHD (1920×1080), 1080P (1440×1080), 720P (1280×720) |
| Skærmstørrelse | 7-Inch FHD |
| Materiale | Aluminiumslegering |
| Lyskildetype | LED (8 adjustable LEDs + 2 gooseneck lights) |
| Kompatible enheder | Bærbar, personlig computer |
6. Hvad er der i æsken
- 7-Inch Digital Microscope x1
- 32 GB Micro SD-kort x1
- Adjustable Aluminum Alloy Stand x1
- USB-kabel x1
- Detailed English User Manual x1

Figure 7: All items included in the TOMLOV DM9 Digital Microscope package.
7. Garanti og support
For warranty information, technical support, or any inquiries regarding your TOMLOV DM9 Digital Microscope, please contact TOMLOV customer service directly. Refer to the contact details provided in the packaging or on the official TOMLOV webwebsted.


