Indledning
This manual provides comprehensive instructions for the installation, operation, and maintenance of your Lumino Cordless Room Darkening Mini Blinds. Designed for indoor windows, these blinds feature durable vinyl slats and a cordless operation for enhanced safety and ease of use. They are water and moisture resistant, making them suitable for various rooms.

Image: Lumino Cordless Room Darkening Mini Blinds installed in a window, showcasing their room darkening capability.
Opsætning og installation
Proper measurement and installation are crucial for optimal performance and appearance of your Lumino blinds. Mounting hardware is included with your purchase.
1. Measuring Your Window
Lumino blinds are precision-cut to ensure a perfect fit. It is essential to measure your window accurately before ordering. The ordered width will result in a blind that is 0.5 inches narrower to accommodate inside mounting.
Til indvendig montering:
- Bredde: Measure the width of the window frame at the top, middle, and bottom. Record the mindste måling.
- Højde: Measure the height of the window frame at the left, center, and right. Record the tallest measurement. Round up to the next available length when ordering.
- For best fit, blinds ordered will include a 0.5-inch width deduction.
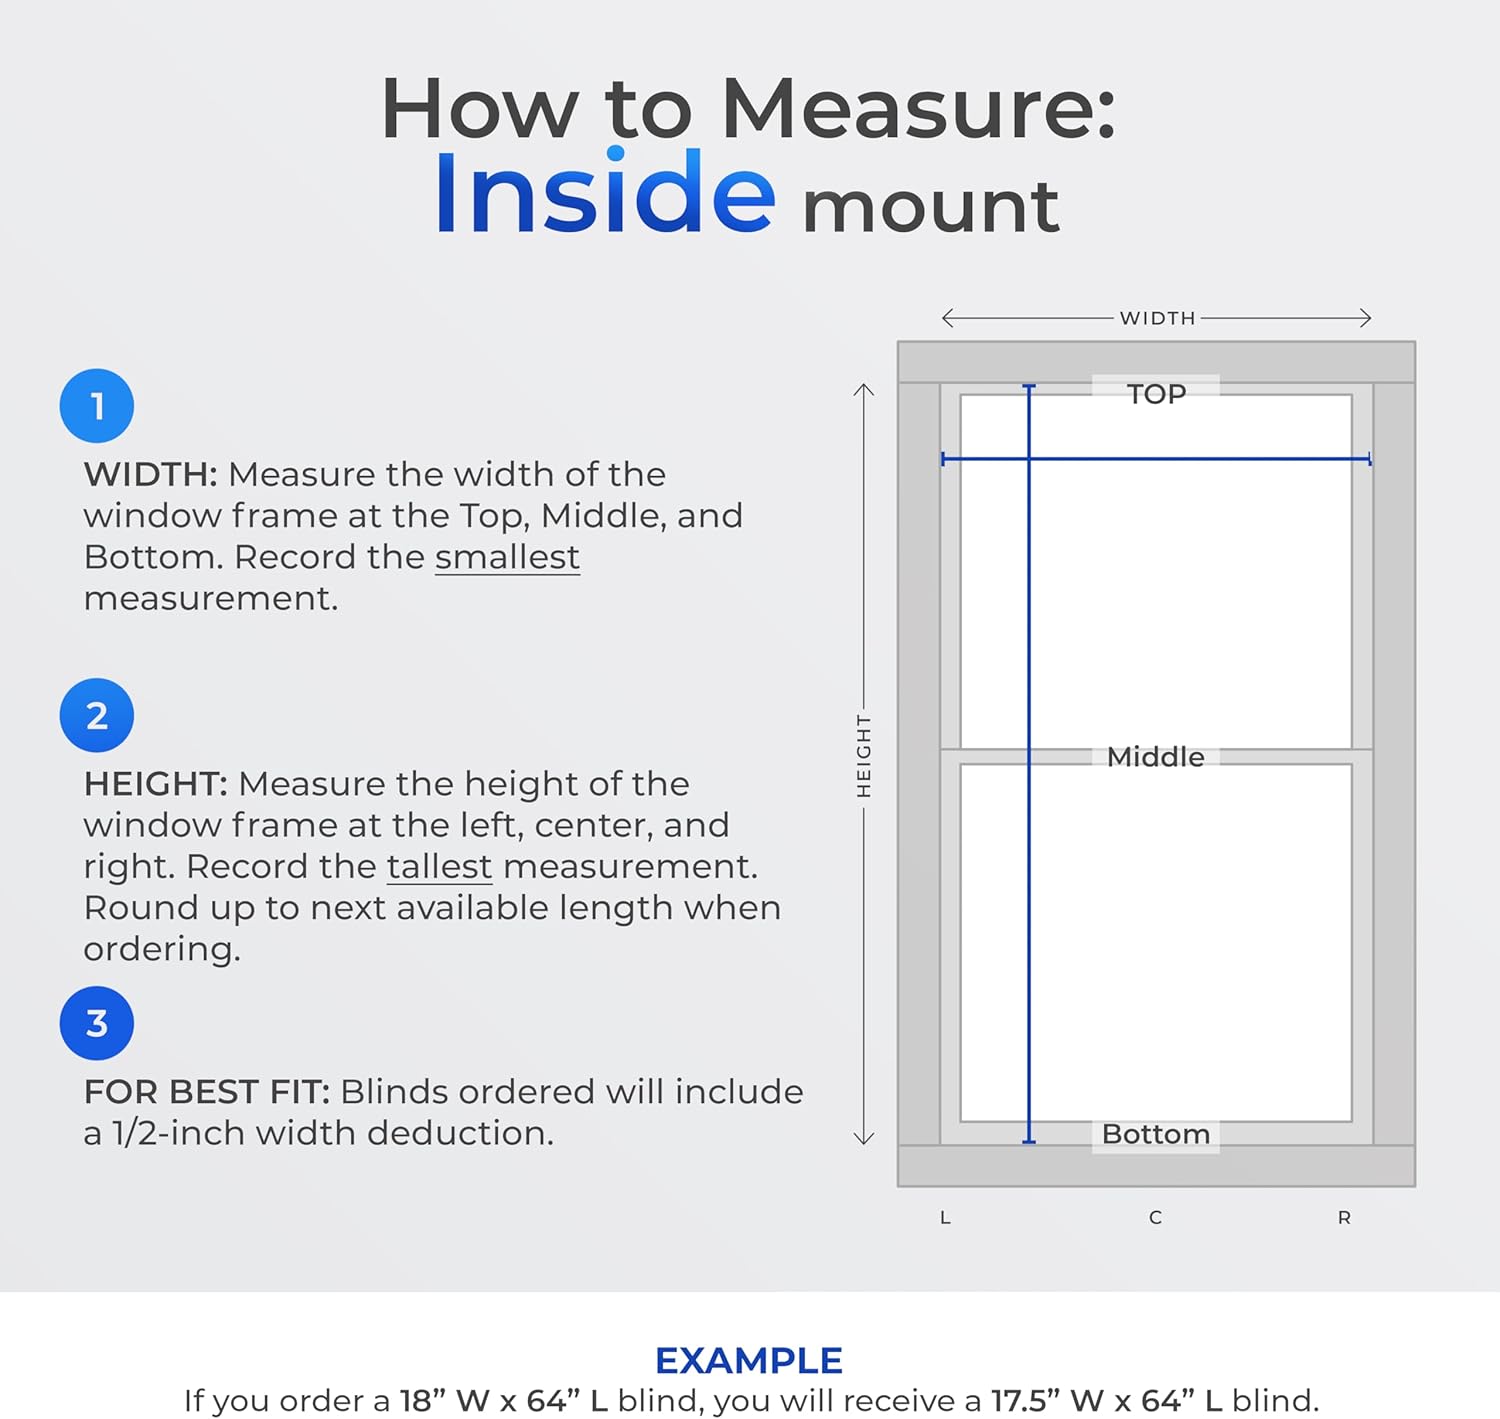
Image: Detailed diagram illustrating the correct method for measuring a window for an inside mount installation.

Billede: Eksample of Lumino blinds installed using an inside mount, showcasing a clean and integrated look.
Til udvendig montering:
- Bredde: Measure the top, middle, and bottom of the area you want to cover. Add at least 1.5 inches on each side (3 inches total) to prevent light gaps. Use the largest width measurement, then add 0.5 inches for the deduction.
- Højde: Measure the left, center, and right of the area you want to cover. Add at least 1.5 inches above the window to avoid light gaps. Use the longest height measurement.
- Order using the final width and height measurements.

Image: Detailed diagram illustrating the correct method for measuring a window for an outside mount installation.
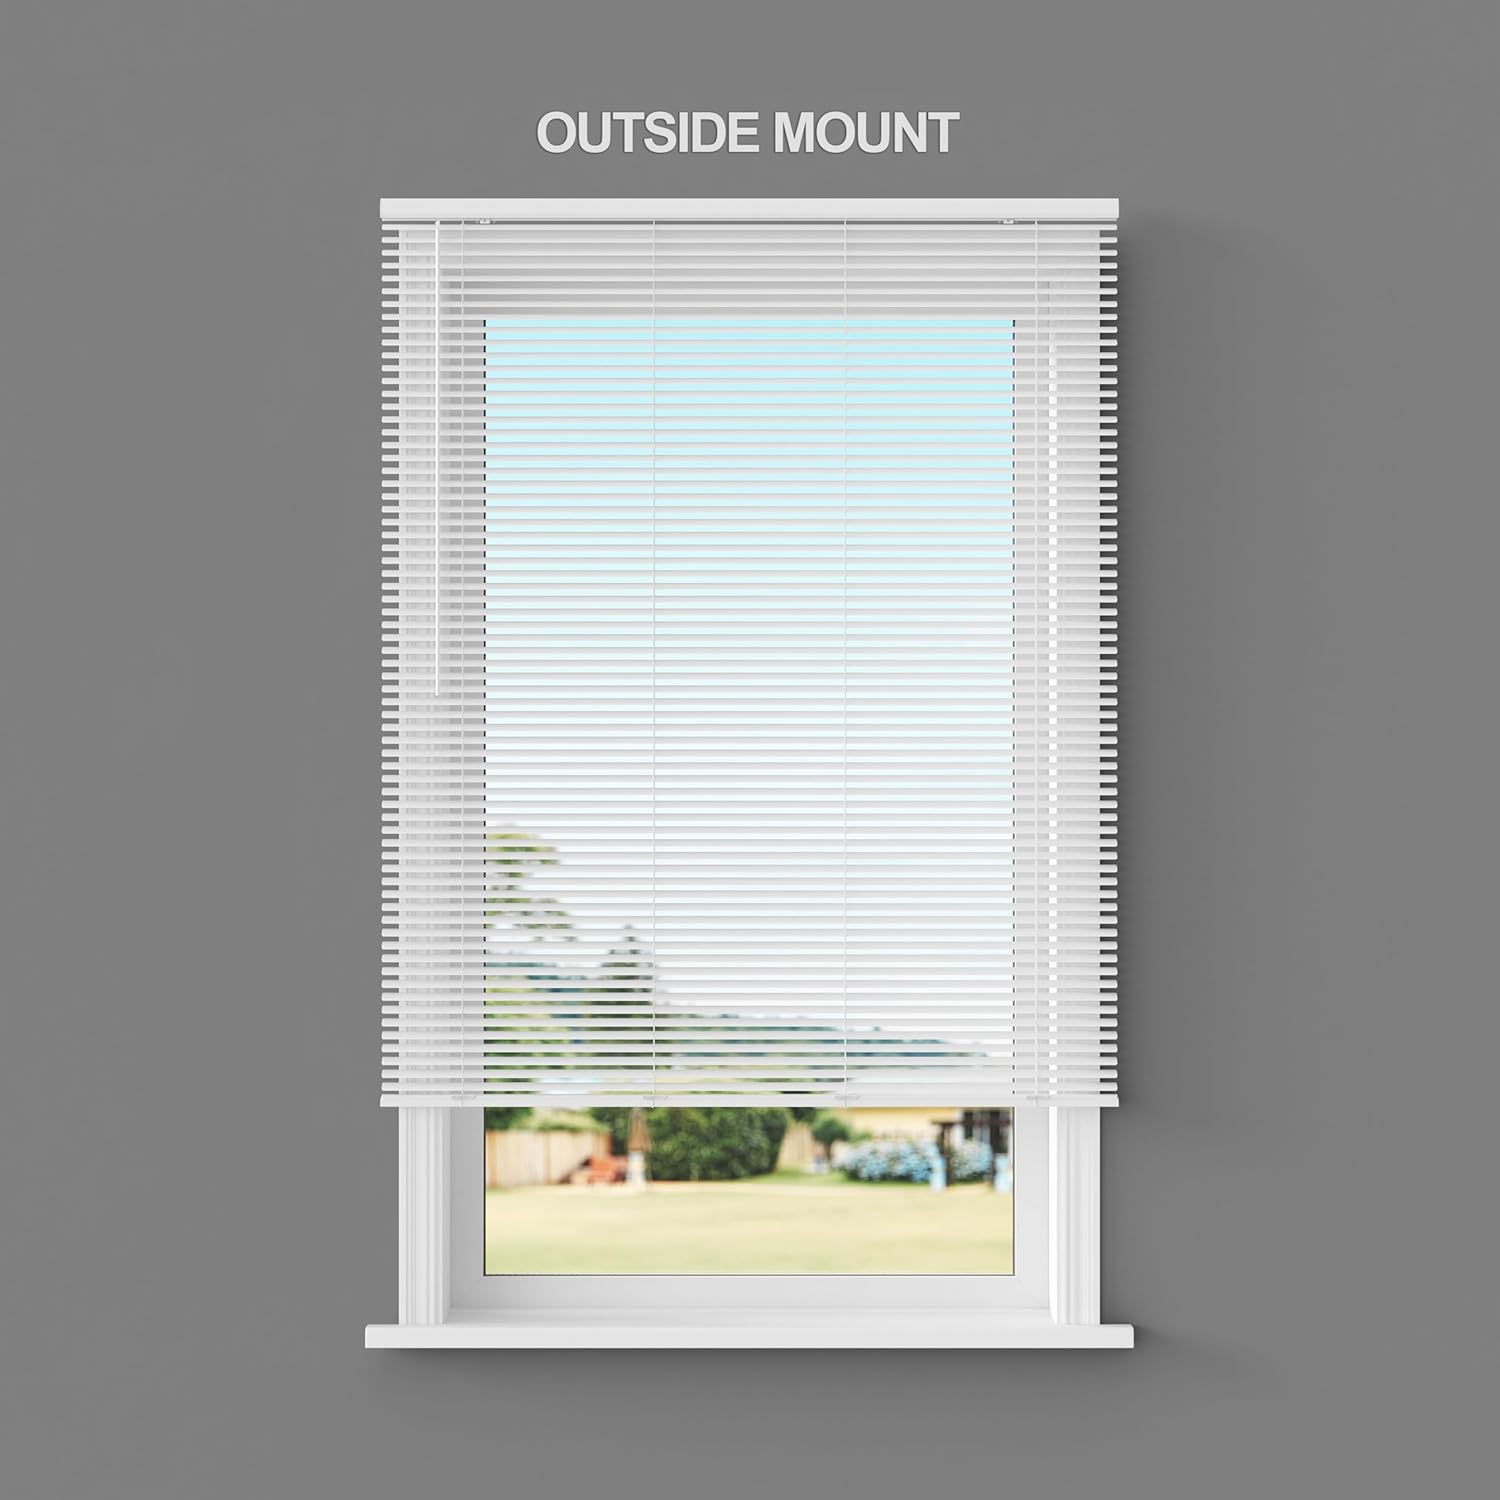
Billede: Eksample of Lumino blinds installed using an outside mount, providing full window coverage.
2. Installationstrin
Installation is designed to be straightforward. Follow these general steps:
- Mark the positions for the mounting brackets. Ensure they are level and spaced appropriately for the blind's width.
- Drill pilot holes for the screws at the marked locations.
- Secure the mounting brackets using the provided hardware. For wider blinds, a third support bracket may be necessary.
- Carefully snap the blind's headrail into the installed brackets. Ensure it is securely clicked into place.
- Attach the valance (if applicable) to the front of the headrail for a finished look.

Image: Visual representation of key features, including the simple installation process and the integrated valance.
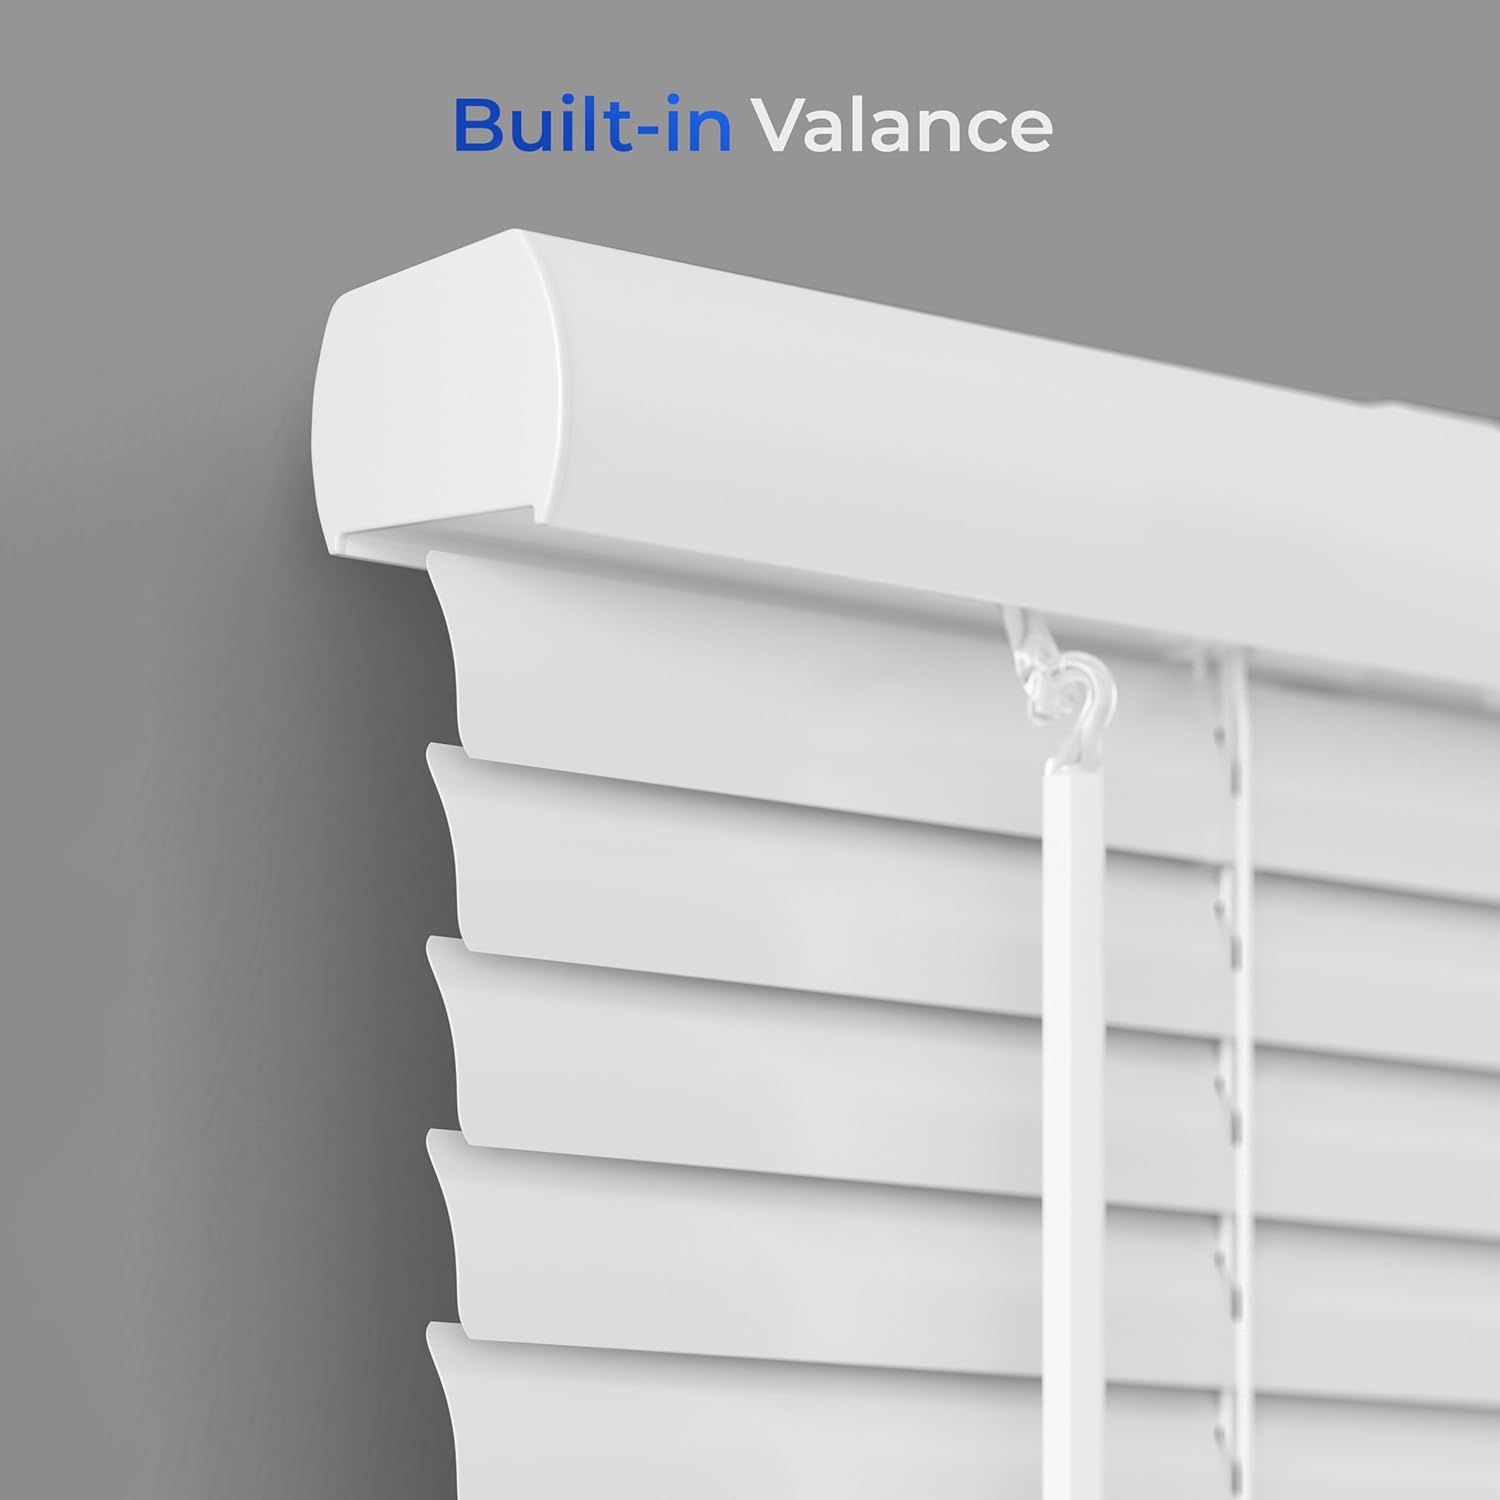
Billede: Et nærbillede view of the built-in valance, highlighting its seamless integration with the blind's design.
Operating Your Blinds
Lumino Cordless Mini Blinds are designed for safe and easy operation, making them Certified Best for Kids. They feature a cordless lift system and a wand for slat tilting.
Raising and Lowering:
To raise or lower the blinds, simply grasp the bottom rail and gently push up or pull down to the desired position. The cordless mechanism will hold the blinds in place.
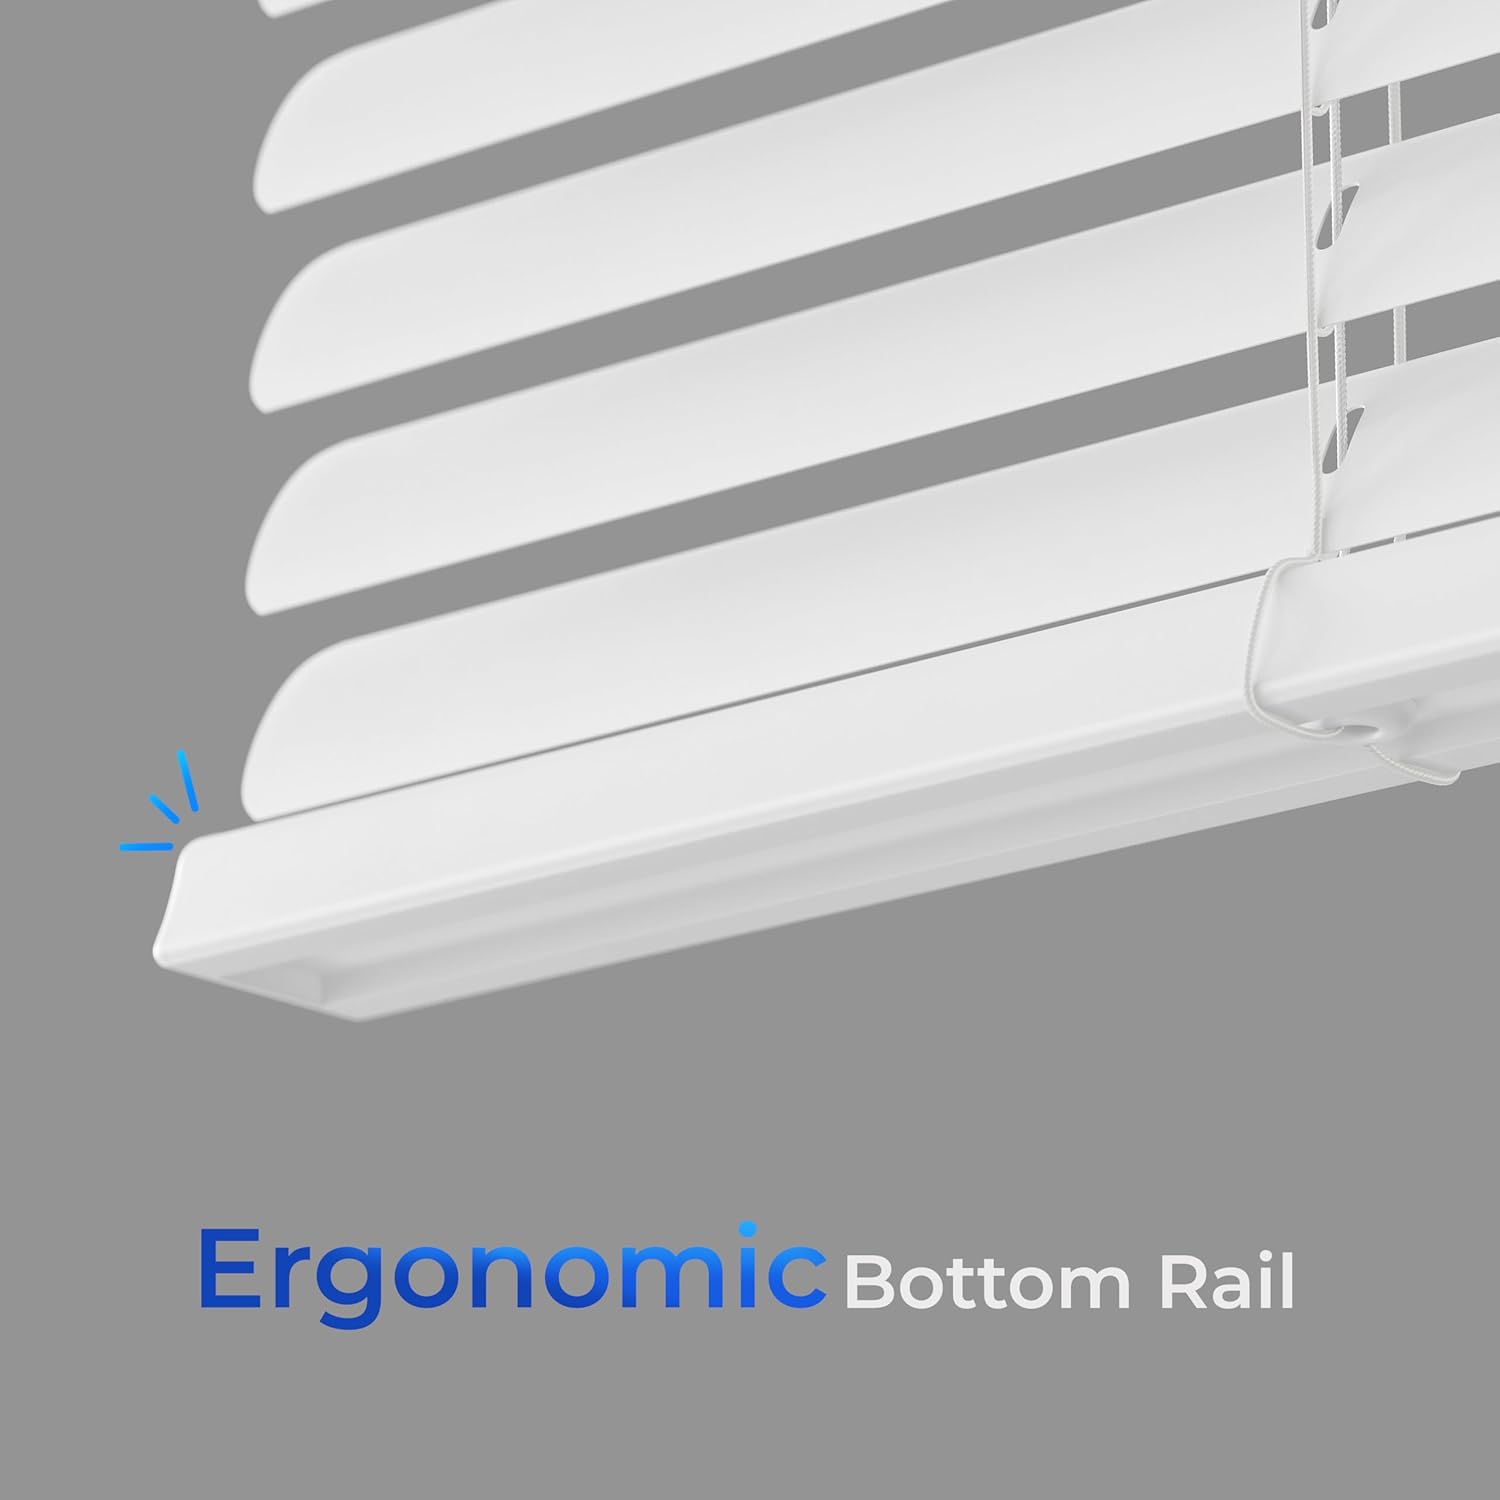
Image: The ergonomic bottom rail, designed for comfortable and easy cordless operation when raising or lowering the blinds.
Image: A hand demonstrating the simple adjustment of the cordless blinds by manipulating the bottom rail.
Tilting Slats:
To adjust the angle of the slats for light control or privacy, use the integrated wand. Rotate the wand to open or close the slats as desired.
Image: The wand control mechanism, used for precise tilting of the blind slats to manage light and privacy.
Image: The blinds showcasing their ability to transition between light filtering and room darkening states.
Opretholdelse
To keep your Lumino blinds looking their best, follow these simple cleaning instructions:
- Tør af med en tør eller let fugtet kludamp klæde.
- Avoid using harsh chemicals or abrasive cleaners, as these may damage the vinyl material.
Fejlfinding
If you encounter any issues with your Lumino blinds, consider the following common points:
- Blinds not holding position: Ensure the bottom rail is grasped firmly and moved smoothly. The cordless mechanism relies on consistent movement.
- Slats not tilting correctly: Check if the wand is securely attached and rotate it fully in both directions to ensure proper engagement with the tilting mechanism.
- Installation issues: Verify that the mounting brackets are level and securely fastened. Refer to the "Setup and Installation" section for detailed measuring and installation guidelines.
For further assistance, please contact Lumino customer support.
Specifikationer
| Mærke | Lumino |
| Modelnummer | 08-6426-001 |
| Size (as ordered) | 18 cm B x 36 cm H |
| Produktdimensioner | 36 cm L x 18 cm B |
| Materiale | Vinyl |
| Farve | Hvid |
| Opacitet | Semi-Sheer |
| Driftstilstand | Manual (Cordless lift, Wand tilt) |
| Kontroltype | Wand |
| Monteringstype | Indvendig montering, udvendig montering |
| Særlige funktioner | Glare Control, Humidity Resistant, Lightweight, UV Protection |
| Vandmodstandsniveau | Vandtæt |
| Varens vægt | 3.5 pund |
| UPC | 843623029696 |
Garanti og support
Lumino is committed to providing excellent customer service. Your purchase includes a 30-day refund/replacement return policy.
For any questions, concerns, or assistance, our expert customer support team is based in the USA and ready to help. You can reach us at support@luminodecor.com.


