
1. Introduktion
The Idatalink Maestro ADS-MRR2 module is designed to facilitate the installation of an aftermarket car stereo in compatible vehicles. It allows for the retention of various factory features, including steering wheel audio controls, and integrates vehicle data with the new head unit. This manual provides instructions for the proper setup, programming, and operation of your ADS-MRR2 module.
2. Produktet er slutview
The ADS-MRR2 module acts as an interface between your vehicle's factory systems and an aftermarket car stereo. It is a compact device that connects to your vehicle's wiring harness and your new stereo.
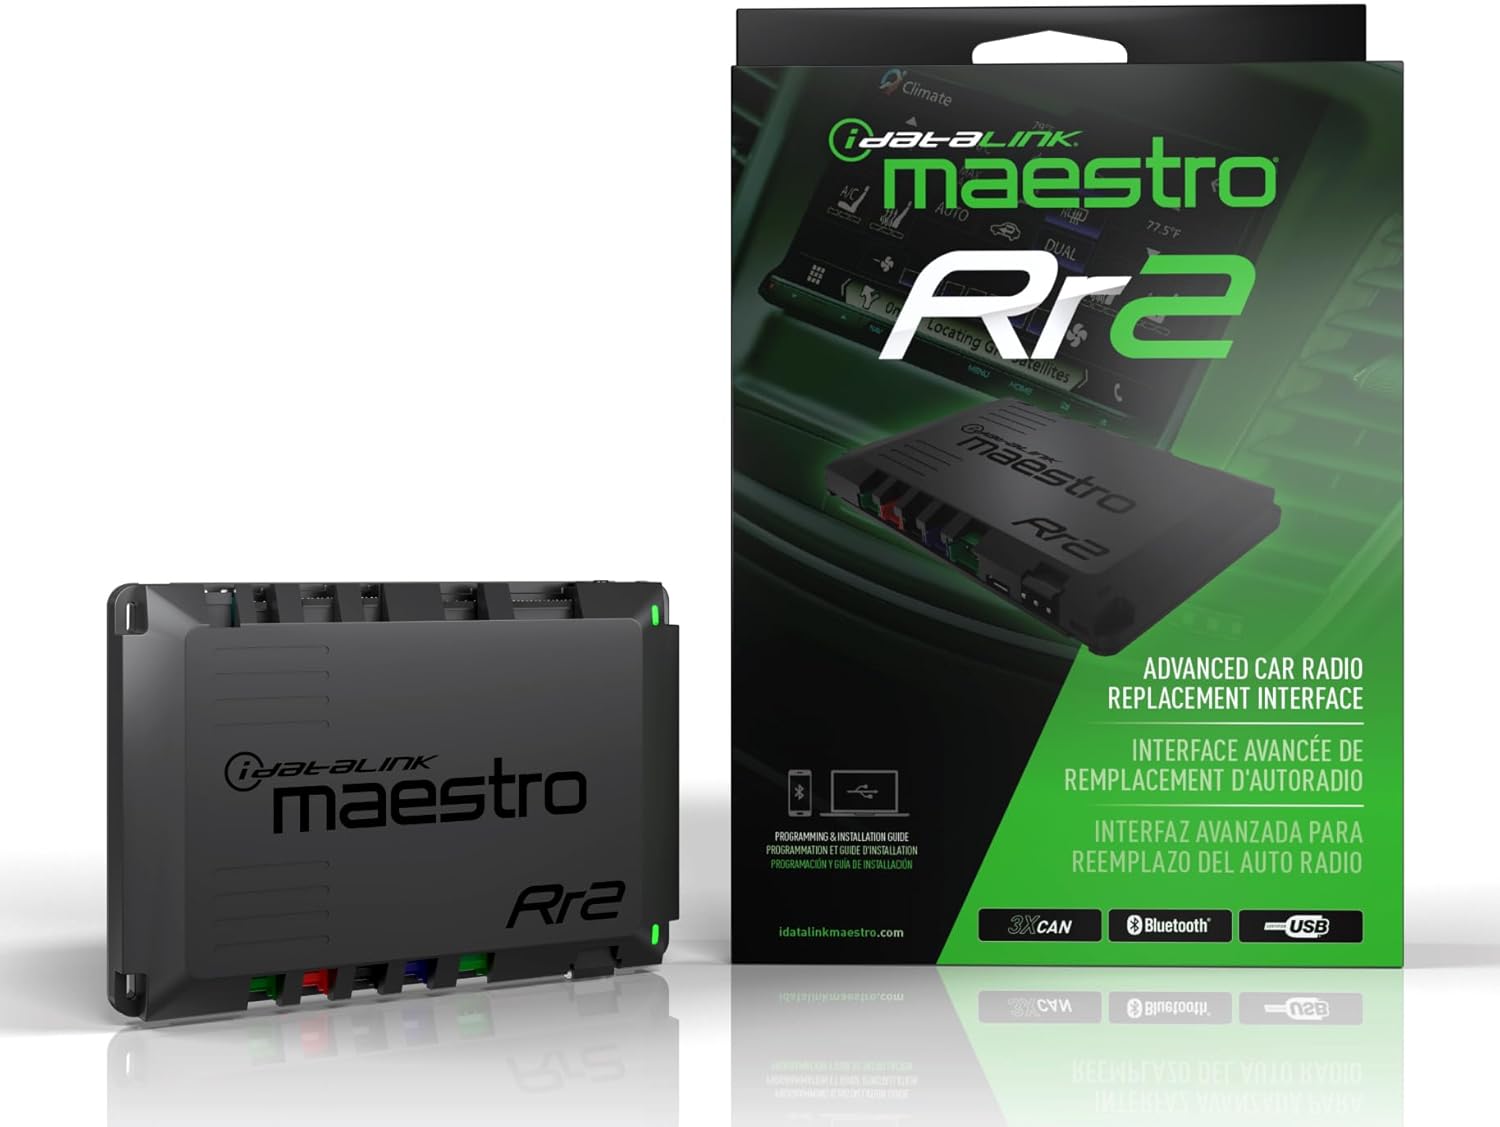
Image 2.1: Idatalink Maestro ADS-MRR2 module and its retail packaging.

Billede 2.2: En detaljeret view of the ADS-MRR2 module, highlighting its connectors.

Image 2.3: The ADS-MRR2 module shown with the assortment of wiring harnesses and USB cables typically used for installation and programming.
3. Nøglefunktioner
The ADS-MRR2 module offers several functionalities to enhance your aftermarket stereo installation:
- Factory Feature Retention: Retains original vehicle features such as steering wheel audio controls, OnStar, SYNC, and Uconnect in compatible vehicles.
- Integration af køretøjsdata: Displays vehicle information like performance gauges, climate controls, and parking assistance on the new receiver's touchscreen.
- Bred køretøjskompatibilitet: Supports a broad range of vehicles from manufacturers including Chrysler, Fiat, Ford, General Motors, Honda/Acura, Subaru, Toyota/Scion, and Volkswagen (model years 2002 and newer).
- Trådløs programmering: Initial setup and firmware updates can be performed wirelessly via Bluetooth using a smartphone or other device, or via USB connection to a computer.
- Customizable Steering Wheel Controls: Allows assignment of primary and secondary 'press and hold' functions to each factory steering wheel button.
4. Kompatibilitetskrav
Successful installation and operation of the ADS-MRR2 module depend on specific compatibility requirements:
- Vehicle-Specific T-Harness: A vehicle-specific iDatalink Maestro "HRN-HRR" Series Plug & Play T-Harness is required for connection to your vehicle's wiring. This harness is sold separately.
- Head-Unit Specific Harness: A brand-specific head-unit harness from the "ACC-HU" series is necessary to connect the module to your aftermarket stereo. These harnesses are also sold separately.
- Compatible Aftermarket Receiver: The module is designed to work with iDatalink Maestro-compatible receivers from brands such as Alpine, Boss, Kenwood, JVC, Pioneer, and Sony.
Examples of head-unit harnesses include:
- Alpine: ACC-HU-ALP1
- Boss: ACC-HU-BOS1
- Kenwood/JVC (22-Pin Connector): ACC-HU-KEN1
- Kenwood/JVC (16-Pin Connector): ACC-HU-KEN2
- Kenwood/JVC (22-Pin Connector 2024 & Newer): ACC-HU-KEN3
- Pioneer: ACC-HU-PIO1
- Sony: ACC-HU-SON1
Alpine Harness
Kenwood 22-Pin Harness
Kenwood 16-Pin Harness

Pioneer Sele
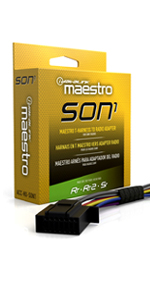
Sony Harness
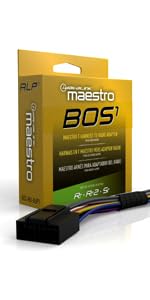
Boss Harness
5. Opsætning og programmering
The ADS-MRR2 module requires initial programming to match your specific vehicle and aftermarket stereo. This process can be done via USB or Bluetooth.
5.1. Firmware-flashing
- Tilslut modulet: Connect the ADS-MRR2 module to your computer using the included USB cable, or to a smartphone/device via Bluetooth.
- Access Programming Webwebsted: Besøg embedsmanden idatalink/maestro webwebsted.
- Følg instruktionerne på skærmen: De website will guide you through selecting your vehicle make, model, year, and the aftermarket stereo you are installing. It will then provide specific firmware for your configuration.
- Flash the Unit: Follow the prompts to flash the firmware onto the ADS-MRR2 module. Ensure a stable connection during this process.
Once the unit has been successfully flashed, it is ready for physical installation.

Image 5.1: The ADS-MRR2 module connected to a laptop via USB for firmware programming.
5.2. Fysisk installation
After firmware flashing, the next step is to connect the module to your vehicle and new stereo.
- Prepare Harnesses: Connect the vehicle-specific Maestro harness (HRN-HRR series) and the head-unit specific harness (ACC-HU series) to the ADS-MRR2 module.
- Wire to Receiver: Solder or crimp the wires from the vehicle-specific Maestro harness to the corresponding wires of your new aftermarket receiver. Refer to the detailed wiring diagrams provided on the idatalink/maestro website after flashing for precise connections.
- Tilslut til køretøj: Plug the vehicle-specific harness into your vehicle's factory wiring.
- Monteringsmodul: Securely mount the ADS-MRR2 module in a suitable location behind the dashboard, ensuring it is not exposed to excessive heat or moisture.
6. Betjeningsvejledning
Once installed and programmed, the ADS-MRR2 module enables seamless integration of your vehicle's features with your new stereo.
6.1. Steering Wheel Control Customization
The module allows you to customize the functions of your factory steering wheel audio controls:
- Få adgang til web programming interface (as used for flashing).
- Each factory button can be assigned a specific radio function (e.g., volume up, track skip).
- Additionally, a secondary 'press and hold' function can be assigned to each button, effectively doubling the control options.
6.2. Accessing Vehicle Data
With most iDatalink-compatible car stereos, you can access additional vehicle features and data directly on your new receiver's touchscreen. These may include:
- Performance gauges (e.g., RPM, speed, engine temperature).
- Climate controls.
- Parking assistance information.

Image 6.1: An aftermarket car stereo displaying vehicle performance gauges, enabled by the ADS-MRR2 module.
7. Vedligeholdelse
Maintaining your ADS-MRR2 module primarily involves keeping its firmware up-to-date.
7.1. Firmwareopdateringer
Idatalink periodically releases firmware updates to improve compatibility, add features, or address issues. It is recommended to check for updates regularly:
- Connect the module to your computer via USB or to a smartphone/device via Bluetooth.
- Besøg idatalink/maestro webwebsted og følg instruktionerne for firmwareopdateringer.
- Ensure your device has sufficient power and a stable connection during the update process to prevent interruption.
8. Fejlfinding
If you encounter issues with your ADS-MRR2 module, consider the following:
- Ingen funktionalitet: Verify that the module has been correctly flashed with the appropriate firmware for your vehicle and stereo. Double-check all wiring connections.
- Intermitterende drift: Ensure all connections are secure and free from corrosion. Check for any loose wires.
- Ratbetjening virker ikke: Re-verify the programming of the steering wheel controls via the web interface. Ensure the head-unit specific harness is correctly installed.
- Vehicle Data Not Displaying: Confirm that your aftermarket stereo is fully compatible with iDatalink Maestro features and that the module is correctly configured for data display.
- Problemer med firmwareopdatering: Ensure a stable internet connection and power source during updates. If issues persist, try a different USB port or device.
For persistent issues, refer to the detailed troubleshooting guides available on the official Idatalink Maestro webwebstedet eller kontakt deres tekniske support.
9. Specifikationer
| Feature | Detalje |
|---|---|
| Modelnummer | ADS-MRR2 |
| Produktdimensioner | 10 x 6 x 3 tommer |
| Varens vægt | 7.8 ounce |
| Fabrikant | Idatalink |
| Forbindelse | USB, Bluetooth |
10. Garanti og support
For information regarding product warranty, please refer to the documentation included with your purchase or visit the official Idatalink Maestro website. Technical support and additional resources, including detailed wiring diagrams and vehicle compatibility lists, are available on their webwebsted:
It is recommended to consult the website for the most up-to-date information and support options.


