Weiser Halo WiFi Smart Lock with Touchscreen
Instruktionsmanual
Model: 9GED25000-004
Indledning
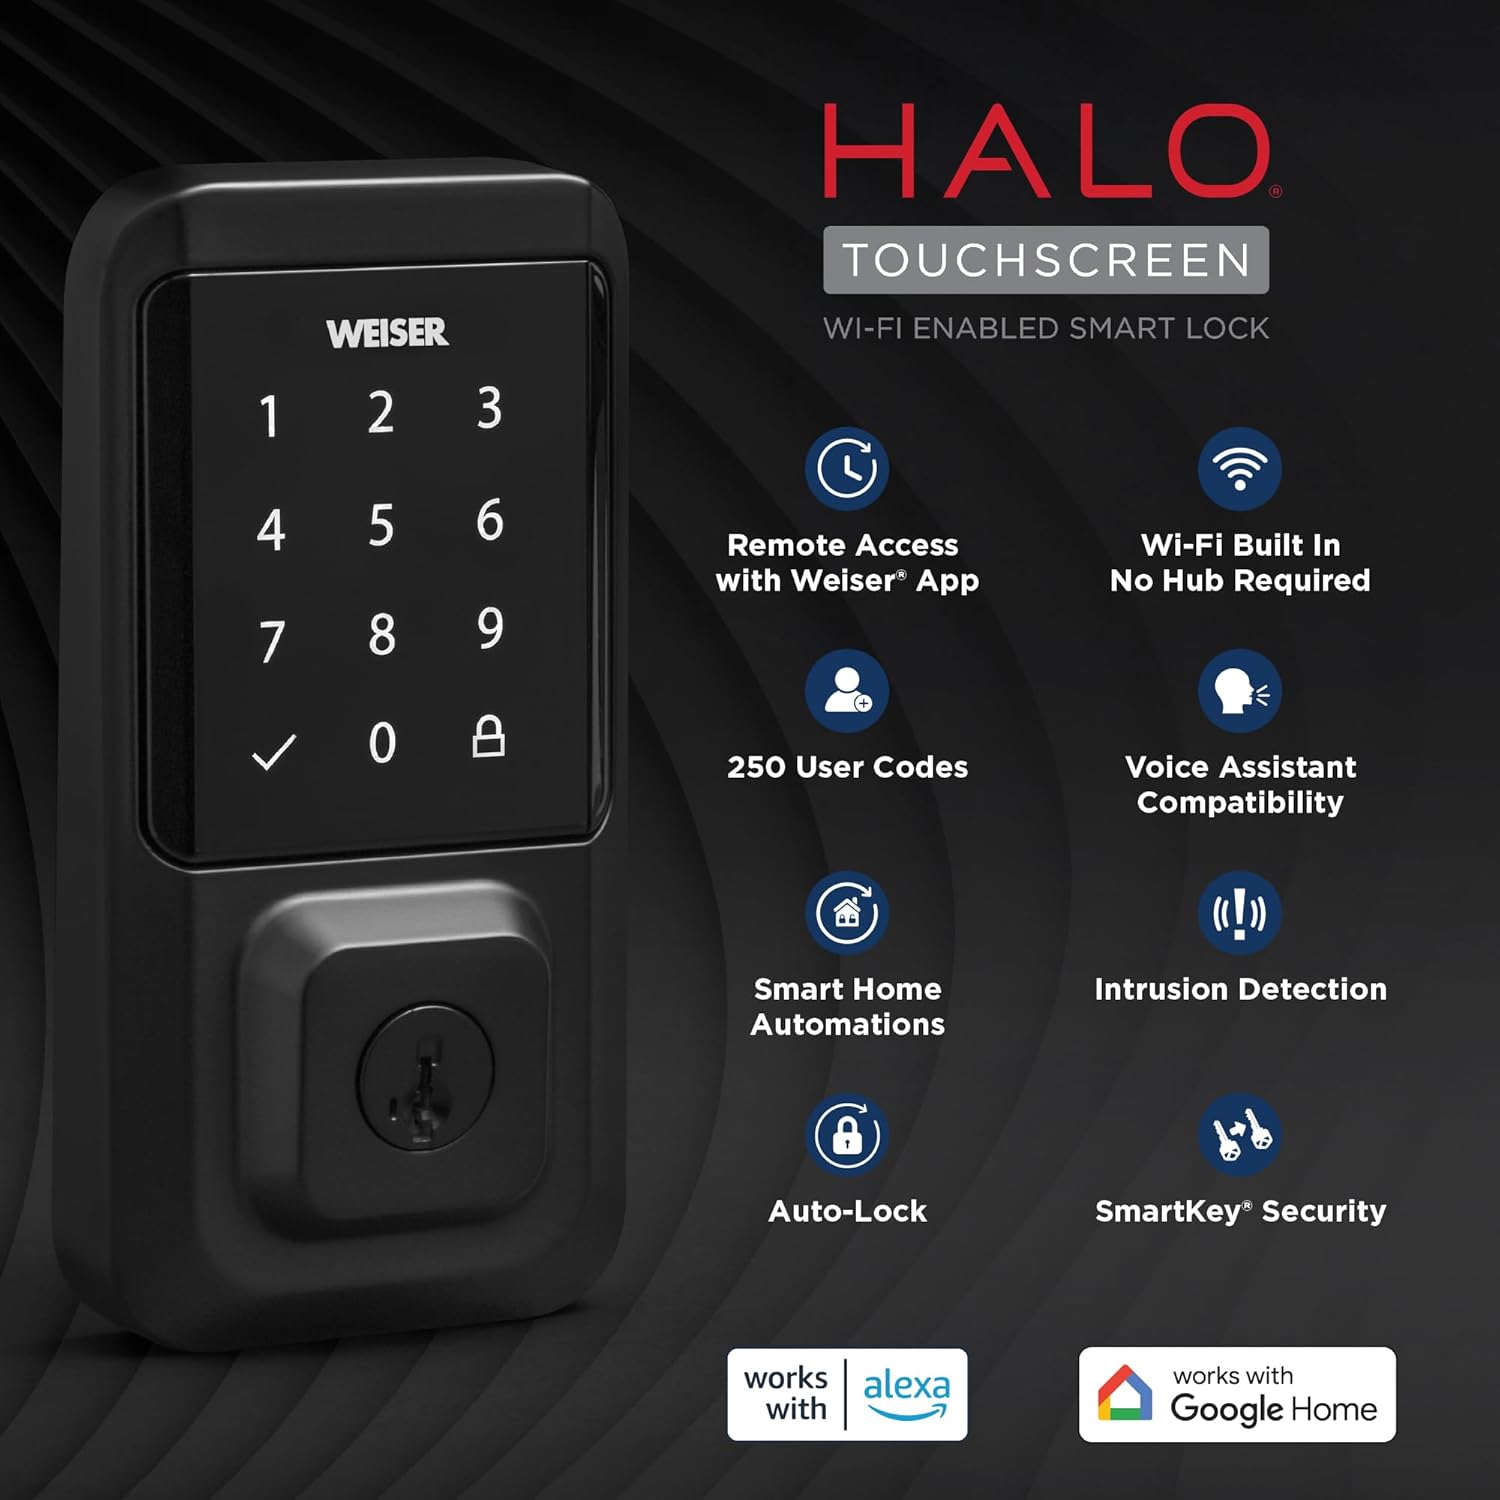
The Weiser Halo WiFi Smart Lock with Touchscreen offers advanced security and convenient access control for your home. This smart lock connects directly to your existing home Wi-Fi network, eliminating the need for a separate hub. With the Weiser app, you can operate, manage, and monitor your lock remotely from anywhere with an internet connection. This manual provides detailed instructions to help you install, set up, operate, and maintain your Weiser Halo Smart Lock.

Figure 1: Weiser Halo WiFi Smart Lock (Exterior and Interior Units)
Kassens indhold
Før du starter installationen, skal du kontrollere, at alle komponenter er til stede i din pakke:
- Interior Assembly Unit
- Exterior Assembly Unit
- Justerbar lås
- Slagplade
- Monteringsplade
- Adapterring
- 4 x AA batterier
- Batteribakke
- SmartKey®-værktøj
- 2 Weiser® Keys
- Skruer (forskellige størrelser)
- Installationsvejledning (denne vejledning)
Figur 2: Inkluderede komponenter
Installationsvejledning
The Weiser Halo Smart Lock is designed for easy installation, typically requiring only a screwdriver. It fits most standard doors 1-3/8" to 1-3/4" thick with an adjustable backset (2-3/8" or 2-3/4").
- Forbered døren: Ensure your door is properly prepped for a deadbolt. Check the bore hole and backset dimensions.
- Installer låsen: Insert the adjustable latch into the door edge. Ensure the latch is oriented correctly with the 'UP' arrow facing upwards.
- Monter den udvendige enhed: Place the exterior keypad assembly onto the door, feeding the cable through the bore hole.
- Monter monteringspladen: Secure the mounting plate to the door using the provided screws, ensuring it aligns with the exterior assembly.
- Monter den indvendige enhed: Connect the cable from the exterior assembly to the interior assembly. Carefully tuck the excess cable into the recess. Attach the interior assembly to the mounting plate with the remaining screws.
- Installer batterier: Insert the 4 AA batteries into the battery tray and slide the tray into the interior assembly.
- Udfør dørhåndtagning: After installation, the lock will automatically perform a door handing process to learn the orientation of your door. Follow the prompts on the lock or in the Weiser app.

Figur 3: Nem installationsproces
Opsætning og tilslutning
The Weiser Halo Smart Lock connects directly to your home Wi-Fi network for remote access and smart home integration.
- Download the Weiser App: Søg efter the 'Weiser App' on the Apple App Store or Google Play Store and install it on your smartphone.
- Opret en konto: Åbn appen, og følg instruktionerne på skærmen for at oprette en ny brugerkonto.
- Tilføj din lås: In the Weiser app, select the option to add a new device. Follow the in-app prompts to connect your Halo Smart Lock to your home's Wi-Fi network. This process typically involves putting the lock into pairing mode and entering your Wi-Fi credentials.
- Fjernadgang: Once connected, you can lock and unlock your door remotely from your smartphone using the Weiser app, from anywhere with an internet connection.

Figure 4: Control Your Lock From Anywhere
Operation
Låse op og låse
- Tastatur: Enter your valid user code on the touchscreen keypad, then press the checkmark button to unlock. To lock, simply press the lock icon on the keypad.
- Nøgle: Use the physical key provided to manually unlock or lock the deadbolt.
- Weiser App: Use the lock/unlock function within the Weiser app on your smartphone.
- Tommelfingerdrejning: From the interior, manually turn the thumb turn to lock or unlock the deadbolt.
Administration af brugerkoder
The Weiser Halo Smart Lock can store up to 250 unique user codes. You can create permanent, one-time, or scheduled entry codes through the Weiser app.
- Adding Codes: In the Weiser app, navigate to the 'Access Codes' section and follow the instructions to add new codes. You can assign names to codes for easy identification.
- Sletning af koder: Codes can be deleted at any time through the app.
- Scheduling Codes: Set specific days and times for codes to be active, ideal for guests or service providers.

Figure 5: Share Guest Access
Auto-Lock-funktion
The auto-lock feature automatically locks your door after a set duration following entry or exit, providing hands-free locking and enhanced peace of mind. This duration can be customized within the Weiser app.

Figure 6: Auto-Lock Functionality
Smart Home Integration
The Weiser Halo Smart Lock is compatible with popular voice assistants like Amazon Alexa and Google Assistant (functionality primarily from Android devices). This allows for voice control and integration into smart home routines.
- Stemmestyring: Use voice commands to lock your door (e.g., "Alexa, lock the front door.").
- Automatiseringer: Set up custom automations, such as locking the door at a specific time each night or turning on lights when the door is unlocked.
Figur 7: Smart Home-integration
Overvågning og advarsler
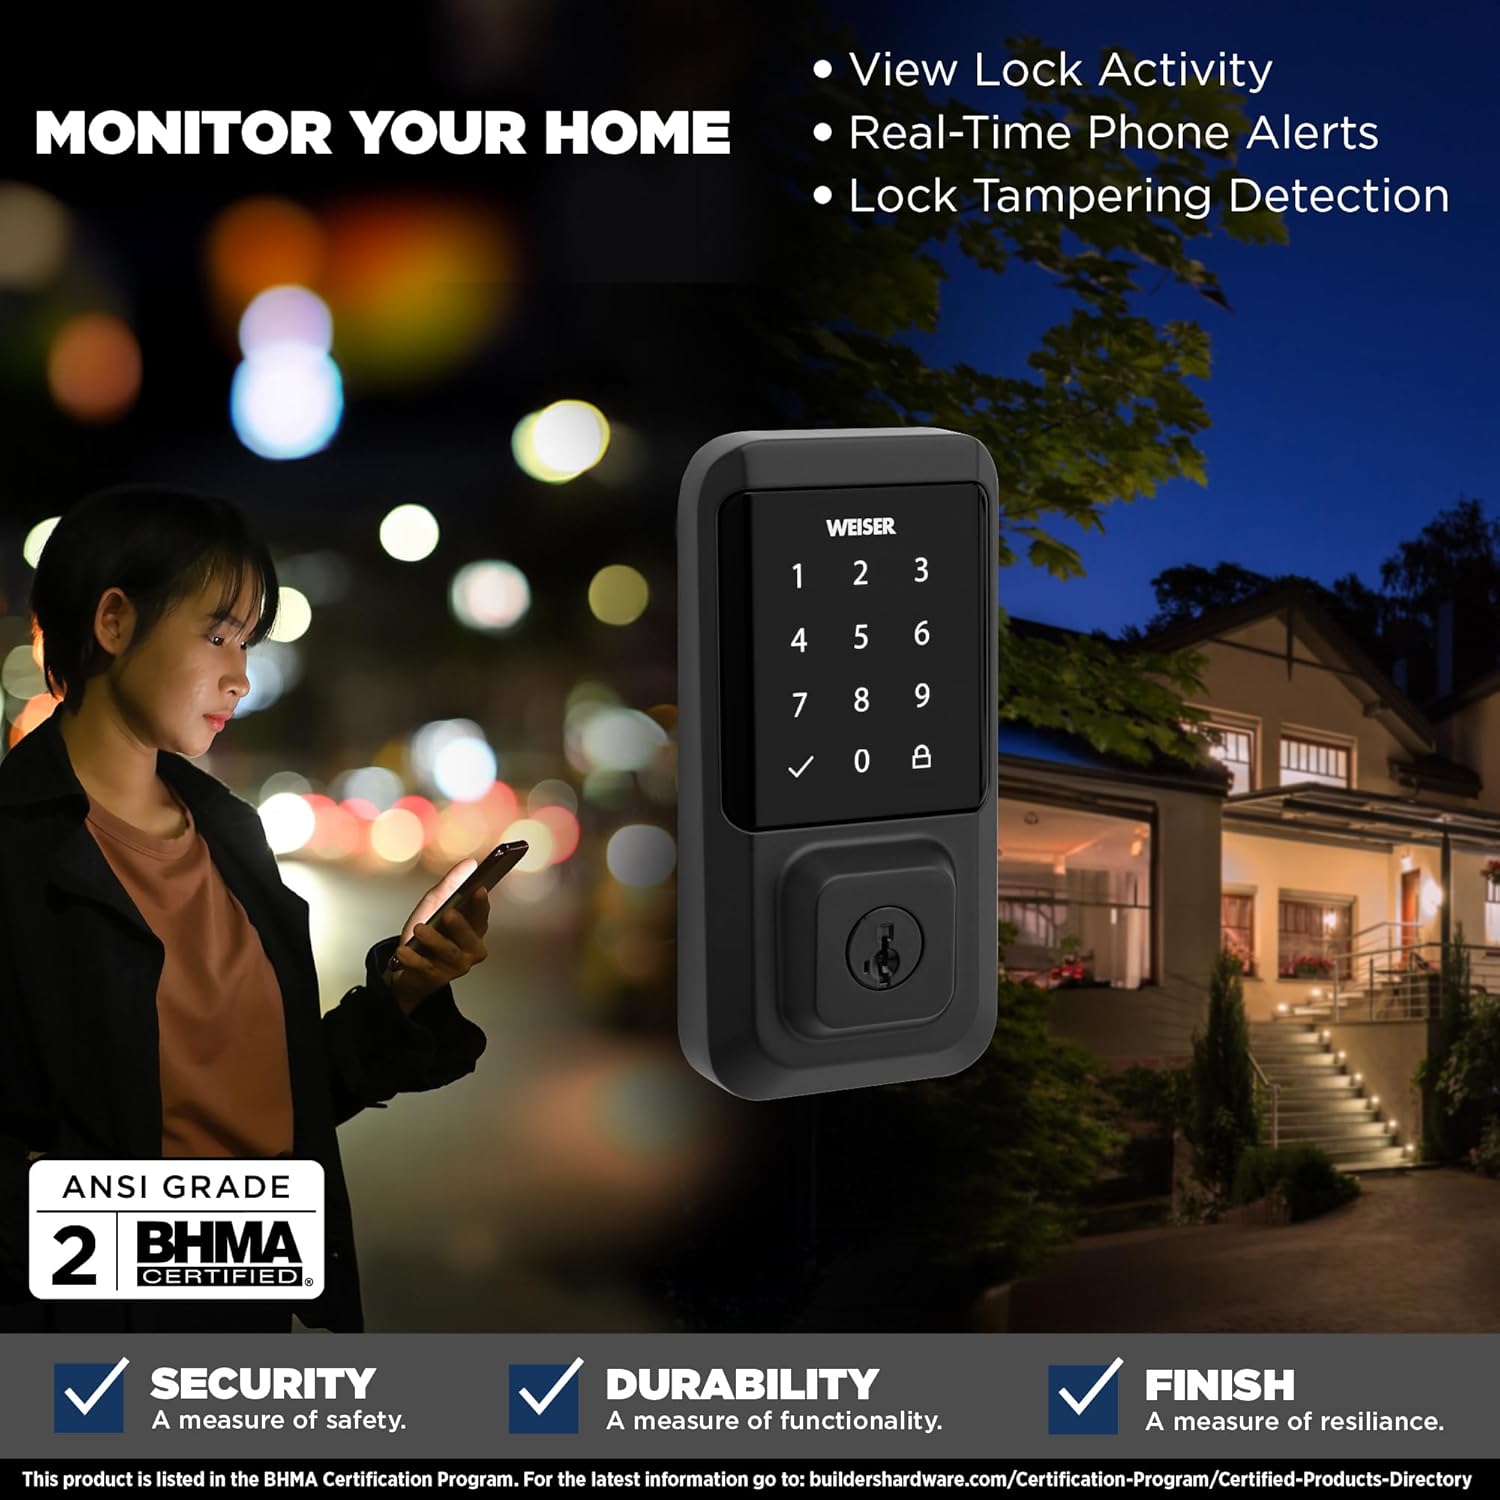
The Weiser app provides real-time monitoring and alerts for your lock's activity.
- View Lock Activity: Access a detailed history of lock and unlock events, including who accessed the door and when.
- Real-Time Phone Alerts: Receive instant notifications on your smartphone for various events, such as lock/unlock actions or tampering forsøg.
- Lås TampDetektion af ering: The lock is equipped with features to detect and alert you to potential tampering.

Figure 8: Monitor Your Home
SmartKey-sikkerhed
The Weiser Halo Smart Lock features SmartKey Security, allowing you to re-key the lock yourself in seconds. This is useful if you've recently moved, lost keys, or wish to use a single key for multiple Weiser SmartKey compatible locks.
- Insert Existing Key: Insert your currently working key fully into the keyhole.
- Nøglefunktion: Turn the key 90 degrees clockwise (to the horizontal position).
- Indsæt SmartKey-værktøj: While holding the key in the horizontal position, insert the SmartKey tool firmly into the small hole next to the keyway.
- Remove Keys: Remove the SmartKey tool first, then remove the existing key.
- Indsæt ny nøgle: Insert your new key fully into the keyhole.
- Turn New Key: Turn the new key 90 degrees counter-clockwise (back to the vertical position).
- Test ny nøgle: Remove the new key and test it to ensure the re-keying process was successful.

Figure 9: SmartKey Security Re-keying
Opretholdelse
To ensure optimal performance and longevity of your Weiser Halo Smart Lock, follow these maintenance guidelines:
- Udskiftning af batteri: The lock requires 4 AA batteries. When the battery level is low, you will receive notifications through the Weiser app and potentially visual/audible alerts from the lock itself. To replace batteries, slide open the battery cover on the interior assembly, remove the old batteries, and insert new ones, ensuring correct polarity.
- Rensning: Clean the touchscreen and exterior surfaces with a soft, damp klud. Undgå slibende rengøringsmidler eller opløsningsmidler, der kan beskadige overfladen.
- Dørjustering: Periodically check that your door and frame are properly aligned. Misalignment can cause the deadbolt to bind, leading to increased battery drain and reduced performance.
Fejlfinding
If you encounter issues with your Weiser Halo Smart Lock, refer to the following common problems and solutions:
| Problem | Mulig årsag | Løsning |
|---|---|---|
| Lock not responding / Dead battery | Batterierne er brugt op. | Replace all 4 AA batteries with new, high-quality alkaline batteries. |
| Lock frequently goes offline / Wi-Fi connectivity issues | Weak Wi-Fi signal; Router too far; Network interference. | Ensure the lock is within range of your Wi-Fi router. Consider a Wi-Fi extender if necessary. Check for network interference from other devices. Restart your router. |
| Tastaturet reagerer ikke på berøring | Secure mode activated; Accidental touches prevented. | If 'Secure Mode' is enabled, the keypad may require a specific sequence (e.g., 4+6) to activate. Disable this feature in the app if not desired. Ensure hands are clean and dry. |
| Deadbolt binds or does not extend fully | Door/frame misalignment; Latch not installed correctly. | Check door and frame alignment. Ensure the strike plate is properly aligned with the deadbolt. Verify the latch was installed with the correct orientation. |
| Cannot add or delete user codes | Lock is offline; App synchronization issue. | Ensure the lock is connected to Wi-Fi and online in the Weiser app. Try closing and reopening the app. |
For further assistance, refer to the Weiser app's help section or contact Weiser customer support.
Specifikationer
| Feature | Detalje |
|---|---|
| Mærke | Weiser |
| Modelnavn | Halo Touch Smart Lock Deadbolt |
| Modelnummer | 9GED25000-004 |
| Farve | Mat sort |
| Materiale | Metal |
| Låsetype | Key Lock, Smart Lock |
| Speciel funktion | Touchscreen, Wi-Fi Enabled |
| Forbindelsesprotokol | Wi-Fi |
| Kontrolmetode | Touch, Hand Control, SmartThings App |
| Strømkilde | 4 AA-batterier (medfølger) |
| Varedimensioner (L x B x H) | 2.88 x 1.19 x 5.63 tommer |
| Varens vægt | 4 pund |
| Dørkompatibilitet | 1-3/8" to 1-3/4" thick doors, adjustable backset (2-3/8" or 2-3/4") |
| Brugerkoder | Op til 250 |
| UPC | 059184399653 |
Garanti og support
Weiser products are designed for durability and reliability. For specific warranty information regarding your Weiser Halo WiFi Smart Lock, please refer to the warranty card included with your product or visit the official Weiser website. For technical support, troubleshooting assistance, or to inquire about replacement parts, please contact Weiser customer service through their official channels.


