Indledning
This manual provides essential information for the safe and effective operation, setup, and maintenance of your Einhell TC-ID 720/1 E Impact Drill. Please read these instructions carefully before using the tool and keep them for future reference.
The Einhell TC-ID 720/1 E is a powerful impact drill designed for various drilling tasks in different materials. It features two functions (drilling and impact drilling), electronic speed control, forward and reverse rotation, and an ergonomic design for comfortable use.

Figur 1: Einhell TC-ID 720/1 E Impact Drill. This image shows the complete drill assembly with the auxiliary handle and depth stop attached.
Sikkerhedsinstruktioner
Overhold altid de generelle sikkerhedsforskrifter, når du bruger elværktøj. Manglende overholdelse af disse instruktioner kan resultere i elektrisk stød, brand og/eller alvorlig personskade.
- Bær passende personlige værnemidler, herunder sikkerhedsbriller, høreværn og handsker.
- Sørg for, at arbejdsemnet er sikkert klamped eller afholdt.
- Hold arbejdsområdet rent og godt oplyst.
- Brug ikke elværktøj i eksplosive atmosfærer, såsom i nærheden af brændbare væsker, gasser eller støv.
- Hold børn og omkringstående væk, mens du betjener et elværktøj.
- Tag stikket ud af strømkilden, før du foretager justeringer, udskifter tilbehør eller opbevarer elværktøj.
- Tving ikke elværktøjet. Brug det korrekte elværktøj til din applikation.
- Vedligehold elværktøj. Kontroller for forskydning eller binding af bevægelige dele, brud på dele og enhver anden tilstand, der kan påvirke elværktøjets funktion.
Komponenter overview
Familiarize yourself with the main components of your impact drill:
- Nøglefri Chuck: For quick and easy bit changes (1.5 - 13 mm).
- Hjælpehåndtag: Giver ekstra greb og kontrol.
- Dybdestop: For precise drilling depth adjustment.
- Hastighedsknap: Adjusts drilling speed for different materials.
- Funktionsvælger: Toggles between drilling and impact drilling modes.
- Frem/Baglæns kontakt: Changes rotation direction for drilling and screwdriving.
- Låse-knap: Til kontinuerlig drift.
- Bløde overflader: For komfortabel og sikker håndtering.

Figur 2: Keyless Chuck. This image highlights the 13mm keyless chuck, allowing for quick and tool-free bit changes.

Figur 3: Depth Stop. This image shows the adjustable metal depth stop, used to control drilling depth precisely.
Opsætning
- Montering af hjælpehåndtaget: Loosen the auxiliary handle by twisting it counter-clockwise. Slide it over the chuck and position it to your preferred angle for optimal control. Tighten it securely by twisting clockwise.
- Installing the Depth Stop: Insert the depth stop rod into the hole on the auxiliary handle. Adjust its position to the desired drilling depth and secure it by tightening the screw on the auxiliary handle.
- Inserting a Drill Bit:
- Sørg for, at boremaskinen er frakoblet strømkilden.
- Drej den forreste del af den nøglefri borepatron mod uret for at åbne kæberne.
- Sæt boret helt ind i patronen.
- Twist the front part of the chuck clockwise to securely tighten the jaws around the drill bit. Ensure the bit is centered and firmly held.
Betjeningsvejledning
1. Valg af driftstilstand
- Boretilstand: For wood, metal, plastic, and soft materials. Set the function selector switch to the drill symbol.
- Slagboretilstand: For concrete, masonry, and hard materials. Set the function selector switch to the hammer symbol.

Figur 4: Two Functions Icon. This icon indicates the drill's capability for both standard drilling and impact drilling.
2. Justering af hastighed
The electronic speed control allows you to adjust the drilling speed according to the material and application. Use the speed control dial to pre-select the maximum speed, and the trigger switch to vary the speed during operation.

Figur 5: Speed Control Dial. This image shows the dial for adjusting the maximum rotational speed of the drill.

Figur 6: Speed Electronics Icon. This symbol represents the electronic speed control feature of the drill.
3. Fremad/bagud rotation
Use the forward/reverse switch to select the direction of rotation. Forward rotation is for drilling and tightening screws, while reverse rotation is for loosening screws or extracting jammed drill bits.
4. Drilling Procedure
- Ensure the correct drill bit is installed and the auxiliary handle and depth stop are adjusted.
- Select the appropriate operating mode (drilling or impact drilling).
- Plug the drill into a suitable power outlet.
- Hold the drill firmly with both hands, ensuring a stable stance.
- Position the drill bit on the desired drilling point.
- Gently press the trigger switch to start drilling. Apply steady, even pressure.
- For kontinuerlig drift skal du trykke på låseknappen, mens aftrækkeren er trykket ned. Tryk på aftrækkeren igen for at slippe.
- Once drilling is complete, release the trigger switch and wait for the drill bit to stop rotating before withdrawing it from the workpiece.

Figur 7: Operating the Drill. This image shows a user demonstrating proper two-handed grip and technique while drilling into a wall.
Opretholdelse
Regelmæssig vedligeholdelse sikrer din slagboremaskines levetid og optimale ydeevne.
- Rensning: Rengør værktøjshuset med en blød klud efter hver brug.amp cloth. Do not use harsh cleaning agents or solvents. Keep ventilation openings clear of dust and debris.
- Vedligeholdelse af borepatron: Periodically clean the chuck jaws to ensure proper gripping of drill bits.
- Kulbørster: If the motor sparks excessively, the carbon brushes may need inspection or replacement. This should be performed by qualified personnel.
- Opbevaring: Opbevar boremaskinen et tørt og sikkert sted, utilgængeligt for børn.
- Ledningsinspektion: Regularly inspect the power cord for any damage. If damaged, have it repaired by a qualified electrician.
Fejlfinding
Her er nogle almindelige problemer og deres potentielle løsninger:
| Problem | Mulig årsag | Løsning |
|---|---|---|
| Boremaskinen starter ikke. | No power supply; faulty power cord; defective switch. | Check power connection; inspect power cord; contact service center. |
| Borehovedet glider i patronen. | Chuck not tightened sufficiently; chuck jaws worn. | Tighten chuck firmly; replace chuck if worn. |
| Overdreven vibration eller støj. | Bent drill bit; loose components; internal defect. | Replace bent bit; check for loose parts; contact service center. |
| Boremaskinen overopheder. | Overbelastning; blokerede ventilationsåbninger. | Reduce load; clear ventilation slots; allow tool to cool. |
If you encounter problems not listed here or if the suggested solutions do not resolve the issue, please contact Einhell customer service or an authorized service center.
Specifikationer
| Feature | Værdi |
|---|---|
| Mærke | Einhell |
| Modelnummer | 4259848 |
| Strømindgang | 720 watt |
| Voltage | 230 volt |
| Ampslette | 4.3 A |
| Hastighed uden belastning | 2800 rpm |
| Chuck Size (max) | 13 mm |
| Borekapacitet (træ) | 30 mm |
| Borekapacitet (metal) | 10 mm |
| Borekapacitet (beton) | 13 mm |
| Produktmål (L x B x H) | 28.7 x 8.8 x 20.8 cm |
| Vægt | 2.07 kg |
| Strømkilde | Elektrisk med ledning |
| Særlige funktioner | 2 functions: drilling/impact drilling, electronic speed control, forward/reverse rotation |

Figur 8: Maximum Chuck Size. This icon indicates the drill's maximum chuck capacity of 13mm.
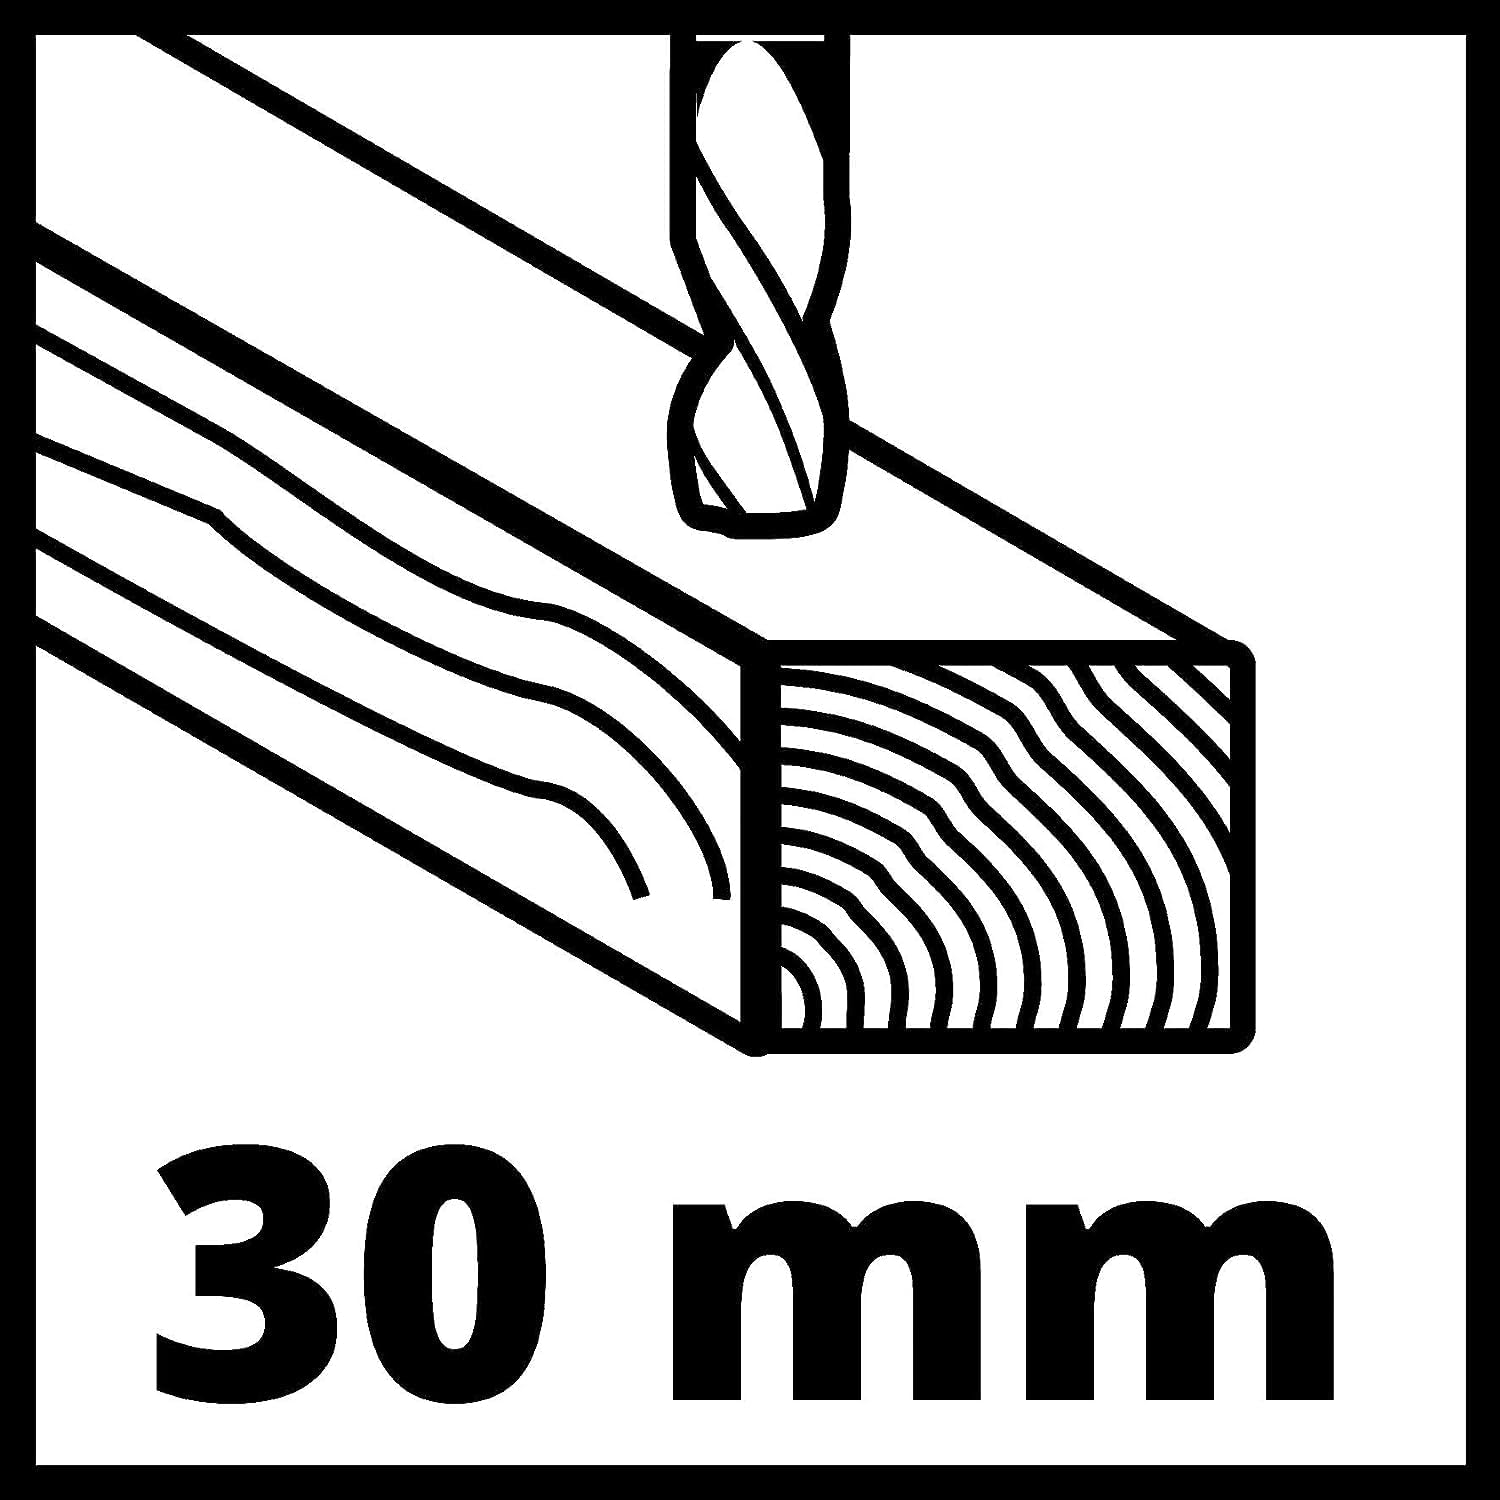
Figur 9: Wood Drilling Capacity. This icon illustrates a maximum drilling diameter of 30mm in wood.
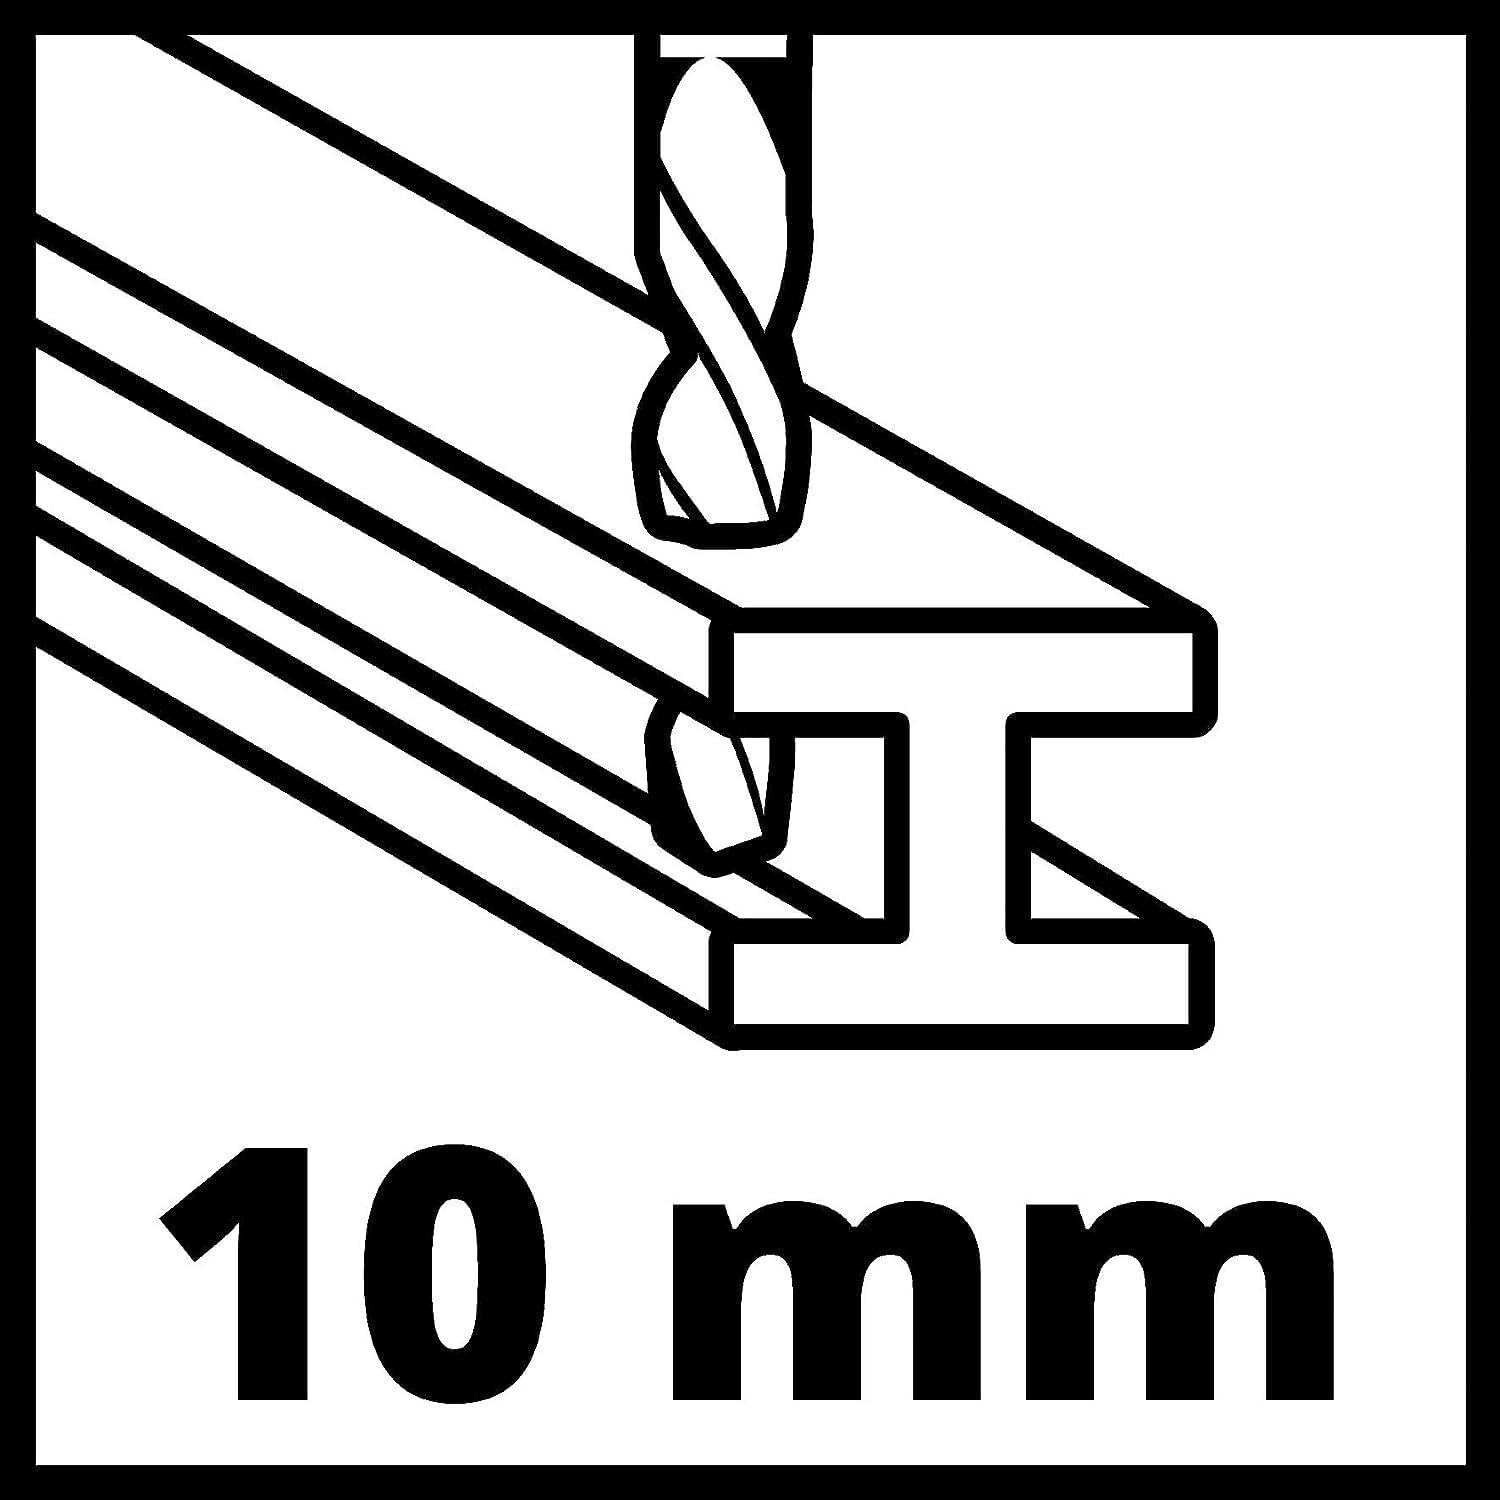
Figur 10: Metal Drilling Capacity. This icon illustrates a maximum drilling diameter of 10mm in metal.

Figur 11: Concrete Drilling Capacity. This icon illustrates a maximum drilling diameter of 13mm in concrete.
Garanti og support
For warranty information, please refer to the documentation provided with your purchase or contact the retailer where the product was acquired. Einhell products typically come with a manufacturer's warranty against defects in materials and workmanship.
For technical support, spare parts, or service inquiries, please visit the official Einhell website or contact their customer service department. Keep your purchase receipt and model number (TC-ID 720/1 E, 4259848) handy when contacting support.


