1. Introduktion
This manual provides detailed instructions for the setup, operation, maintenance, and troubleshooting of your PreSonus FaderPort 8 8-Channel Production Controller. The FaderPort 8 is designed to enhance your digital audio workstation (DAW) workflow by providing tactile control over mixing, transport, and automation functions, reducing reliance on your mouse and keyboard.
The FaderPort 8 features eight touch-sensitive, 100mm motorized faders, high-definition scribble strips, and a comprehensive set of buttons for efficient control of your music production environment.

Figure 1.1: PreSonus FaderPort 8 Production Controller with included accessories.
2. Opsætning og installation
2.1 Udpakning og indhold
Carefully unpack your FaderPort 8. Ensure all components are present:
- PreSonus FaderPort 8 Production Controller
- Ekstern strømforsyning
- USB kabel
- Bluetooth hovedtelefon
- Mobil beslag
- Lynstartguide (se denne manual for yderligere oplysninger)
2.2 Connecting Your FaderPort 8
Follow these steps to connect your FaderPort 8 to your computer:
- Strømtilslutning: Connect the included external power supply to the 12V DC input on the rear panel of the FaderPort 8. Plug the power supply into a suitable electrical outlet.
- USB-forbindelse: Connect one end of the USB cable to the USB port on the rear panel of the FaderPort 8 and the other end to an available USB port on your computer.
- Fodpedal (valgfri): If desired, connect a compatible footswitch to the Footswitch input for hands-free control of functions like punch-in/out.

Figure 2.1: Rear panel connections of the FaderPort 8.
2.3 Driver Installation and DAW Setup
The FaderPort 8 is a class-compliant USB device, meaning it typically does not require special drivers for basic functionality on most operating systems. However, for full integration and optimal performance with your DAW, it is recommended to:
- Visit the official PreSonus website to download and install any specific drivers or firmware updates for the FaderPort 8.
- Refer to your DAW's documentation for instructions on setting up a control surface. The FaderPort 8 supports various protocols, including Native Mode for PreSonus Studio One, Mackie Control Universal (MCU), and HUI.
3. Operating Your FaderPort 8
The FaderPort 8 provides intuitive control over your DAW. Familiarize yourself with its layout and functions.
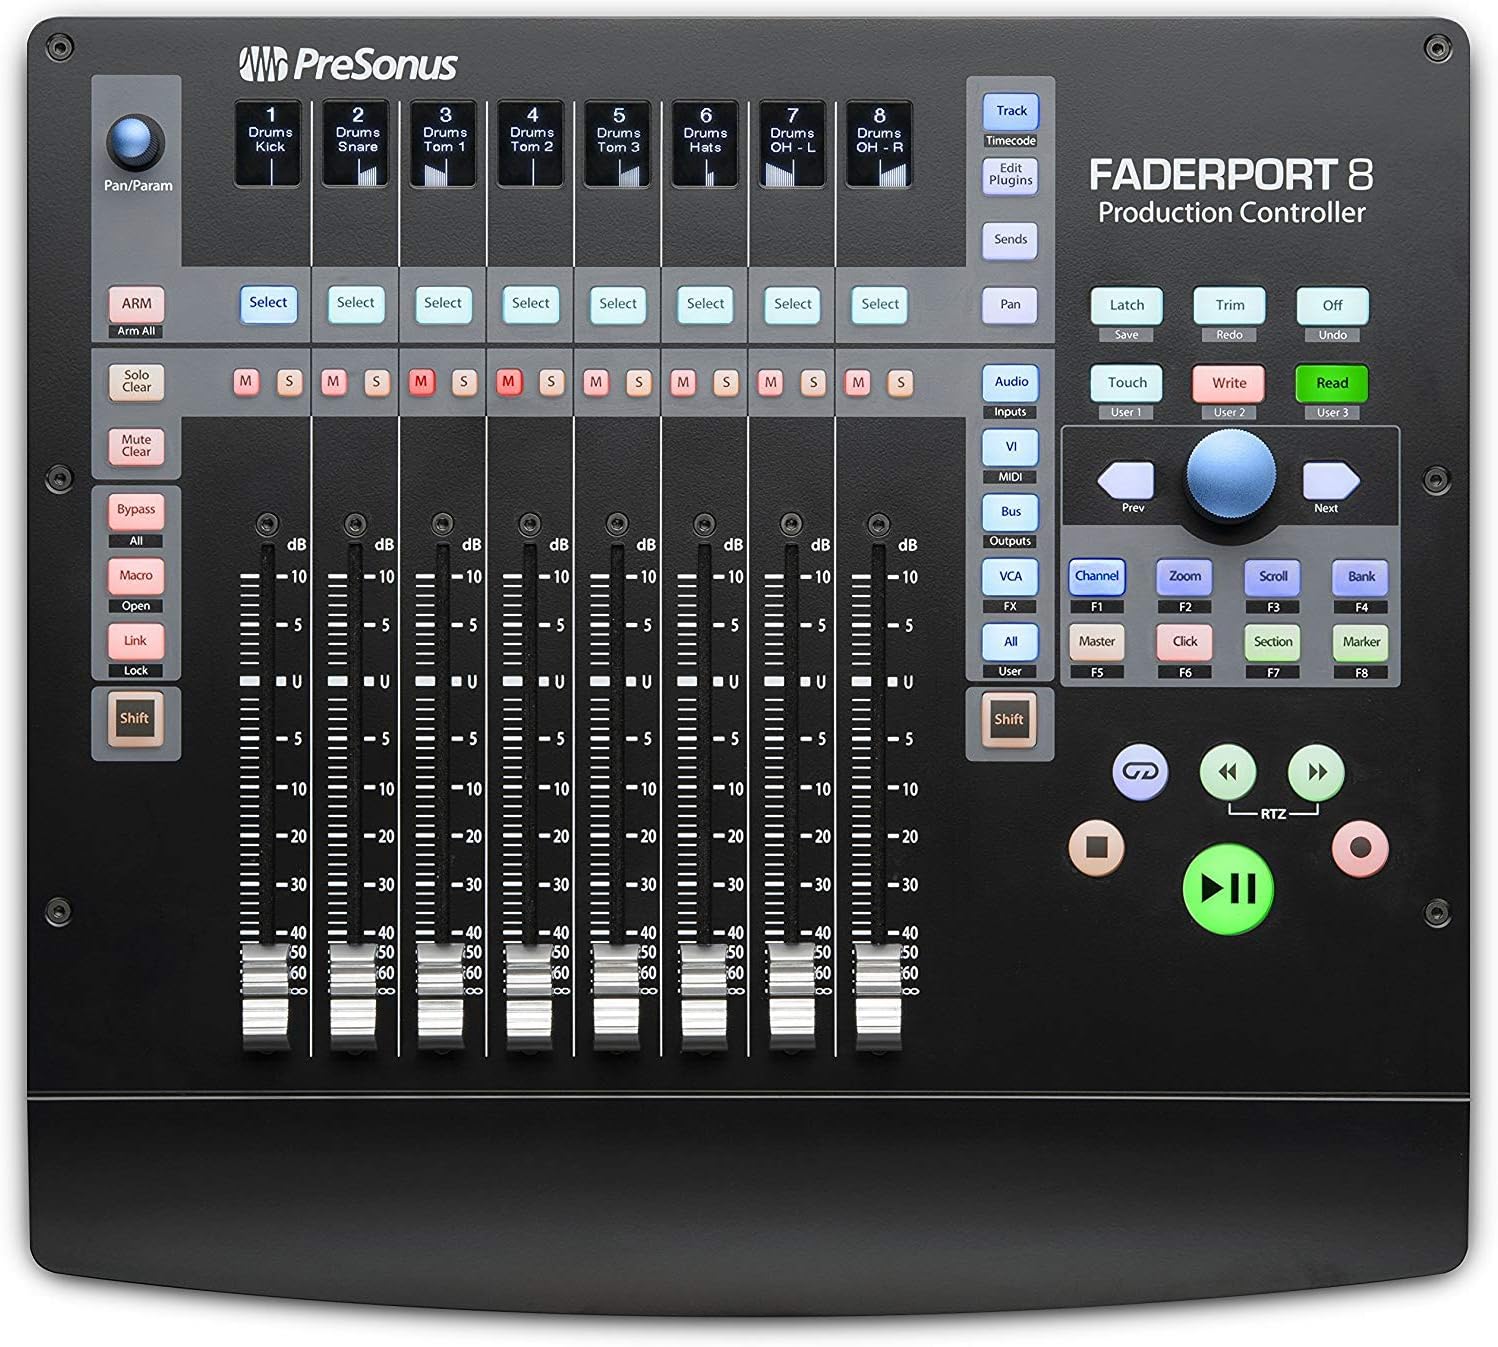
Figur 3.1: Overview of the FaderPort 8 control surface.
3.1 Transportkontrol
The dedicated transport section allows for quick navigation and control of your project:
- Afspil/stop: Start and stop playback.
- Optage: Arm and disarm recording.
- Hurtigt frem/tilbage: Navigate through your timeline.
- Løkke: Toggle loop playback.
- RTZ (Return to Zero): Instantly move the playhead to the beginning of the project.
3.2 Faders and Scribble Strips
The eight 100mm motorized faders provide precise level control for individual tracks, buses, or VCA groups. The high-definition scribble strips above each fader display channel names, pan values, and other relevant information, allowing for quick identification.
- Touch-Sensitive Faders: The faders respond to touch, enabling automation write modes.
- Scribble Strips: Dynamically update to show track names, pan, send levels, and more, depending on the selected mode.
3.3 Session Navigator
The Session Navigator section provides efficient control over your project's structure:
- Track Scrolling: Navigate through tracks in your DAW.
- Channel Banking: Shift the focus of the eight faders across groups of tracks.
- Timeline Scrolling: Move through the project timeline.
- Zoom: Control horizontal and vertical zoom levels in your DAW.
3.4 Automation Modes and Controls
The FaderPort 8 offers dedicated buttons for various automation modes:
- Læse: Playback existing automation.
- Skrive: Record new automation.
- Røre: Write automation only when the fader is touched.
- latch: Write automation until the fader is released, then hold the last value.
- Trimme: Adjust existing automation relative to its current value.
- Slukket: Disable automation for the selected parameter.
3.5 General Session Controls
Access common DAW functions directly from the FaderPort 8:
- Fortryd/Gentag: Reverse or reapply actions.
- Arm All: Arm all tracks for recording simultaneously.
- Solo/Mute Clear: Quickly clear all solo or mute states.
- Click On/Off with Tap Tempo: Toggle the metronome and set its tempo.
3.6 Plug-in and Send Control
The FaderPort 8 allows you to map plug-in parameters and send levels to the faders for hands-on mixing and sound design. Use the dedicated buttons to switch between controlling track levels, sends, or plug-in parameters.
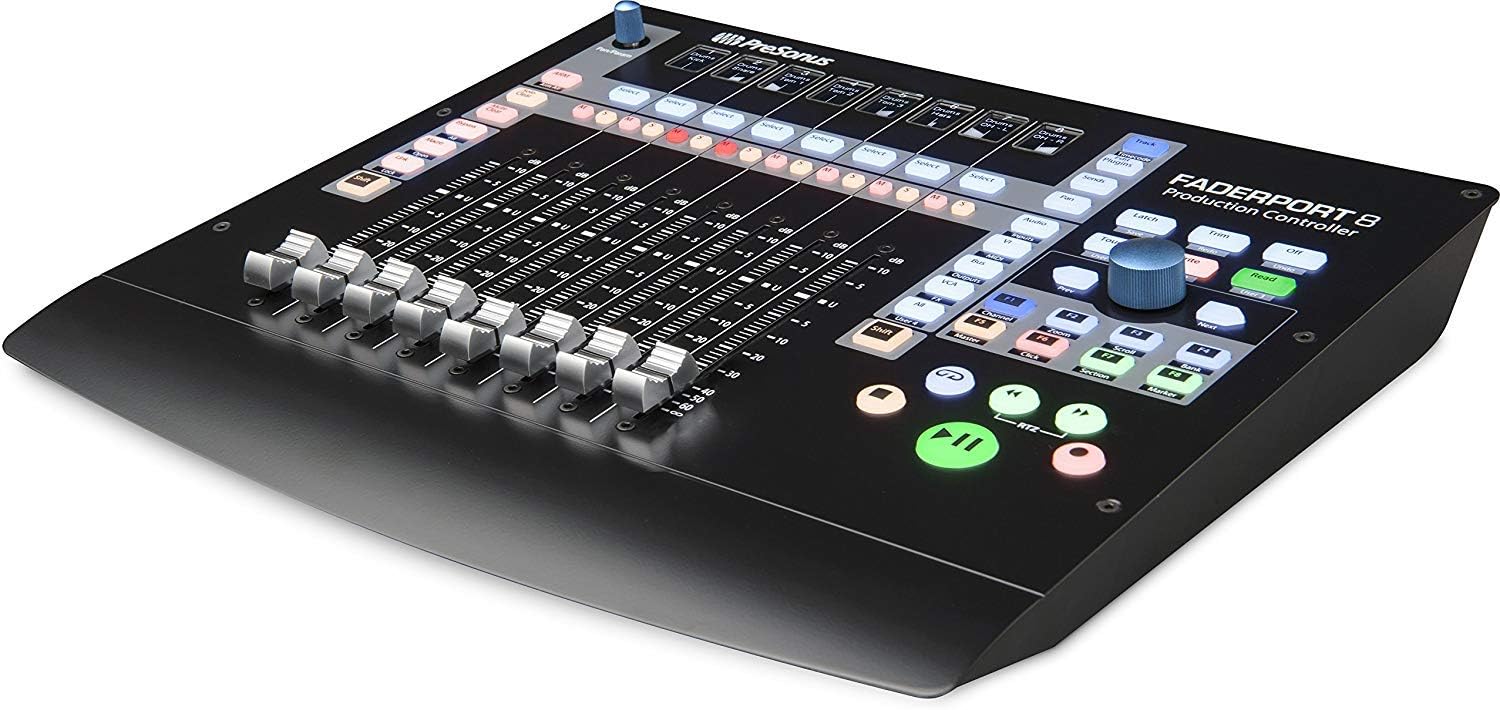
Figure 3.2: The FaderPort 8 in action, providing tactile control.
3.7 User Buttons
The four programmable User buttons (User 1, User 2, User 3, User 4) can be assigned to your most frequently used DAW functions, providing quick access to custom commands.
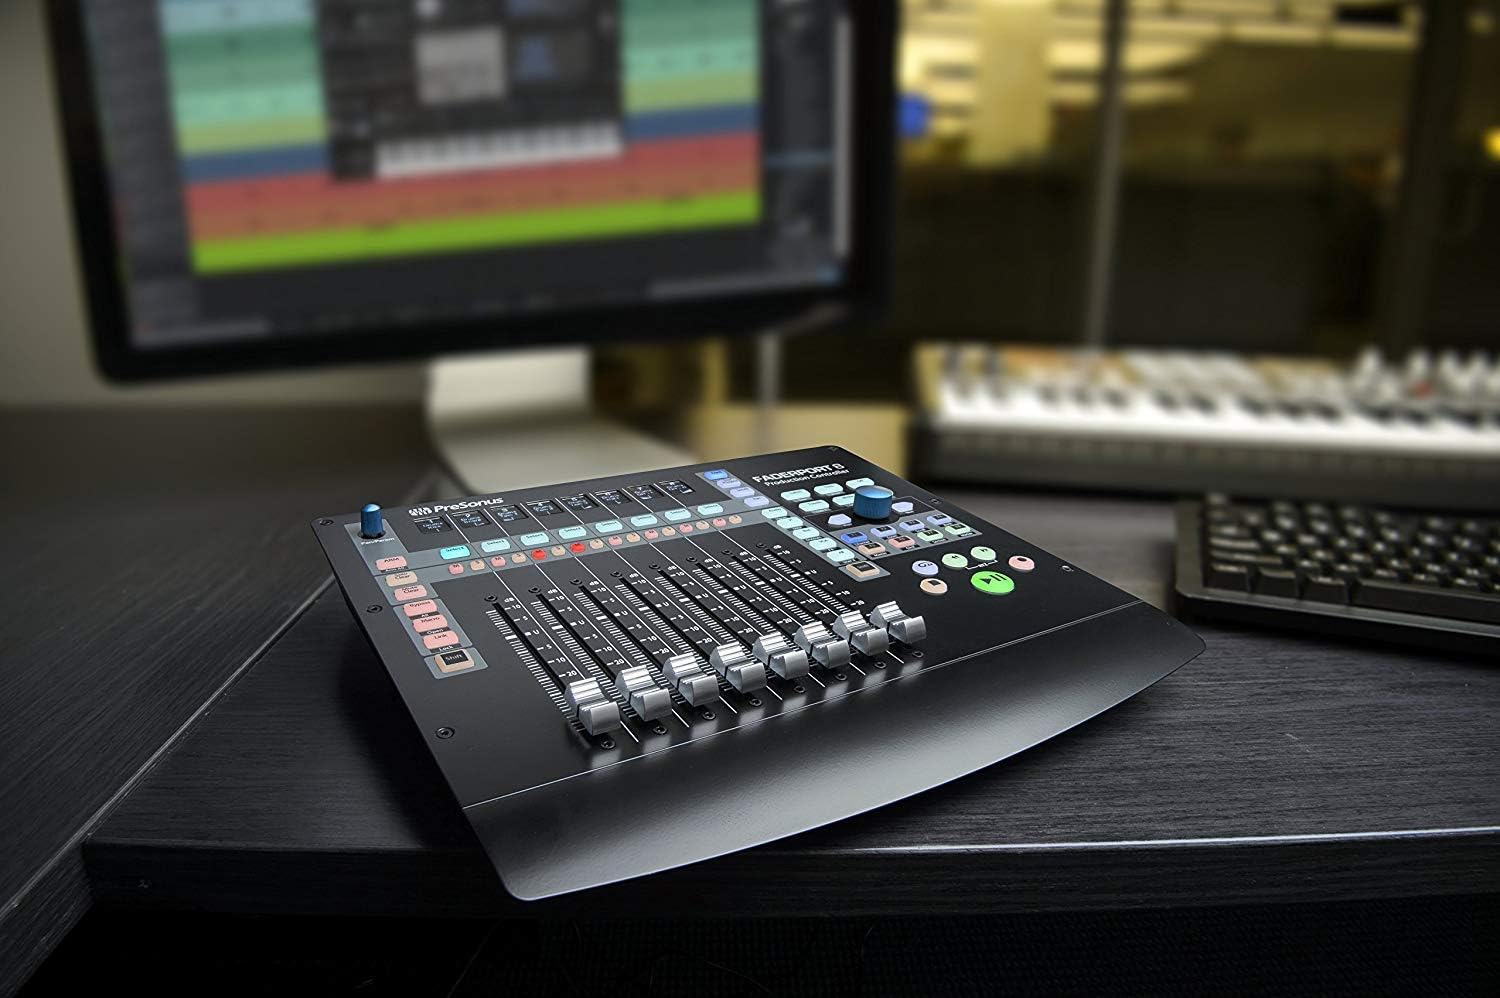
Figure 3.3: FaderPort 8 seamlessly integrated into a production environment.
4. Vedligeholdelse
Proper care will ensure the longevity and optimal performance of your FaderPort 8.
- Rensning: Use a soft, dry, lint-free cloth to clean the surface of the unit. For stubborn marks, a slightly damp cloth with mild soap can be used, but ensure no liquid enters the unit. Avoid abrasive cleaners or solvents.
- Støvbeskyttelse: When not in use, cover the FaderPort 8 to protect it from dust and debris, which can affect the faders and buttons.
- Miljø: Operate the unit in a clean, dry environment, away from direct sunlight, excessive heat, humidity, or extreme temperatures.
- Sluk: Always power off the unit and disconnect the power supply when not in use for extended periods or during electrical storms.
5. Fejlfinding
If you encounter issues with your FaderPort 8, refer to the following common problems and solutions:
| Problem | Mulig årsag | Løsning |
|---|---|---|
| Enheden tænder ikke. | Power supply not connected or faulty; power outlet issue. | Ensure power supply is securely connected to the unit and a working outlet. Test the outlet with another device. |
| Faders are not moving or responding. | USB connection issue; DAW not configured correctly; unit in wrong mode. | Check USB cable connection. Verify DAW control surface setup (e.g., MCU, HUI, Native Mode). Ensure the unit is not in a locked or unresponsive state. Restart DAW and FaderPort 8. |
| Scribble strips are blank or incorrect. | Communication error with DAW; incorrect display mode. | Ensure proper DAW integration. Cycle through display modes on the FaderPort 8 if available. Restart DAW and FaderPort 8. |
| Knapperne reagerer ikke. | Software glitch; firmware issue. | Restart the FaderPort 8 and your computer. Check for and install any available firmware updates from PreSonus. |
If the problem persists after attempting these solutions, please contact PreSonus customer support.
6. Specifikationer
Below are the technical specifications for the PreSonus FaderPort 8 Production Controller:
| Feature | Detalje |
|---|---|
| Varens vægt | 10 pund |
| Produktdimensioner | 4 x 9 x 14 tommer |
| Varemodelnummer | FD8+AH2+M |
| Kompatible enheder | Bærbare computere, pc'er |
| Connector Type | USB |
| Understøttet software | Ableton Live, Avid Pro Tools, FL Studio (and others via MCU/HUI) |
| Mixerkanalmængde | 8 |
| Strømkilde | Elektrisk med ledning |
7. Garanti og support
7.1 Garantioplysninger
For detailed warranty information regarding your PreSonus FaderPort 8, please refer to the warranty card included with your product or visit the official PreSonus webGarantibetingelserne kan variere afhængigt af region og produkt.
7.2 Kundesupport
If you require technical assistance, have questions about your product, or need to report an issue, please contact PreSonus customer support through their official website. They offer resources such as:
- Knowledge Base and FAQs
- Online Support Tickets
- User Forums
- Software and Firmware Downloads
Always ensure you have your product's serial number and purchase information ready when contacting support.


