1. Vigtige sikkerhedsinstruktioner
Please read all instructions carefully before using the CREATE Thera Classic Espresso Machine. Retain this manual for future reference. Incorrect operation may result in damage to the appliance or personal injury.
- Sørg for, at apparatet er tilsluttet en jordet stikkontakt med den korrekte lydstyrke.tage (240V).
- Apparatet, netledningen eller stikket må ikke nedsænkes i vand eller andre væsker.
- Hold hænder og ledninger væk fra varme overflader og damp. Dampstangen og portafilteret kan blive meget varme under brug.
- Always turn off the machine and unplug it before cleaning or when not in use.
- Do not operate the machine with a damaged cord or plug, or if the appliance malfunctions or has been damaged in any manner.
- Dette apparat er kun til husholdningsbrug. Må ikke bruges udendørs.
- Børn skal være under opsyn for at sikre, at de ikke leger med apparatet.
2. Produktet er slutview og komponenter
Familiarize yourself with the parts of your CREATE Thera Classic Espresso Machine.

Billede 2.1: Front view of the CREATE Thera Classic Espresso Machine, showing the control panel, portafilter, and drip tray with two espresso cups.

Billede 2.2: All removable components of the espresso machine laid out, including the portafilter, single and double shot filter baskets, measuring spoon with tamper, and the water tank.
Hovedkomponenter:
- Kontrolpanel: Power button, single shot button, double shot button, pressure gauge, steam knob.
- Vandtank: Removable tank for fresh water. Capacity: 1.25 Liters.
- Portafilter: Handle with filter basket holder.
- Filterkurve: For single and double espresso shots, or ESE pods.
- Dampstang: Til skumning af mælk og udløb af varmt vand.
- Drypbakke: Removable tray to collect excess liquids.
- Måleske/Tampeh: For measuring ground coffee and tamping it into the filter basket.
3. Opsætning og første brug
3.1 Udpakning
- Fjern forsigtigt al emballage, og sørg for, at alle komponenter er til stede.
- Clean the water tank, portafilter, filter baskets, and drip tray with warm water and mild detergent. Rinse thoroughly.
- Tør maskinens ydre af med adamp klæde.
3.2 Påfyldning af vandtanken
- Fjern vandtanken fra bagsiden af maskinen.
- Fyld tanken med frisk, koldt vand op til MAX-niveauindikatoren. Overskrid ikke MAX-linjen.
- Sæt vandtanken tilbage på plads, og sørg for, at den sidder korrekt.
3.3 Priming the Machine (First Use or After Extended Storage)
Priming ensures the water system is filled and ready for operation.
- Sørg for, at vandtanken er fyldt.
- Place a large container under the portafilter head and another under the steam wand.
- Plug in the machine and press the power button (usually indicated by a power symbol or a light). The indicator light will illuminate.
- Once the machine has heated up (indicator light stops flashing or turns solid), press the double shot button to run water through the portafilter head until water flows steadily.
- Turn the steam knob to release steam/hot water through the steam wand until water flows steadily. Close the steam knob.
- Maskinen er nu klargjort og klar til brug.
4. Betjeningsvejledning
4.1 Espresso med formalet kaffe
- Forbered maskinen: Ensure the water tank is filled and the machine is powered on and preheated.
- Klargør portafilteret: Sæt den ønskede filterkurv (enkelt eller dobbelt) i portafilteret.
- Tilsæt kaffe: Use the measuring spoon to add freshly ground espresso coffee to the filter basket. For a single shot, use one level spoon; for a double, use two.
- Tamp kaffen: Brug tamper end of the measuring spoon to press the coffee grounds firmly and evenly. Ensure the surface is level.
- Fastgør portafilter: Align the portafilter with the group head (INSERT position) and twist it firmly to the right until it is securely locked (LOCK position).
- Placer kopper: Placer en eller to espressokopper på drypbakken direkte under portafilterets tuder.
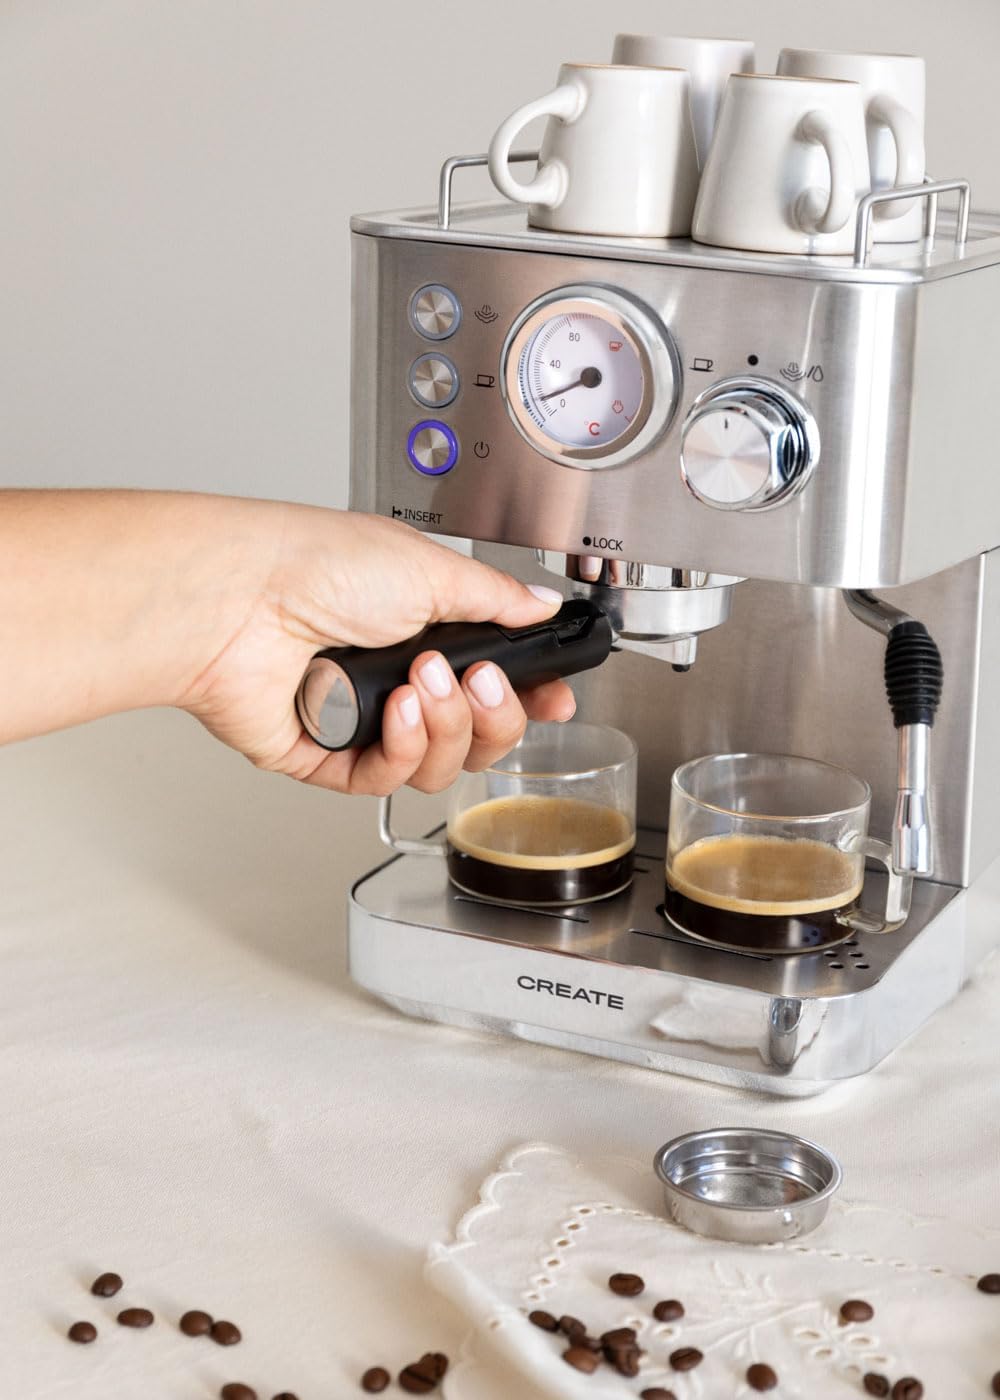
- Bryg espresso: Press the single shot or double shot button. The machine will begin brewing. The pressure gauge will indicate the brewing pressure.
- Stop med at brygge: The machine may stop automatically, or you can press the button again to stop brewing manually when the desired volume is reached.
- Fjern portafilter: Carefully twist the portafilter to the left to remove it. Dispose of the used coffee grounds.
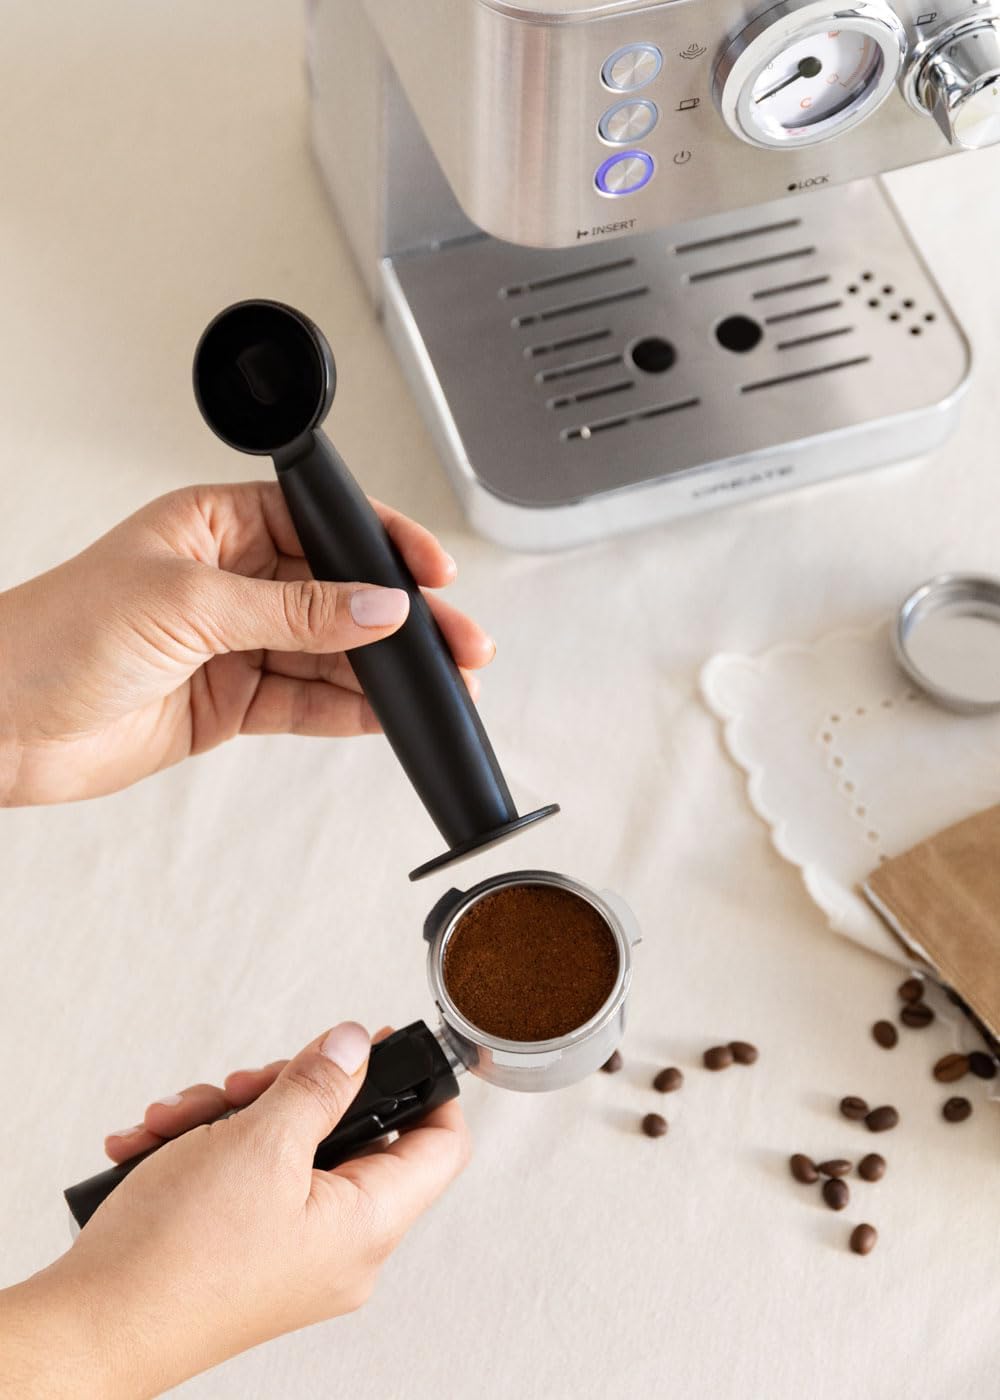
Billede 4.1: En hånd tamping ground coffee into the portafilter for espresso preparation.
Billede 4.2: A hand inserting the portafilter into the group head of the espresso machine.

Billede 4.3: Espresso being brewed into two clear glass cups, showing the rich crema.
4.2 Making Espresso with ESE Single-Dose Pods
- Follow steps 1-2 from 'Making Espresso with Ground Coffee'. Use the specific filter basket designed for ESE pods if provided.
- Place one ESE pod into the filter basket. Do not tamp.
- Follow steps 5-9 from 'Making Espresso with Ground Coffee'.
4.3 Dampning af mælk
- Forbered mælk: Fyld en kande af rustfrit stål med kold mælk (med eller uden mælk) til lige under tuden.
- Aktiver Steam: Ensure the machine is preheated. Turn the steam knob to the steam position. Wait for the steam indicator light to illuminate steadily, indicating the machine has reached steaming temperature.
- Rens damprør: Briefly open the steam knob to release any condensed water from the wand into the drip tray, then close it.
- Skummælk: Insert the steam wand tip just below the surface of the milk. Open the steam knob fully. Move the pitcher up and down slightly to create foam.
- Varm mælk: Once desired foam is achieved, lower the wand deeper into the milk to heat it without adding more air. Continue until the pitcher is hot to the touch.
- Stop med at dampe: Close the steam knob, then remove the pitcher.
- Rengør damprør: Tør straks dampdysen af med en damppistol.amp cloth to remove any milk residue. Briefly open the steam knob again to clear any milk from inside the wand, then close it.

Billede 4.4: A hand holding a frothing pitcher while the steam wand froths milk.
5. Vedligeholdelse og rengøring
Regelmæssig rengøring sikrer optimal ydeevne og forlænger levetiden på din espressomaskine.
5.1 Daglig rengøring
- Portafilter og filterkurve: After each use, remove the portafilter, discard coffee grounds, and rinse the portafilter and filter basket under hot water.
- Dampstang: As described in section 4.3, clean immediately after each use.
- Drypbakke: Tøm og skyl drypbakken dagligt, eller når indikatoren flyder op.
- Ydre: Tør maskinens ydre af med en blød, damp klæde. Brug ikke slibende rengøringsmidler eller skuresvampe.
5.2 Afkalkning
Med tiden kan der ophobes mineralaflejringer (kalk) i maskinen, hvilket påvirker ydeevnen. Afkalk din maskine hver 2.-3. måned eller oftere, hvis du har hårdt vand.
- Use a commercially available descaling solution specifically designed for espresso machines. Follow the manufacturer's instructions for mixing the solution with water.
- Fyld vandbeholderen med afkalkningsopløsningen.
- Placer en stor beholder under portafilteret og damprøret.
- Run half of the solution through the portafilter by pressing the double shot button.
- Open the steam knob to run the remaining solution through the steam wand.
- Sluk maskinen og lad den stå i 15-20 minutter.
- Tøm og skyl vandtanken grundigt. Fyld den med frisk vand.
- Gentag trin 3-5 med frisk vand for at skylle maskinen helt.
6. Fejlfinding
If you encounter issues with your machine, refer to the following common problems and solutions.
| Problem | Mulig årsag | Løsning |
|---|---|---|
| Ingen kaffeudløb | Intet vand i tanken; Tilstoppet filter; Maskinen er ikke primet. | Fill water tank; Clean filter basket; Prime the machine. |
| Kaffen brygger for langsomt eller slet ikke | Kaffegrums er for fint elleramped too hard; Clogged filter. | Use coarser grind; Tamp less firmly; Clean filter. |
| Coffee brews too quickly, weak coffee | Coffee grounds too coarse or not enough coffee; Not tamped nok. | Use finer grind; Use more coffee; Tamp mere fast. |
| Ingen damp fra stangen | Dampdysen er tilstoppet; Maskinen har ikke nået damptemperaturen. | Clean steam wand; Wait for steam indicator light to be solid. |
| Vandlækage fra maskinen | Water tank not seated correctly; Drip tray full; Portafilter not secured. | Reseat water tank; Empty drip tray; Secure portafilter firmly. |
Hvis problemet fortsætter efter at have forsøgt disse løsninger, bedes du kontakte kundesupport.
7. Specifikationer
Technical details for the CREATE Thera Classic Espresso Machine.

Billede 7.1: Dimensional drawing of the espresso machine, indicating height, width, and depth measurements.
- Mærke: SKABE
- Modelnummer: AXleftj (also 59225_115714)
- Stil: KLASSISK
- Magt: 1100 W
- Voltage: 240 V
- Tryk: 20 bar
- Vandtankkapacitet: 1.25 liter
- Produktdimensioner: 30.1 x 20.2 x 31.3 cm (L x B x H)
- Vægt: 4.5 kg
- Materiale: Rustfrit stål
- Kompatibilitet: Ground coffee and ESE single-dose pods
8. Garanti og support
For warranty information, please refer to the documentation provided at the time of purchase. This typically includes details on coverage period and terms.
For technical support, spare parts, or service inquiries, please visit the official CREATE webwebstedet eller kontakt deres kundeserviceafdeling. Kontaktoplysninger kan normalt findes på produktemballagen eller i producentens webwebsted.


