1. Introduktion
Tak for købetasing the Ematic LED Projector. This manual provides essential information for setting up, operating, and maintaining your projector to ensure optimal performance and longevity. Please read this manual thoroughly before using the product and retain it for future reference.
2. Sikkerhedsoplysninger
For at undgå brand eller elektrisk stød må dette apparat ikke udsættes for regn eller fugt. For at undgå elektrisk stød må kabinettet ikke åbnes. Overlad kun service til kvalificeret personale.
- Se ikke direkte ind i projektorlinsen, når lamp er tændt.
- Sørg for tilstrækkelig ventilation omkring projektoren. Bloker ikke ventilationsåbningerne.
- Brug kun den strømadapter, der følger med projektoren.
- Keep the projector away from water or any liquids.
- Do not place the projector on an unstable surface.
- Tag projektorens stik ud af stikkontakten under tordenvejr eller når den ikke bruges i længere perioder.
3. Pakkens indhold
- Ematic LED Projector
- Fjernbetjening
- Strømadapter
- Brugermanual
- AV Cable (if included)
4. Produktet er slutview
4.1 Foran View
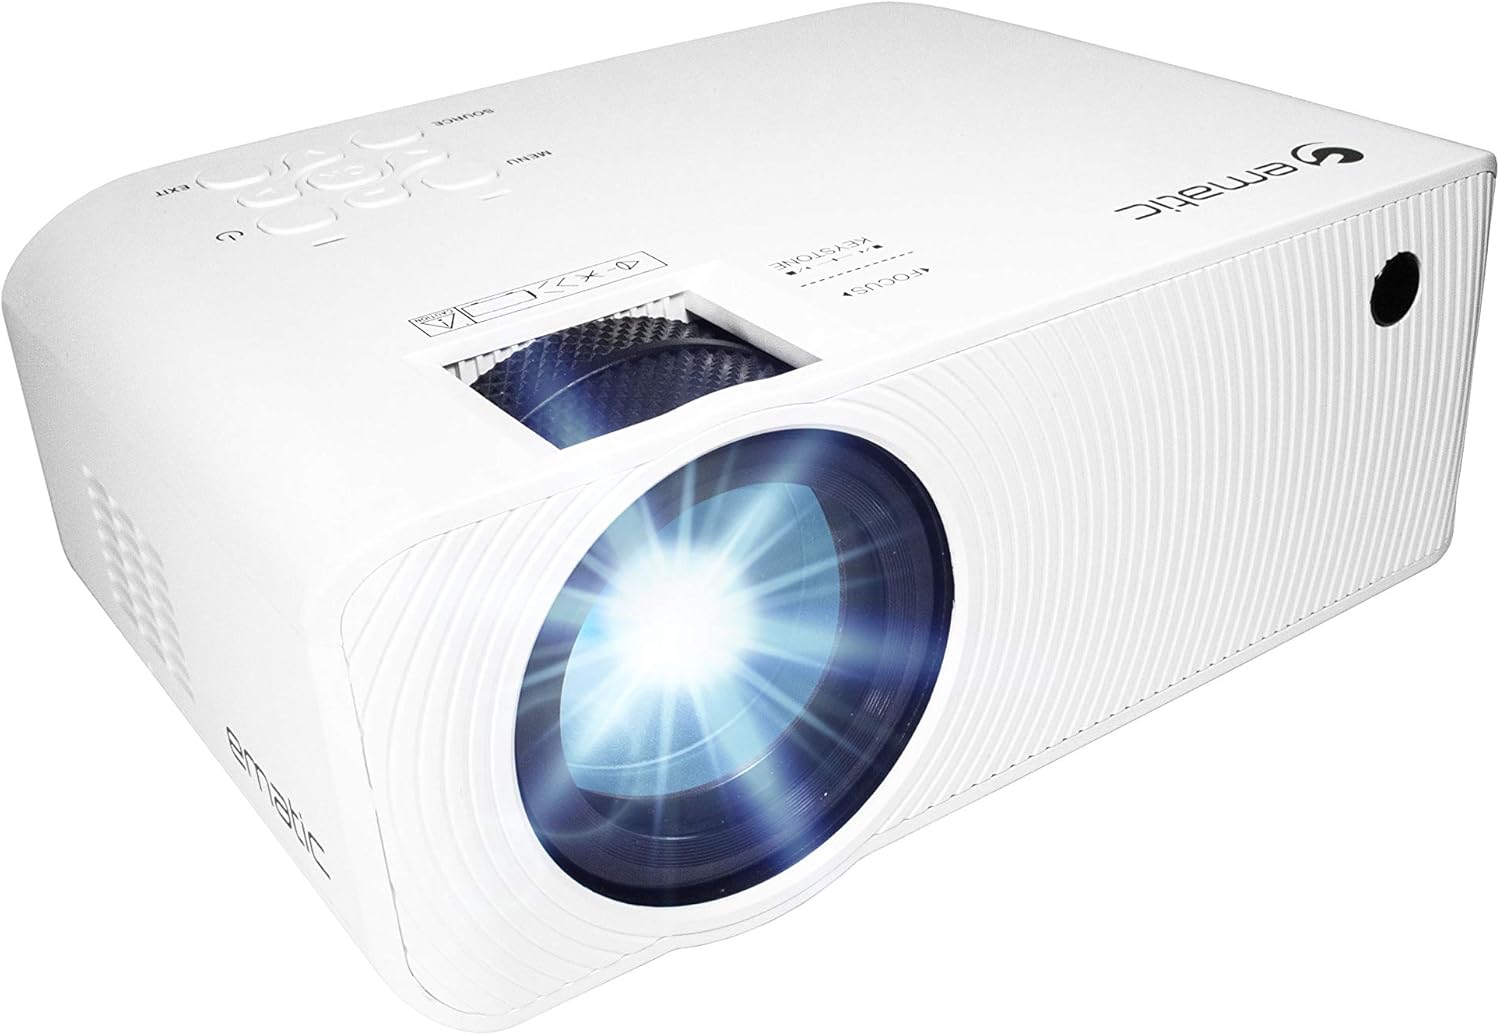
Figur 4.1: Forside view of the Ematic LED Projector, highlighting the projection lens.
4.2 Top View og kontroller

Figur 4.2: Øverst view of the projector showing the control panel (Menu, Source, Exit, Navigation buttons) and the Focus and Keystone correction dials. A remote control is also visible.
- Fokusring: Justerer billedets klarhed.
- Keystone-korrektion: Korrigerer trapezformet billedforvrængning.
- Kontrolpanel: Buttons for Menu, Source selection, Exit, and navigation.
4.3 Bagtil og på siden Views with Ports

Figure 4.3: Rear panel of the projector displaying the connectivity options: AUX audio output, AV input, MicroSD card slot, two HDMI inputs, USB port, and DC power input.

Figur 4.4: Side view of the projector, highlighting the VGA input port and the infrared (IR) receiver for the remote control.
- AUX: 3.5mm audio output for external speakers or headphones.
- AV: Composite video and stereo audio input.
- MicroSD: Slot for MicroSD memory cards.
- HDMI 1 / HDMI 2: High-Definition Multimedia Interface inputs for digital audio/video.
- USB: USB port for media playback from USB drives.
- DC IN: Strømindgang til projektoren.
- VGA: Video Graphics Array input for computer connection.
5. Opsætning
- Placering: Place the projector on a stable, flat surface. Ensure there is adequate space around the projector for ventilation. For optimal viewing, position the projector perpendicular to the projection screen or wall.
- Strømtilslutning: Connect the supplied power adapter to the DC IN port on the projector and then plug the adapter into a power outlet.
- Første gang tændt: Tryk på tænd/sluk-knappen på projektoren eller fjernbetjeningen for at tænde enheden. Strømindikatorlampen lyser.
- Fokusjustering: Once the projector is on, rotate the Focus Ring (refer to Figure 4.2) until the projected image is clear and sharp.
- Keystone-korrektion: If the image appears trapezoidal (wider at the top or bottom), adjust the Keystone Correction dial (refer to Figure 4.2) until the image is rectangular.
6. Betjeningsvejledning
- Tænd/sluk: Press the power button on the projector or remote control. Press again to turn off.
- Valg af inputkilde: Press the "Source" button on the projector or remote control to cycle through available input sources (HDMI 1, HDMI 2, AV, VGA, USB, MicroSD). Select the desired input.
- Menu navigation: Press the "Menu" button to access the projector's settings. Use the navigation buttons on the projector or remote to browse options and the "OK" button to confirm selections.
- Media Playback (USB/MicroSD): Insert a USB drive or MicroSD card into the respective port. Select "USB" or "MicroSD" as the input source. The projector will display a file browser. Navigate to your desired media file (video, photo, music, text) and press "OK" to play.
- Lydudgang: The projector has built-in speakers (refer to Figure 6.1). For external audio, connect headphones or external speakers to the AUX port (3.5mm audio jack).

Figure 6.1: Projector highlighting its built-in speaker functionality.
7. Forbindelse
The Ematic LED Projector offers multiple connection options to various devices, ensuring versatility for your entertainment and presentation needs.

Figure 7.1: Multimedia device compatibility chart for the projector.

Figur 7.2: Eksamples of projector connections to a laptop and smartphone, highlighting supported input types.
- HDMI: Connect Blu-ray players, game consoles (PS4, Xbox), streaming devices (Amazon Fire TV Stick, Chromecast), laptops, and other HDMI-enabled devices.
- USB: Afspil medier files (videos, photos, music) directly from USB flash drives.
- MicroSD: Afspil medier files directly from MicroSD memory cards.
- AV: Connect older devices like DVD players or VCRs using the included AV cable.
- VGA: Tilslut stationære computere eller ældre bærbare computere.
- Audio Out (AUX): Connect external speakers or headphones for enhanced audio experience.
8. Vedligeholdelse
- Rengøring af linser: Brug en blød, fnugfri klud, der er specielt designet til optiske linser, til forsigtigt at tørre projektorlinsen af. Brug ikke slibende rengøringsmidler eller overdreven kraft.
- Fjernelse af støv: Regularly clean the ventilation grilles with a soft brush or compressed air to prevent dust buildup, which can affect performance and lifespan.
- Udvendig rengøring: Tør projektorens yderside af med en blød, tør klud.amp klæde. Undgå at bruge skrappe kemikalier.
- Opbevaring: Når projektoren ikke er i brug i længere perioder, skal den opbevares et køligt og tørt sted, helst i dens originale emballage eller et beskyttende etui, for at forhindre støvophobning og beskadigelse.
9. Fejlfinding
| Problem | Mulig årsag | Løsning |
|---|---|---|
| Intet billede projiceret | No power; Incorrect input source; Cable not connected properly. | Check power connection; Select correct input source; Reconnect cables securely. |
| Billedet er sløret | Fokus ikke justeret; Projektoren er for langt/tæt på skærmen. | Adjust the Focus Ring; Adjust projection distance. |
| Billedet er trapezformet | Keystone not adjusted; Projector not level. | Adjust the Keystone Correction dial; Ensure projector is on a flat surface. |
| Ingen lyd | Volume too low; Muted; External speakers not connected or off. | Increase volume; Unmute; Check external speaker connection and power. |
| Fjernbetjening virker ikke | Batteries dead; Obstruction between remote and IR receiver. | Udskift batterier; Fjern forhindringer; Ret fjernbetjeningen direkte mod projektorens IR-modtager. |
10. Specifikationer
| Feature | Detalje |
|---|---|
| Mærke | Ematic |
| Model | EMP-720 (Generic) |
| Skærmopløsning | 1280 x 720 (oprindelig) |
| Forbindelsesteknologi | HDMI, USB, AV, VGA, MicroSD, AUX |
| Speciel funktion | Portable, Built-in Speakers |
| Varens vægt | 3.5 pund |
| Produktdimensioner | 13.85 x 5 x 8.8 tommer |
| Lamp Liv | Op til 20,000 timer (normal tilstand) |
11. Garanti og support
For warranty information and technical support, please refer to the warranty card included with your product or visit the official Ematic webwebsted. Gem din købsbevis til garantikrav.
Ematic Customer Support: www.ematic.us/support (EksampLinket)


