1. Introduktion
This manual provides detailed instructions for the setup, operation, and maintenance of your visiPower H885 8MP Trail Camera. Please read this manual thoroughly before using the camera to ensure optimal performance and longevity.
The visiPower H885 is a high-performance trail camera designed for capturing wildlife images and videos. It features an 8-megapixel sensor, 2.4-inch TFT LCD, infrared flash for night vision, and three PIR sensors for motion detection. Its waterproof design ensures reliable operation in various outdoor conditions.
2. Pakkens indhold
Bekræft at alle varer er til stede i din pakke:
- visiPower H885 Trail Camera
- USB kabel
- AV-kabel
- Monteringsstrop
- Vægmonteringsbeslag og skruer
- Brugervejledning (dette dokument)

Image: Contents of the visiPower H885 Trail Camera package.
3. Kamera overview

Billede: Forside view of the visiPower H885 Trail Camera.

Billede: Side view of the visiPower H885 Trail Camera.
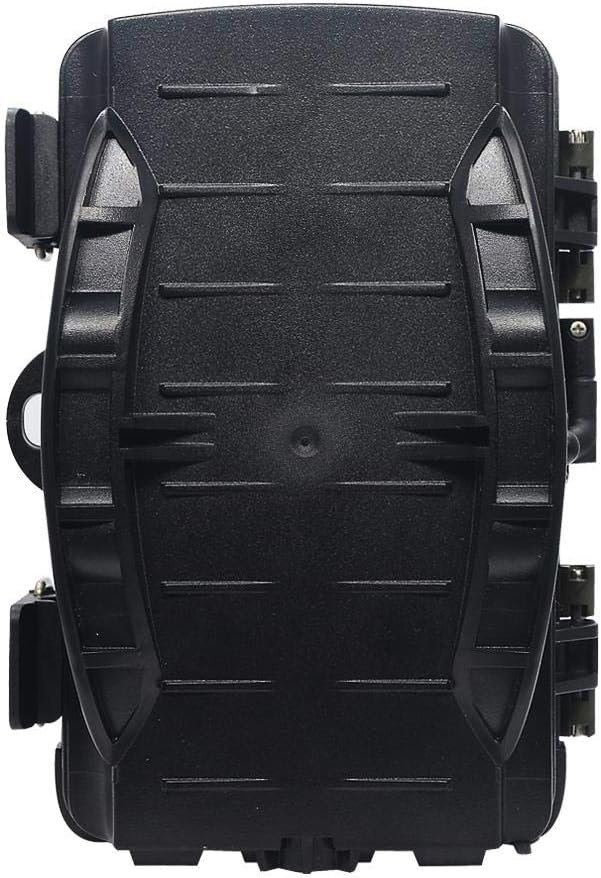
Billede: Bagside view of the visiPower H885 Trail Camera.
4. Opsætning
4.1. Batteriinstallation
- Open the camera's housing by releasing the side latches.
- Find batterirummet.
- Indsæt 8 AA-batterier, og sørg for korrekt polaritet (+/-).
- Luk batterirummet forsvarligt.
Note: The camera also supports an external 6V/1.5A power source and is compatible with solar batteries (sold separately).
4.2. Installation af SD-kort
- With the camera powered off, locate the SD card slot.
- Insert a TF (Micro SD) card (up to 32GB) into the slot until it clicks into place.
- For at fjerne det, tryk forsigtigt på kortet, indtil det springer ud.
Vigtig: Format the SD card using the camera's menu settings before first use to ensure compatibility.
4.3. Montering af kameraet
The camera can be mounted using the included strap or wall mount bracket.
- Montering af rem: Før monteringsstroppen gennem rillerne på bagsiden af kameraet, og fastgør den omkring et træ eller en stang.
- Vægbeslag: Use the provided screws and wall anchors to attach the bracket to a flat surface. Then, attach the camera to the bracket.
Position the camera to cover the desired area, ensuring no obstructions block the PIR sensors or lens.
5. Betjening af kameraet
5.1. Tænd/sluk
Locate the power switch inside the camera housing. Switch it to the "ON" position to power on the camera. Switch to "OFF" to power off.
5.2. Driftstilstande
The camera typically operates in three modes:
- OFF: Kameraet er slukket.
- OPSÆTNING: Giver adgang til menuen til konfiguration af indstillinger, viewing images/videos, and manually taking photos/videos.
- ON (Active): The camera is armed and will capture images or videos based on motion detection and configured settings. The LCD screen will turn off after a few seconds to conserve power.
5.3. Menuindstillinger
In SETUP mode, use the navigation buttons to access and adjust settings on the 2.4-inch TFT LCD. Common settings include:
- Mode: Photo, Video, or Photo + Video.
- Billedopløsning: 16MP, 12MP, 8MP, 5MP.
- Videoopløsning: 1080p (25fps), 720p (30fps).
- PIR-følsomhed: Høj, Mellem, Lav.
- Triggerinterval: Time delay between detections.
- Timelapse: For capturing images at set intervals.
- Dato/tid: Indstil den aktuelle dato og tid.
- Formater SD-kort: Slet alle data på SD-kortet.
- Uendelig optagelse: On/Off (Loop recording).

Image: Camera displaying captured content on its LCD screen.
5.4. Optagelse af billeder og videoer
Once settings are configured, switch the camera to the "ON" position. The camera will enter active mode and begin monitoring for motion. When motion is detected by the PIR sensors, the camera will trigger and capture photos or videos according to your settings.

Image: Illustration of the camera's 20-meter detection range.
6. Vedligeholdelse
- Rensning: Use a soft, dry cloth to clean the camera lens and PIR sensors. Avoid abrasive materials or harsh chemicals.
- Udskiftning af batteri: Replace all batteries when the low battery indicator appears or when performance degrades.
- SD-kortadministration: Regularly check the SD card capacity and transfer important files to a computer. Format the card periodically.
- Opbevaring: Når kameraet ikke er i brug i længere perioder, skal det fjernes fra batterierne og opbevares et køligt og tørt sted.
7. Fejlfinding
- Kameraet tænder ikke:
- Sørg for, at batterierne er isat korrekt med den rigtige polaritet.
- Check if batteries are fully charged or replace them.
- Verify the power switch is in the "ON" or "SETUP" position.
- Camera not capturing images/videos:
- Check if the SD card is inserted correctly and has sufficient free space.
- Formater SD-kortet.
- Adjust PIR sensitivity settings.
- Ensure the camera is in "ON" mode, not "SETUP".
- Dårlig billed-/videokvalitet:
- Rengør kameralinsen.
- Check resolution settings in the menu.
- Ensure adequate lighting for daytime shots; for night shots, ensure objects are within IR flash range.
- False triggers:
- Reduce PIR sensitivity.
- Avoid placing the camera near heat sources or moving branches that could trigger the sensor.
8. Specifikationer
| Feature | Detalje |
|---|---|
| Stillbilledopløsning | 8MP (Effective), 16MP/12MP/5MP selectable |
| Video opløsning | 1080p @ 25fps, 720p @ 30fps |
| Vise | 2.4-tommer TFT LCD |
| PIR sensorer | 3 PIR sensors (Main PIR 60°, Side PIRs for 120° total sensing angle) |
| IR flash afstand | Op til 20 meter (65 fod) |
| Udløserhastighed | 0.6 seconds (Pre-boot 0.2 seconds) |
| Vandmodstand | IP56 vandtæt |
| Hukommelse | Supports TF (Micro SD) card up to 32GB |
| Strømkilde | 8x AA batteries; External 6V/1.5A DC; Supports solar battery (optional) |
| Standby tid | Op til 12 måneder |
| Lyd | Indbygget mikrofon og højttaler |
| Linsevinkel | 108 grader |
| Videooptagelsesformat | MPEG-4 |
| UPC | 614024391237 |
9. Garanti og support
For warranty information and technical support, please refer to the documentation provided at the time of purchase or contact visiPower customer service. Keep your purchase receipt as proof of purchase.
For further assistance, visit the official visiPower webwebstedet eller kontakt deres supportteam direkte.

