Indledning

Figure 1: Amazon Basics Programmable Bread Maker. This image shows the black bread maker from an angled front view, highlighting its compact design, control panel with LCD display, and program settings listed on the top surface.
Tak for købetasing the Amazon Basics Programmable Bread Maker. This appliance is designed to simplify the process of making fresh bread, doughs, and jams at home. Please read this instruction manual thoroughly before first use to ensure safe operation and optimal performance. Keep this manual for future reference.
Vigtige sikkerhedsinstruktioner
- Læs alle instruktioner før brug af apparatet.
- Rør ikke ved varme overflader. Brug håndtag eller knopper.
- For at beskytte mod elektrisk stød må ledning, stik eller apparat ikke nedsænkes i vand eller anden væske.
- Tæt opsyn er nødvendigt, når et apparat bruges af eller i nærheden af børn.
- Træk stikket ud af stikkontakten, når det ikke er i brug, og før rengøring. Lad det køle af, før du sætter dele på eller af.
- Betjen ikke noget apparat med en beskadiget ledning eller stik, eller efter at apparatet ikke fungerer korrekt eller er blevet beskadiget på nogen måde.
- Brug af tilbehør, der ikke er anbefalet af apparatets producent, kan forårsage skader.
- Må ikke bruges udendørs.
- Lad ikke ledningen hænge ud over kanten af bordet eller bordpladen eller røre ved varme overflader.
- Må ikke placeres på eller i nærheden af en varm gas- eller elektrisk brænder eller i en opvarmet ovn.
- Der skal udvises ekstrem forsigtighed ved flytning af et apparat, der indeholder varm olie eller andre varme væsker.
- For at afbryde forbindelsen skal du slukke for en hvilken som helst knap og derefter tage stikket ud af stikkontakten.
- Brug ikke apparatet til andet end tilsigtet brug.
Produktkomponenter
Familiarize yourself with the parts of your bread maker before operation.

Figur 2: Medfølgende tilbehør. This image displays the bread pan with handle, a clear plastic measuring cup, a black kneading blade, a white double-sided measuring spoon (teaspoon/tablespoon), and a metal hook for removing the kneading blade.
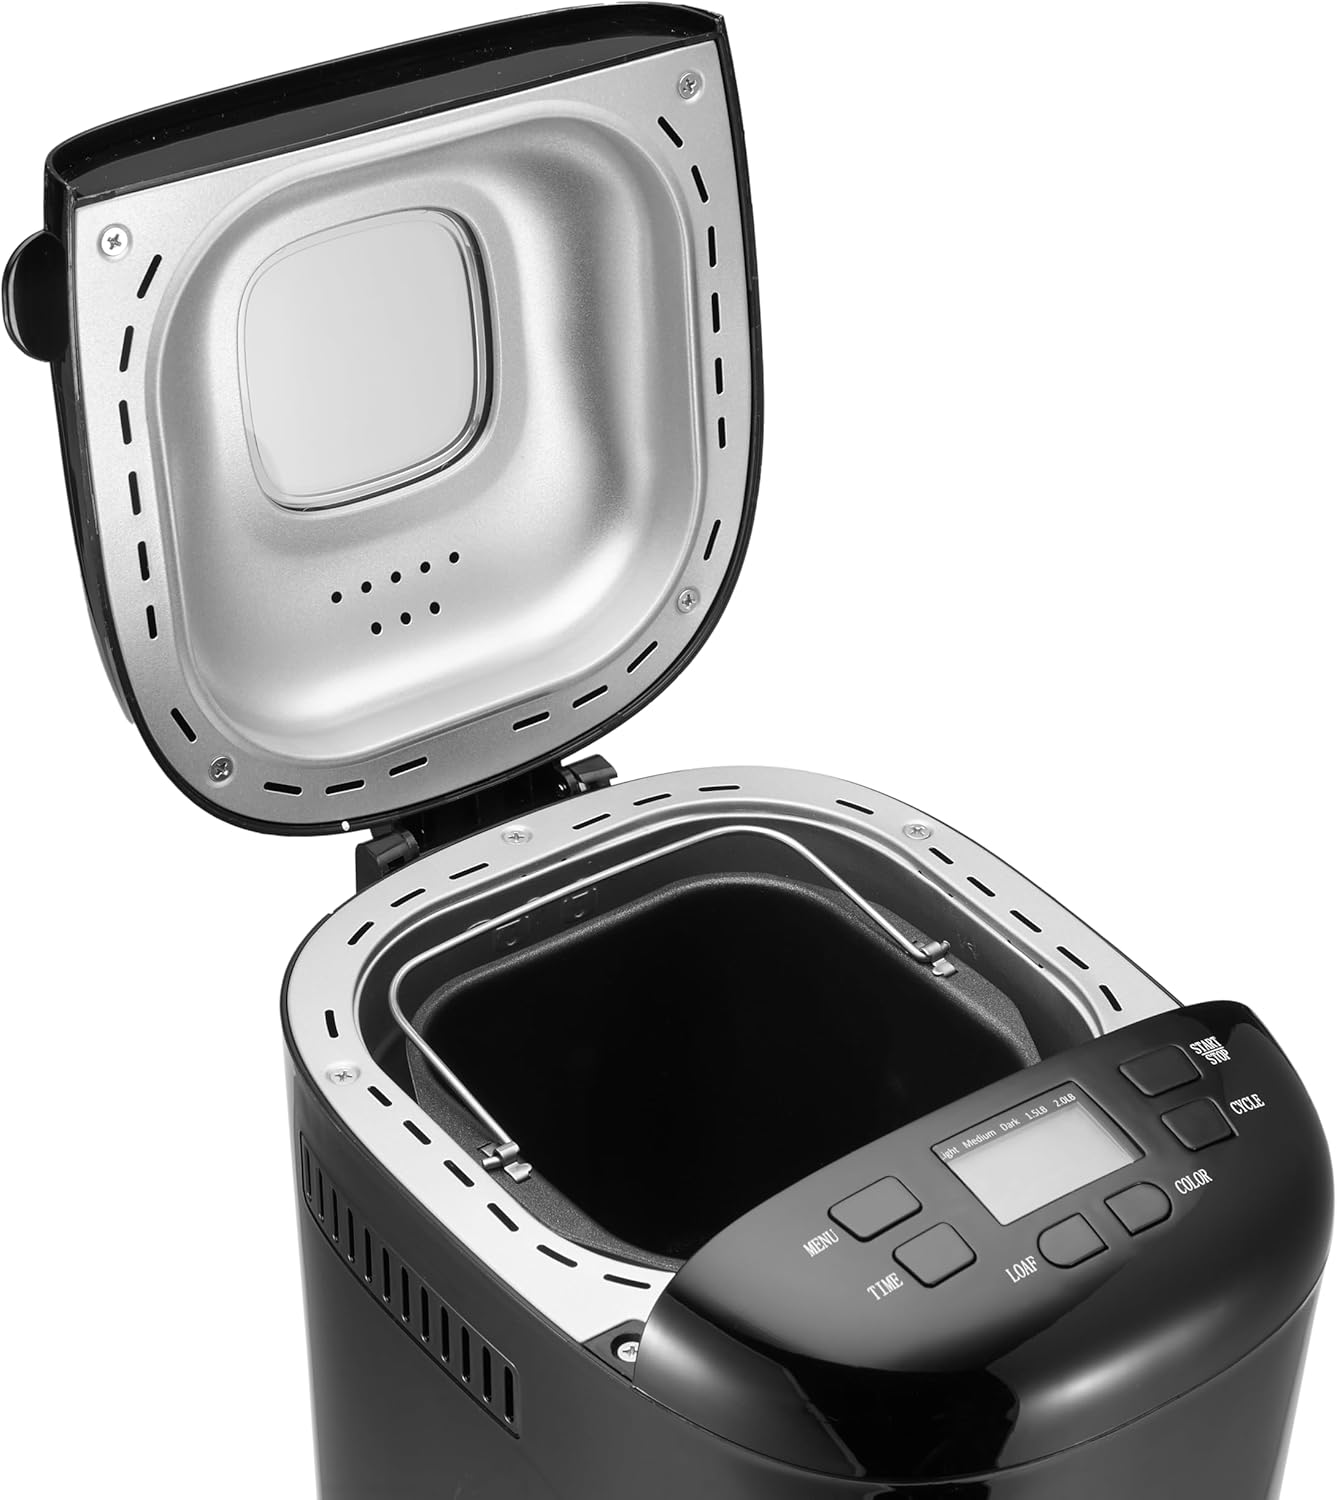
Figure 3: Bread Maker Interior. This image shows the bread maker with its lid open, revealing the heating element and the space where the bread pan is inserted. The control panel with its LCD display and buttons is visible at the front.
- Hovedenhed: Brødbagerens primære kabinet.
- Kontrolpanel: Features an LCD display and buttons for program selection, time, loaf size, and crust color.
- Låg: Covers the baking chamber, often with a viewvindue.
- Brødform: Non-stick baking pan where ingredients are placed and bread is baked.
- Æltekniv: Attaches to the shaft inside the bread pan for mixing and kneading dough.
- Målebæger: For liquid and dry ingredients.
- Måleske: For smaller measurements (teaspoon/tablespoon).
- Krog: Used to remove the kneading blade from the baked loaf.
Opsætning og første brug
- Udpakning: Tag forsigtigt brødbagemaskinen og alt tilbehør ud af emballagen. Gem emballagen til senere opbevaring eller transport.
- Rensning: Before first use, wash the bread pan and kneading blade with warm, soapy water. Rinse thoroughly and dry completely. Wipe the exterior of the bread maker with a damp klæde. Nedsænk ikke hovedenheden i vand.
- Indledende afbrænding: It is recommended to run the bread maker empty for approximately 10 minutes on a "Bake" cycle (if available, or a short custom bake cycle) to burn off any manufacturing oils. Some smoke or odor may be present; this is normal. Ensure adequate ventilation. After this, allow the unit to cool completely and clean the interior again.
- Placering: Placer brødbageren på en stabil, flad og varmebestandig overflade, væk fra direkte sollys og varmekilder. Sørg for tilstrækkelig ventilation omkring apparatet.
- Strømtilslutning: Plug the power cord into a grounded electrical outlet. The display will illuminate, indicating the unit is ready for use.
Betjeningsvejledning
This section guides you through the process of making bread with your appliance.
Kontrolpanel overview
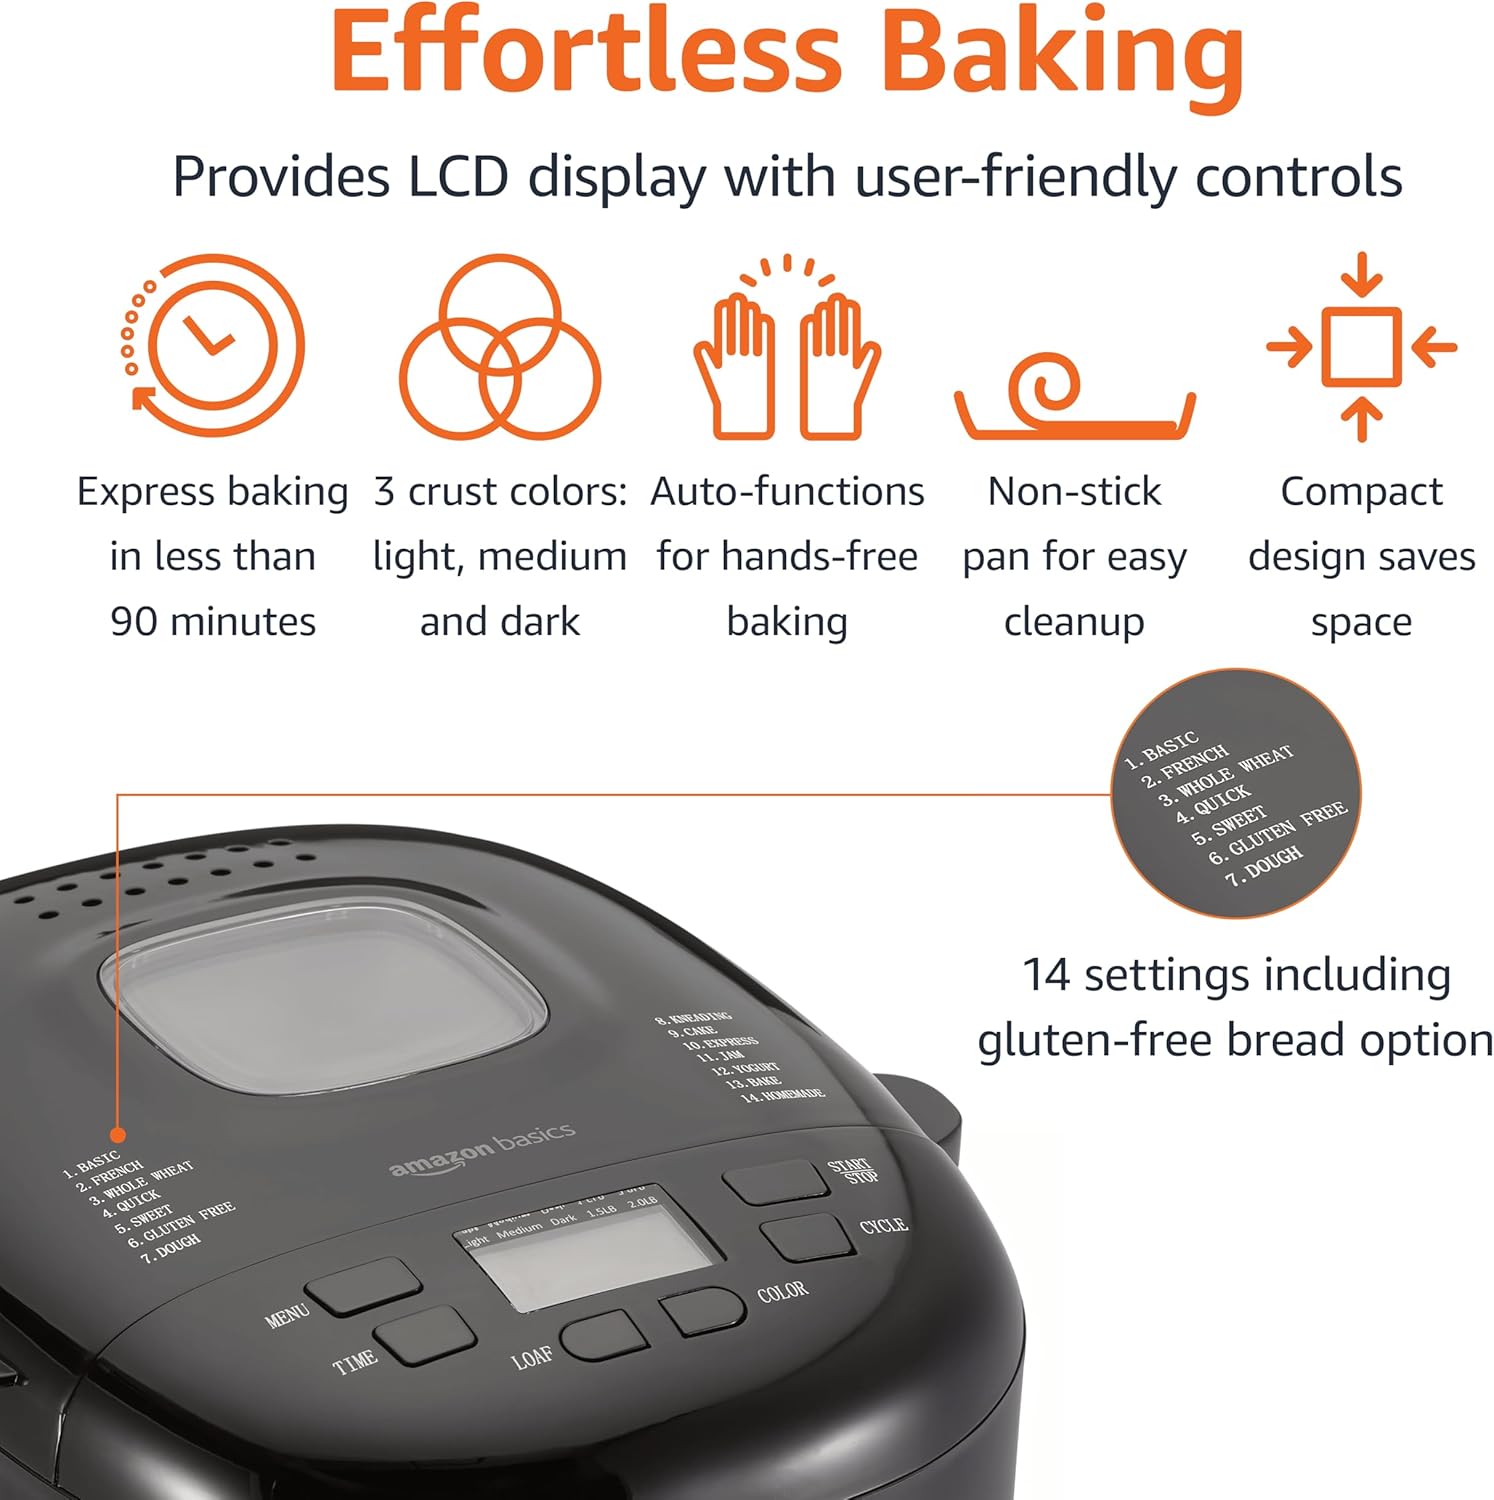
Figur 4: Kontrolpanel. This image highlights the bread maker's control panel, featuring an LCD screen that displays program information. Buttons for 'MENU', 'TIME', 'LOAF', 'COLOR', and 'CYCLE' are clearly visible, along with a list of 14 program settings.
- MENU knap: Selects one of the 14 available programs (e.g., Basic, French, Whole Wheat, Sweet, Gluten Free, Dough, Jam).
- TIME Buttons (+/-): Justerer forsinkelsestimeren for udskudt bagning.
- LOAF knap: Selects the loaf size (e.g., 1.5 lb or 2 lb).
- FARVE knap: Selects the crust darkness (Light, Medium, Dark).
- CYCLE (Start/Stop) Button: Starts or stops the selected program.
- LCD-skærm: Shows the selected program, time remaining, loaf size, and crust color.
Grundlæggende trin til brødbagning
- Indsæt ælteblad: Place the kneading blade onto the shaft inside the bread pan.
- Tilføj ingredienser: Add ingredients to the bread pan in the order specified by your recipe (typically liquids first, then dry ingredients, with yeast last and separate from liquids/salt). Ensure accurate measurements.
- Placer brødformen: Insert the bread pan into the bread maker, ensuring it is securely locked in place. Close the lid.
- Vælg program: Tryk på MENU button to choose the desired program (e.g., "Basic" for white bread).
- Vælg brødstørrelse: Tryk på LOAF button to select the appropriate loaf size (1.5 lb or 2 lb).
- Vælg skorpefarve: Tryk på FARVE button to choose your preferred crust darkness (Light, Medium, or Dark).
- Start Program: Tryk på CYKLUS button to start the program. The machine will begin mixing.
- Overvågning: During the kneading cycles, you may check the dough consistency by opening the lid briefly. If the dough is too dry, add a small amount of liquid; if too wet, add a small amount of flour.
- Færdiggørelse: Once the program is complete, the bread maker will usually beep and switch to a "Keep Warm" cycle. Press the CYKLUS knappen for at stoppe maskinen.
- Fjern brød: Using oven mitts, carefully remove the hot bread pan from the machine. Invert the pan onto a wire rack to release the bread. If the kneading blade remains in the loaf, use the provided hook to carefully remove it.
- Køling: Allow the bread to cool on a wire rack for at least 20-30 minutes before slicing. This allows the internal structure to set.
Forsinket timerfunktion
The delay timer allows you to program the bread maker to finish baking at a later time, up to 13 hours. This is useful for having fresh bread ready in the morning.
- After selecting your program, loaf size, and crust color, press the TID knapperne til at indstille den ønskede forsinkelsestid. Den viste tid inkluderer bagecyklussens varighed.
- Tryk på CYKLUS button. The timer will count down, and the machine will start automatically when the delay time expires.
- Forsigtighed: Do not use the delay timer with recipes containing highly perishable ingredients like milk, eggs, or fresh fruit, as they may spoil before baking begins.
Opskriftsvejledning
The Amazon Basics Bread Maker offers 14 settings for various types of baked goods. For best results, always use recipes specifically designed for bread makers and ensure accurate measurement of ingredients.
- Bread Programs: Basic, French, Whole Wheat, Sweet, Gluten-Free, ExpressBake.
- Dejprogrammer: For pizza dough, pasta dough, or rolls.
- Specialty Programs: Jam, Cake, Yogurt.
Refer to the recipe book that came with your bread maker or reliable bread machine recipe sources for ingredient quantities and specific instructions for each program.
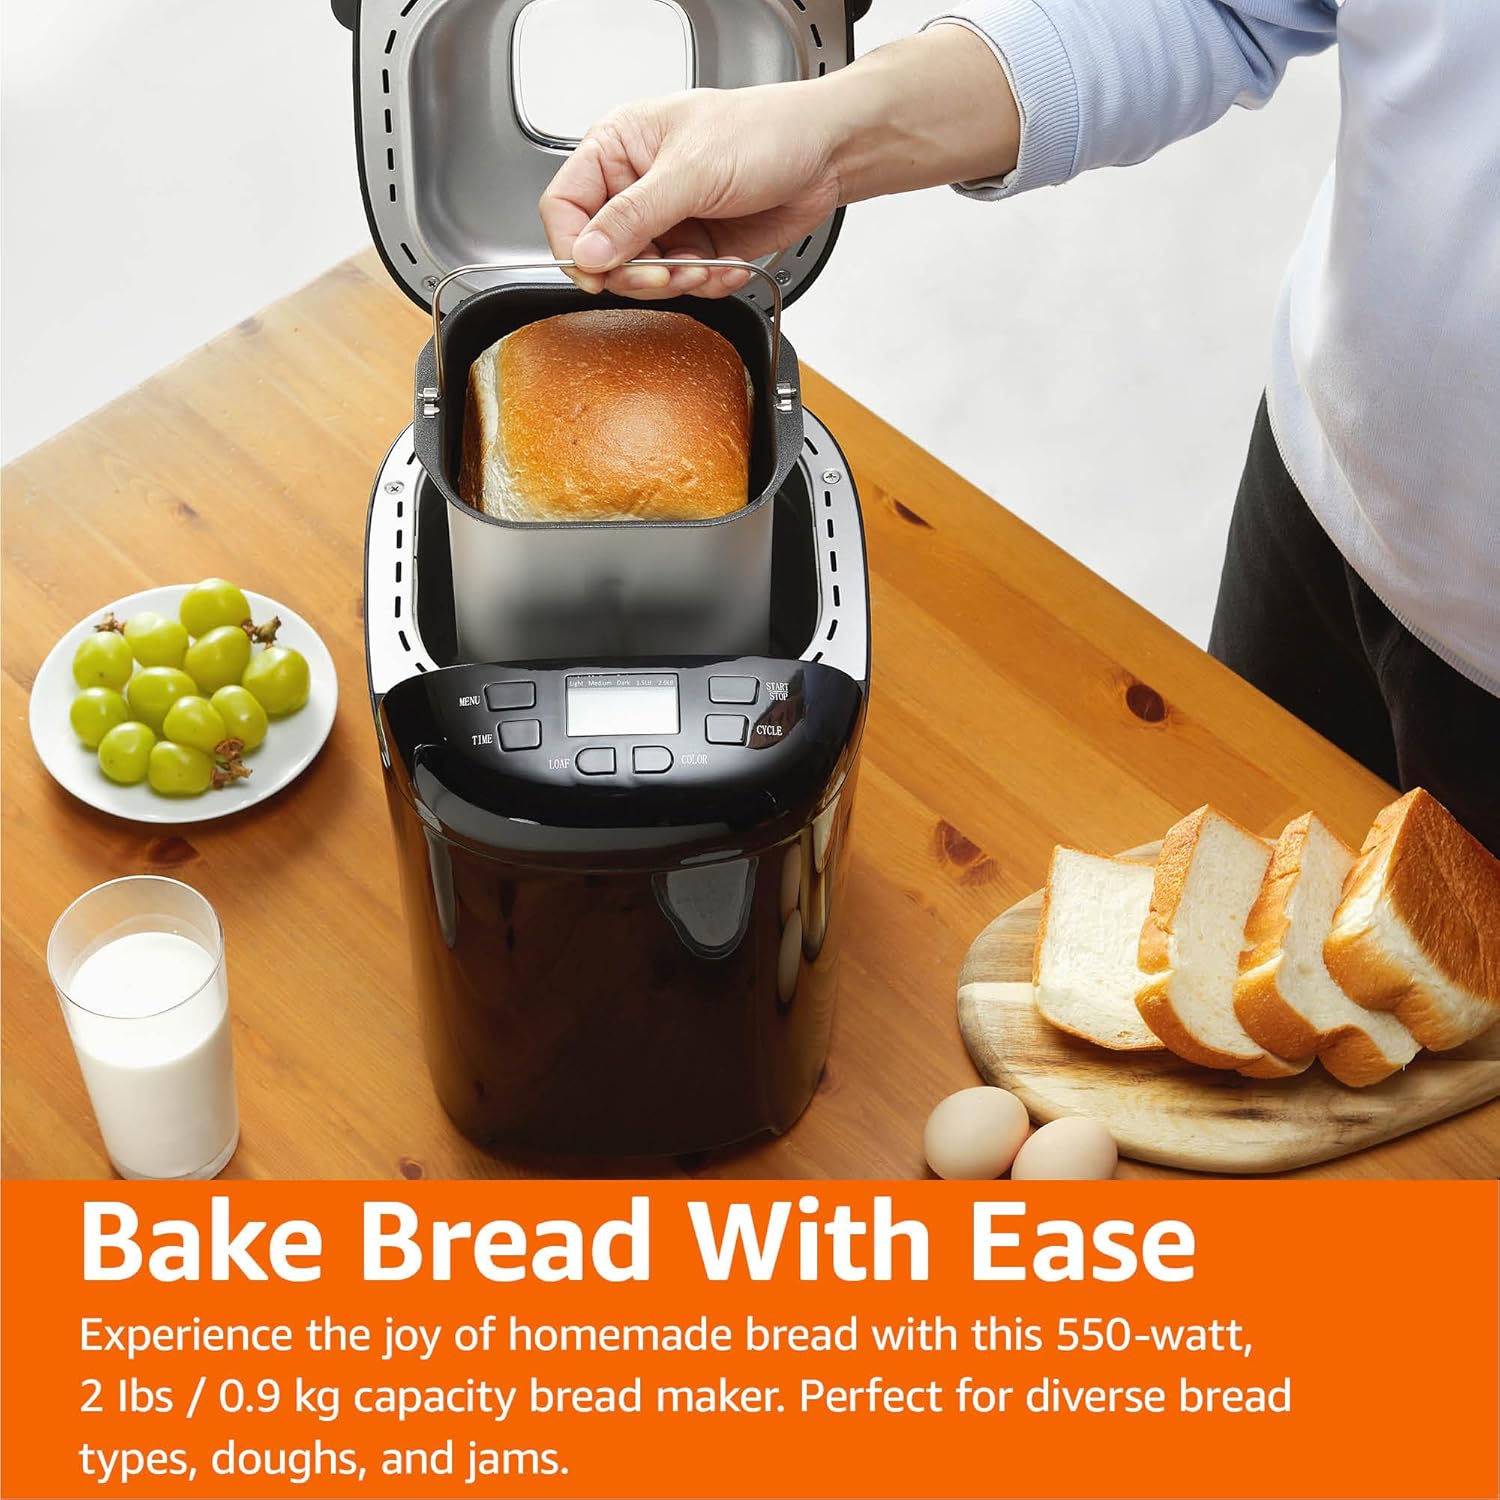
Figure 5: Freshly Baked Bread. This image shows a person carefully lifting the bread pan, containing a golden-brown loaf, out of the bread maker. Surrounding the machine are fresh grapes, a glass of milk, and slices of bread, illustrating the end result of the baking process.
Pleje og vedligeholdelse
Korrekt rengøring og vedligeholdelse vil forlænge levetiden på din brødbagemaskine.
- Tag stikket ud: Tag altid stikket ud af stikkontakten, og lad det køle helt af, inden du rengør det.
- Brødform og ælteblad: Wash the bread pan and kneading blade with warm, soapy water. Do not use abrasive cleaners or metal scouring pads, as this can damage the non-stick coating. Rinse thoroughly and dry completely.
- Ydre: Tør brødbagemaskinens yderside af med en blød, tør klud.amp klæde. Brug ikke skrappe kemikalier eller slibende rengøringsmidler.
- Indre: Rengør bagekammerets inderside med enamp klud. Fjern eventuelle krummer eller rester.
- Opbevaring: Store the bread maker in a clean, dry place. Ensure the bread pan and kneading blade are clean and dry before storing.
Fejlfinding Guide
If you encounter issues with your bread maker, refer to the following common problems and solutions.
| Problem | Mulig årsag | Løsning |
|---|---|---|
| Brødet hæver ikke. | Expired or inactive yeast, incorrect water temperature, too much salt, not enough sugar. | Tjek gærens udløbsdato. Brug lunkent vand (40-46 °C). Sørg for korrekte ingredienser. |
| Brødet er for tæt eller tungt. | Too much flour, not enough liquid, incorrect yeast amount, high humidity. | Measure ingredients accurately, especially flour (use a scale if possible). Adjust liquid slightly in humid conditions. |
| Brødet kollapser under bagning. | Too much liquid, too much yeast, high altitude, opening lid too often. | Reduce liquid slightly. Ensure correct yeast amount. Avoid opening the lid during baking. |
| Æltekniven sidder fast i brødet. | Almindelig forekomst. | Use the provided hook to carefully remove the blade after the bread has cooled slightly. |
| Maskinen starter ikke. | Ikke tilsluttet, strømmen er slukkettage, lid not closed properly, program not selected. | Check power connection. Ensure lid is fully closed. Select a program and press START. |
Produktspecifikationer
Technical details for the Amazon Basics Programmable Bread Maker.
- Modelnummer: BM1349-UL-B
- Mærke: Grundlæggende om Amazon
- Farve: Sort
- Magt: 550 watt
- Brødkapacitet: Op til 2 pund
- Antal programmer: 14
- Produktdimensioner: 11.6" D x 8.8" B x 11.4" H
- Varens vægt: 8 pund
- Fabrikant: Amazon
- Vedligeholdelsesinstruktioner: Wipe with Dry Cloth (for exterior)
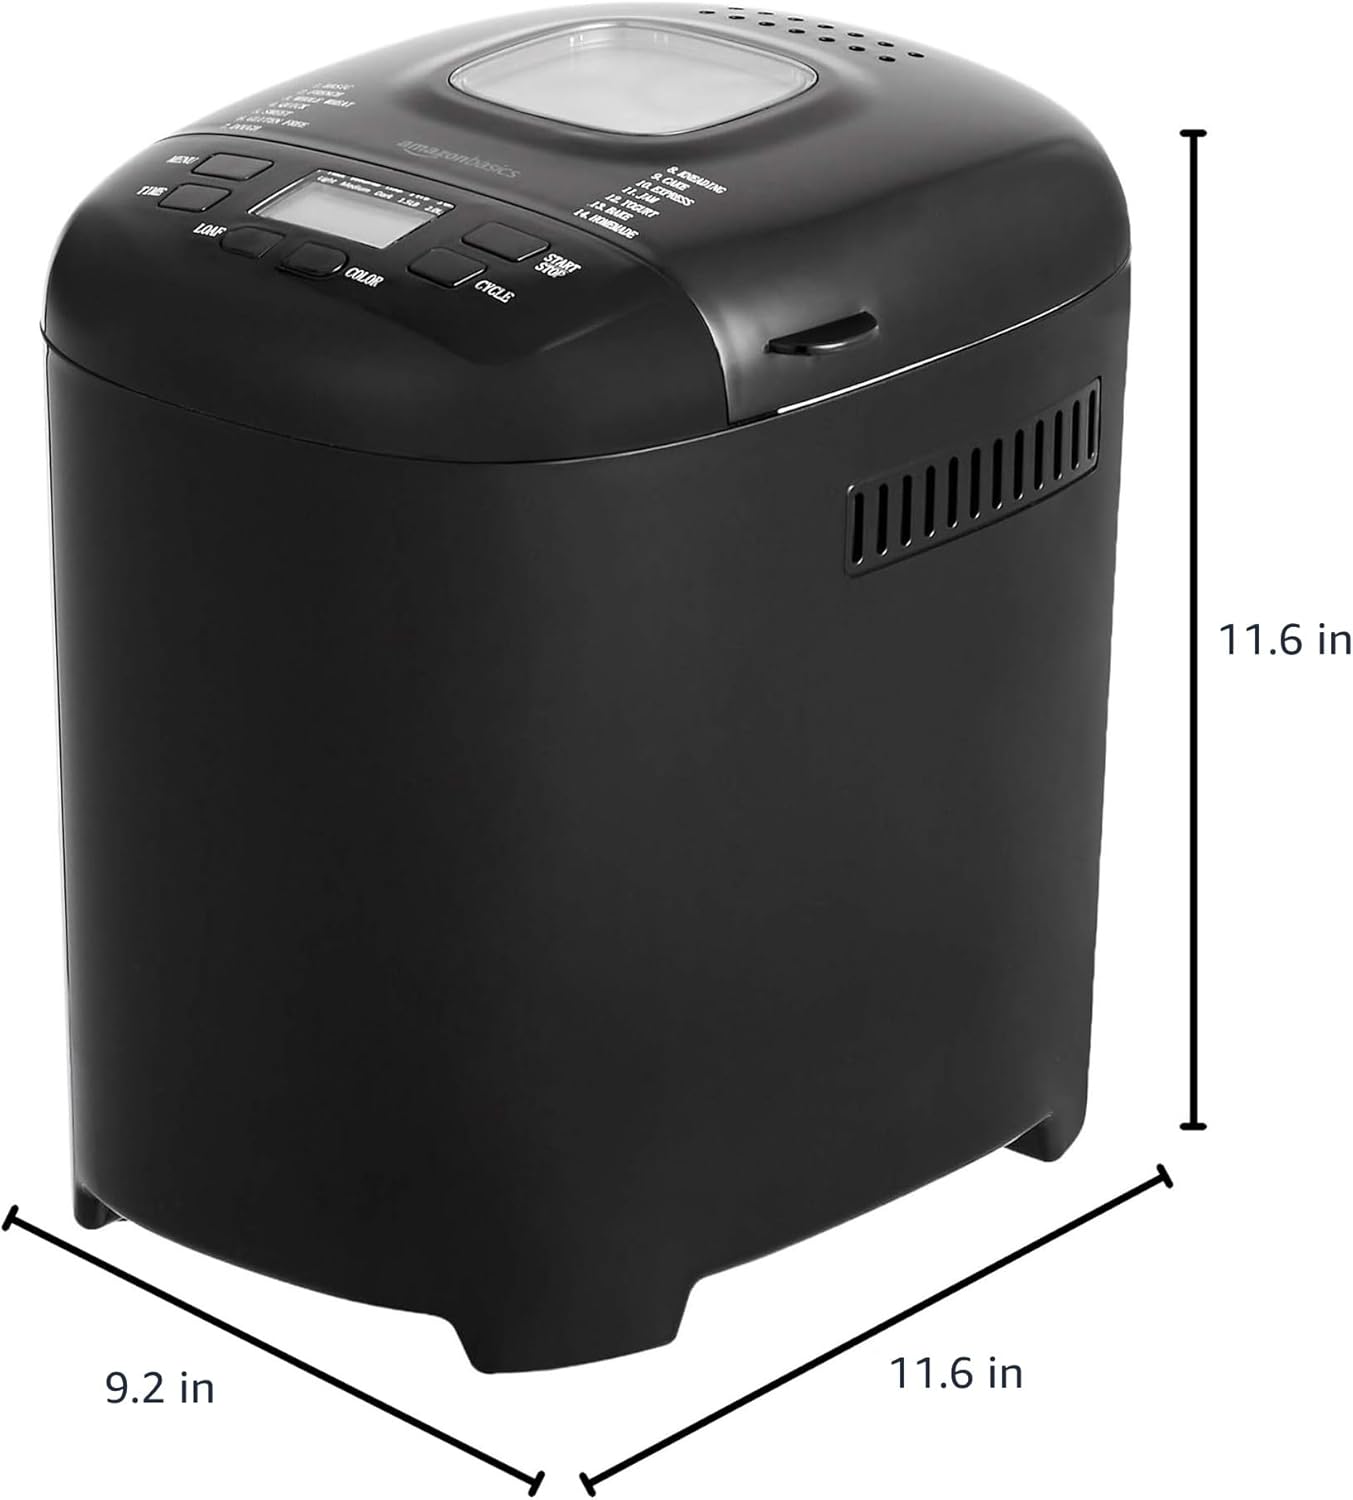
Figur 6: Produktmål. This image provides a visual representation of the bread maker's dimensions, indicating a depth of 11.6 inches, a width of 9.2 inches, and a height of 11.6 inches.
Garantioplysninger
For detailed warranty information, please refer to the warranty card included with your product packaging or visit the official Amazon Basics webGarantien dækker typisk defekter i materialer og udførelse under normal brug.
Kundesupport
If you have any questions, require assistance, or need to report an issue with your Amazon Basics Bread Maker, please contact Amazon Basics Customer Service. You can typically find contact information on the Amazon website under the "Help" or "Customer Service" sections, or through your order details.
For online support, besøg: Amazon kundeservice


