1. Introduktion
This manual provides detailed instructions for the safe and effective operation of your KAIWEETS KT360A Self-Leveling 3D Laser Level. Please read this manual thoroughly before using the device and retain it for future reference.
The KAIWEETS KT360A is a versatile 3D laser level designed for various construction and alignment tasks, featuring three 360-degree laser planes (one horizontal, two vertical) for comprehensive coverage.
2. Sikkerhedsoplysninger
ADVARSEL: This device emits laser radiation. Avoid direct eye exposure to the laser beam. Staring directly into the laser beam can cause eye injury.
- Do not disassemble the laser level. Repairs should only be performed by authorized service personnel.
- Brug ikke enheden i eksplosive atmosfærer, f.eks. i nærheden af brandfarlige væsker, gasser eller støv.
- Opbevar enheden utilgængeligt for børn.
- Brug kun de specificerede batterier og opladningstilbehør.
- Sørg for, at enheden er stabil før brug for at forhindre utilsigtet bevægelse.
3. Pakkens indhold
Bekræft at alle varer er til stede i din pakke:
- KAIWEETS KT360A laserniveau
- Lithium-ion Rechargeable Battery (installed)
- Lasermålplade
- Stofpose
- Brugermanual
- Magnetisk fod
- USB Type-C opladerkabel
- Strømadapter

Image: KAIWEETS KT360A Laser Level and its included accessories: laser unit, rechargeable battery, power adapter, USB-C charging cable, laser target plate, and a fabric carrying bag.
4. Produktfunktioner
- 3 x 360° Laser Lines: One horizontal and two vertical 360-degree laser planes for comprehensive leveling and alignment.
- Grøn laserteknologi: Offers 4 times better visibility and increased accuracy compared to red lasers.
- Selvnivellerende funktion: Automatically levels within ±4 degrees. Ensures fast and error-free work.
- Manuel tilstand: Allows locking the pendulum for projecting lines at any angle.
- Pulstilstand: Extends the working range up to 196ft/60m with a laser detector (not included) under 20000lux illuminance.
- Lang batterilevetid: Equipped with a 3.7V x 7.5Ah (27.75Whr) lithium-ion rechargeable battery, providing over 20 hours of continuous operation.
- Robust design: IP54 waterproof and dustproof housing for durability in various working conditions.
- Magnetisk stativ: Includes a 360° rotating magnetic bracket for versatile mounting options.

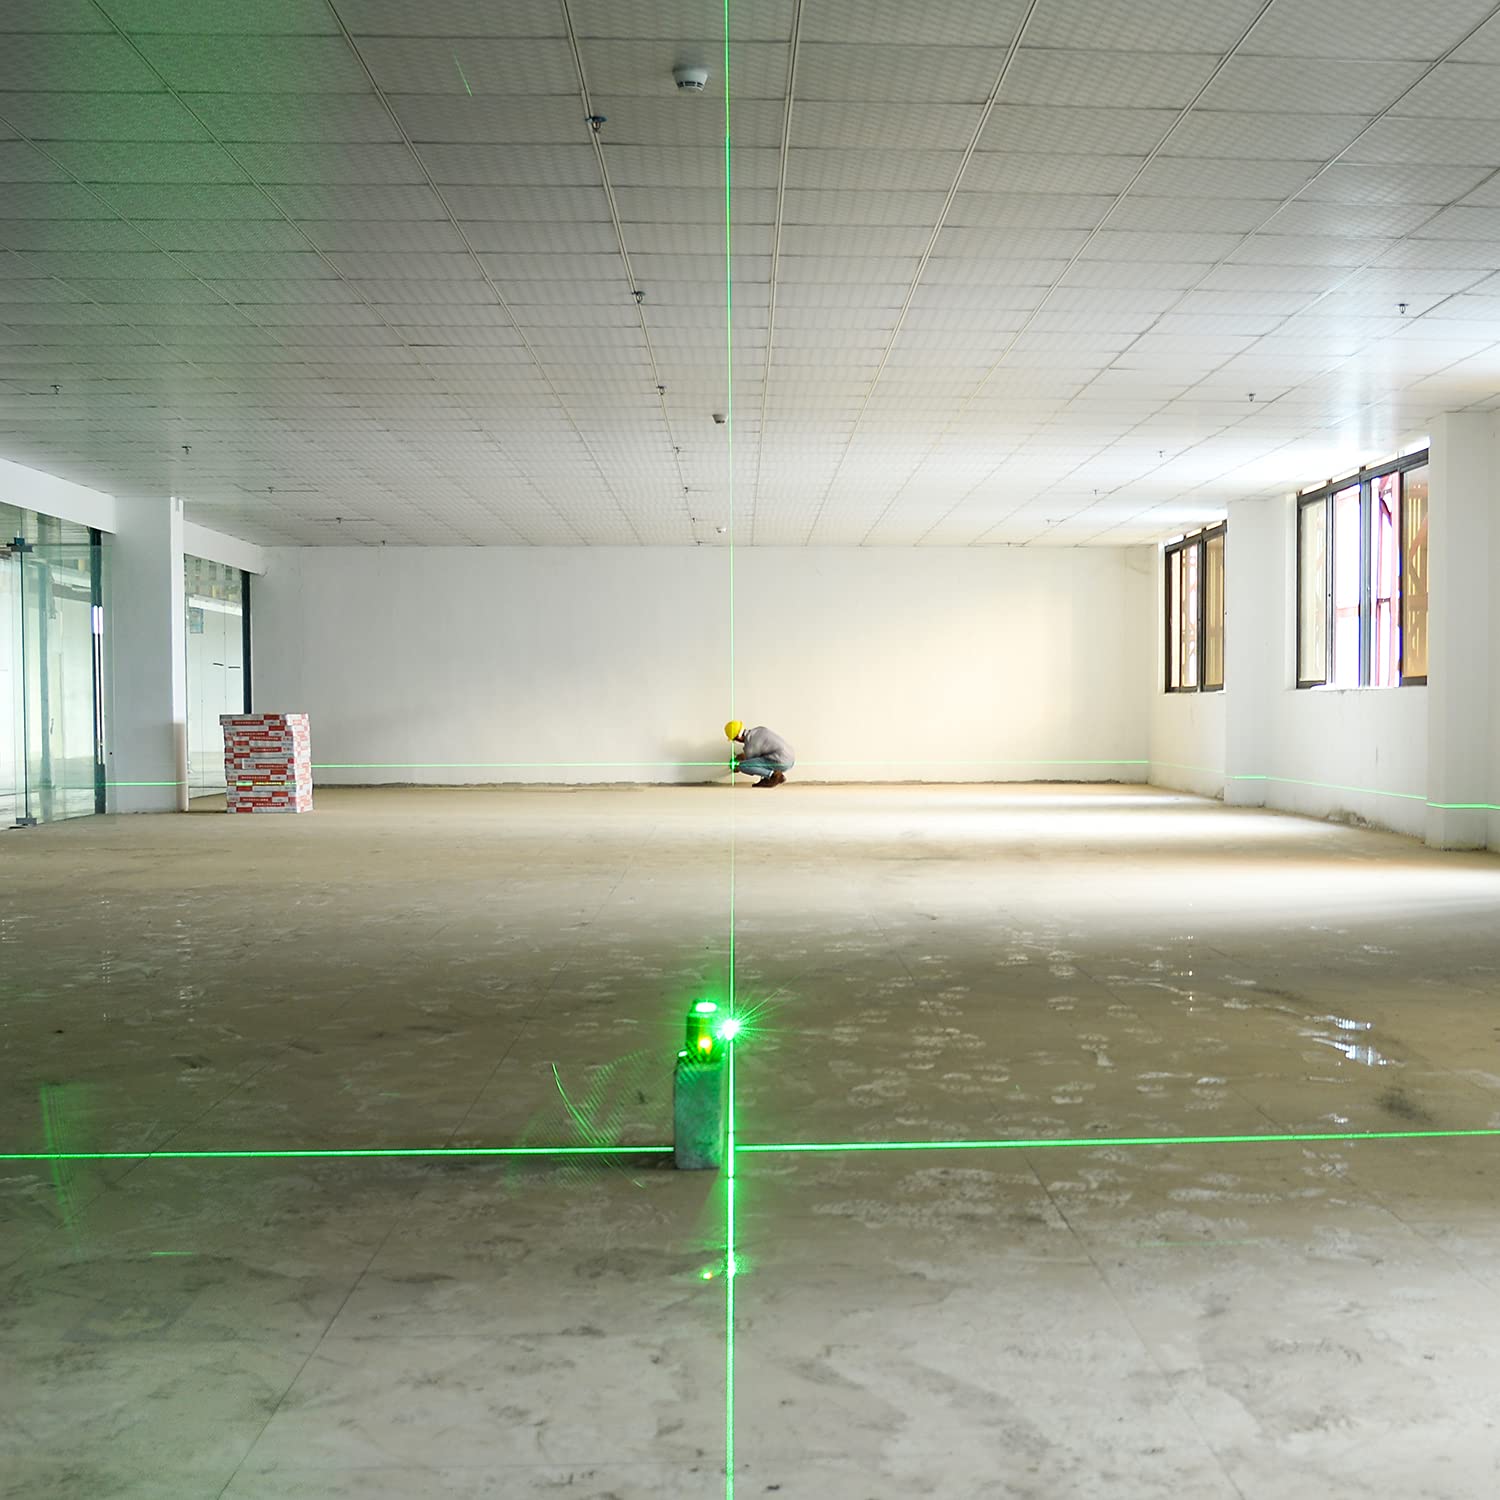
Image: The KAIWEETS KT360A laser level projecting bright green 360-degree laser lines, highlighting its visibility and comprehensive coverage.

Billede: En overview of the KAIWEETS KT360A's key features, including its 3D green rotary laser, 4X visibility compared to red lasers, three 360-degree laser planes, 20-hour battery life, and IP54 rating for dust and water resistance.
5. Opsætning
5.1 Batteriinstallation og opladning
- The lithium-ion battery is typically pre-installed. If not, open the battery compartment and insert the battery, ensuring correct polarity.
- To charge the battery, connect the USB Type-C charging cable to the laser level and a compatible power adapter.
- The smart LED indicator on the battery will show the charging status. All four lights indicate a full charge.

Billede: Nærbillede view of the KAIWEETS KT360A's battery, highlighting its waterproof design, smart LED charge indicator, and Type-C charging port with 5V/2A input specifications.
5.2 Monteringsmuligheder
- Magnetisk stativ: Attach the laser level to the included magnetic stand. The stand allows 360° rotation and can be securely fastened to metal surfaces.
- Stativ montering: The device features a standard tripod thread at its base, allowing it to be mounted onto a compatible tripod (tripod not included).

Image: Demonstrates multiple ways of placing the KAIWEETS KT360A laser level, including mounting on its 360° rotating magnetic bracket and attaching it to a tripod.
6. Betjeningsvejledning
6.1 Tænd/sluk og valg af tilstand
- Tænd: Slide the pendulum lock switch to the unlocked position (ÅBEN icon). The device will power on and enter self-leveling mode, projecting horizontal and vertical lines.
- Selvnivellerende tilstand: When the pendulum is unlocked, the device automatically self-levels within ±4°. If the tilt exceeds this range, the laser lines will flash rapidly to indicate an out-of-level condition. Adjust the device's position until the lines stabilize.
- Manuel tilstand (låst tilstand): To use the device for projecting lines at an angle, slide the pendulum lock switch to the locked position (LÅSE icon) while the device is off. Then press the power button. The laser lines will be projected, and the self-leveling function will be disabled, allowing for angled lines. The laser lines may flash slowly in this mode to indicate it is not self-leveling.
- Switching Laser Planes: Use the dedicated button(s) on the device to cycle through different laser line combinations (e.g., horizontal only, vertical only, all lines).
- Pulstilstand: Press the pulse mode button (often indicated by a 'P' or receiver icon) to activate pulse mode. This mode is used with a laser detector (receiver) for outdoor use or in bright conditions to extend the working range.
- Sluk: Slide the pendulum lock switch to the locked position (LÅSE icon). This secures the pendulum for transport and storage.

Image: A close-up of the control panel indicators, showing symbols for battery status, self-leveling mode, and manual mode (locked pendulum).

Image: A close-up of the control panel, specifically highlighting the pulse mode indicator, which is used when pairing with a laser receiver.

Image: Illustrates the two main operating modes: Manual Mode for fixed, angled lines, and Self-Leveling Mode for automatic leveling within ±4 degrees.
6.2 Ansøgning Eksamples

7. Vedligeholdelse
- Rensning: Brug en blød, damp klud til at rengøre enheden. Brug ikke slibende rengøringsmidler eller opløsningsmidler.
- Opbevaring: When not in use, store the laser level in its fabric bag with the pendulum locked. Store in a dry, cool place, away from direct sunlight.
- Batteripleje: Oplad batteriet regelmæssigt, selvom enheden ikke bruges ofte, for at opretholde batteriets sundhed. Undgå at aflade batteriet helt i længere perioder.
- Kalibreringstjek: Periodically check the accuracy of the laser level. Refer to professional calibration services if accuracy deviates significantly.
8. Fejlfinding
| Problem | Mulig årsag | Løsning |
|---|---|---|
| Laserlinjerne blinker hurtigt. | Device is out of its self-leveling range (±4°). | Place the device on a more level surface or adjust its position until the lines stabilize. |
| Laserlinjer er svage eller ikke synlige udendørs. | Bright ambient light or device is not in pulse mode. | Activate pulse mode and use a laser detector (receiver) for improved visibility and range. |
| Enheden tænder ikke. | Low battery or pendulum is locked. | Charge the battery. Ensure the pendulum lock switch is in the unlocked position. |
| Laserlinjerne er ikke lige eller præcise. | Enheden er i manuel tilstand eller kræver kalibrering. | Ensure the device is in self-leveling mode (pendulum unlocked). If issues persist, contact customer support for calibration. |
9. Specifikationer
| Feature | Detalje |
|---|---|
| Mærke | KAIWEETS |
| Modelnummer | KT360A |
| Laser farve | Grøn |
| Laserkonfiguration | 3 x 360° (1 vandret, 2 lodret) |
| Selvudjævningsområde | ±4° |
| Nivelleringsnøjagtighed | ±3mm / 10m |
| Working Range (with detector) | Up to 196ft / 60m (under 20000lux illuminance) |
| Batteritype | 3.7V x 7.5Ah (27.75Whr) Lithium-ion |
| Driftstid | Mere end 20 timer |
| IP-vurdering | IP54 (vandtæt og støvtæt) |
| Materiale | Acrylonitril-butadienstyren |
| Produktmål (ca.) | 13.9L x 9.9B x 11.8H cm (5.47L x 3.89B x 4.64H tommer) |
| Varens vægt | 1.05 kilo (1050 gram) |
| UPC | 780007466879 |

Image: Dimensions of the KAIWEETS KT360A laser level, showing its length as 5.47 inches, width as 3.89 inches, and height as 4.64 inches.
10. Garanti og support
The KAIWEETS KT360A Laser Level comes with a 3 års servicegaranti as stated in the product features. For technical support, warranty claims, or service inquiries, please contact KAIWEETS customer service through their official channels or the retailer where the product was purchased.
Gem venligst din købsbevis for at validere garantien.


