1. Introduktion
Thank you for choosing the Cuddeback G-5086 CuddeLink Double Barrel 20MP Trail Camera. This manual provides essential information for the proper setup, operation, and maintenance of your camera. Please read it thoroughly before using the device to ensure optimal performance and longevity.
2. Produktfunktioner
The Cuddeback G-5086 trail camera is designed for reliable outdoor surveillance and wildlife monitoring, offering advanced features for high-quality image capture.
- 20 megapixel kamera: Optager stillbilleder i høj opløsning.
- 0.25-Second Trigger Speed: Ensures quick capture of moving subjects.
- CuddeLink Compatibility: Integrates with CuddeLink and CuddeLink Cell networks for remote image transmission.
- Double Barrel Flash Strobe: Utilizes two 1-inch xenon flash tubes for powerful illumination up to 100 feet.
- Picture Recovery Time: Fast 1 to 2 second recovery for subsequent shots.
- Burst-tilstand: Capable of capturing 1 to 5 images per trigger event.
- Strømkilde: Operates on 4 D batteries (not included).
3. Pakkens indhold
Bekræft at alle varer er til stede i din pakke:
- Cuddeback G-5086 Trail Camera
- Antenne
- Mounting Strap (may vary by package)
- Brugervejledning (dette dokument)
4. Opsætning
4.1. Batteriinstallation
The G-5086 camera requires 4 D-cell batteries for operation. For best performance, use high-quality alkaline or lithium batteries.
- Open the battery compartment door located on the side or bottom of the camera.
- Isæt 4 D-cellebatterier, og sørg for at polerne (+/-) vender korrekt som angivet inde i batterirummet.
- Close the battery compartment door securely to maintain the weather seal.

Figure 4.1: Battery compartment with D-cell batteries installed.
4.2. Installation af SD-kort
A Class 10 or higher SD card (up to 32GB recommended) is required to store images and videos.
- Locate the SD card slot, typically found under a protective cover on the camera's side or bottom.
- Insert the SD card with the metal contacts facing down (or as indicated by the slot diagram) until it clicks into place.
- To remove, push the card in gently until it springs out.

Figure 4.2: SD card slot and external ports.
4.3. Installation af antenne
The antenna is crucial for CuddeLink network communication.
- Screw the provided antenna clockwise into the antenna port located on the top or side of the camera until it is finger-tight.
- Ensure the antenna is oriented vertically for optimal signal reception.
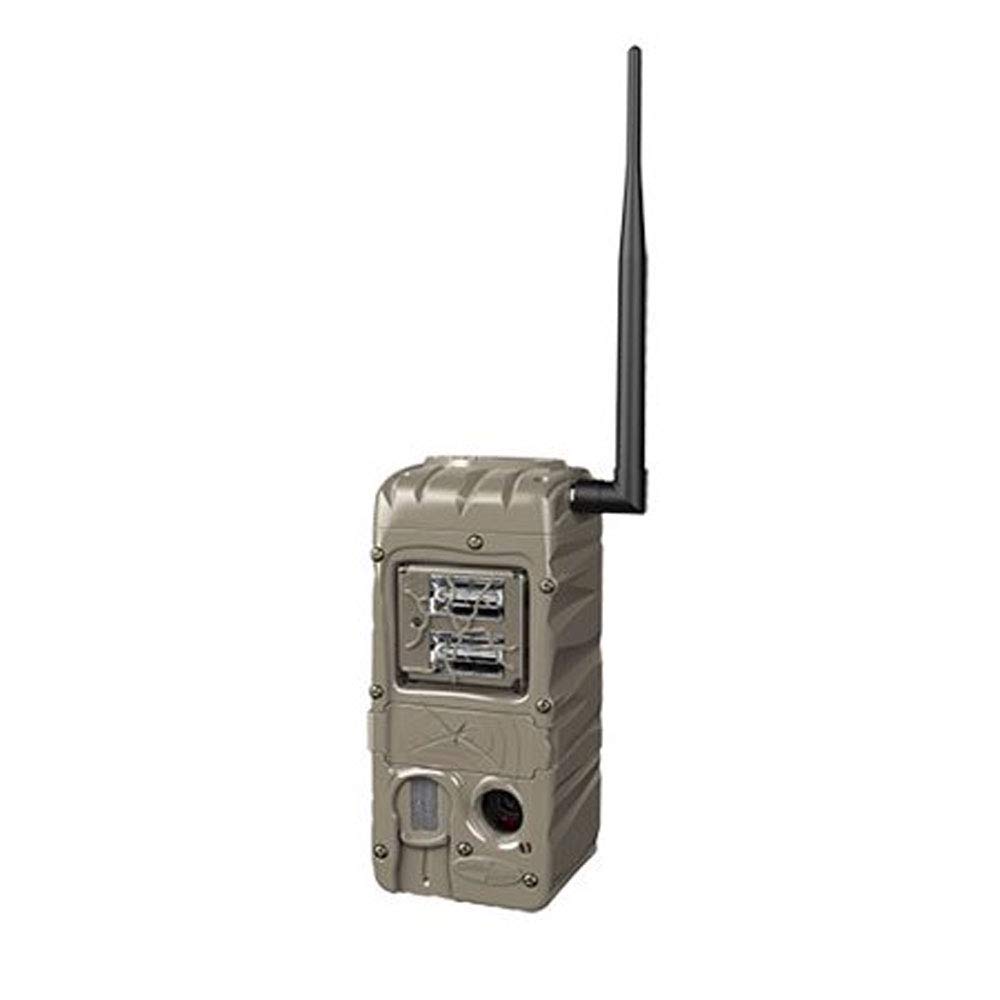
Figure 4.3: Cuddeback G-5086 Trail Camera with antenna.
4.4. Montering af kameraet
Mount the camera to a tree or post using the provided strap or a compatible mounting accessory.
- Position the camera approximately 3-6 feet (1-2 meters) off the ground.
- Aim the camera towards the desired monitoring area, avoiding direct sunlight if possible to prevent overexposure.
- Ensure the camera is stable and secure to prevent movement from wind or animals.
5. Betjeningsvejledning
5.1. Tænd/sluk
Locate the power switch inside the camera housing. Slide it to the 'ON' position to power on the camera. Slide to 'OFF' to power down.
5.2. Grundlæggende indstillinger
Access the camera's menu via the internal display and control buttons to configure settings:
- Mode: Select between Photo, Video, or Time-Lapse.
- Opløsning: Set image (e.g., 20MP) or video resolution (e.g., 720p).
- Udløserforsinkelse: Adjust the time interval before the camera triggers again after an event.
- Burst: Configure the number of photos taken per trigger (1-5 images).
- Dato/tid: Indstil den aktuelle dato og tid for at få præcise klokkeslætamps on captures.
5.3. CuddeLink Network Setup
The G-5086 is CuddeLink compatible, allowing it to send images to a CuddeLink Home camera or Cell camera. Refer to the CuddeLink system manual for detailed instructions on network configuration, pairing, and data transmission settings.
5.4. Retrieving Data
Images and videos are stored on the SD card. To retrieve them:
- Sluk kameraet.
- Fjern SD-kortet.
- Insert the SD card into a computer's card reader or a compatible device to view og overførsel files.
6. Vedligeholdelse
6.1. Rensning
Regularly clean the camera lens, flash, and PIR sensor window with a soft, lint-free cloth. Avoid abrasive materials or harsh chemicals.
6.2. Udskiftning af batteri
Udskift batterierne, når indikatoren for lavt batteri vises, eller når ydeevnen forringes. Udskift altid alle batterier med nye af samme type på én gang.
6.3. SD-kortstyring
Periodically format the SD card using the camera's menu option to ensure optimal performance and prevent data corruption. Back up important files før formatering.
7. Fejlfinding
- Kameraet tænder ikke: Check battery installation and ensure batteries are fresh. Verify the power switch is in the 'ON' position.
- Dårlig billedkvalitet: Clean the lens and flash window. Ensure the camera is not aimed directly into strong light sources. Check settings for appropriate resolution.
- No images captured: Ensure the SD card is properly inserted and has sufficient free space. Check trigger delay and sensitivity settings. Verify the camera is in an active mode.
- Kort batterilevetid: This can be influenced by extreme temperatures, frequent triggers, or extensive CuddeLink activity. Use high-quality batteries.
- CuddeLink connectivity issues: Ensure the antenna is securely attached. Check the distance between cameras and any obstructions. Refer to the CuddeLink system manual for network diagnostics.
8. Specifikationer
| Modelnavn | G-5086 |
| Effektiv stillopløsning | 20 MP |
| Udløserhastighed | 0.25 sekunder |
| Flash rækkevidde | 100 Feet (Double Barrel Flash Strobe) |
| Picture Recovery Time | 1 til 2 sekunder |
| Burst Images | 1 to 5 images |
| Forbindelsesteknologi | Wireless (CuddeLink compatible) |
| Strømkilde | 4 D Batteries (not included) |
| Indendørs/Udendørs brug | Udendørs |
| Materiale | Plast |
| Dimensioner (L x B x H) | 10.05 x 4.35 x 7.4 tommer |
| Varens vægt | 2.4 ounce |
9. Garanti og support
For warranty information and technical support, please refer to the official Cuddeback webwebstedet eller kontakt deres kundeservice direkte. Behold din købskvittering som købsbevis.


